Digital drawing // Dibujo digital
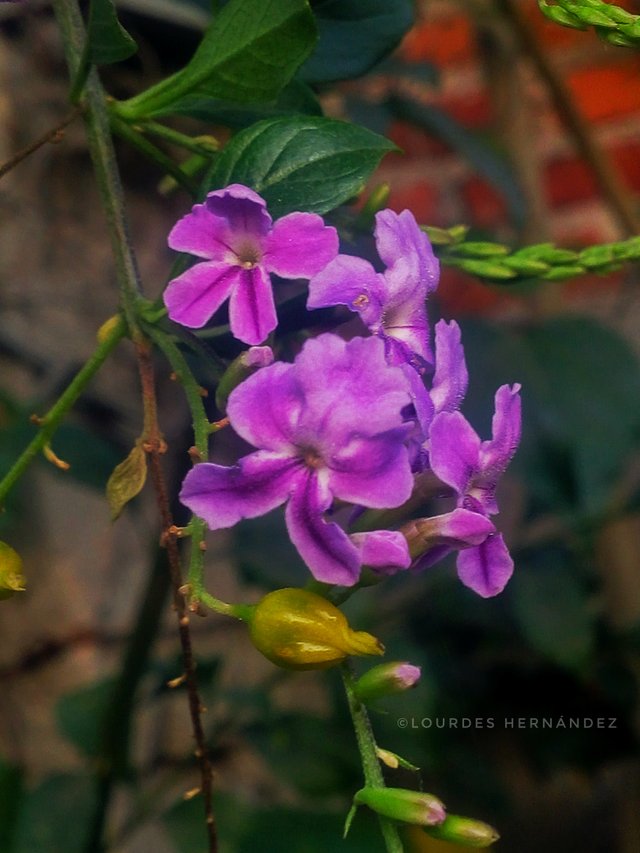
Continuing with the digital practices now I started to draw some small purple flowers that I found in my garden, here I will leave you the step by step.
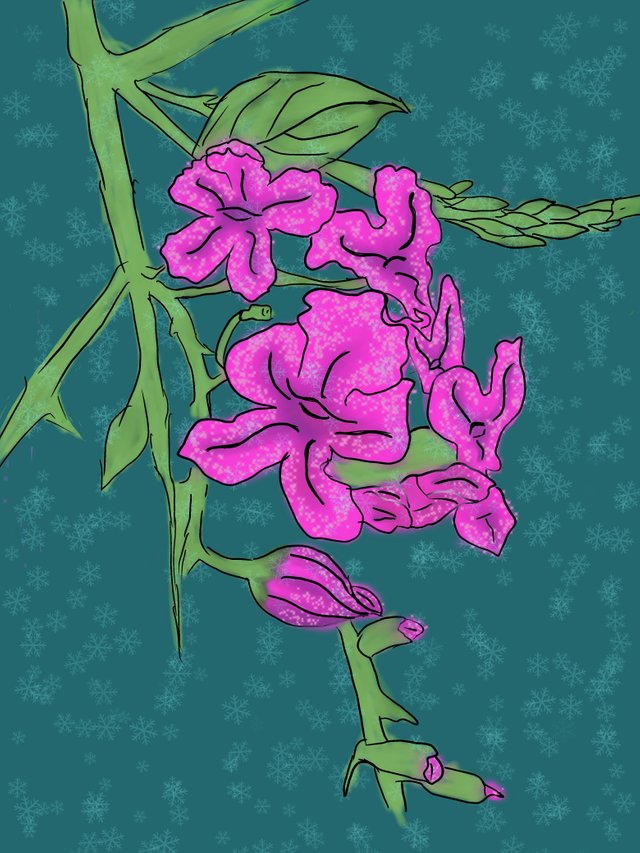
Continuando con las prácticas digitales ahora me dispuse a dibujar unas pequeñas florecillas moradas que encontré en mi jardín, aquí les dejaré el paso a paso.
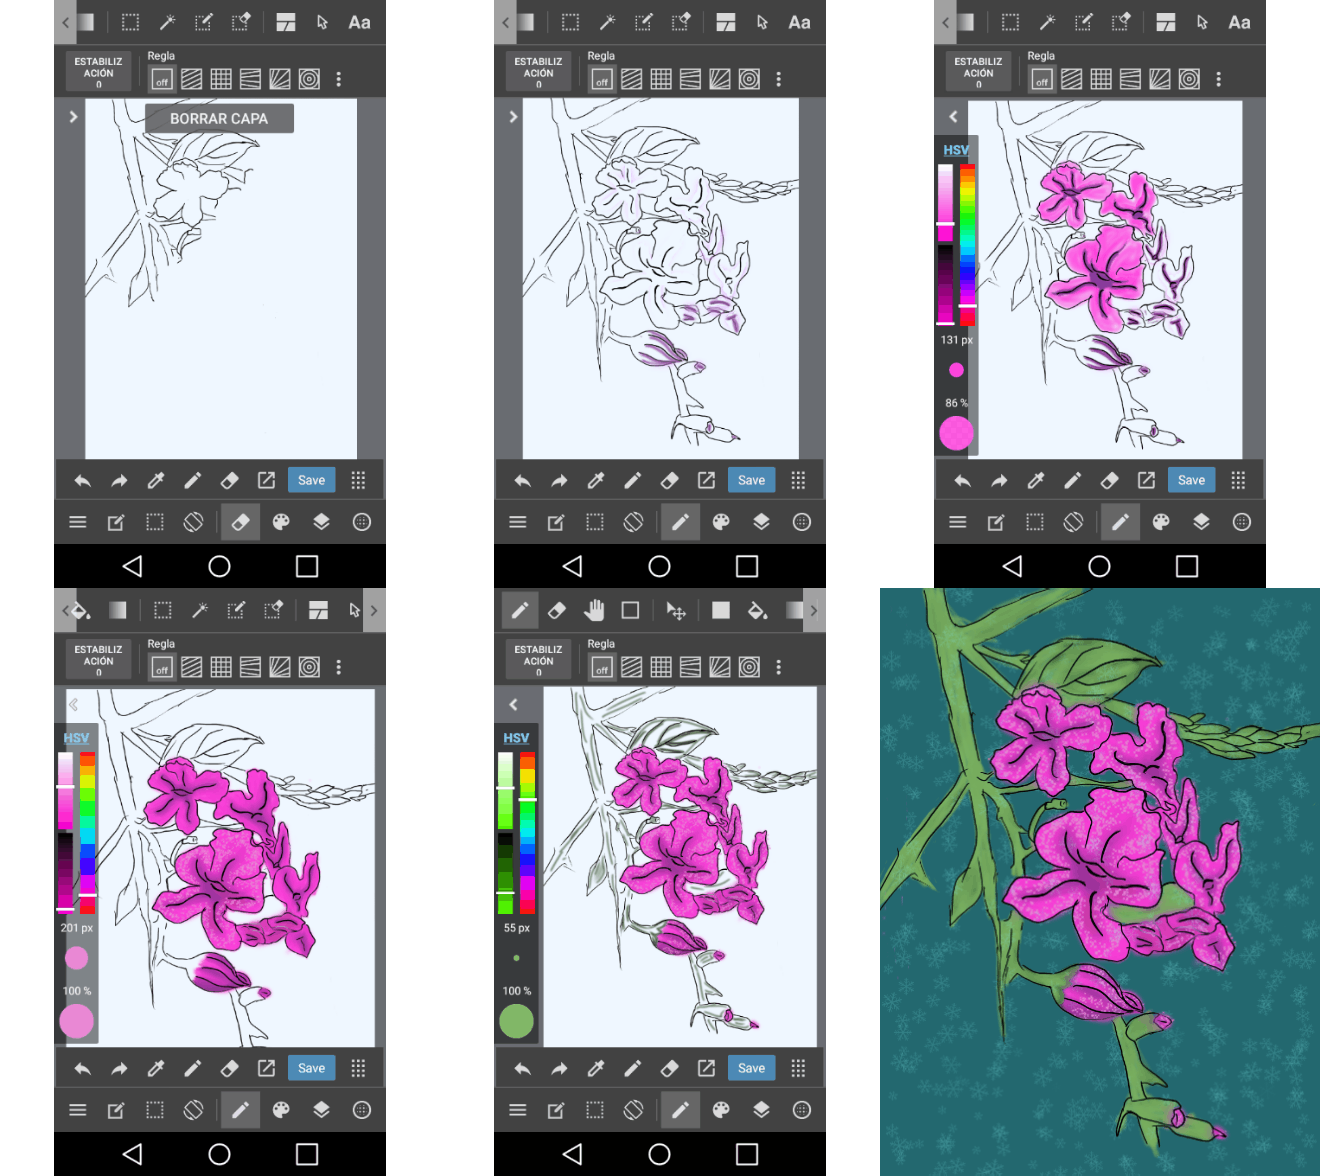
Step 1
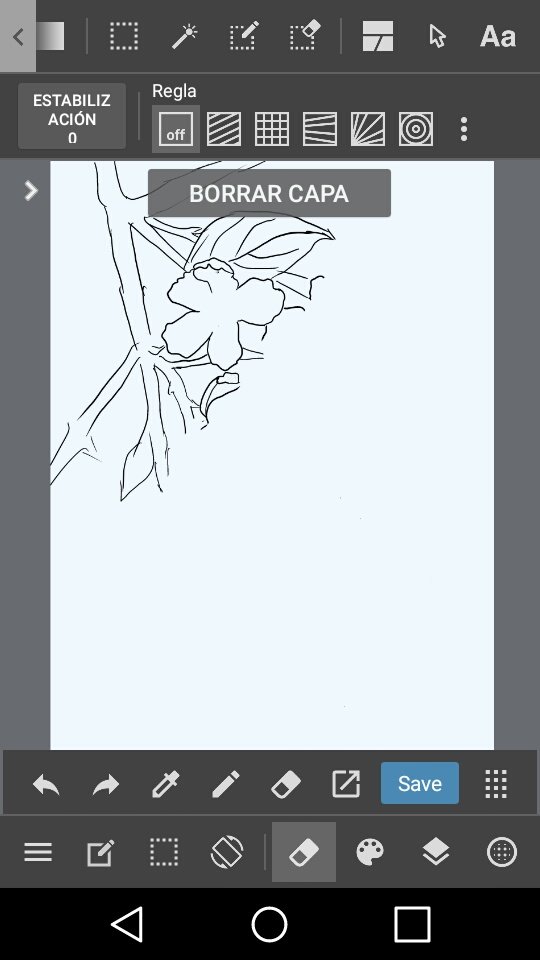
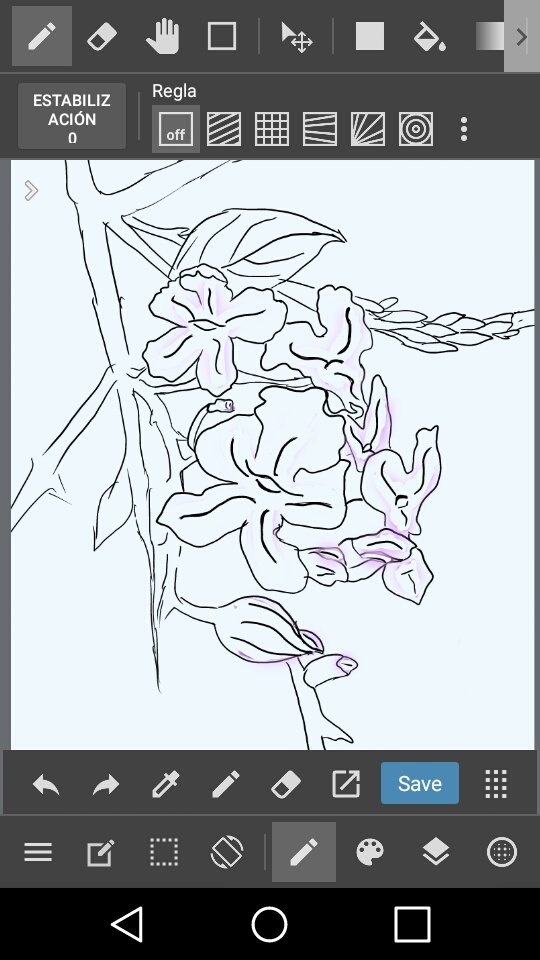
I started by drawing with the pen brush, the flowers, the small branch on which they grow, their buttons and leaves of the small plant.
Paso 1
Comencé dibujando con el pincel pluma, las flores, la pequeña rama en la que crecen, sus botones y hojas de la pequeña planta.
Step 2
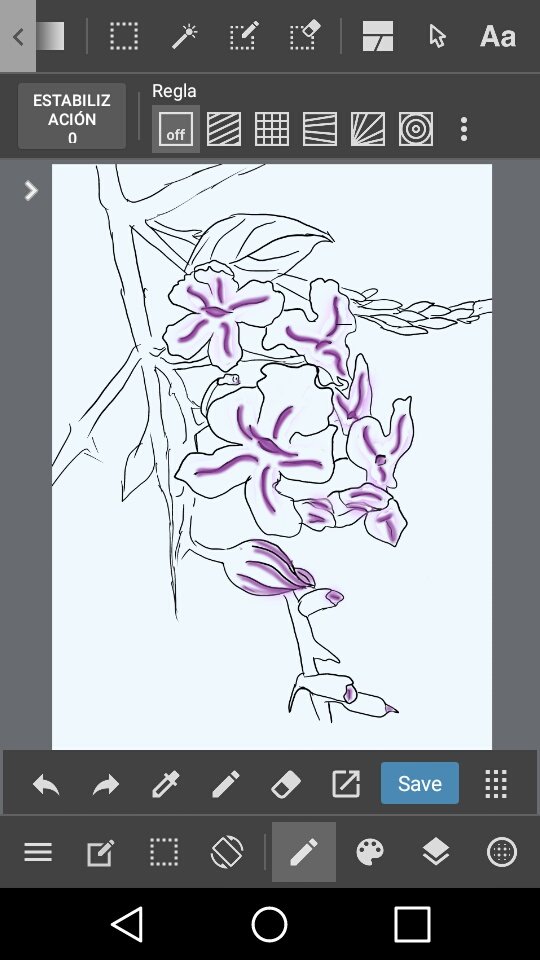
In this step I added as I have already mentioned in past drawings the color always starting with dark colors to create the shades that the plant naturally has.
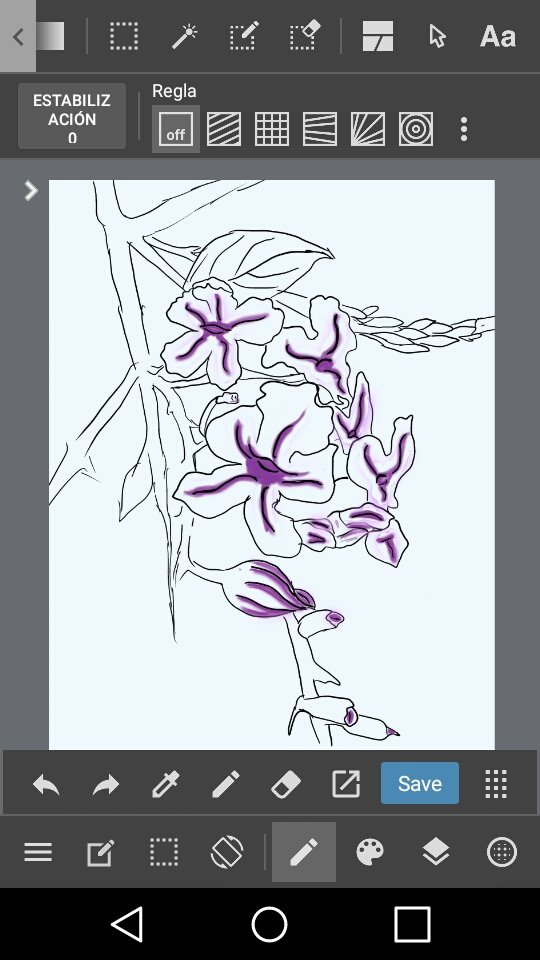
Paso 2
En este paso agregué como ya lo he mencionado en dibujos pasados el color siempre comenzando por colores oscuros para crear las sombras que naturalmente tiene la planta.
Step 3
The next thing I do is add the light tones, with the airbrush brush I add the color Pink in all the flowers, in the areas where I require more color I only pass the brush more than once.
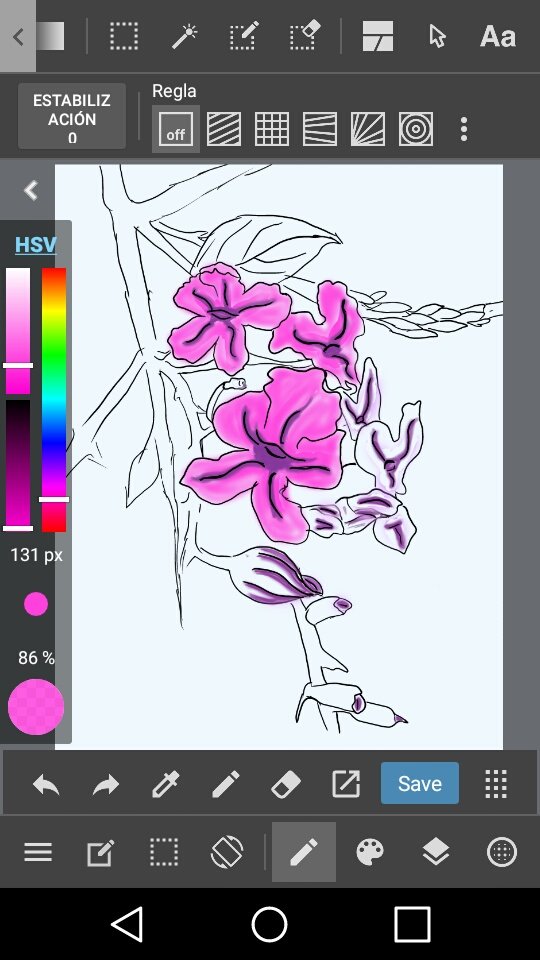
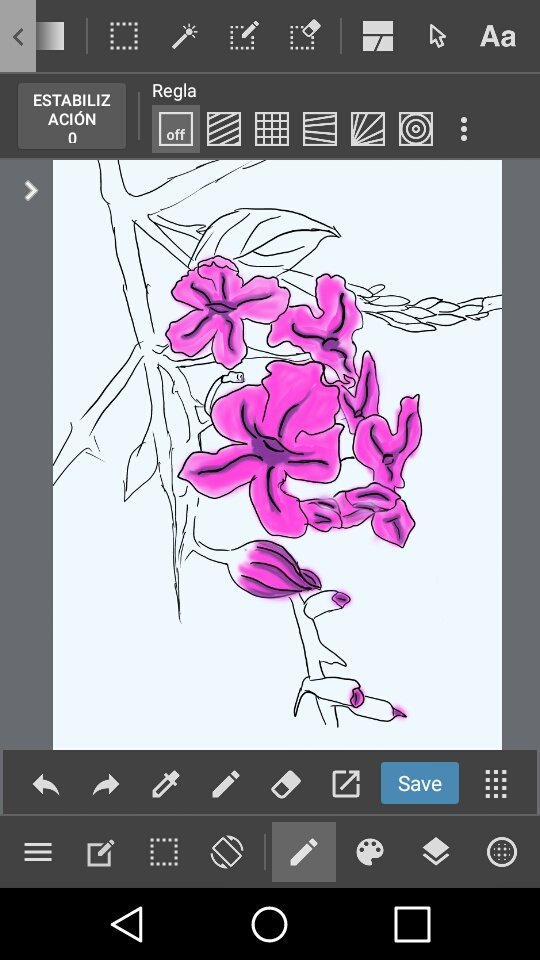
Paso 3
Lo siguiente se hago es agregar los tonos claros, con el pincel aerógrafo agrego el color Rosa en todas las flores, en las zonas donde requiero más color sólo paso más de una vez el pincel.
Step 4
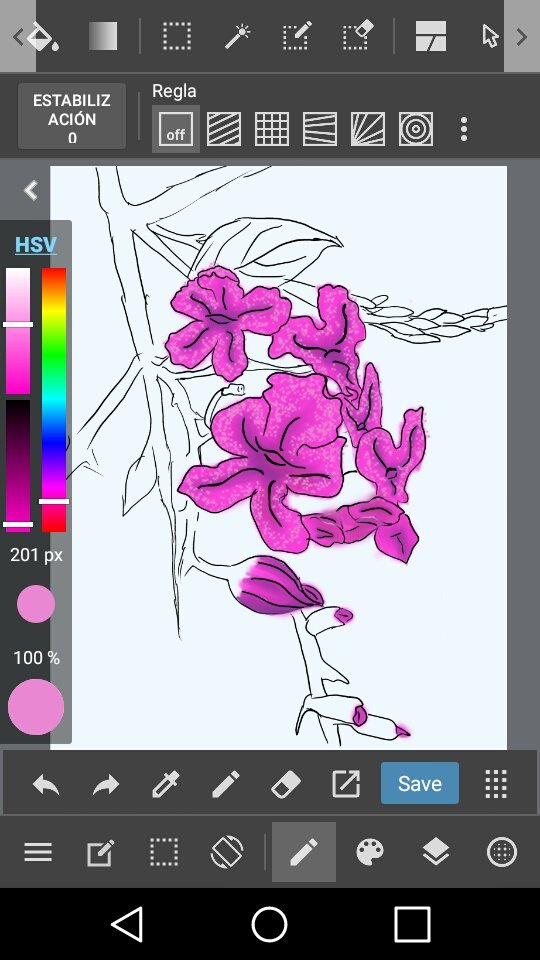
Then I give way to mix with a brush previously configured by me, with that brush I manage to create a homogeneous layer, going through the dark and light colors so that they integrate as best as possible.
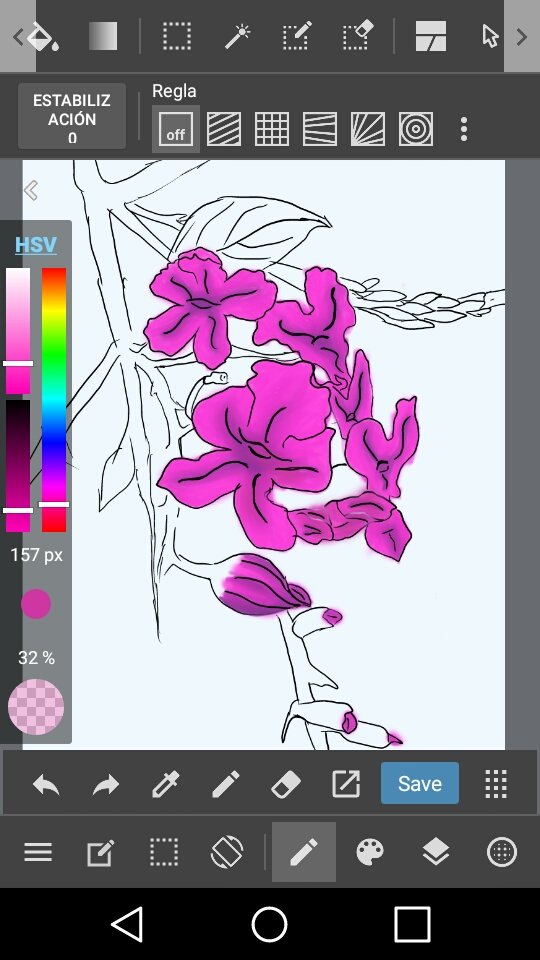
Paso 4
Después doy paso a mezclar con un pincel previamente configurado por mi, con ese pincel logro crear una capa homogénea, pasando por los colores oscuros y claros para que se integren lo mejor posible.
Step 5
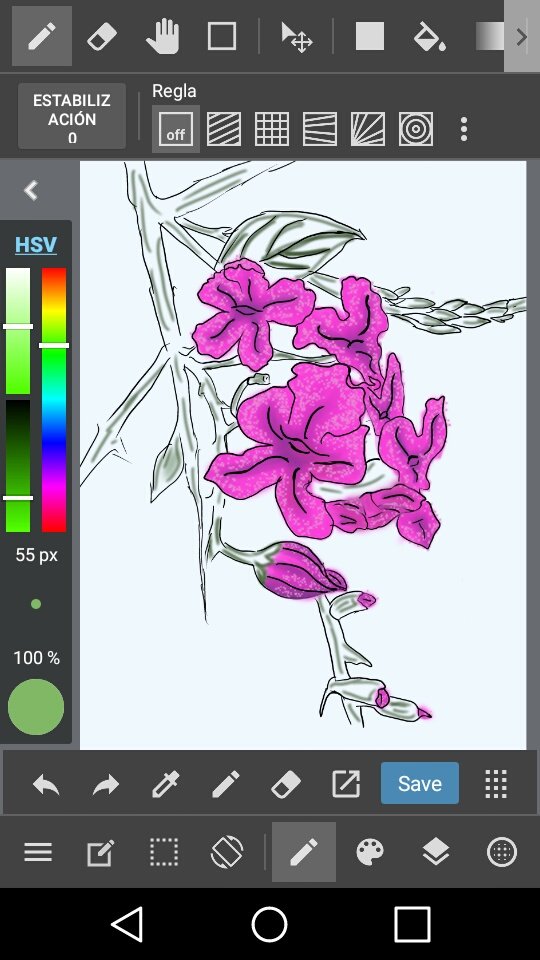
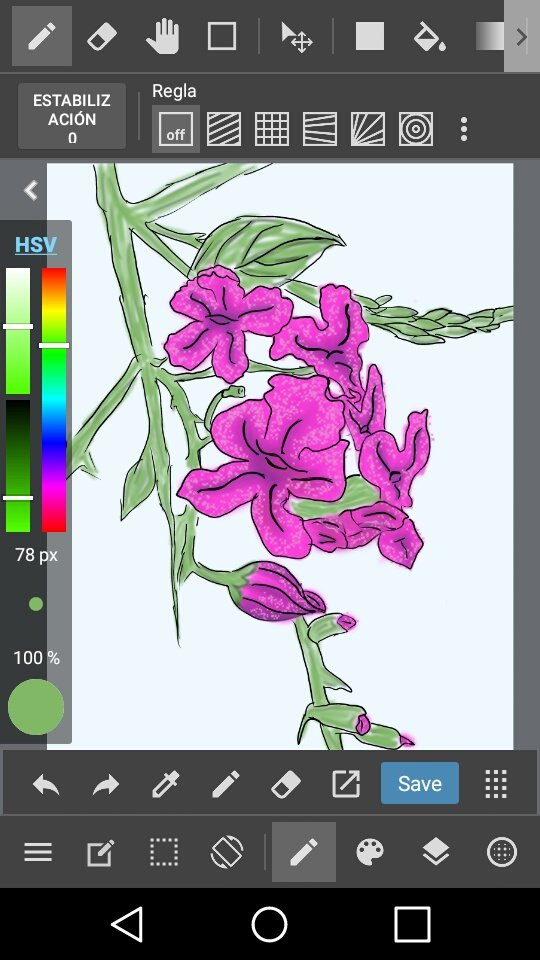
Adding the final details to the flowers I start the leaves and branches of the plant, I add the strong green color for the shades.
Paso 5
Agregando los detalles finales a las flores doy inicio a las hojas y ramas de la planta, agrego el color verde fuerte para las sombras.
Step 6
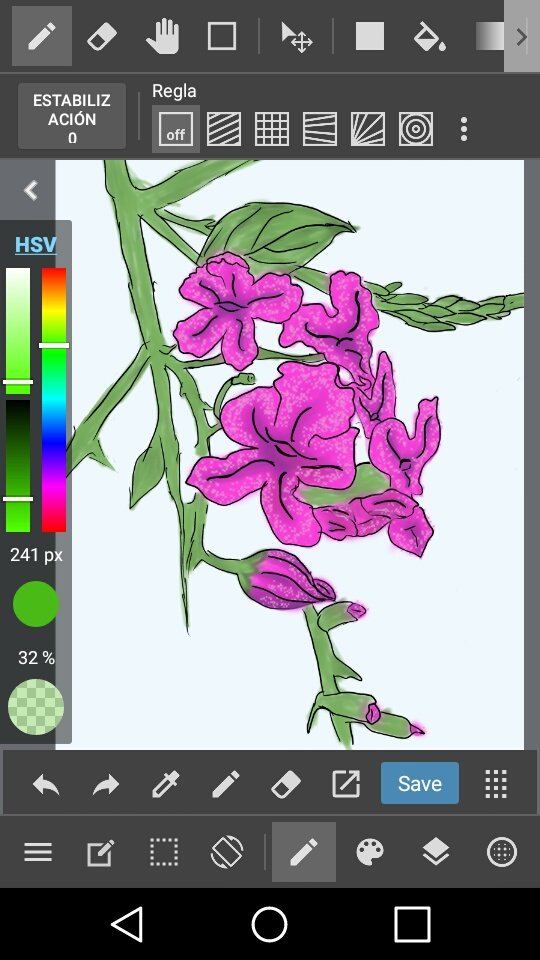
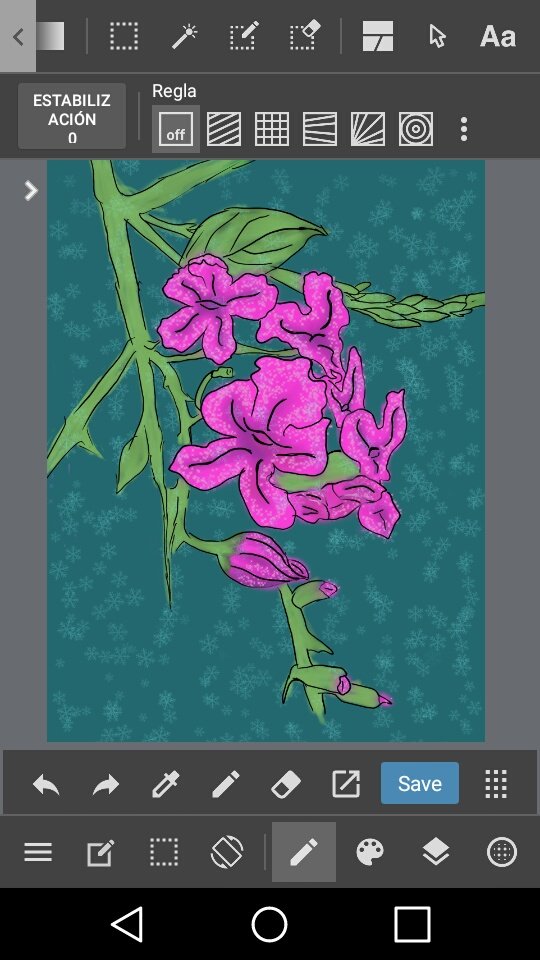
To finish I decided to apply a dark blue background, I added a few light blue sparkles to create a better contrast, integrating all the layers, I end the work today.
Paso 6
Para finalizar decidí aplicar un fondo azul oscuro, le agregué unos pequeños destellos de color azul claro para crear un mejor contraste, integrando todas las capas doy por finalizando el trabajo de hoy.
Reference images
For the realization of the digital drawing and the animation I used
medibang paint pro and gif creator and editor


