ROBOTIC ARM BUILDING AND PROGRAMMING USING EV3 SET
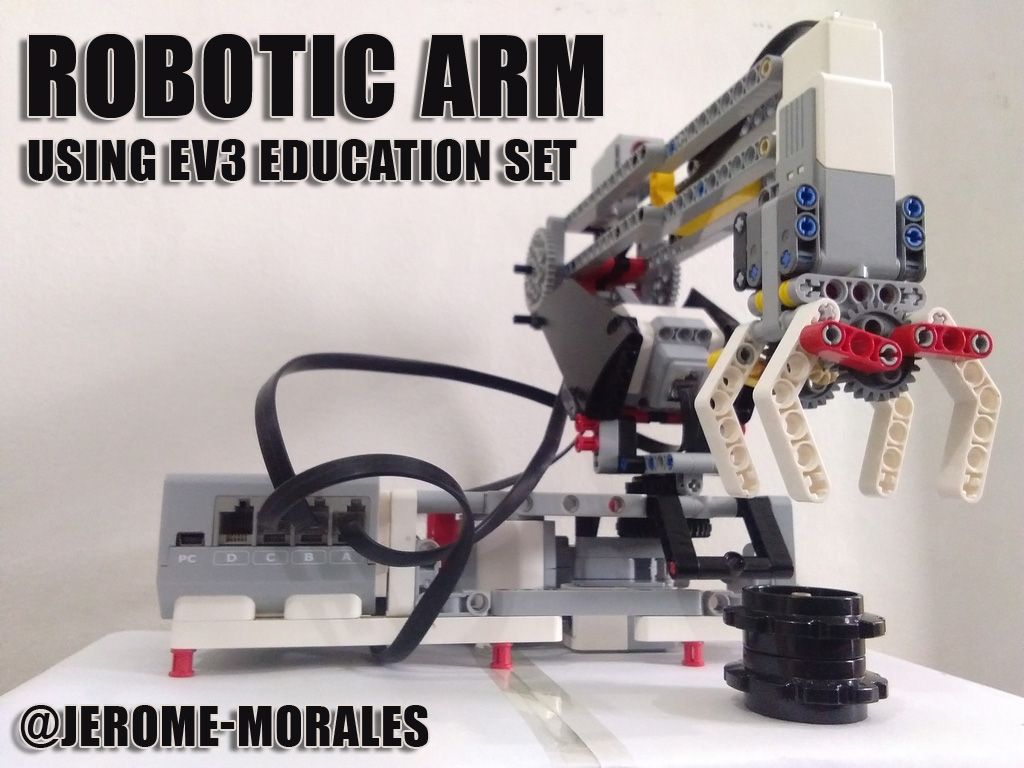
The attempt to produce a robotic arm is basically to create a device that will function ideally like a human arm and take advantage of its efficiency in technological production. It is basically consisting of parts just like the human arm, these are the shoulder, elbow and the grabber or the wrist. Gears and motors are used in combination so that a builder or a robotics engineer can come up with a functional joint that connects the shoulder, elbow, and wrists of a robot arms so that a human arm like movement can be imitated.
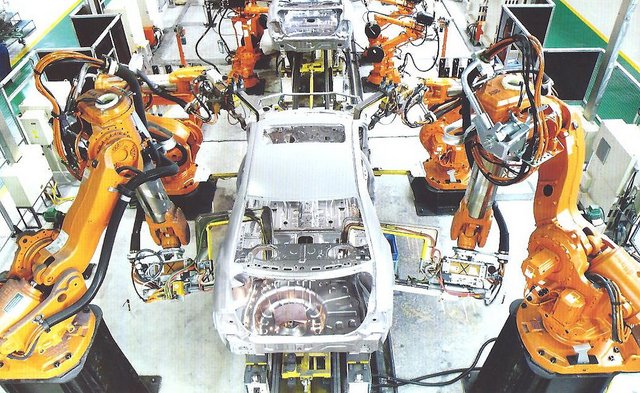
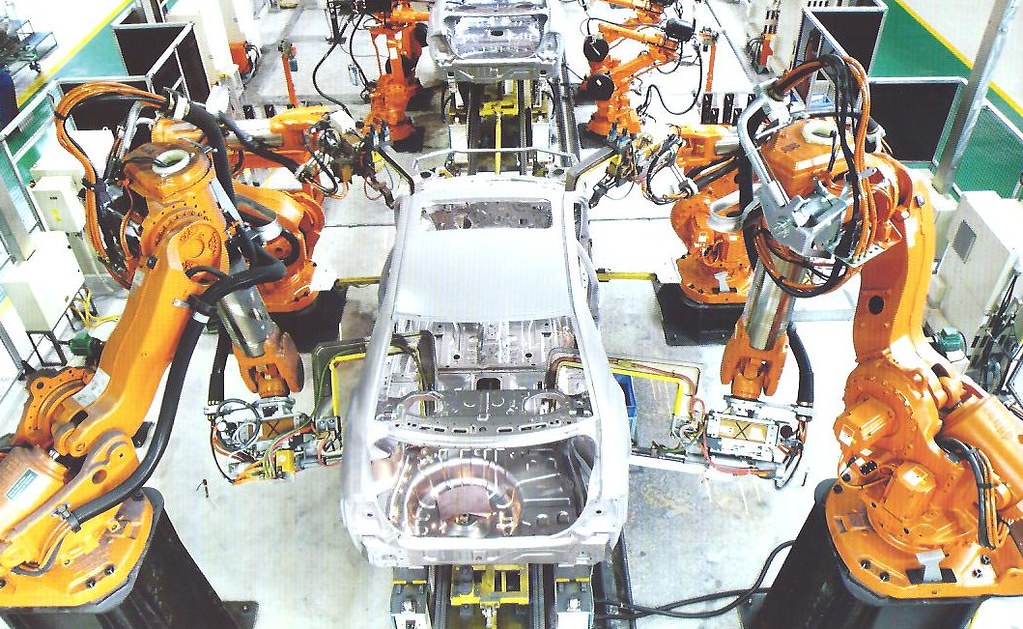
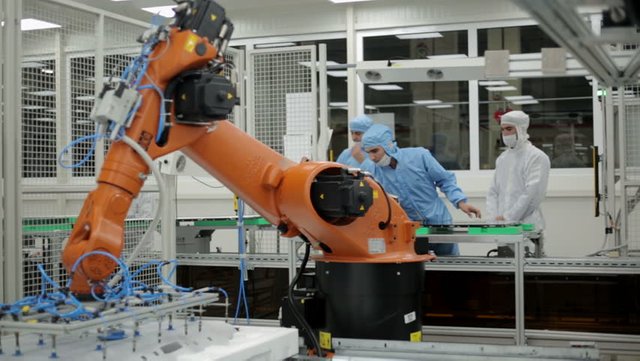
Robotic arm has been proven to be effective in manufacturing, especially in performing repetitive tasks, this has made factory production very efficient such as making cars, computers, mobile phones, food production etc. The image below shows just one instance of many more applications of a robotic arm in manufacturing.
)
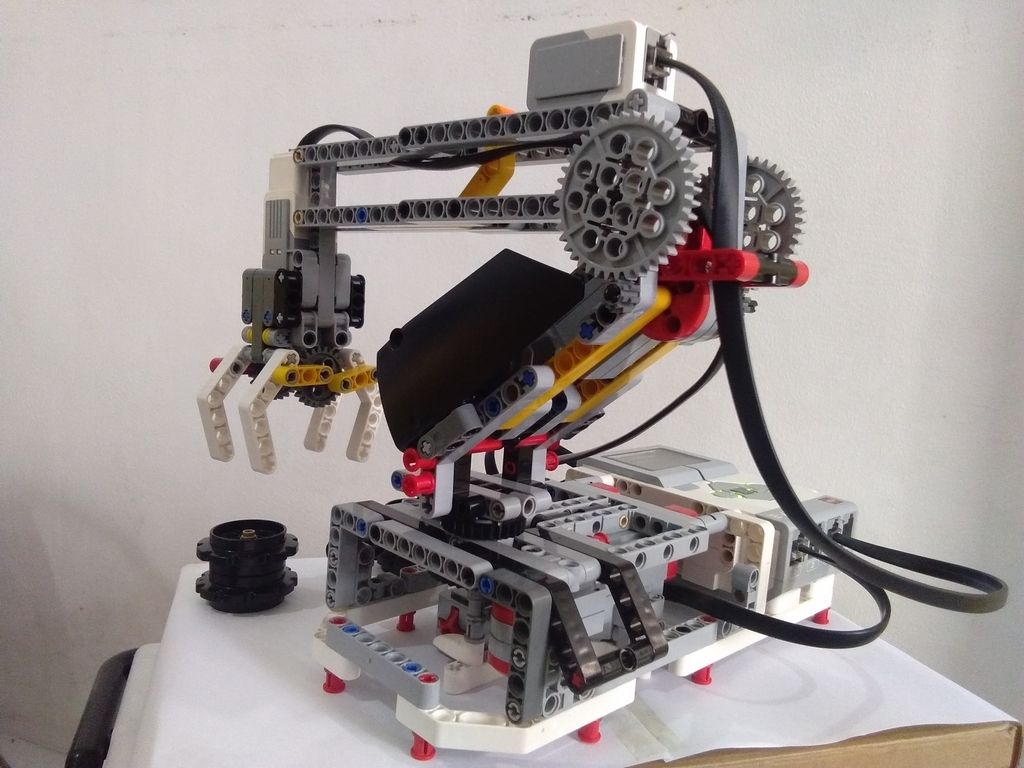
A taste of advanced engineering and robotics concepts can now be introduced to kids as early as in the elementary grades, so it is not going to be a surprised that robotics and automation will dramatically improve as we go into the future, and for me, it is something very interesting. The first image up top in this article already shows you the robotic arm that I built based on the design of robotsquare.com and I program it myself, made a short video clip out of it so I can show it you in action.
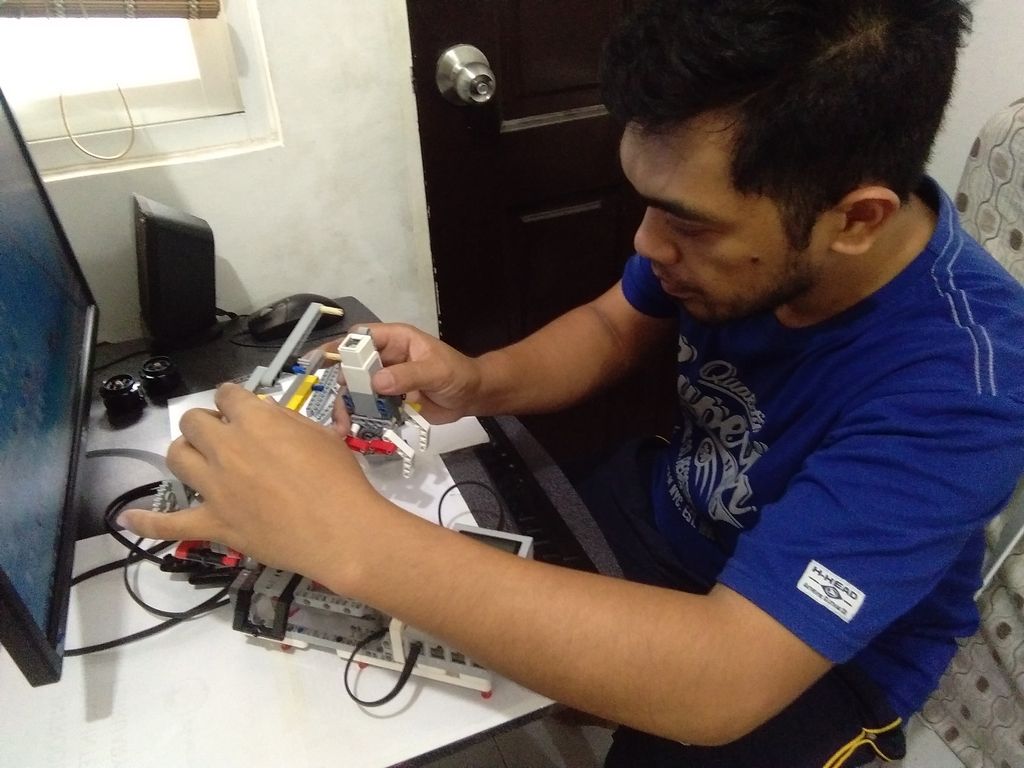
In this post, I am going to show you the experience of building and programming a Robot Arm miniature. I already have built this model a couple of times so my series of screenshot won’t really show the step by step but I have provided a link down below of this article that will route you to robotsquare.com for the building instruction of the Robot Arm H25 model. I also provided a screenshot of the program I created to perform the basic function of this model so that if you have an EV3 set available, you will be able to do it yourself.
Let me show you right away the short video clip, for you to see the ROBOT ARM in action.
AND HERE ARE SOME SCREENSHOTS AS I BUILD IT
I provided a link below for the detailed building instruction.

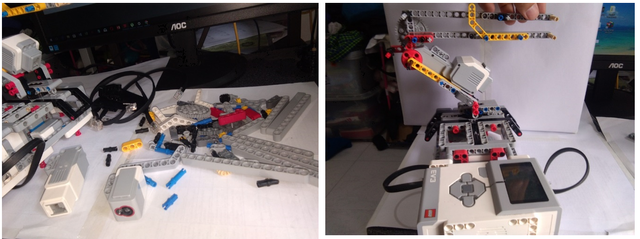
THE PLATFORM
I started working on the platform where the robotic arm will rest its foundation, this also houses the programmable device where we can download our instructions to make the robot move.
This platform will be built using a couple of beams connectors and this will also house the main motor that will allow the shoulder part of the robotic arm move in a circular motion.
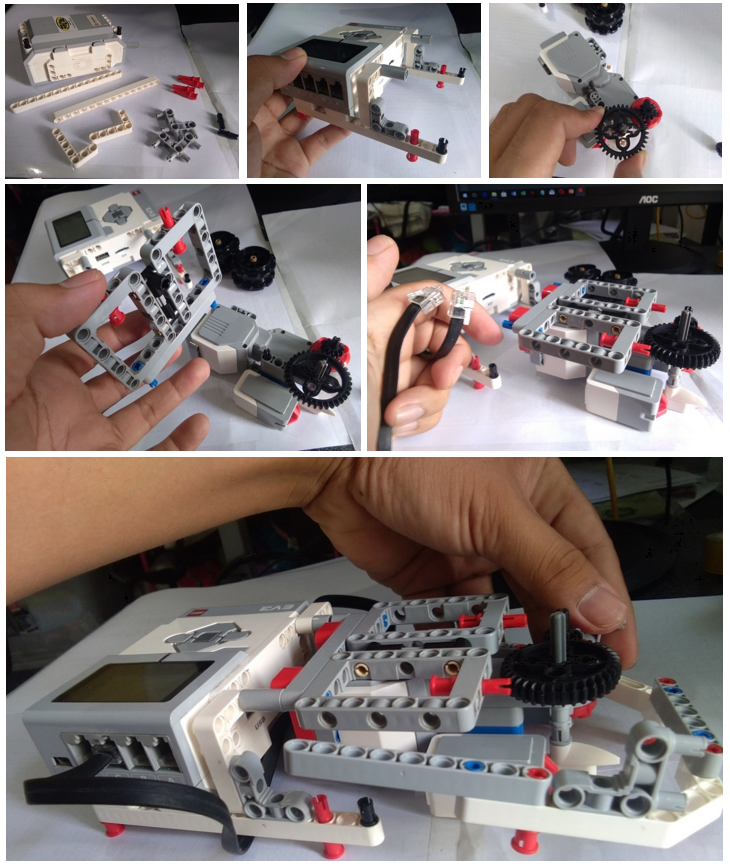
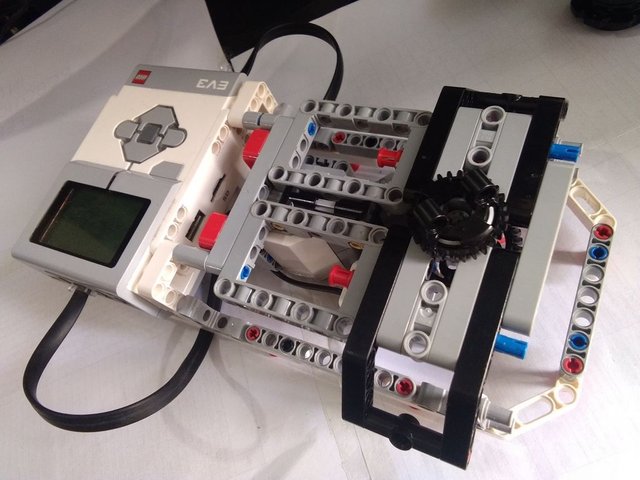
THE SHOULDER AND ELBOW
I grab some Lego pieces to start working on the shoulder. This one is consist of a motor a couple of beams, connector pegs, and axles. Then I installed it on the platform.
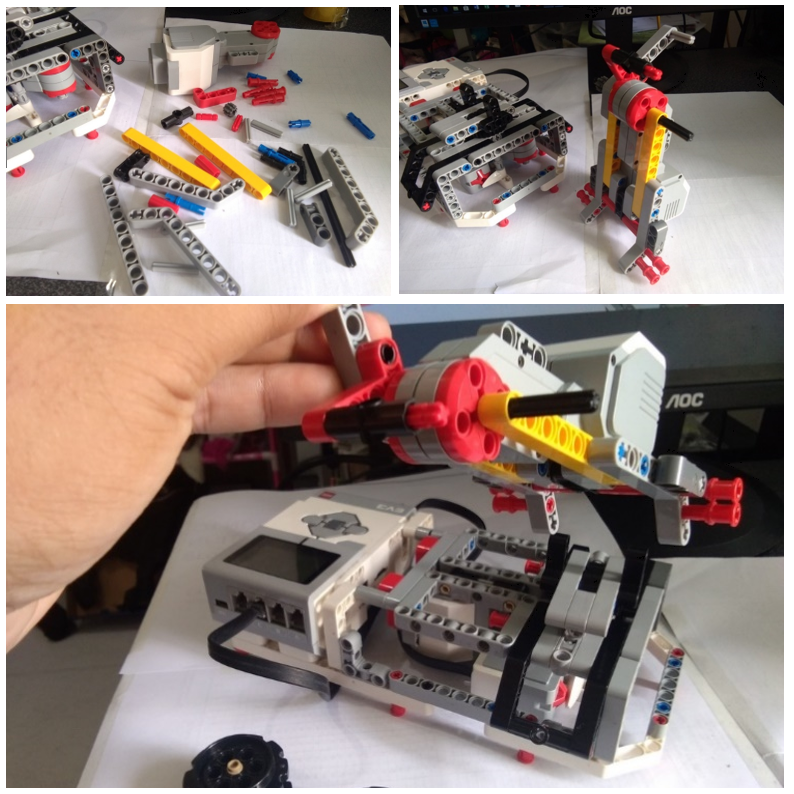
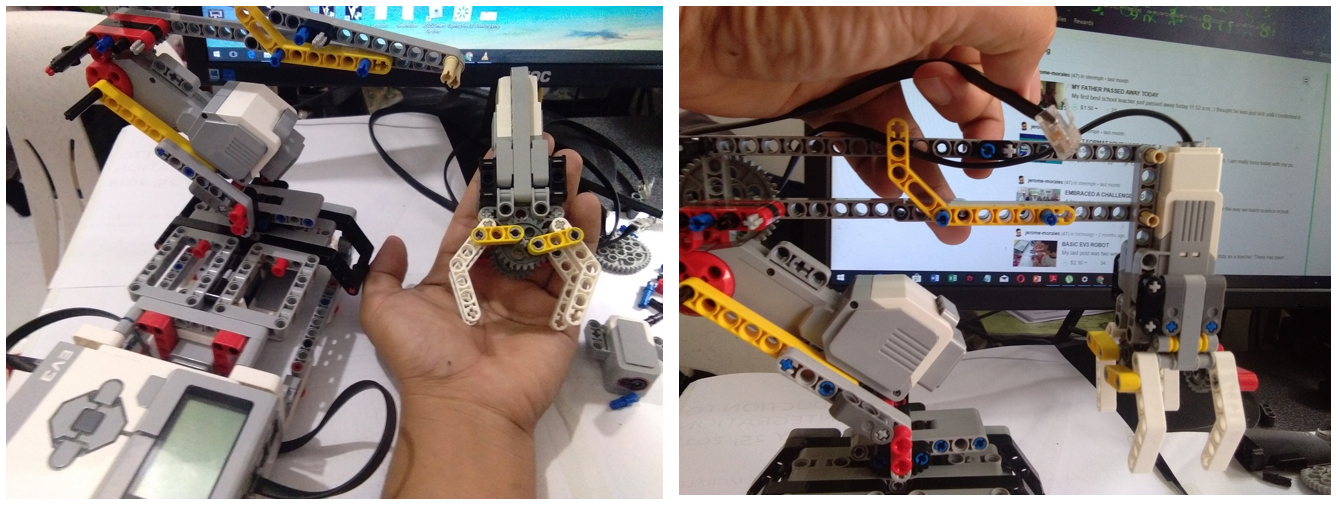
I grabbed more pieces of beams, axles, connectors and of course motors and sensors as well as cables so I can also now assemble the wrist.
I finalized the arm extension and installed the wrist. This wrist also has motors, a combination of small and larger gears with angular beams to convert circular motion into grabbing mechanism. I also put here some cables to connect the motors and sensors to the central processing unit or the controller.
90% done just a few more lego pieces and cables then it is finished.
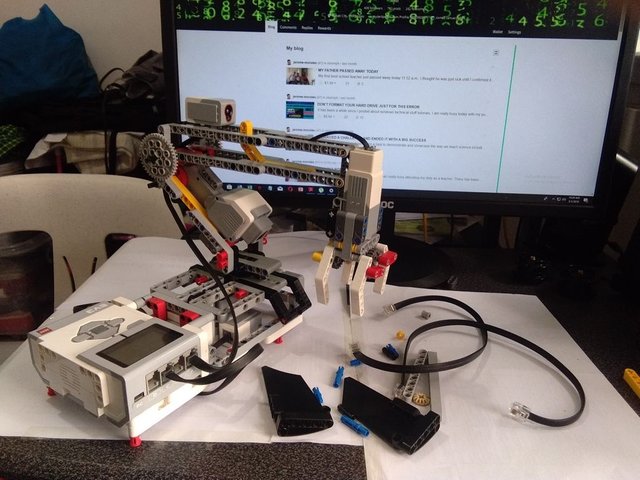
And here it is, the robot is now ready to be programmed.
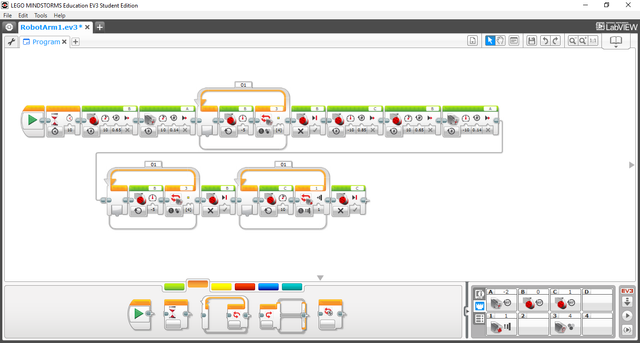
Here is the screenshot of the program. You can open it in a new window or tab for a clearer view. This one can be put into a loop box then you can adjust your own how many repetitions you want for it perform its task.
Here is again the video to watch it in action.
Click here for the complete step by step building instruction
I hope that this has been interesting and informative for you, and I'd like to thank you for reading!
You may check out my Microsoft Certifications here.


As a follower of @followforupvotes this post has been randomly selected and upvoted! Enjoy your upvote and have a great day!
My gratitude for your curation project and to people around it. Thank you!
You have been featured: https://steemit.com/philippines/@bayanihan/the-spirit-of-communal-unity-bayanihan-10th-philippines-curation-updates
This entitles you to receive a 100% upvote from @bayanihan.
Thank you @bayanihan may your platform continue to grow and inspire more steemians working together with the value of bayanihan . Thanks Dev