My first attempt at furniture rehab my
I'm no artist, but I try! I normally do digital art. I've been on a bit of a hiatus from that for a while now though, life and all. For years Ive wanted to try my hand at furniture rehab, aka furniture art. Of course, I just never seemed to have the money to even think about trying it out. Recently though, things just came together! I want to share my entire process, because I am so amazed at how beautifully this project turned out and I'm honestly very proud of myself! Anyhow, I had this old coffee table and end table set, that I bought around 2009. It was actually the first set I ever bought brand new. It has been through hell over the years! Kids, pets, storage, out on the porch. It had seen better days! My mother in law had it for a while and painted over the original stain with primer and black paint. Recently, she asked me if I wanted them back, she was no longer using them, and me being bored out of my mind said "Yes! Please, I need a project! And it began...........
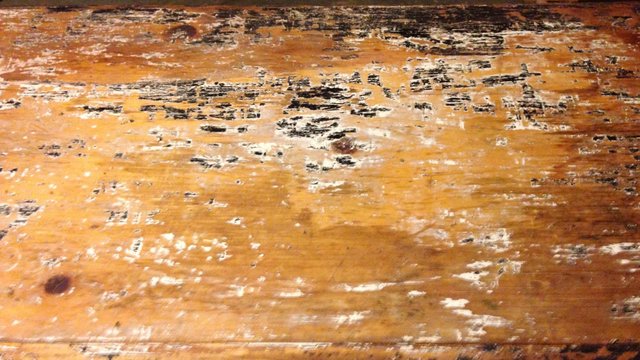
Somehow, I've managed to lose the picture of the original table, but here is a picture of one of the end tables for reference. When I started the coffee table looked just like this:
I know, pretty sad right? It was crying out for help!
So, I began the labor of love. My intention was to test it out and see if this was something I could do to bring in some money, start a small business. I was skeptical and honestly didn't expect much.
I started out with very little tools or supplies. So, to get the process going, I brushed orange scented paint stripper (that my mother gave me) onto the table. To my surprise, this orange scented paint stripper actually does smell like orange and is not offensive at all! I let it set for half an hour. Then using a putty knife, that was also given to me by my Mom, I started scraping away! It was actually very relaxing, stripping paint! This went on for several days and coats of stripper! I have a 1 year old, so I do what I can, as I can!
 Getting there!
Stripping the paint was a tedious task! One night, it drove me straight to my wine, which luckily helped me get the stripping process finished! It seemed like it took forever, but really only a couple of days. Keep in mind, it could have been done in a few hours, but I have a toddler, so nothing is getting done in a couple hours! Haha!
Next, I flipped the table over and started working on the legs. For this job, I used Waverly brand chalk paint and cheap craft brushes I bought from Walmart. 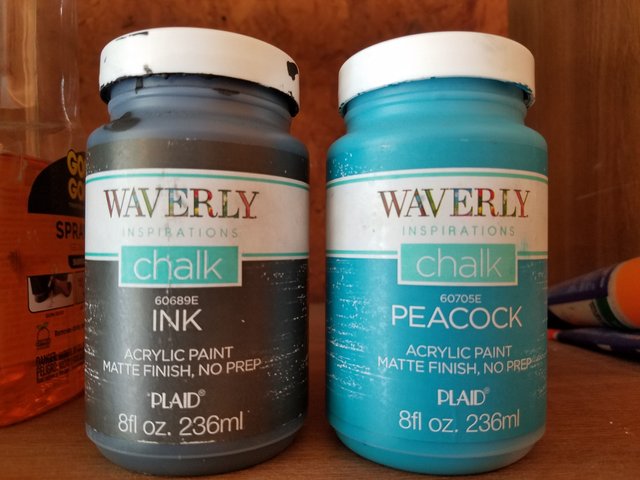
The legs as you can see have lots of curves and crannies, so it was a tedious task, but relaxing and lots of fun!
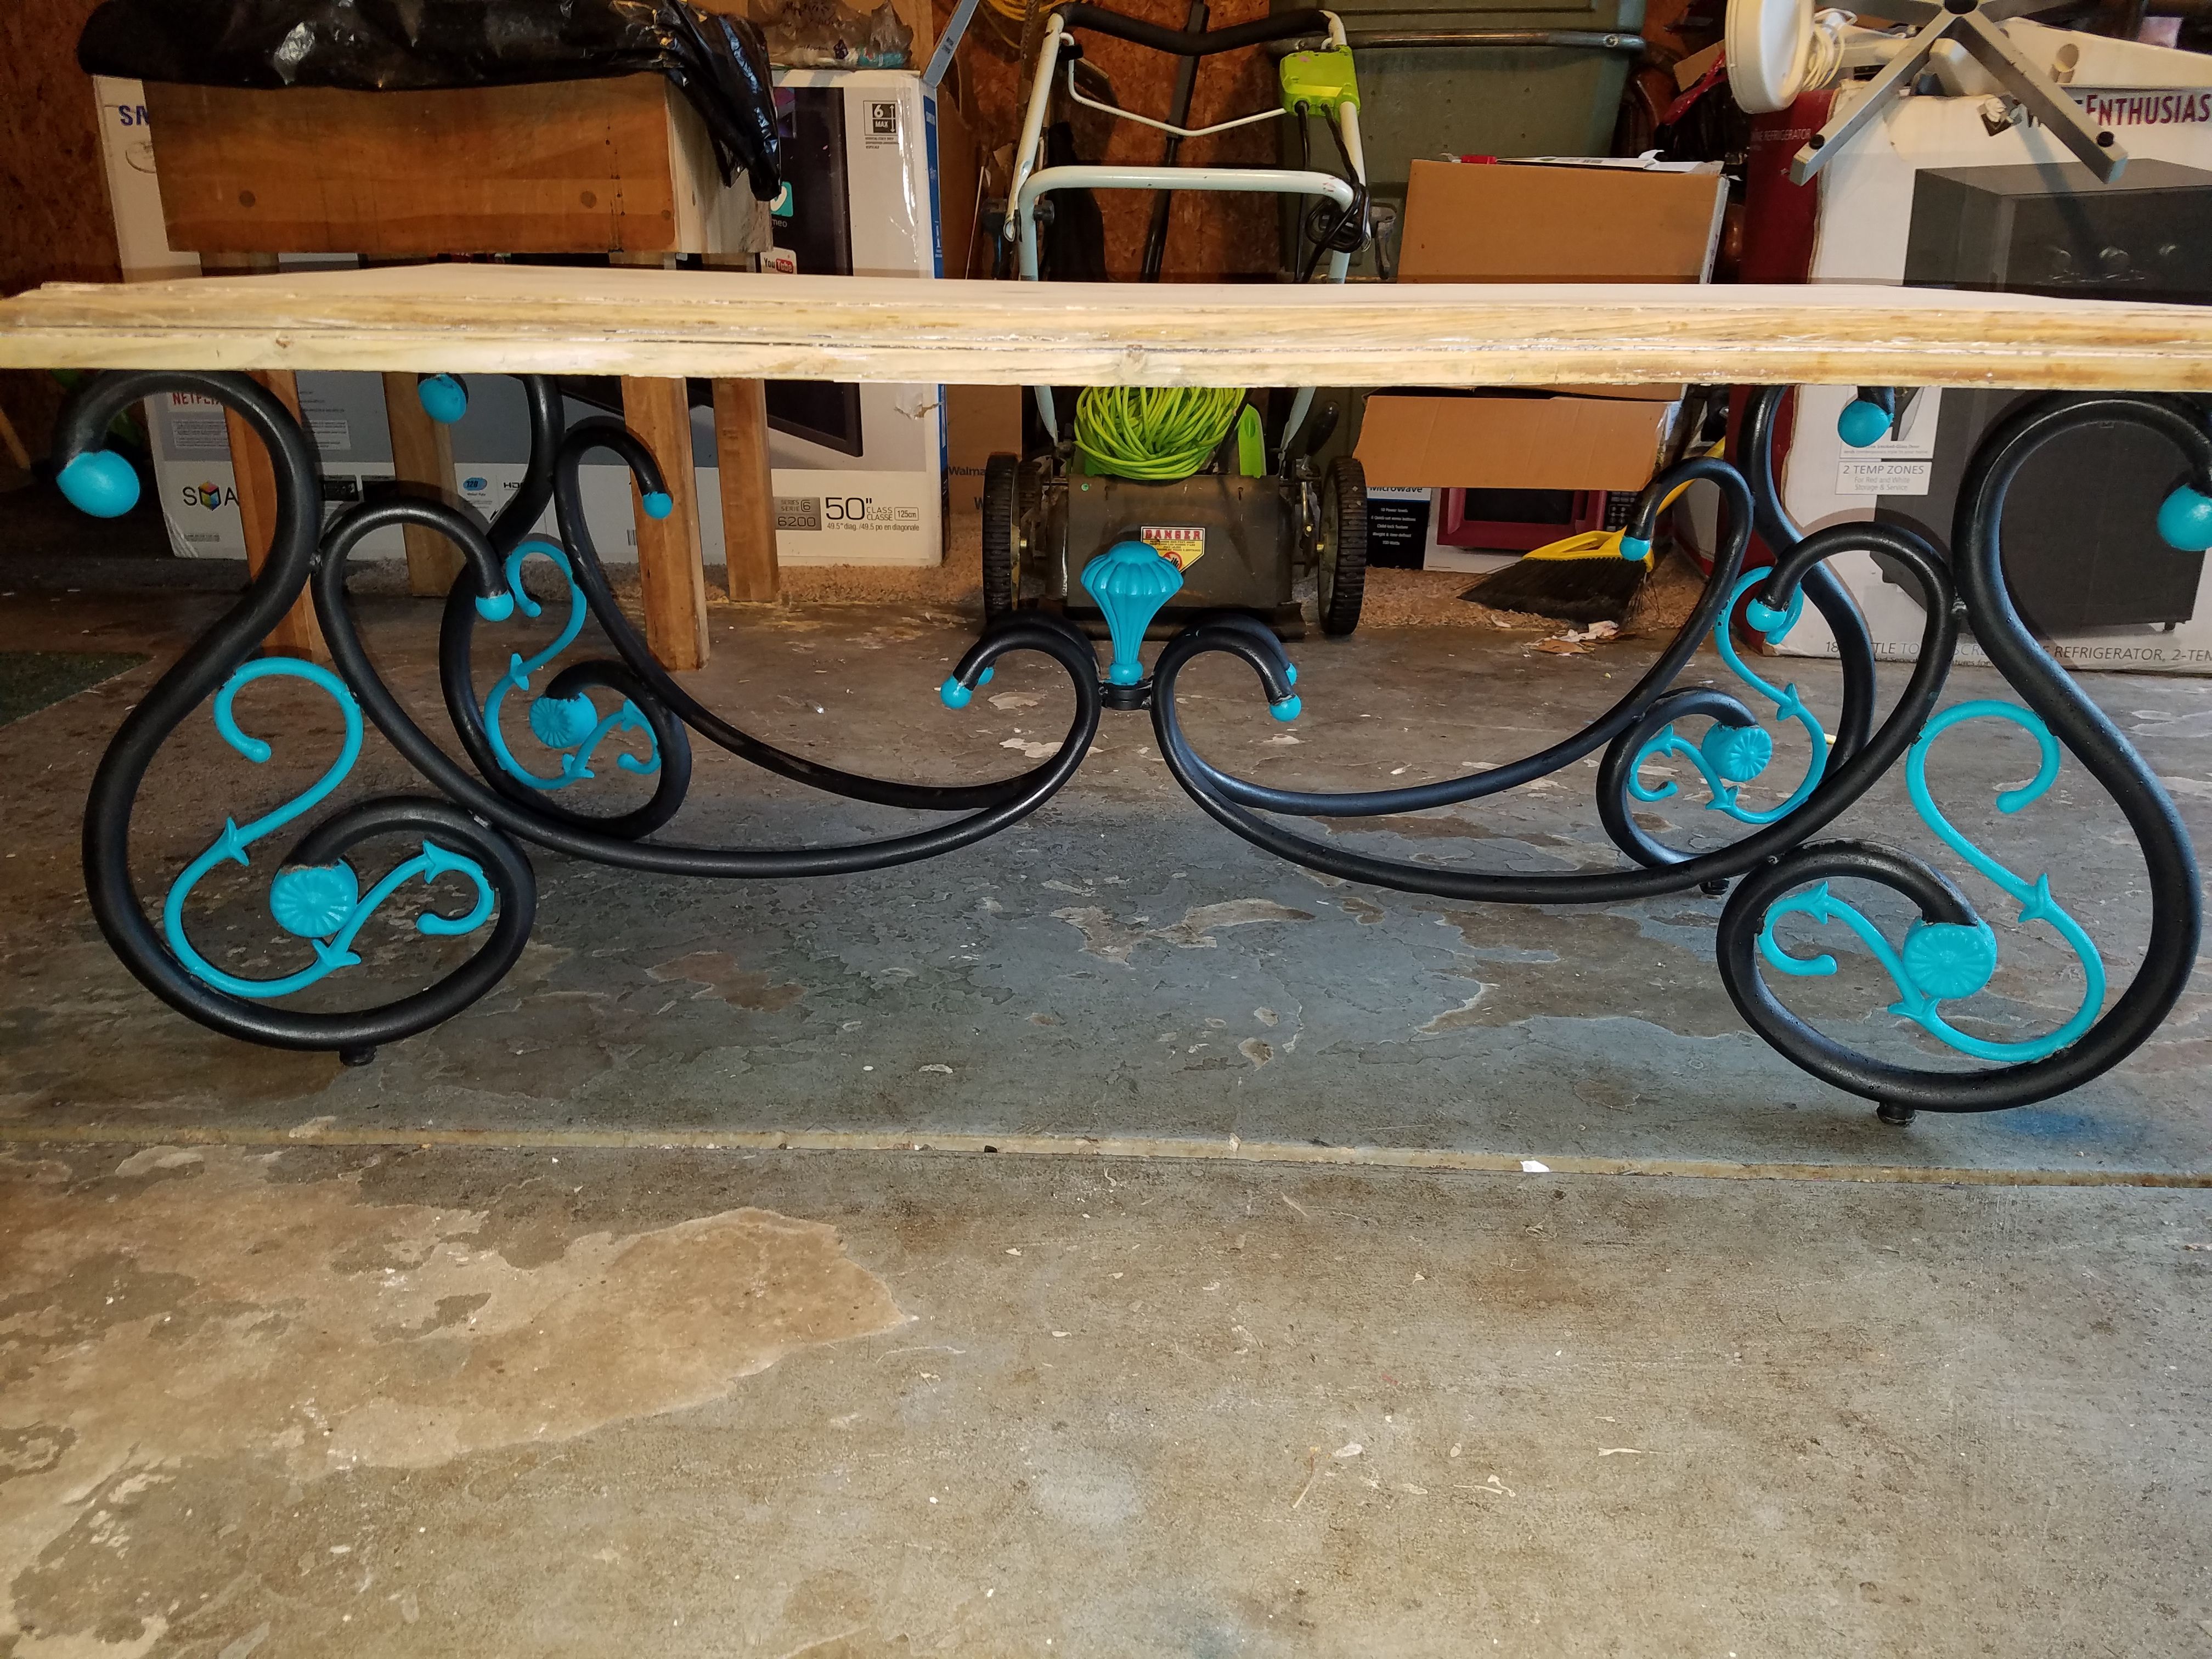
I used 2 coats of the chalk paint. After letting it just sit and dry for about 4 or 5 hours (while doing other things I needed to get done; mainly chasing my toddler around! Literally- He LOVES that game! ) I then checked over it and did any touch-ups that were needed. It wasn't too bad actually! Now time to seal! I used about 4 light coats of Mod Podge Spray Sealer:
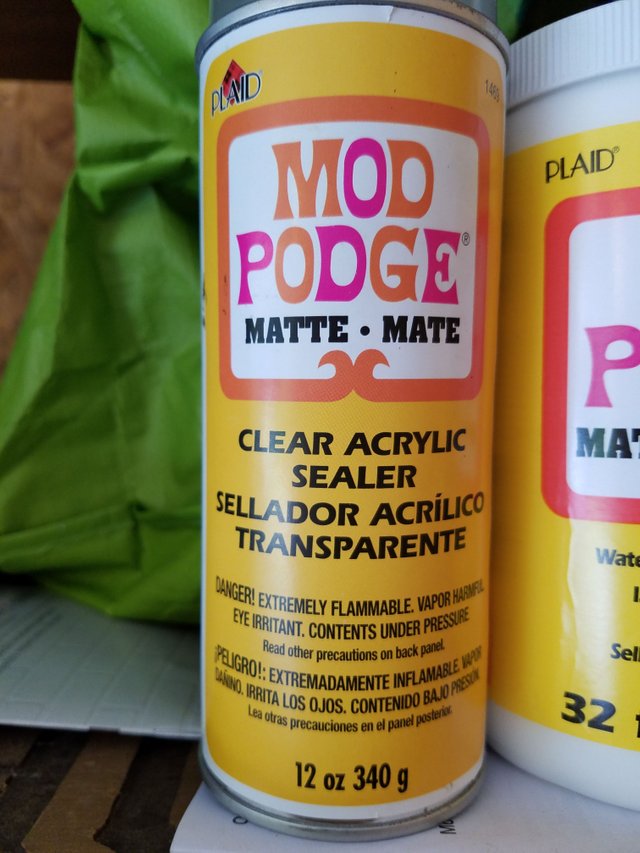
I let it dry for 24 hrs.
Now time for the best part!!!!!!!
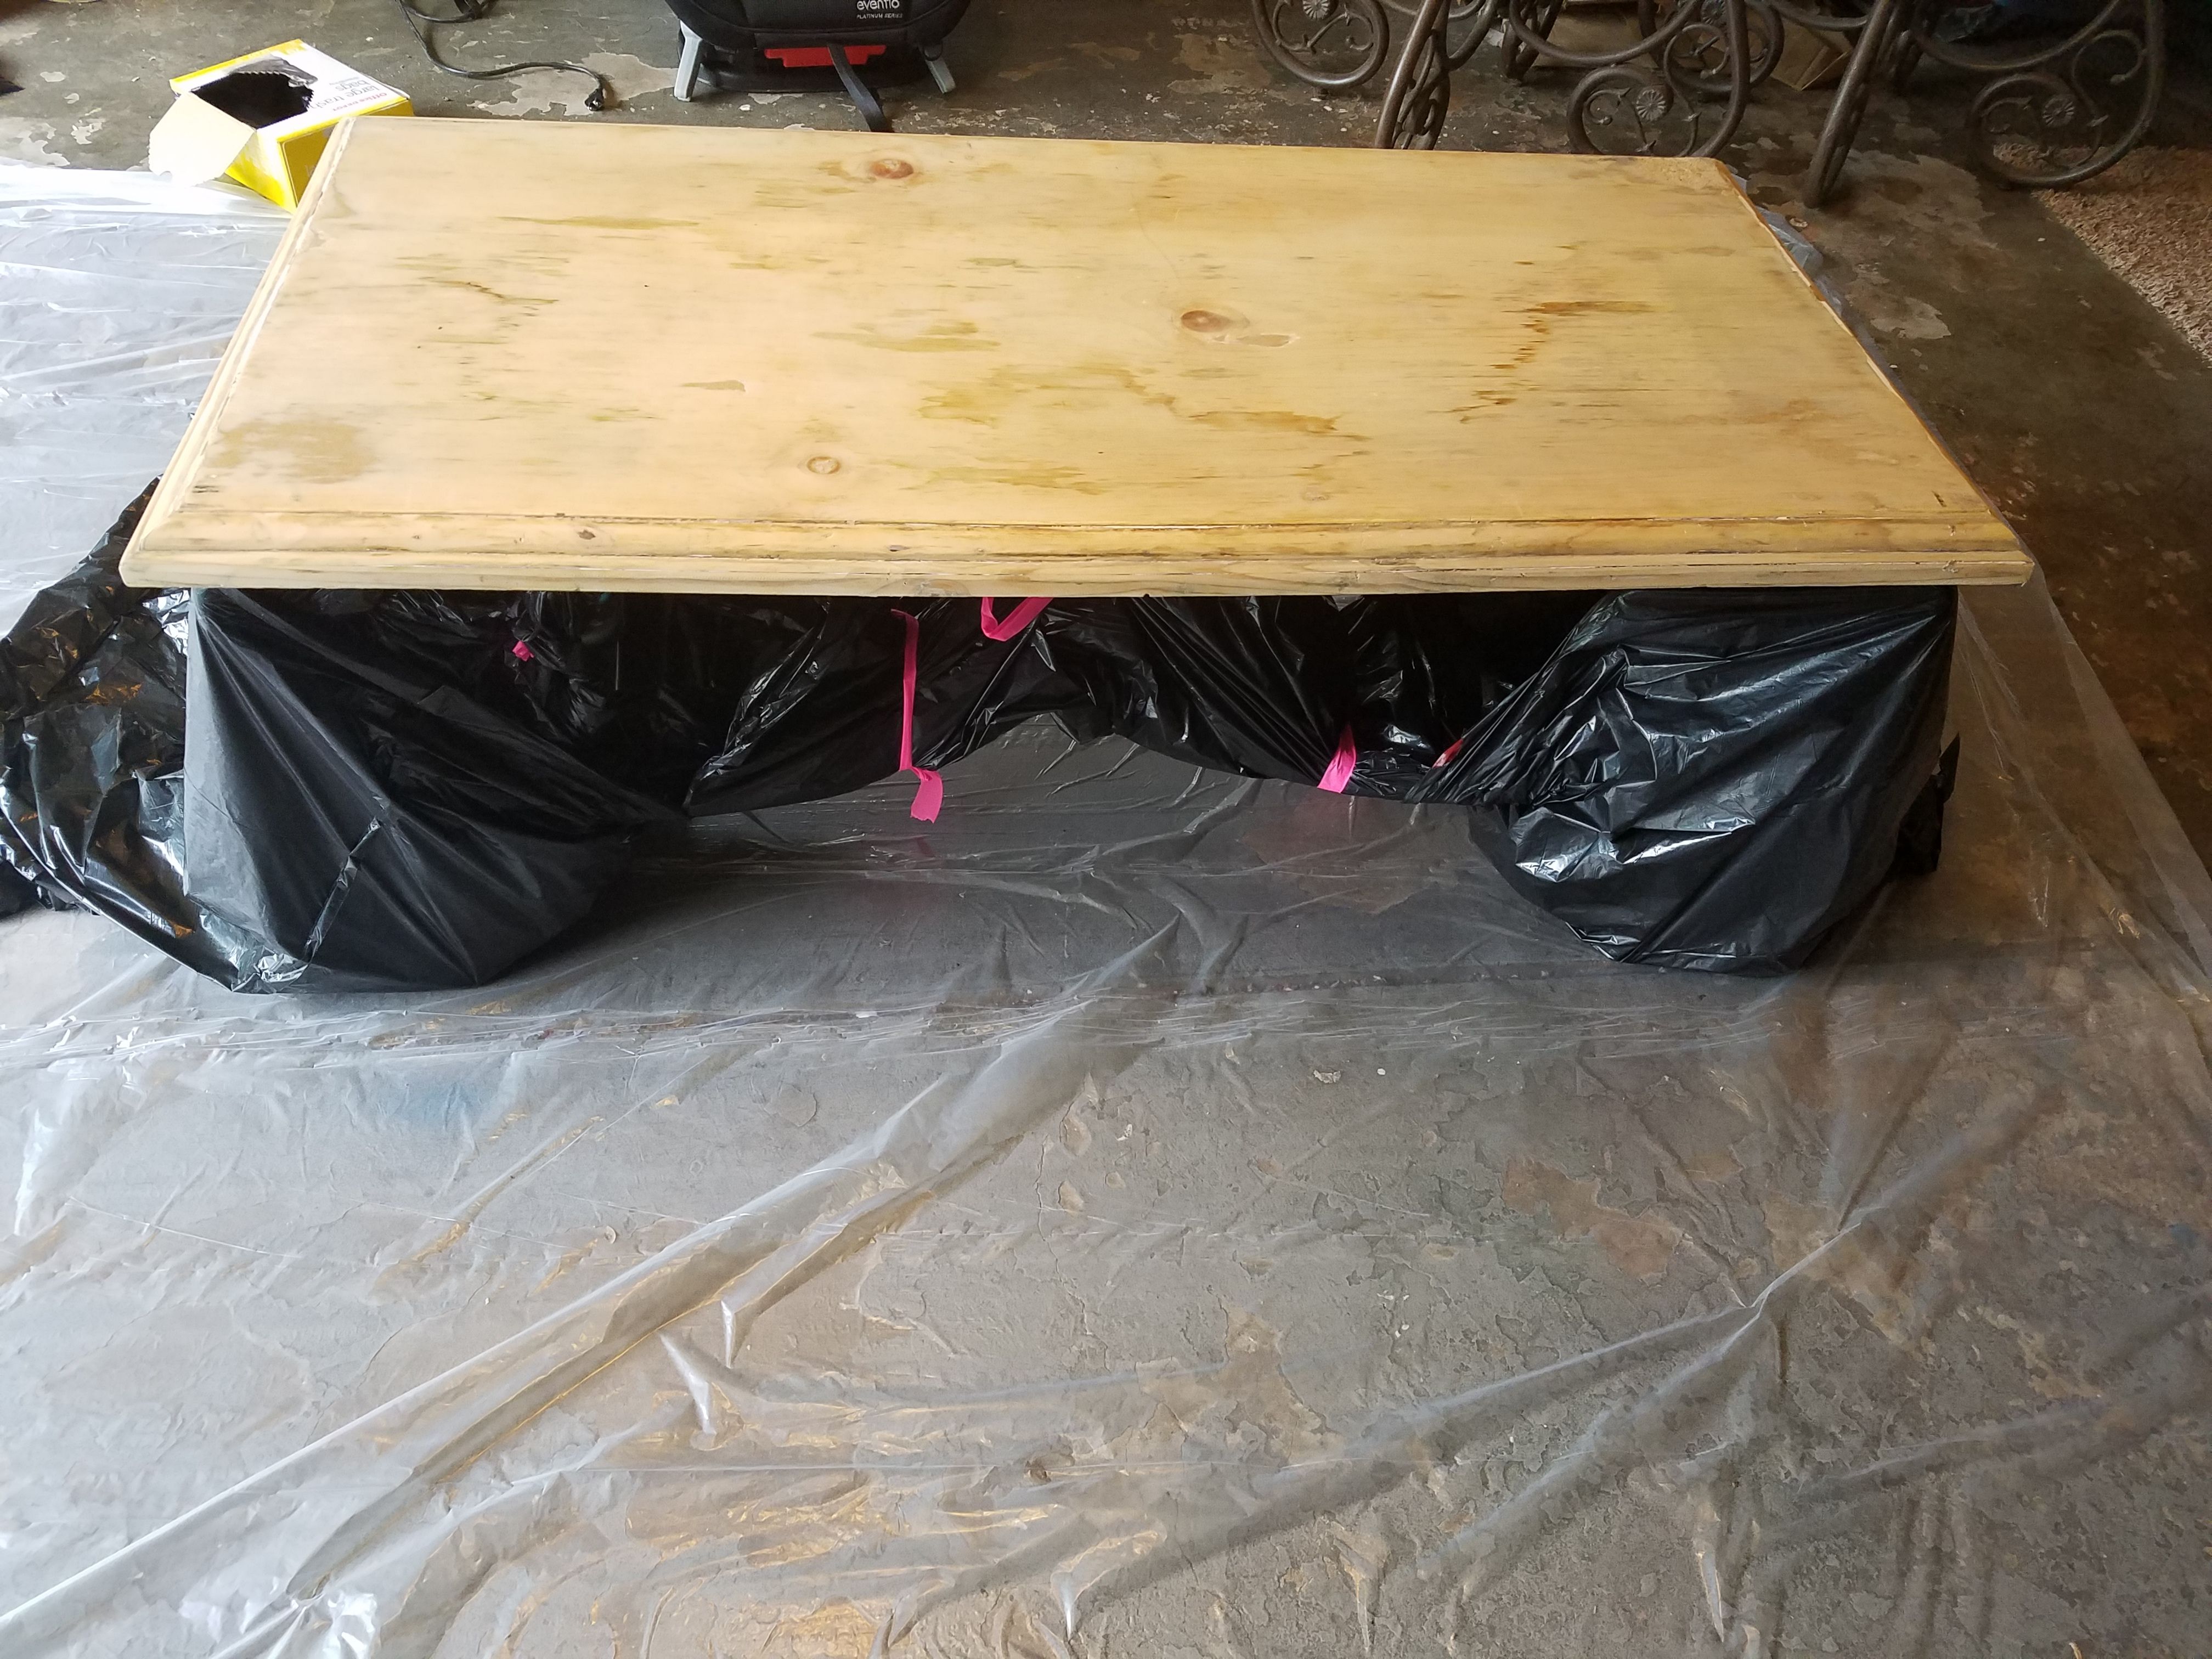
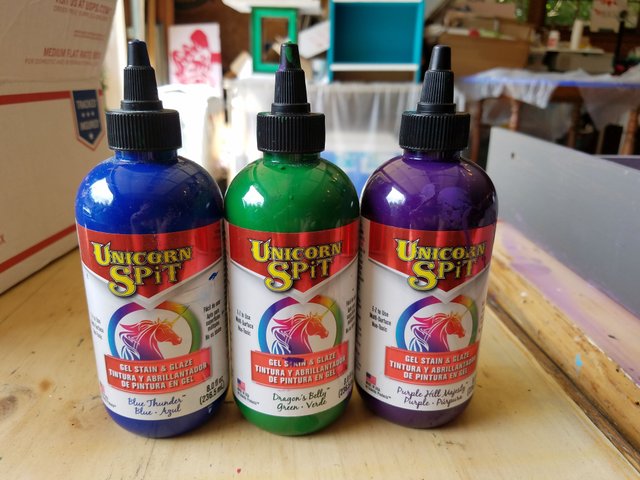
I taped plastic around the legs to keep them well protected and was extremely excited to try out this new product I'd discovered through Pinterest. Yes, Pinterest, I know. I have a million pins of things I want to do, but never seem to get around to. Well, not anymore! I absolutely HAD to get my hands on this stuff! My Mother being the awesome Mom that she is, ordered me a set of 3 colors for Mother's Day! Yay! Thanks Mom!!!!!! The day my package arrived, I was literally beside myself! Like a school girl on Christmas....Bless my heart! So what is this awesome stuff I'm going on about?? It's called Unicorn SPiT. And it is magical! I received the "Crown Jewels" Trio. Here it is in all its Glory:
![20170611_161239.jpg]
( )
)
This magical stuff was invented by a lady named Michelle Nichole. You can find tons of information just by Googling Unicorn SPiT and checking them out on YouTube! Tons of tutorials!
Now time to make this happen! Honestly I was really afraid I would mess this up! So, I wanted to try Michelle Nicholes trademarked Aura Blast technique. You can find the tutorial on YouTube.
I sanded down my table top nicely, then wiped it down with a tack cloth. Now we are ready to do this! First, I sprayed my table down with water. Just enough to lightly cover the wood. Then I began laying out my colors.

Next, I sprayed water all over the Unicorn SPiT. You will see it start to run. Then with assistance from my Brosef, I took a piece of thin plastic drop cloth, pulled tight, and layed it down directly over the table. You will see the SPiT immediately start pulling the plastic down. After checking that the plastic was straight and there were no bubbles, I sprayed the top of the plastic, lightly with water. This is to help your hands glide across the plastic. Now, I did something similar to the Aura Blast technique. That's what I was going for, but being my first time, I didn't do it perfectly, by any means! I simply, wiped across the plastic, in the way I wanted my design. Now, we pulled the plastic off carefully (you want to pull in the direction you want your design to go. And here is how she turned out: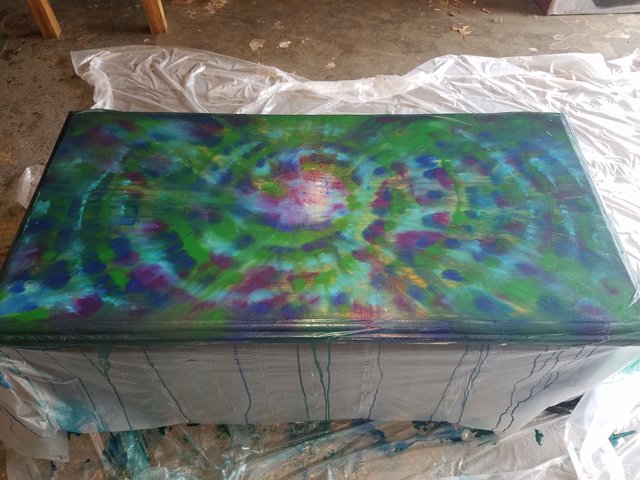
*Side Note- Since I wanted a turquoise color in my design and did not have any of that color in Unicorn SPiT, I used a cheap 50 cent acrylic paint and mixed it with water. To lay it down on the table I used an oral medicine syringe. You can get one at any pharmacy or store like Walmart. Here's what I used:
I was genuinely amazed it went so well! It wasn't perfect, but not half bad! There were some spots that weren't covered and I wasn't satisfied with. Luckily, Unicorn SPiT is a very forgiving product and anything can be fixed. I simply reactivated the SPiT by lightly spraying with water again, then adding more SPiT over it where I felt I needed it. Once again, I took a *CLEAN (don't reuse your first one!) plastic drop cloth and repeated the same process from above.
Much Better!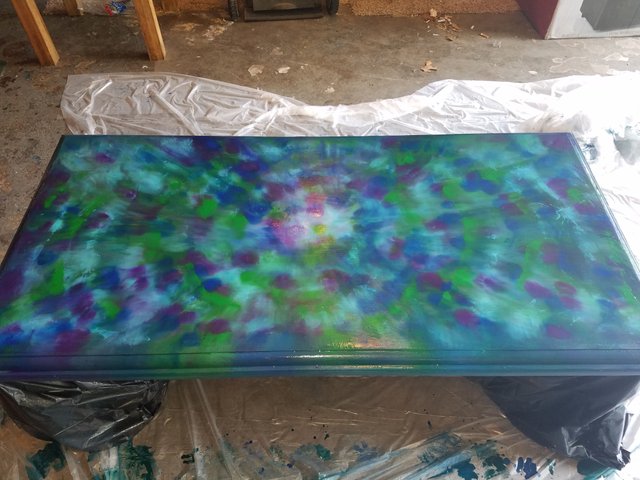
Isn't she gorgeous?? I was extremely happy with how it turned out, so I left it alone to dry for about 2 days. Oh, and I also decided to paint over my edges with the Waverly chalk paint, in the Peacock color to really make it pop! It doesn't have to dry that long, I was just busy. Now, when Unicorn SPiT dries, the colors seem to fade a bit. Don't fret! There is even more magic to come! Here is what my table looked like dry: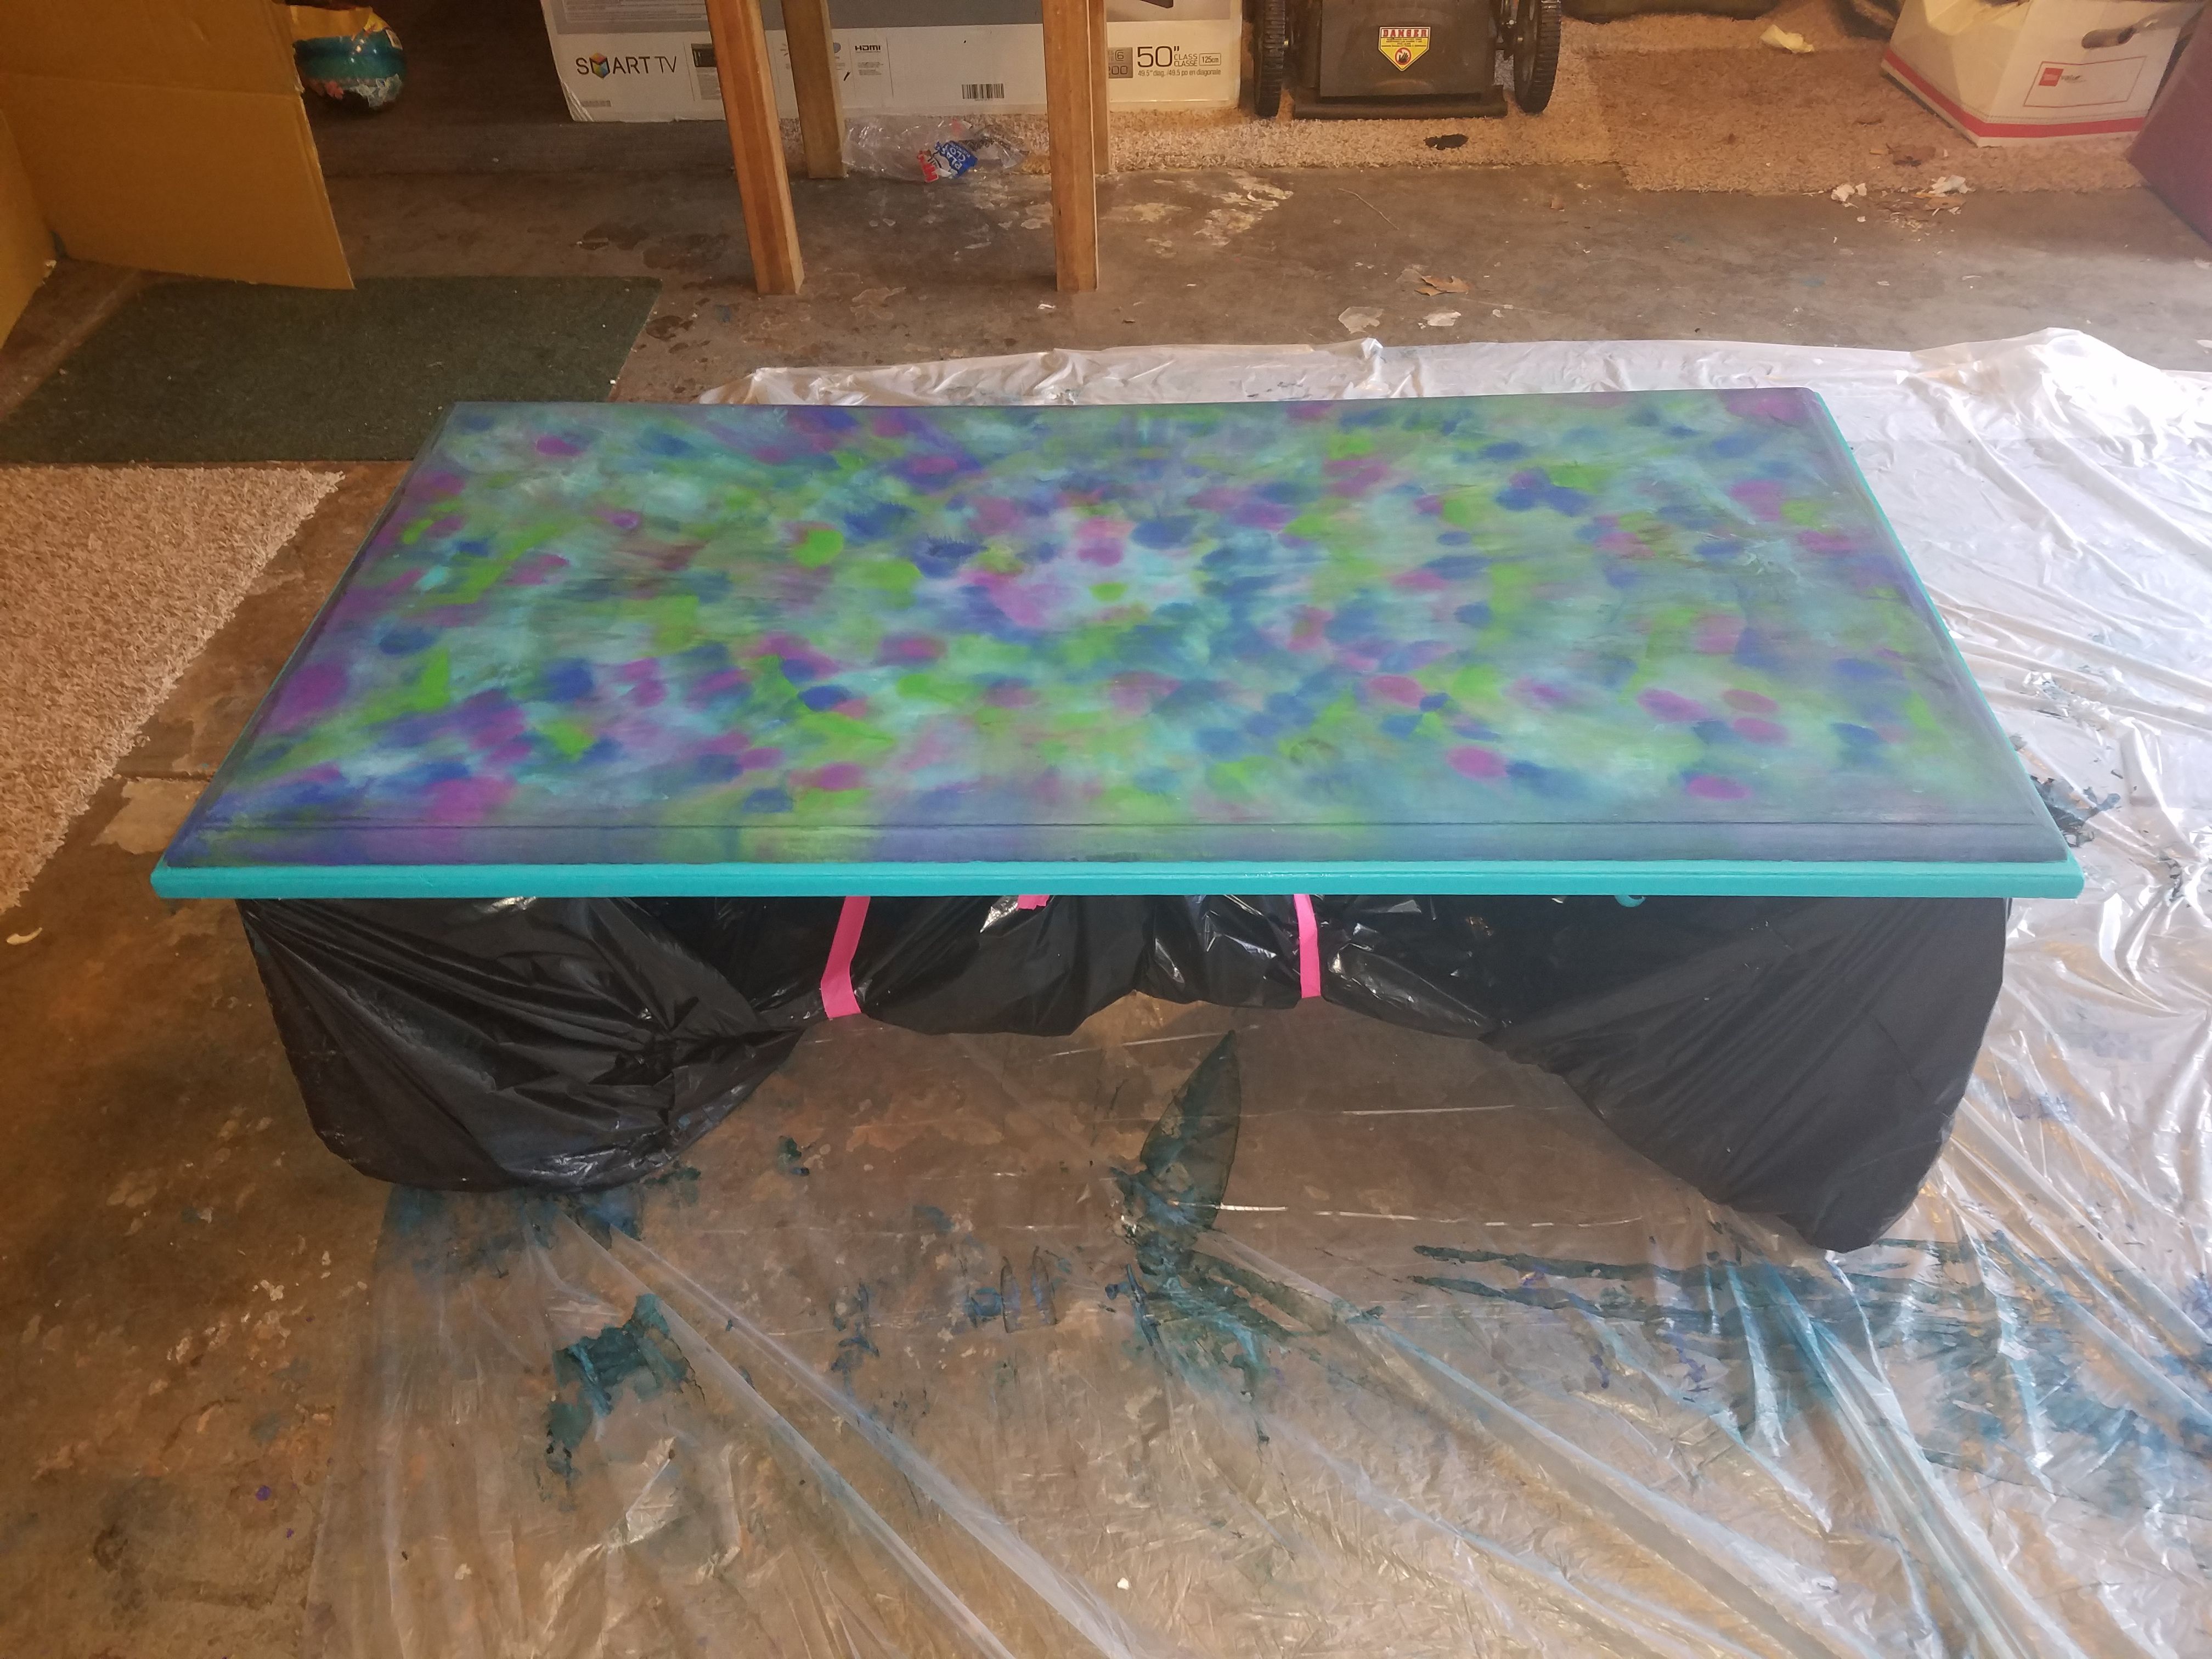
I know! Not quite the same look! It's okay though! Don't fear. That is the beauty of Unicorn SPiT! The vibrant colors will come back out to play! SPiT is a non-toxic, Jasmine scented, water based gel stain. So, something truly magical happens when you seal it with an oil based sealer! I used Famowood Glaze Coat: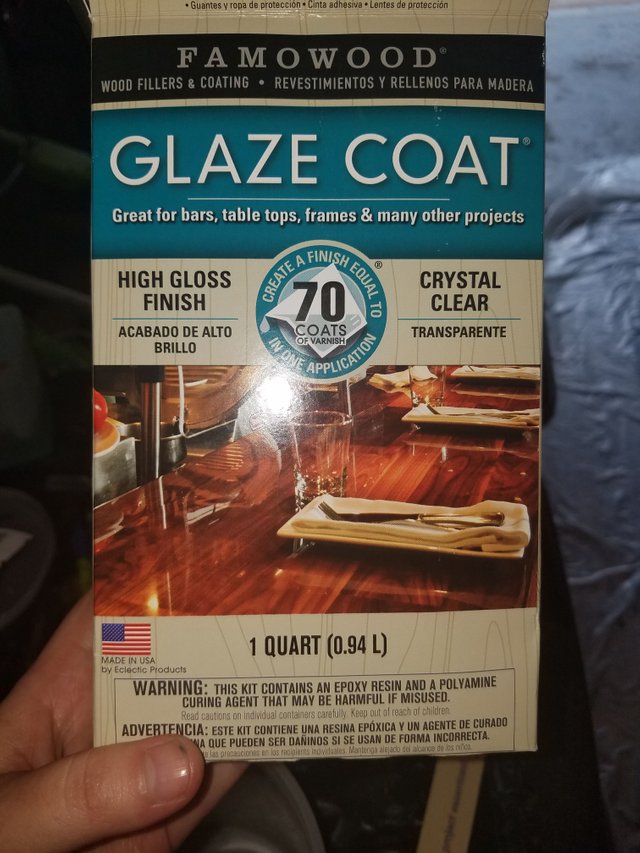
I got this from Lowe's for about $22. Okay, now, it is extremely important to follow the directions on the box EXACTLY! I repeat, EXACTLY. You have to stir it for 6 minutes, transfer to a new container, then stir for 6 more minutes. Don't skimp on that 12 minutes or stir too fast. Go to your happy place, relax and stir carefully! Next, make absolutely sure there is nothing in your surface, like dust, hair etc. You don't want these getting into your glaze coat. Now, carefully, pour the epoxy, in a straight line, across your table. Put your line in the middle of the table.
Next, use a plastic spreader to start working your epoxy over the table. I got a cheap pack of plastic spreaders I ordered online. Mine looks like this:
Spread your epoxy slowly and carefully. There will be bubbles, don't worry about those, they can be fixed in the next step. In Michelle's tutorial, she says to spread it lightly, like you are icing a cake or trowling cement. I can't put it any better than that, that is exactly how it should feel as you spread it.
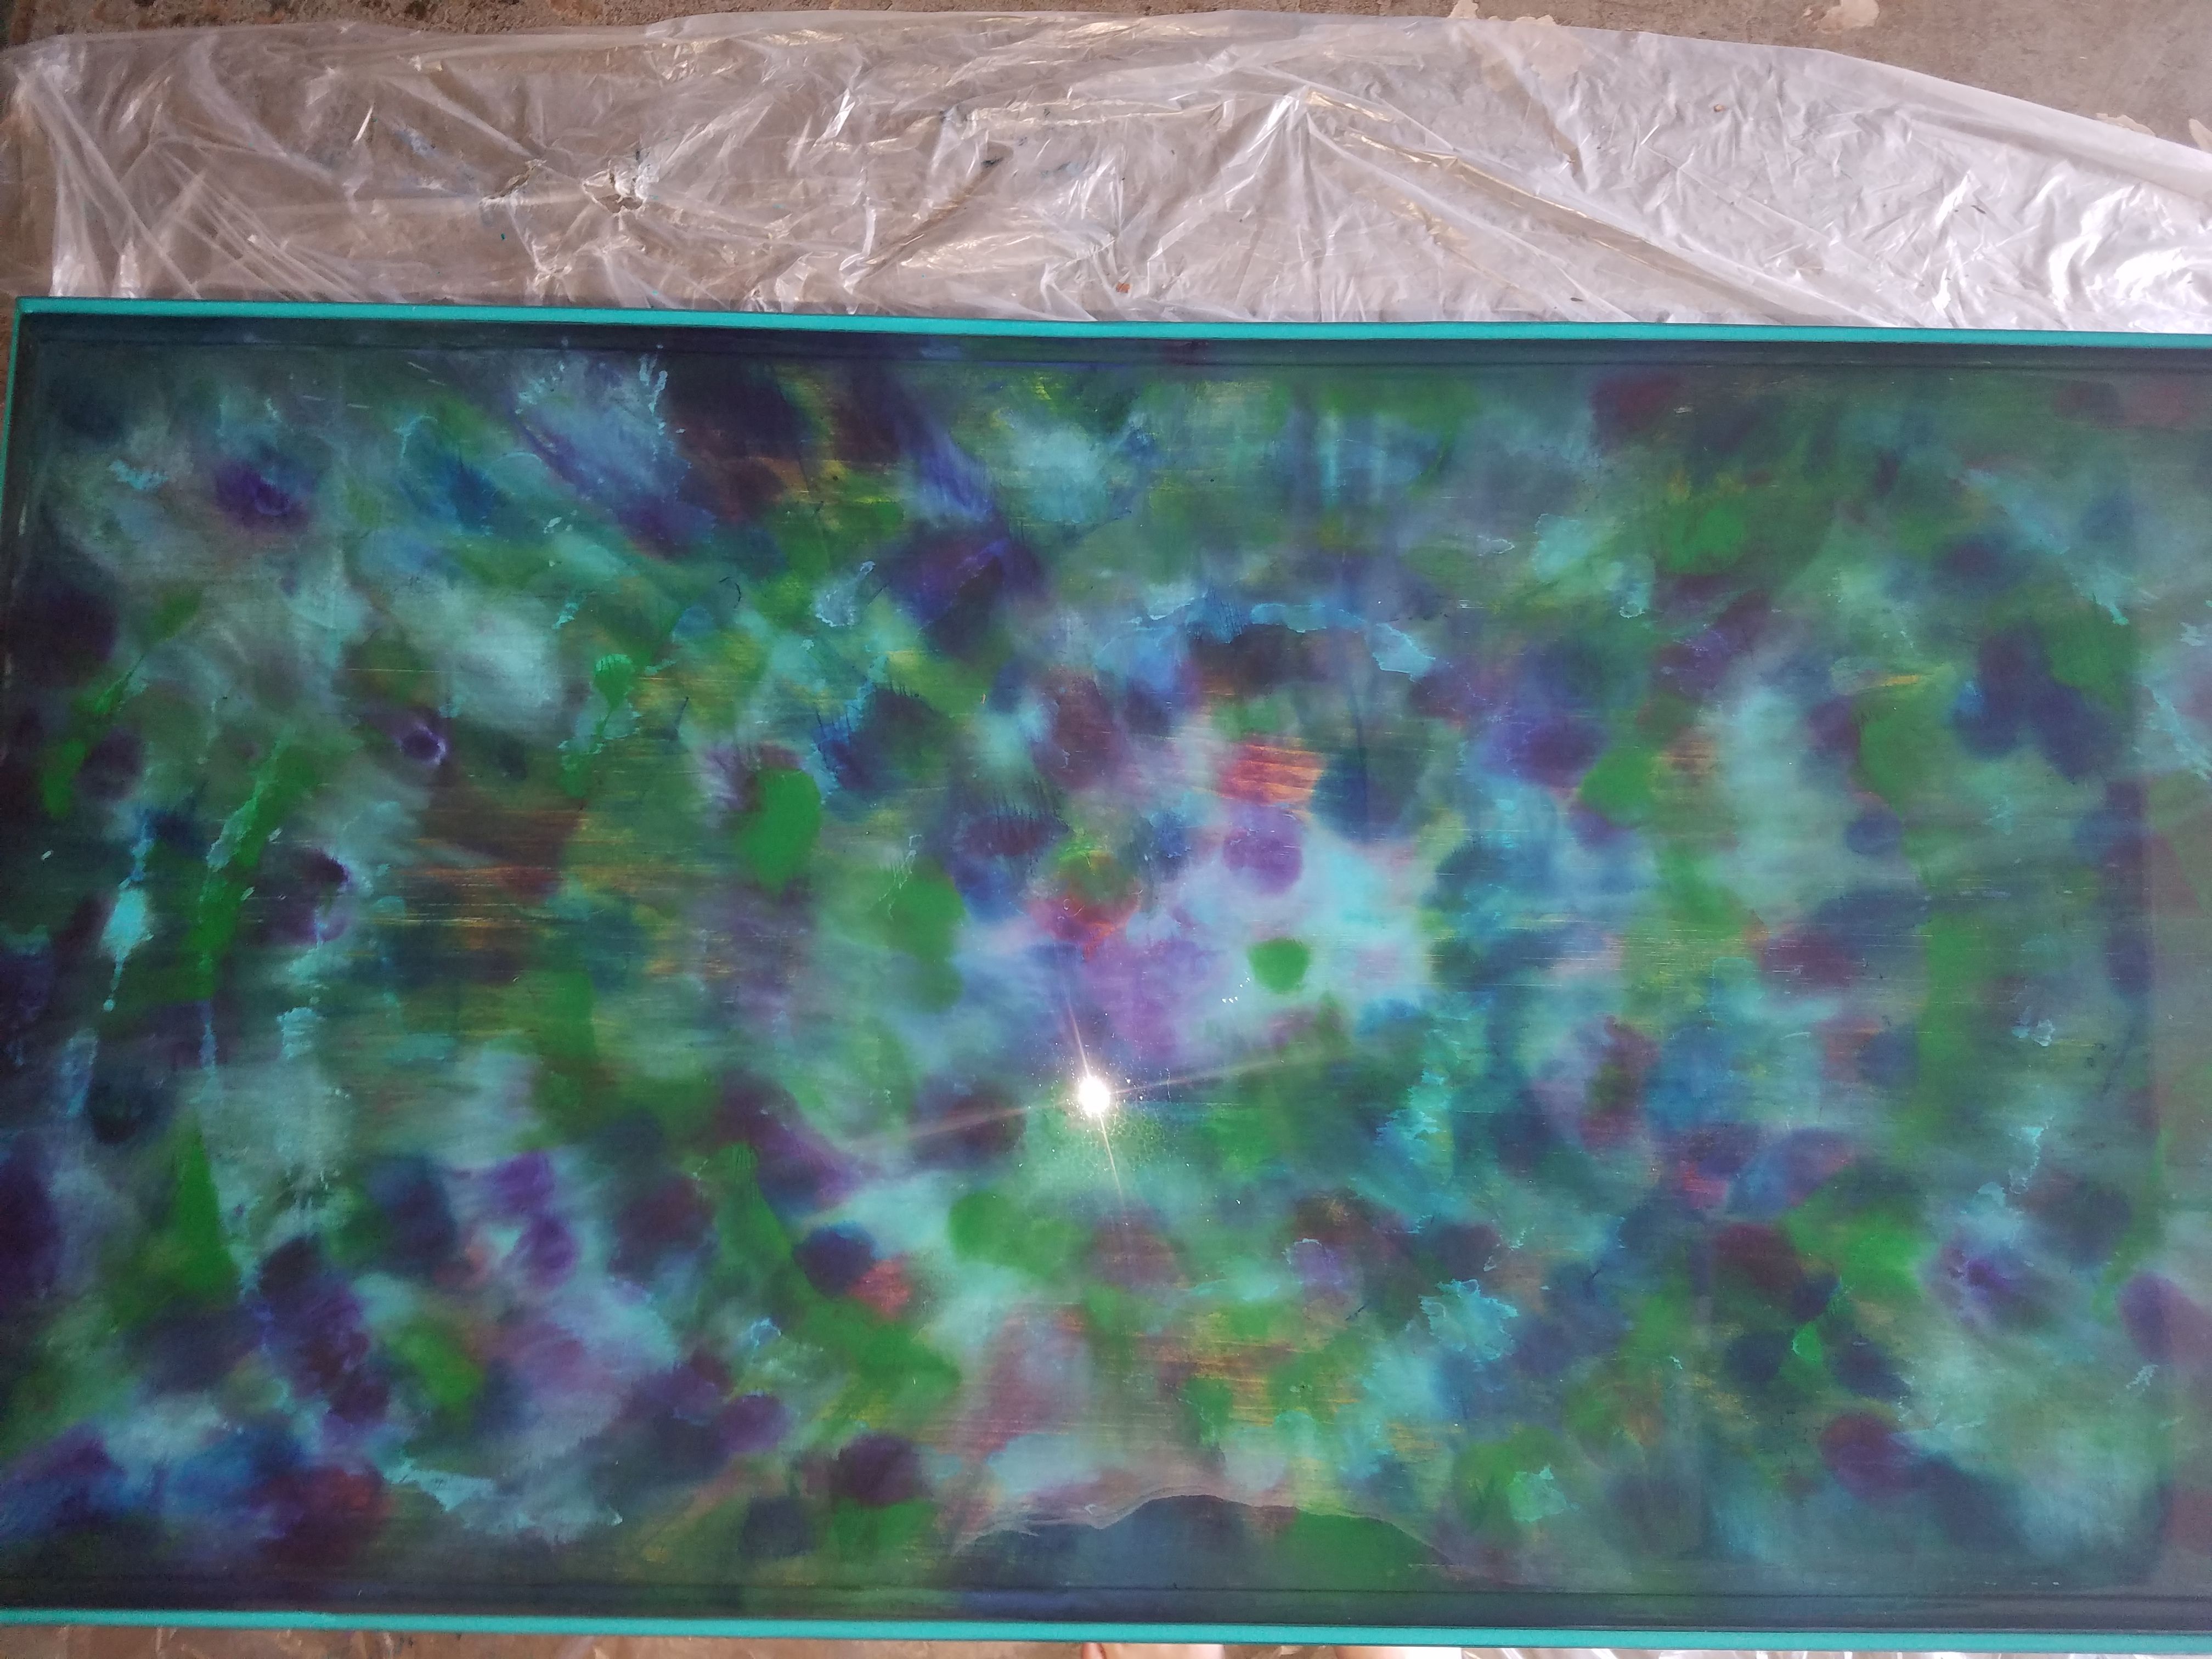
And there you have it! The Unicorn SPiT colors start popping back to life:

Just look at that! Now, I needed to take care of those bubbles pretty quickly. To do this I used a heat gun I bought from Lowe's. I pre-heated it to 900 degrees while getting my epoxy ready earlier. You don't want it to be hotter than 900. There are guns you can get with a digital read-out. Mine doesn't have that, because I was so excited about this project I just grabbed one and bought it. Haha! Still, this one worked just fine, I followed the instructions for the temp setting. Here is what I used: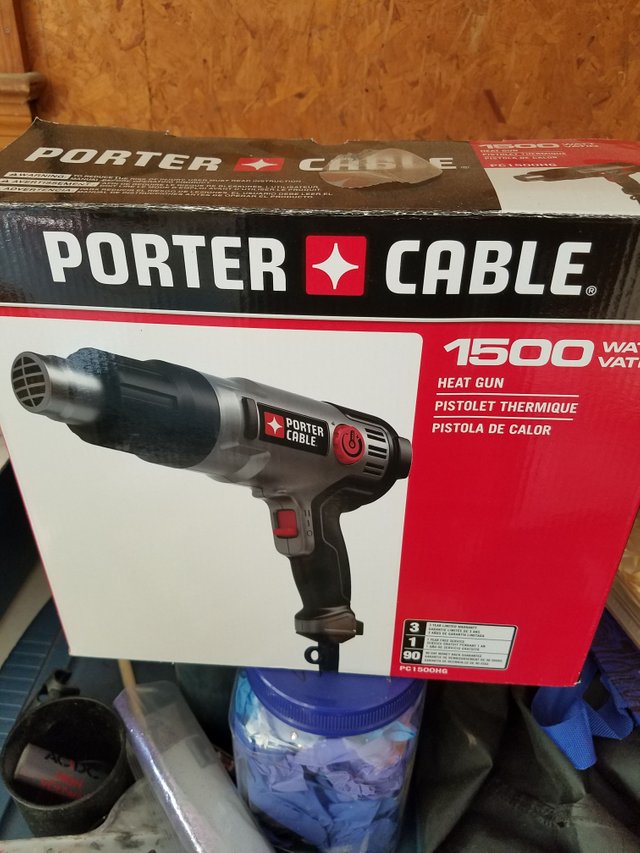
Next, I just turned my heat gun on and very carefully ran it over my table quickly, watching the bubbles pop! Just be sure not to go over one spot too much, or it will dimple your epoxy. You don't want that!
Famowood is self leveling, so it will drip. I watched it for several hours wiping away drips collecting on the underside of my edges. When it seemed safe to leave it alone, I took cardboard I had in the garage and formed a barrier around my table: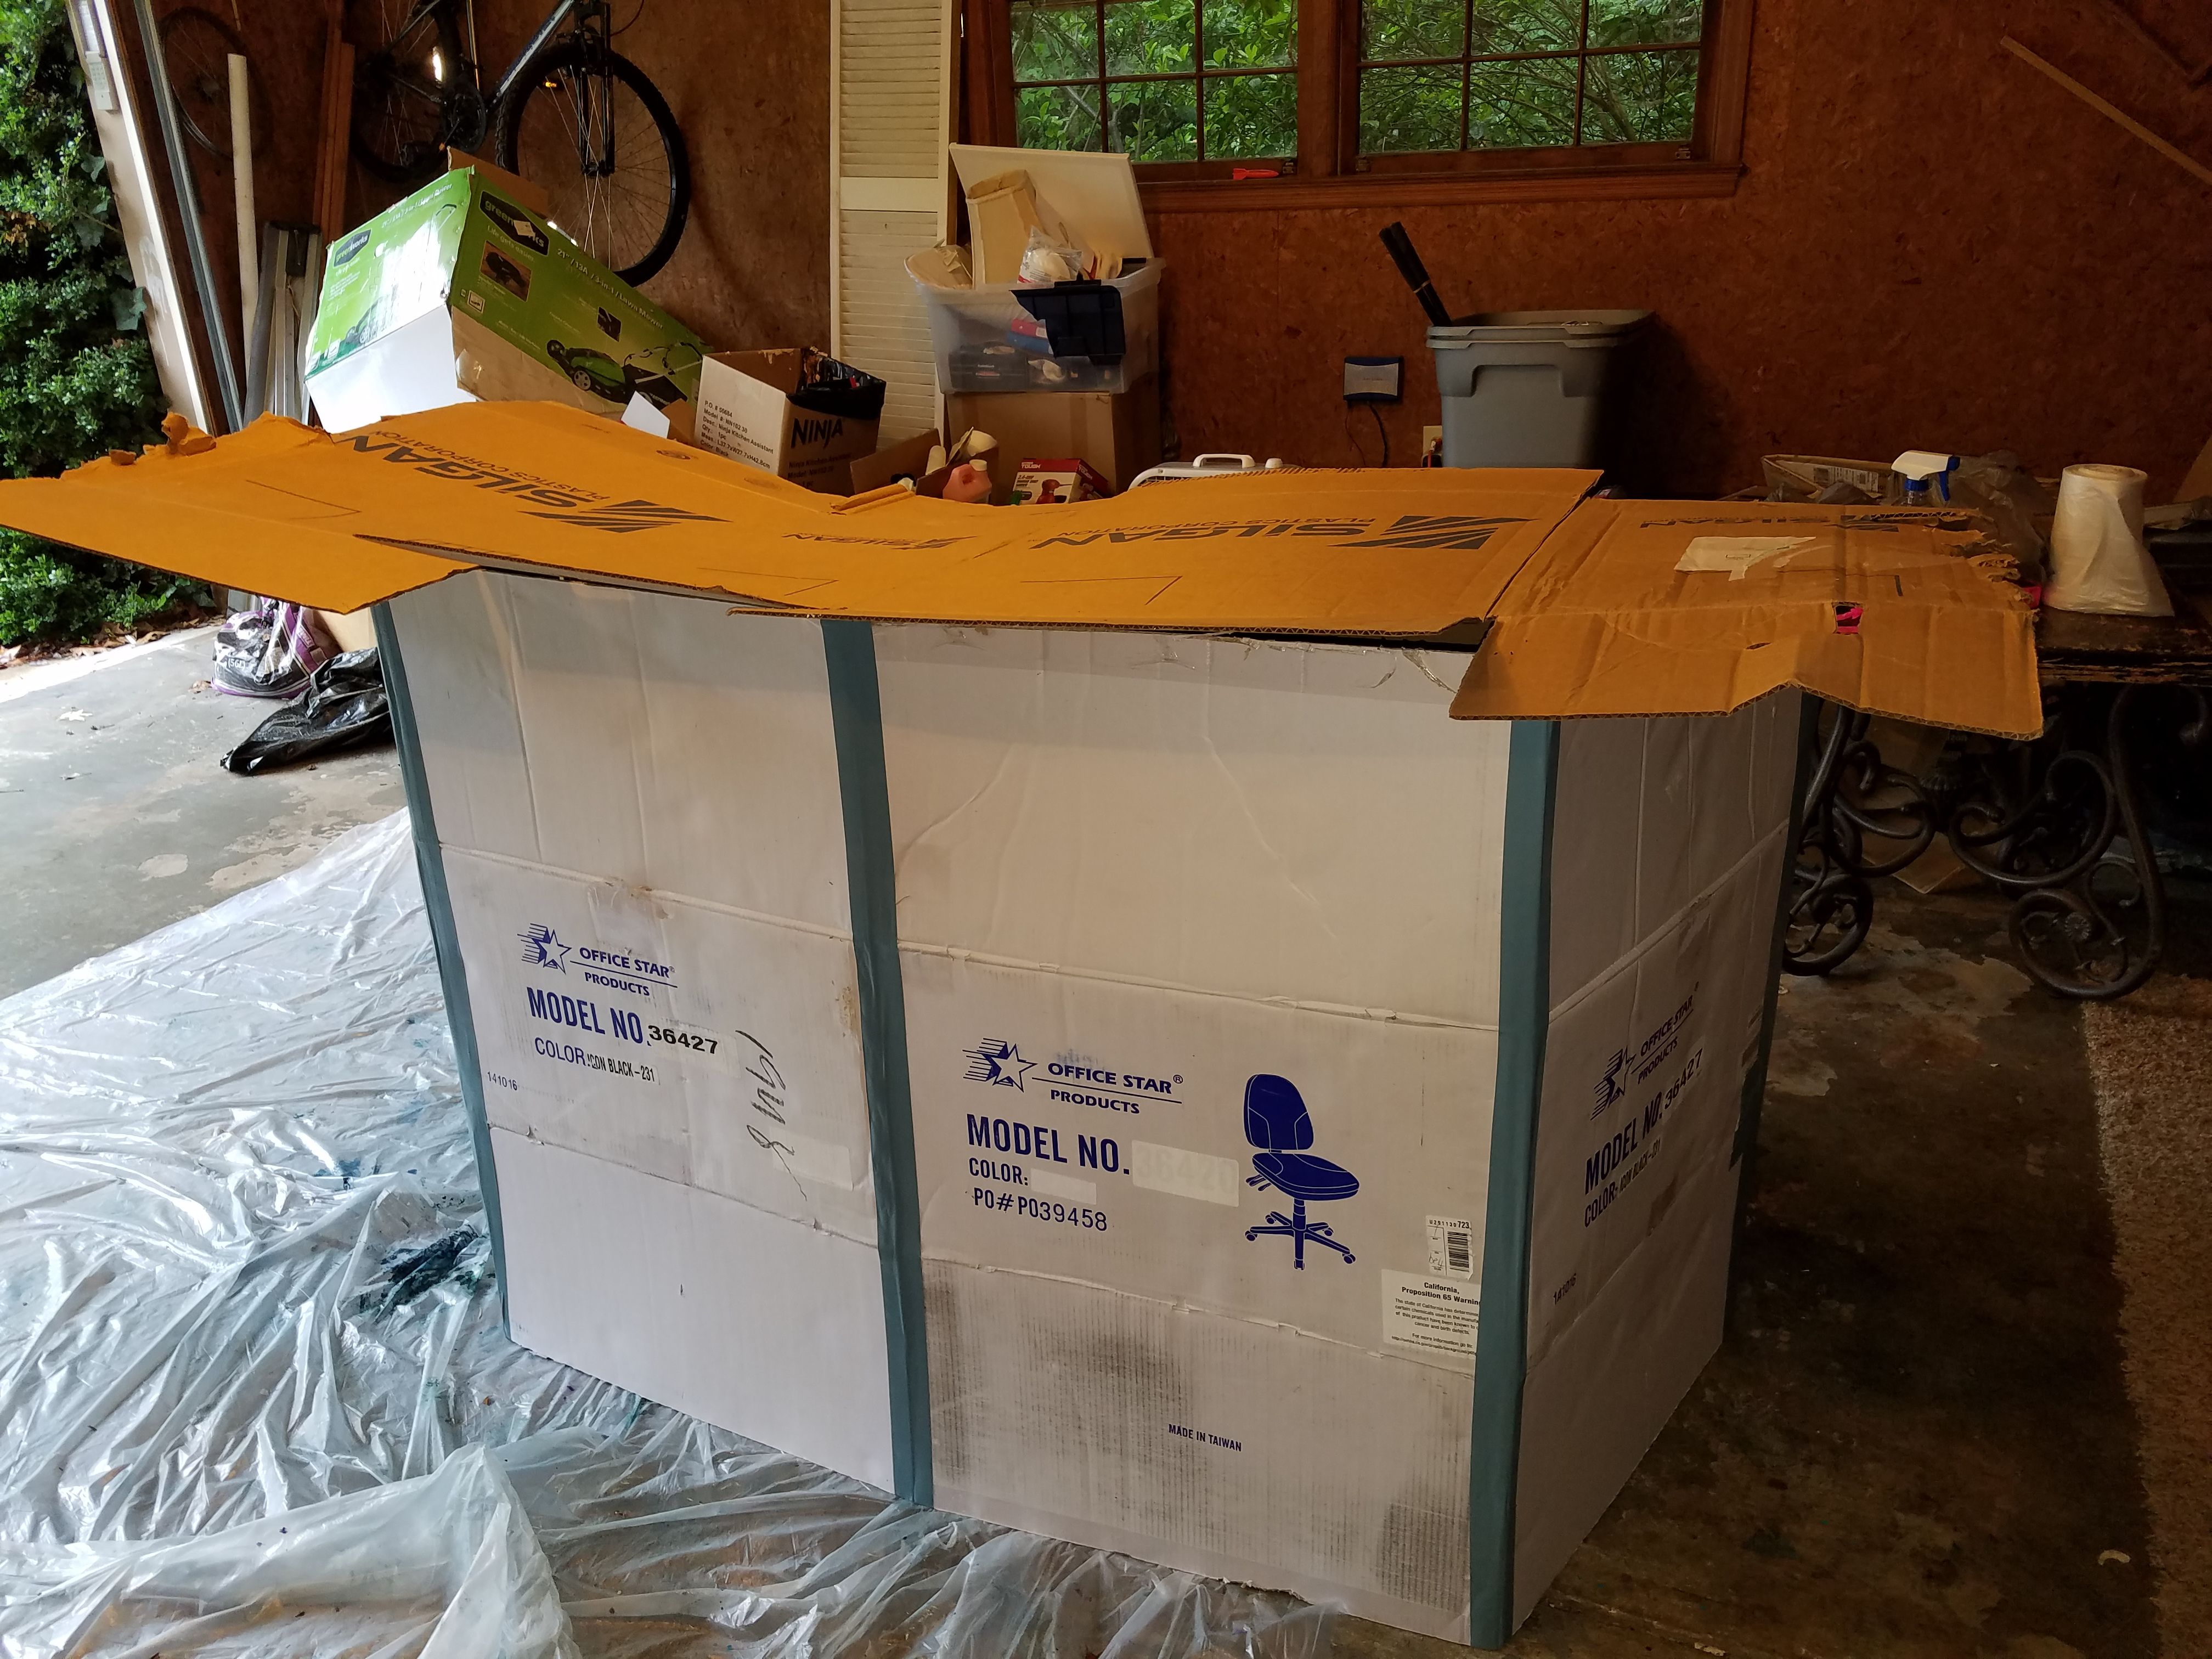
And now it's time for the waiting game! It'll be dry in about 8 hrs, but a full cure is 72 hours. It was extremely hard to leave it alone! I just wanted to look at it non-stop! Try not to do that! You don't want tiny particles of dust and hair drying in your epoxy!
So, FINALLY, after 72, painful hours of waiting............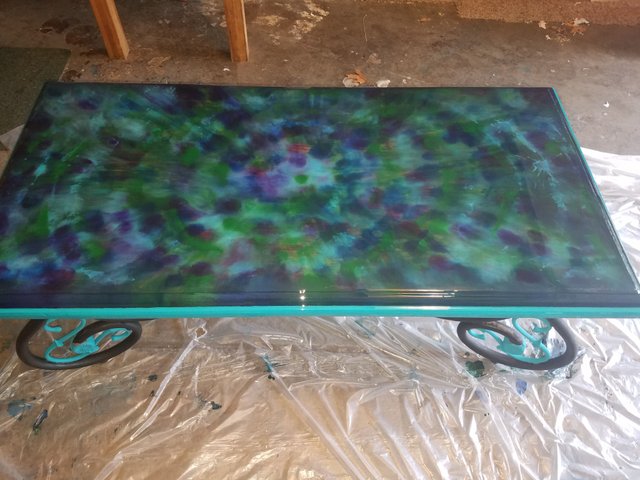

Isn't she gorgeous? I am beside myself with how well this turned out on my first try!!!! Mind you, there are mistakes, but she truly is gorgeous! I've had nothing but compliments and am now working on several more projects! If anyone has any questions I'm more than happy to answer, just ask! I hope someone gets inspired by this post and tries this out as well! It's fun!
great work!!!
Impressive !!!!!
Congratulations @jennbernardo! You received a personal award!
You can view your badges on your Steem Board and compare to others on the Steem Ranking
Vote for @Steemitboard as a witness to get one more award and increased upvotes!