Smash Bros Screenshot Reference Creates Epic Zelda Drawing
In 2008 I took a screenshot of Link on the Eldin Bridge stage in Super Smash Bros. Brawl for the Nintendo Wii. I was in college and very much a hardcore gamer at the time. I had some fun with the snapshot feature in the game and decided to transform one of them into a drawing. There were several good candidates, but I settled on the Legend of Zelda because it is my favorite series.
The Reference
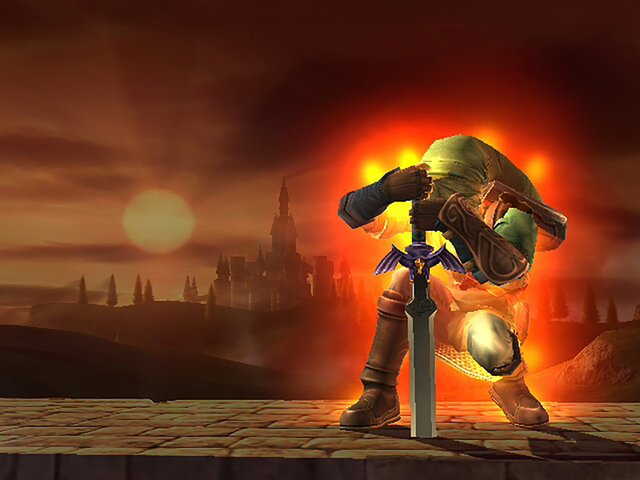
It wasn't planned. I really was in the middle of a match against my wife when I decided to take the screenshot. At first I thought the glowing effect of having the Smash Ball would give Link the look of a powered up warrior, like a super saiyan from Dragon Ball. I liked the colors of the green against the red from the glow and from the evening sky in the background.
The Line Art
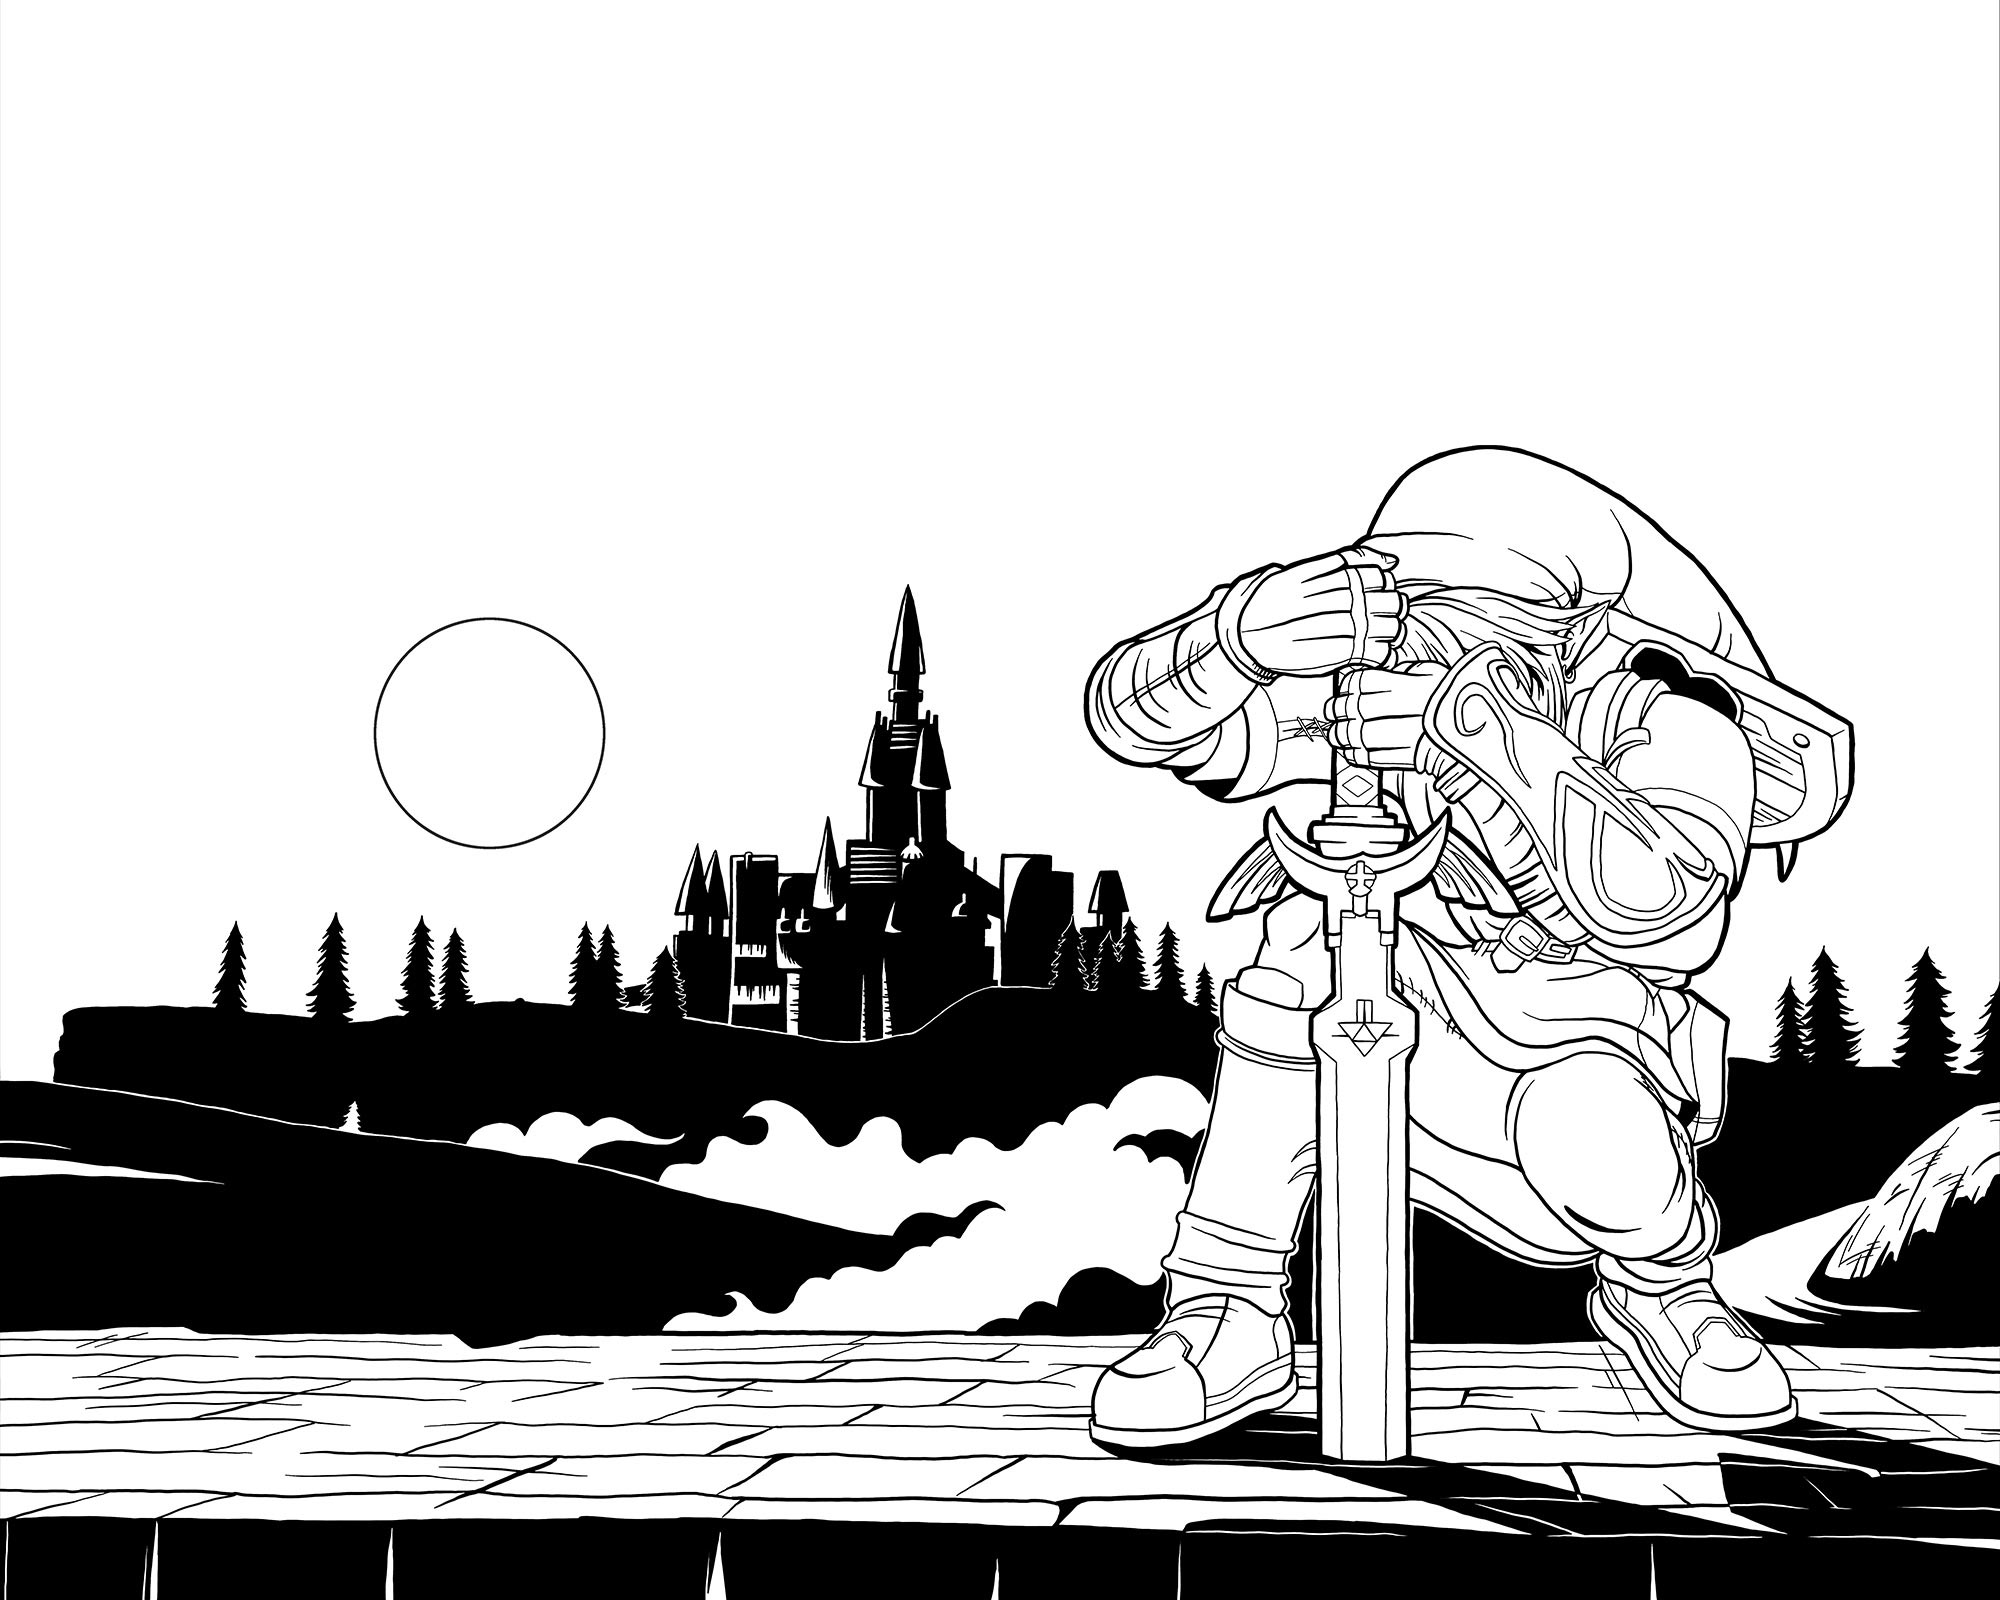
I was still learning how to utilize my Wacom Bamboo Fun drawing tablet at the time (now discontinued). I believe I used Corel Painter Pro to draw my lines. I never was able to make the standard brush brush in Adobe Photoshop behave just how I want it to. Plus, the rotate canvas feature in Corel was such a big help and I didn't have that available to me with Adobe (yet).
There wasn't much that I changed when drawing from my screenshot reference. I decided to fill in the castle in the background instead of drawing the details in the tower. If I were to draw it today, I would put in that extra work. While the strong silhouette looks good in the line art, it looks oddly flat in the finished colored version. The same goes for the fog behind the bridge. Lesson learned.
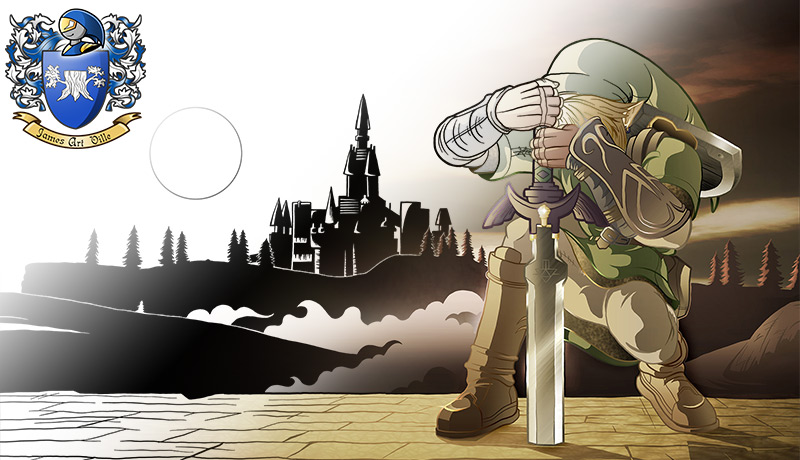
The Finished Illustration
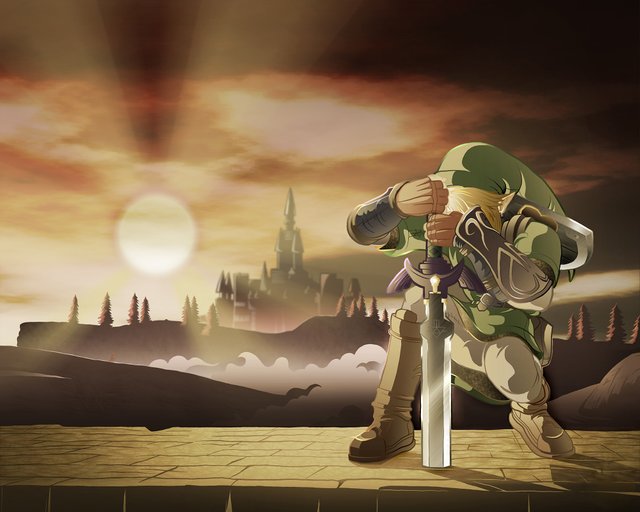
Although I didn't use Adobe Photoshop for the line drawing, I did use it for the coloring and shading. I used my old method of using the polygon selection lasso tool to make my colors and again for the shadows (on separate layers of course). I also used the gradient tool on my selections for an added blend and depth of shape. However, looking back now I think I was too ambitious in my high contrast colors and hard edges.
I added a texture overlay to the bricks on the bridge, which I think adds a nice subtle effect. The clouds were rendered using the Filter > Render > Clouds (to no surprise). By playing with the levels and the perspective tool it was very easy to make it look semi-realistic. I removed the lineart for the sun to make it look less cartoony and gave it some rays to break up the dead space. This is one of my older drawings, but I think it stood the test of time.

This post contains original material @originalworks
The @OriginalWorks bot has determined this post by @jamesartville to be original material and upvoted(1.5%) it!
To call @OriginalWorks, simply reply to any post with @originalworks or !originalworks in your message!
This is fantastic. I'm definitely resteeming this on the @geekdom community! Good work.
Wow, thanks!
Nice work as always!!