Beginning the Disassembly...
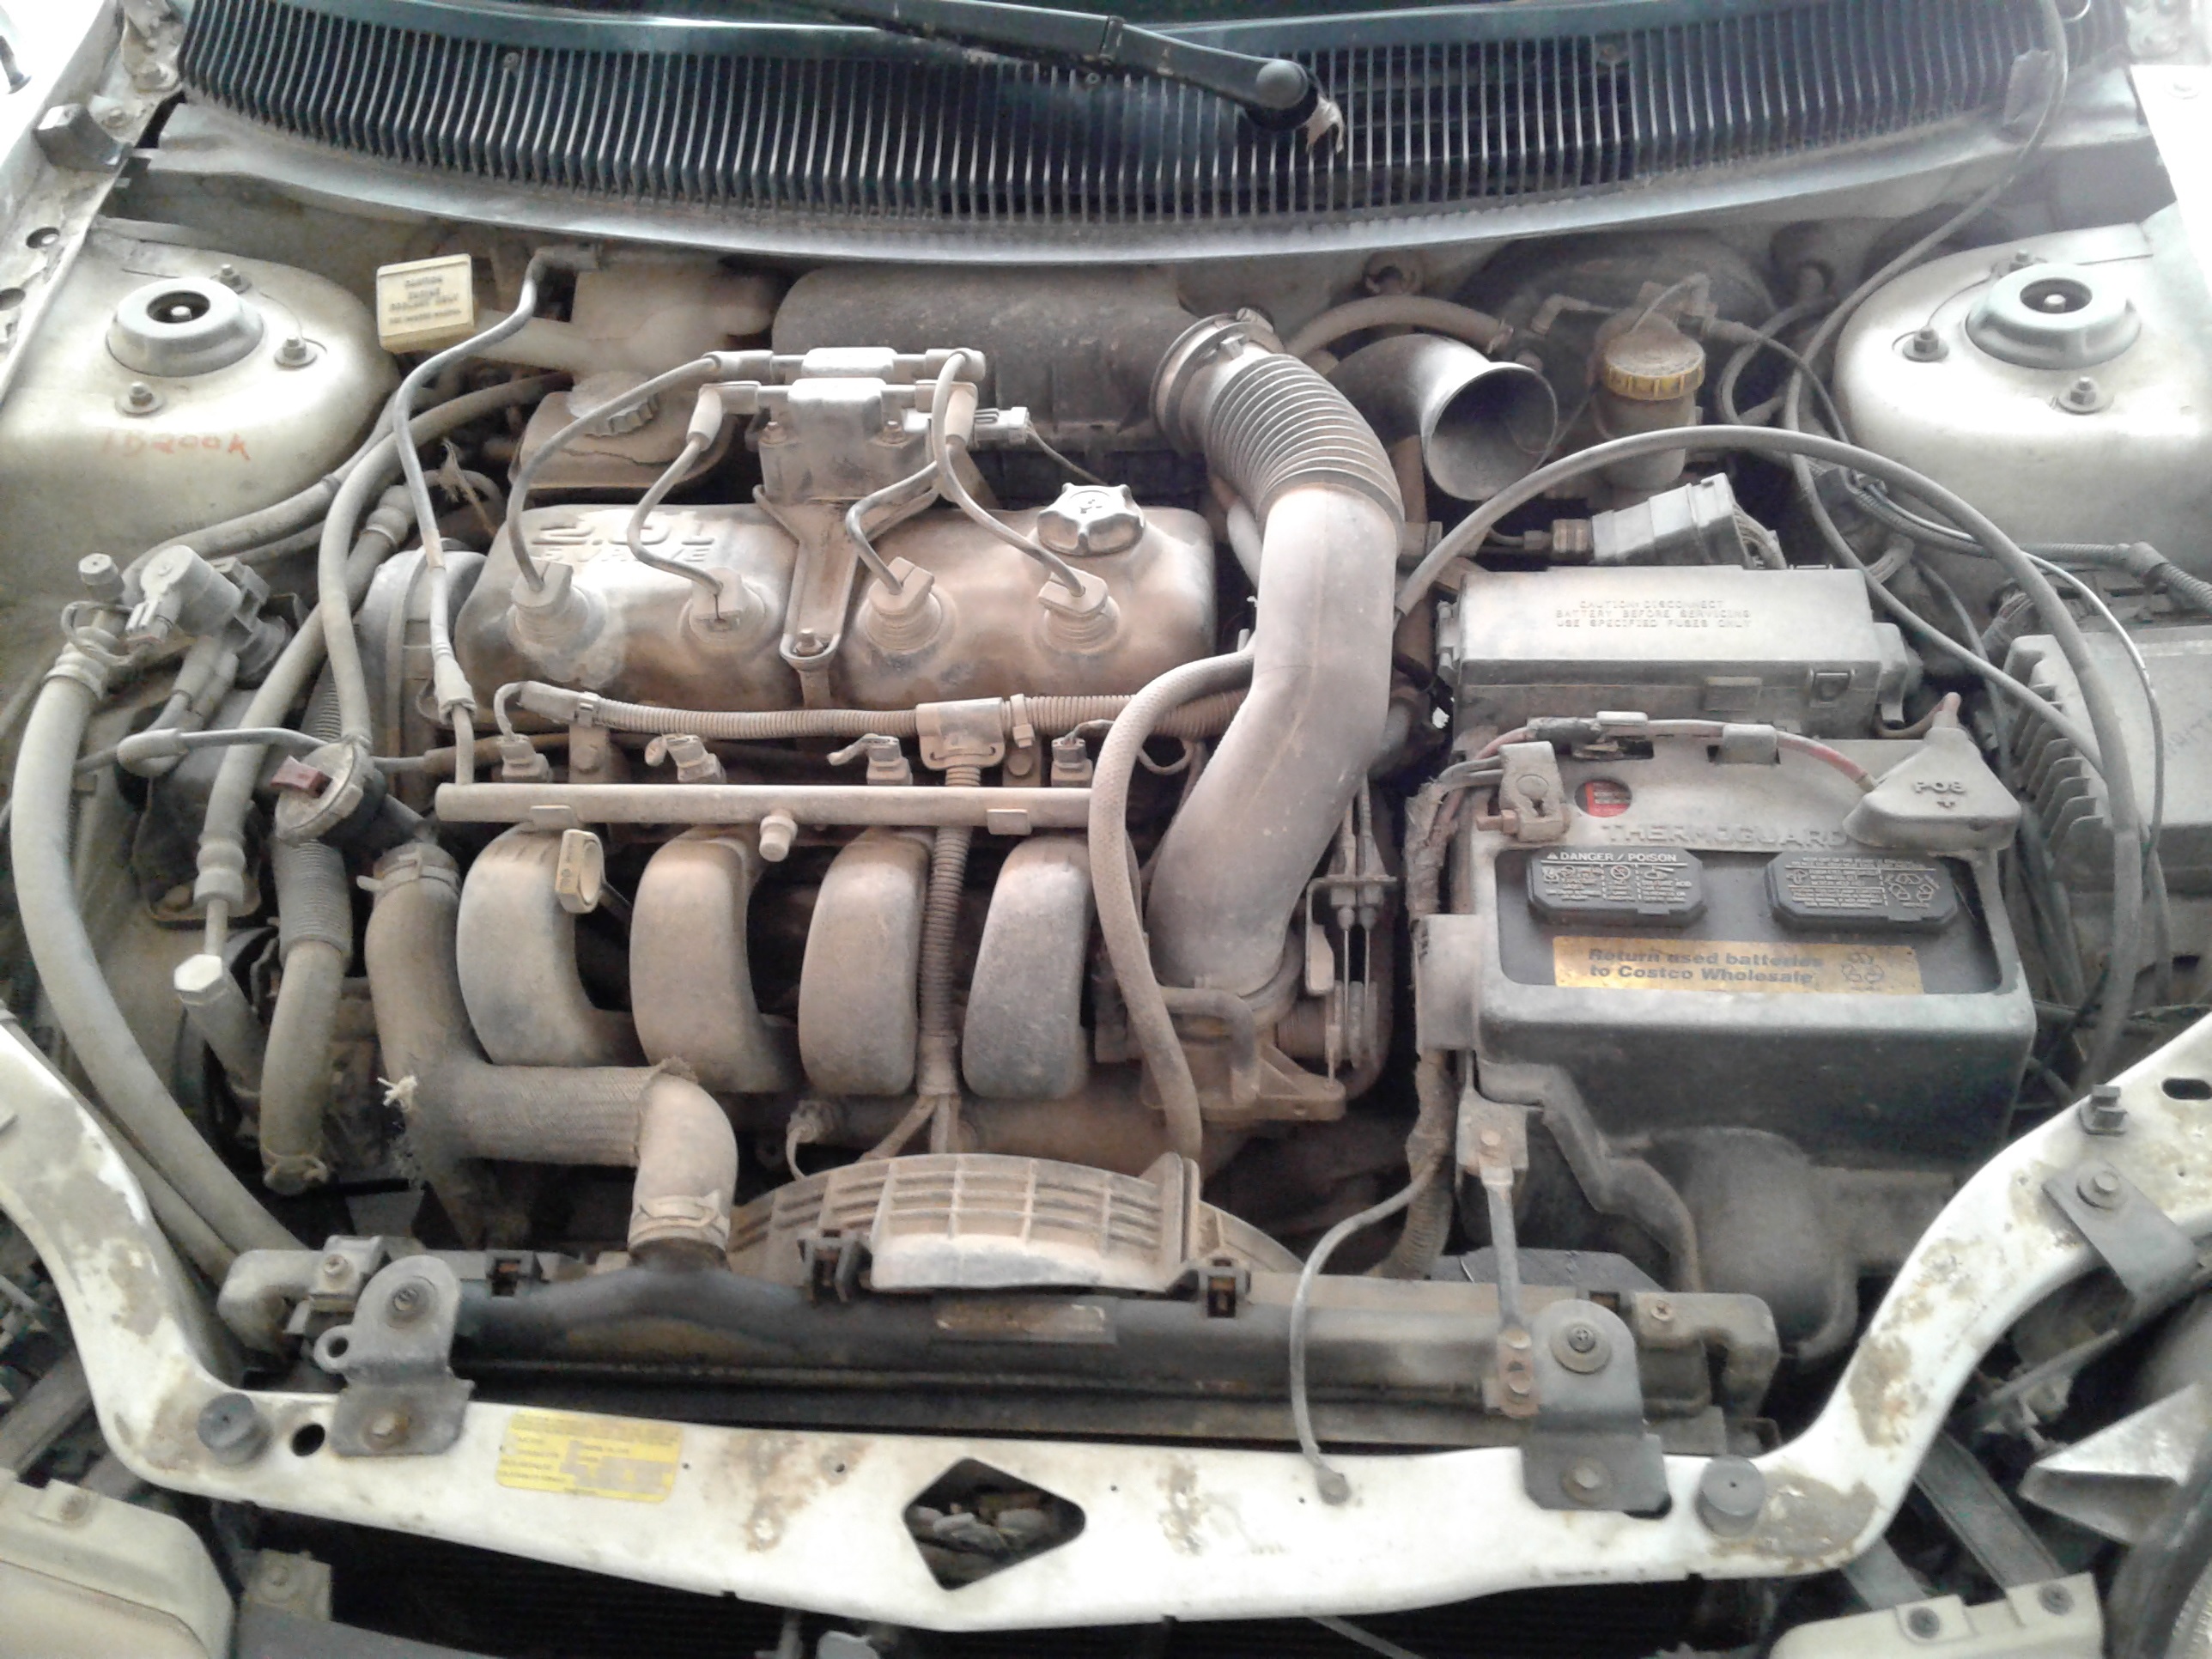
The other Neon I have been taking apart was partially disassembled when I bought it. Now I am getting into the guts of my former daily driver, and many of these bolts may not have been touched in the 22 years since the car was built. It is rough going. But here for your edification (and my recollection) are some pictures of the process and notes about what needs doing on this kind of project!

Lots of dirt everywhere. Looks like I need a PLYMOUTH DUSTER! Yes, I have been waiting for a chance to use a bad car pun.
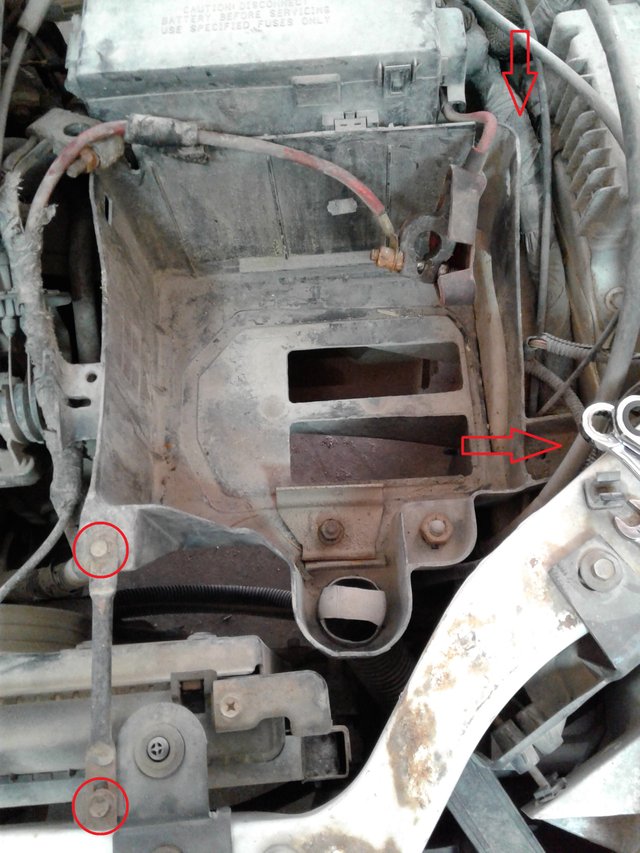
The first order of business is disconnecting the battery and pulling out the battery tray. I replaced the battery about 3 years ago, so I have some idea what needs doing for this first bit. Loosen the terminal connections, positive side first, and then loosen the clamp at the bottom of the tray. But the plastic tray is cracked, and that took some effort.

From the top, there is a small brace piece with two 10mm bolts marked in red circles at the bottom left, and two larger bolts that are not in view but marked with arrows. Pull 'em and stash 'em in a labeled parts bag.

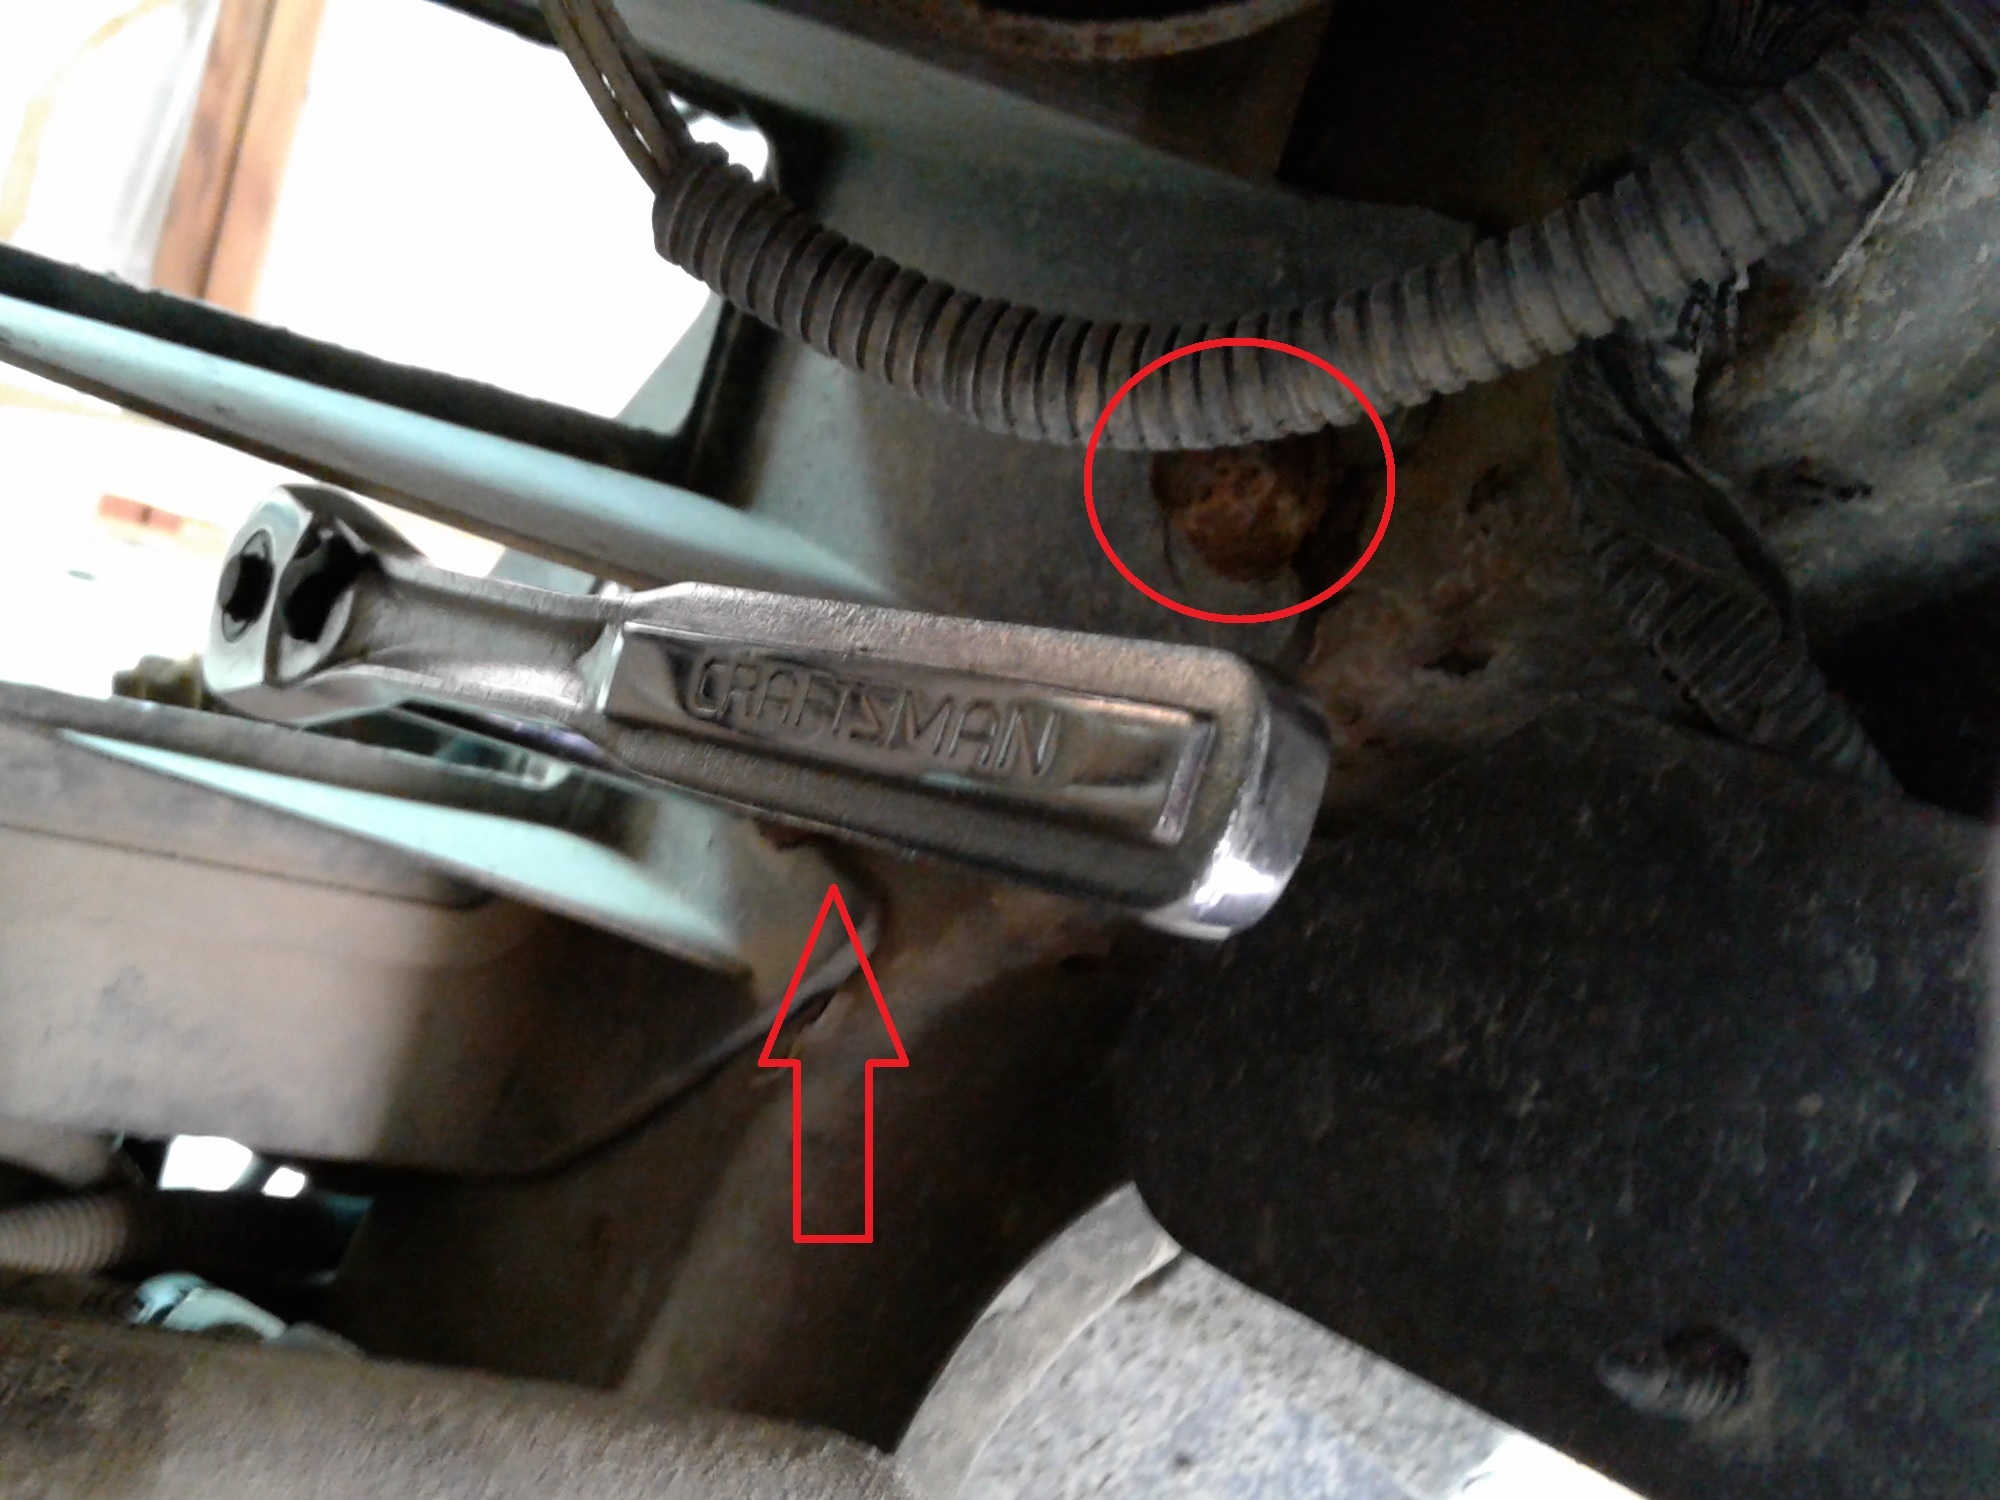
There are also two larger bolts here on the underside. These were VERY rusted. And lastly, there is a cluster of electronics that need to be unplugged or unbolted. Then that step is done! On to draining fluids!