Making Iron From Scratch: Processing the ore and building the furnace
Most know my blog for my high tech plasma experiments and very modern hobbies. In addition to the modern hobbies, I also enjoy doing things old school from time to time, such as blacksmithing. This article will mark the start of a series of posts detailing my attempt to make iron from ore and charcoal in my backyard. These posts will be closer to a blog as opposed to my typical scientific write-up style because I am actively writing up my progress as it happens. However, I will be explaining all of the science and chemistry behind my methods and hopefully by the end of this series you will be able to refine iron if you so desire! I will also continue posting plasma experiments intermittently as I am working on both projects simultaneously.
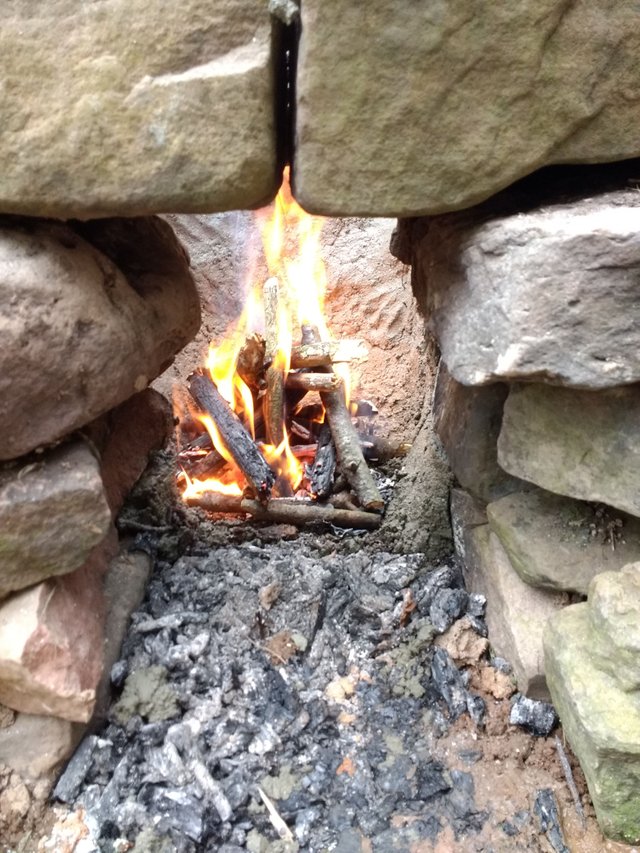
Figure 1. Drying out the foundation of the furnace.
Introduction
The approach I will be using has been used for hundreds of years and will utilize the old style bloomery furnace as the production method. The bloomery furnace differs from modern and more recent blast furnaces because it does not actually melt the iron. The bloomery operates at lower temperatures but still achieves the same result of separating metallic iron from undesirable elements. The bloomery furnace operates by reducing the iron oxide rich ore using carbon monoxide generated from the incomplete combustion of charcoal. The combustion of charcoal is driven typically by manual bellows. The hot carbon monoxide reacts with the iron oxides and strips them of their oxygen, forming metallic iron and carbon dioxide. The other undesirable compounds in the ore, such as silicates, have a lower melting point and melt within the furnace and can be removed as molten slag. The metallic iron pieces slowly work their way to the bottom of the furnace and sinter together into a large spongy mass filled with slag. This large mass is called the bloom which is where the name "bloomery" comes from. The large iron sponge is then softly hammered into a solid bar, driving out slag in the process. This iron bar (wrought iron) can then be used to make tools and weapons in a standard forge. The below image encapsulates the operation of the furnace I just described.

Figure 2. Bloomery operation (See source in References)
For the most part, I will be following the traditional method with a few exceptions. For starters, I will be using a modern method to generate the forced air (probably an air pump). In addition, I will be changing the fuel input source. Typically, charcoal for these furnaces is prepared separately and takes a large amount of time and effort. I will be constructing a charcoal furnace on top of the standard bloomery so that I can just add wood for the majority of the process. This will create a continuous supply of charcoal for the furnace to preheat. Once the furnace has preheated, I will use the standard charcoal method as a 1 to 1 ratio of charcoal to iron ore is fairly critical to make usable iron.
Furnace Construction
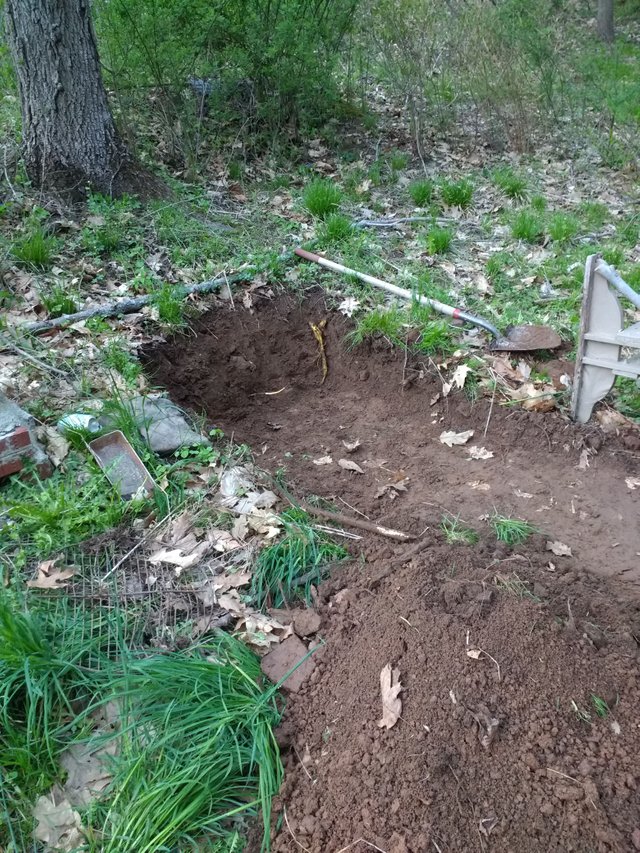
Figure 3. Large pit for the base of the furnace.
Starting off with a study base is critical to prevent the furnace from collapsing during operation. In addition, digging into the side of the hill allows the operator to add fuel and ore to the furnace much easier. I did this by digging into the side of a hill in my backyard as illustrated by Figure 3. Building the base of the furnace below ground also helps to maintain the reduction environment inside the furnace by limiting oxygen intake. Once the base was dug out, I placed two large logs to form a visual indicator of where the entrance and furnace would be (Figure 4).
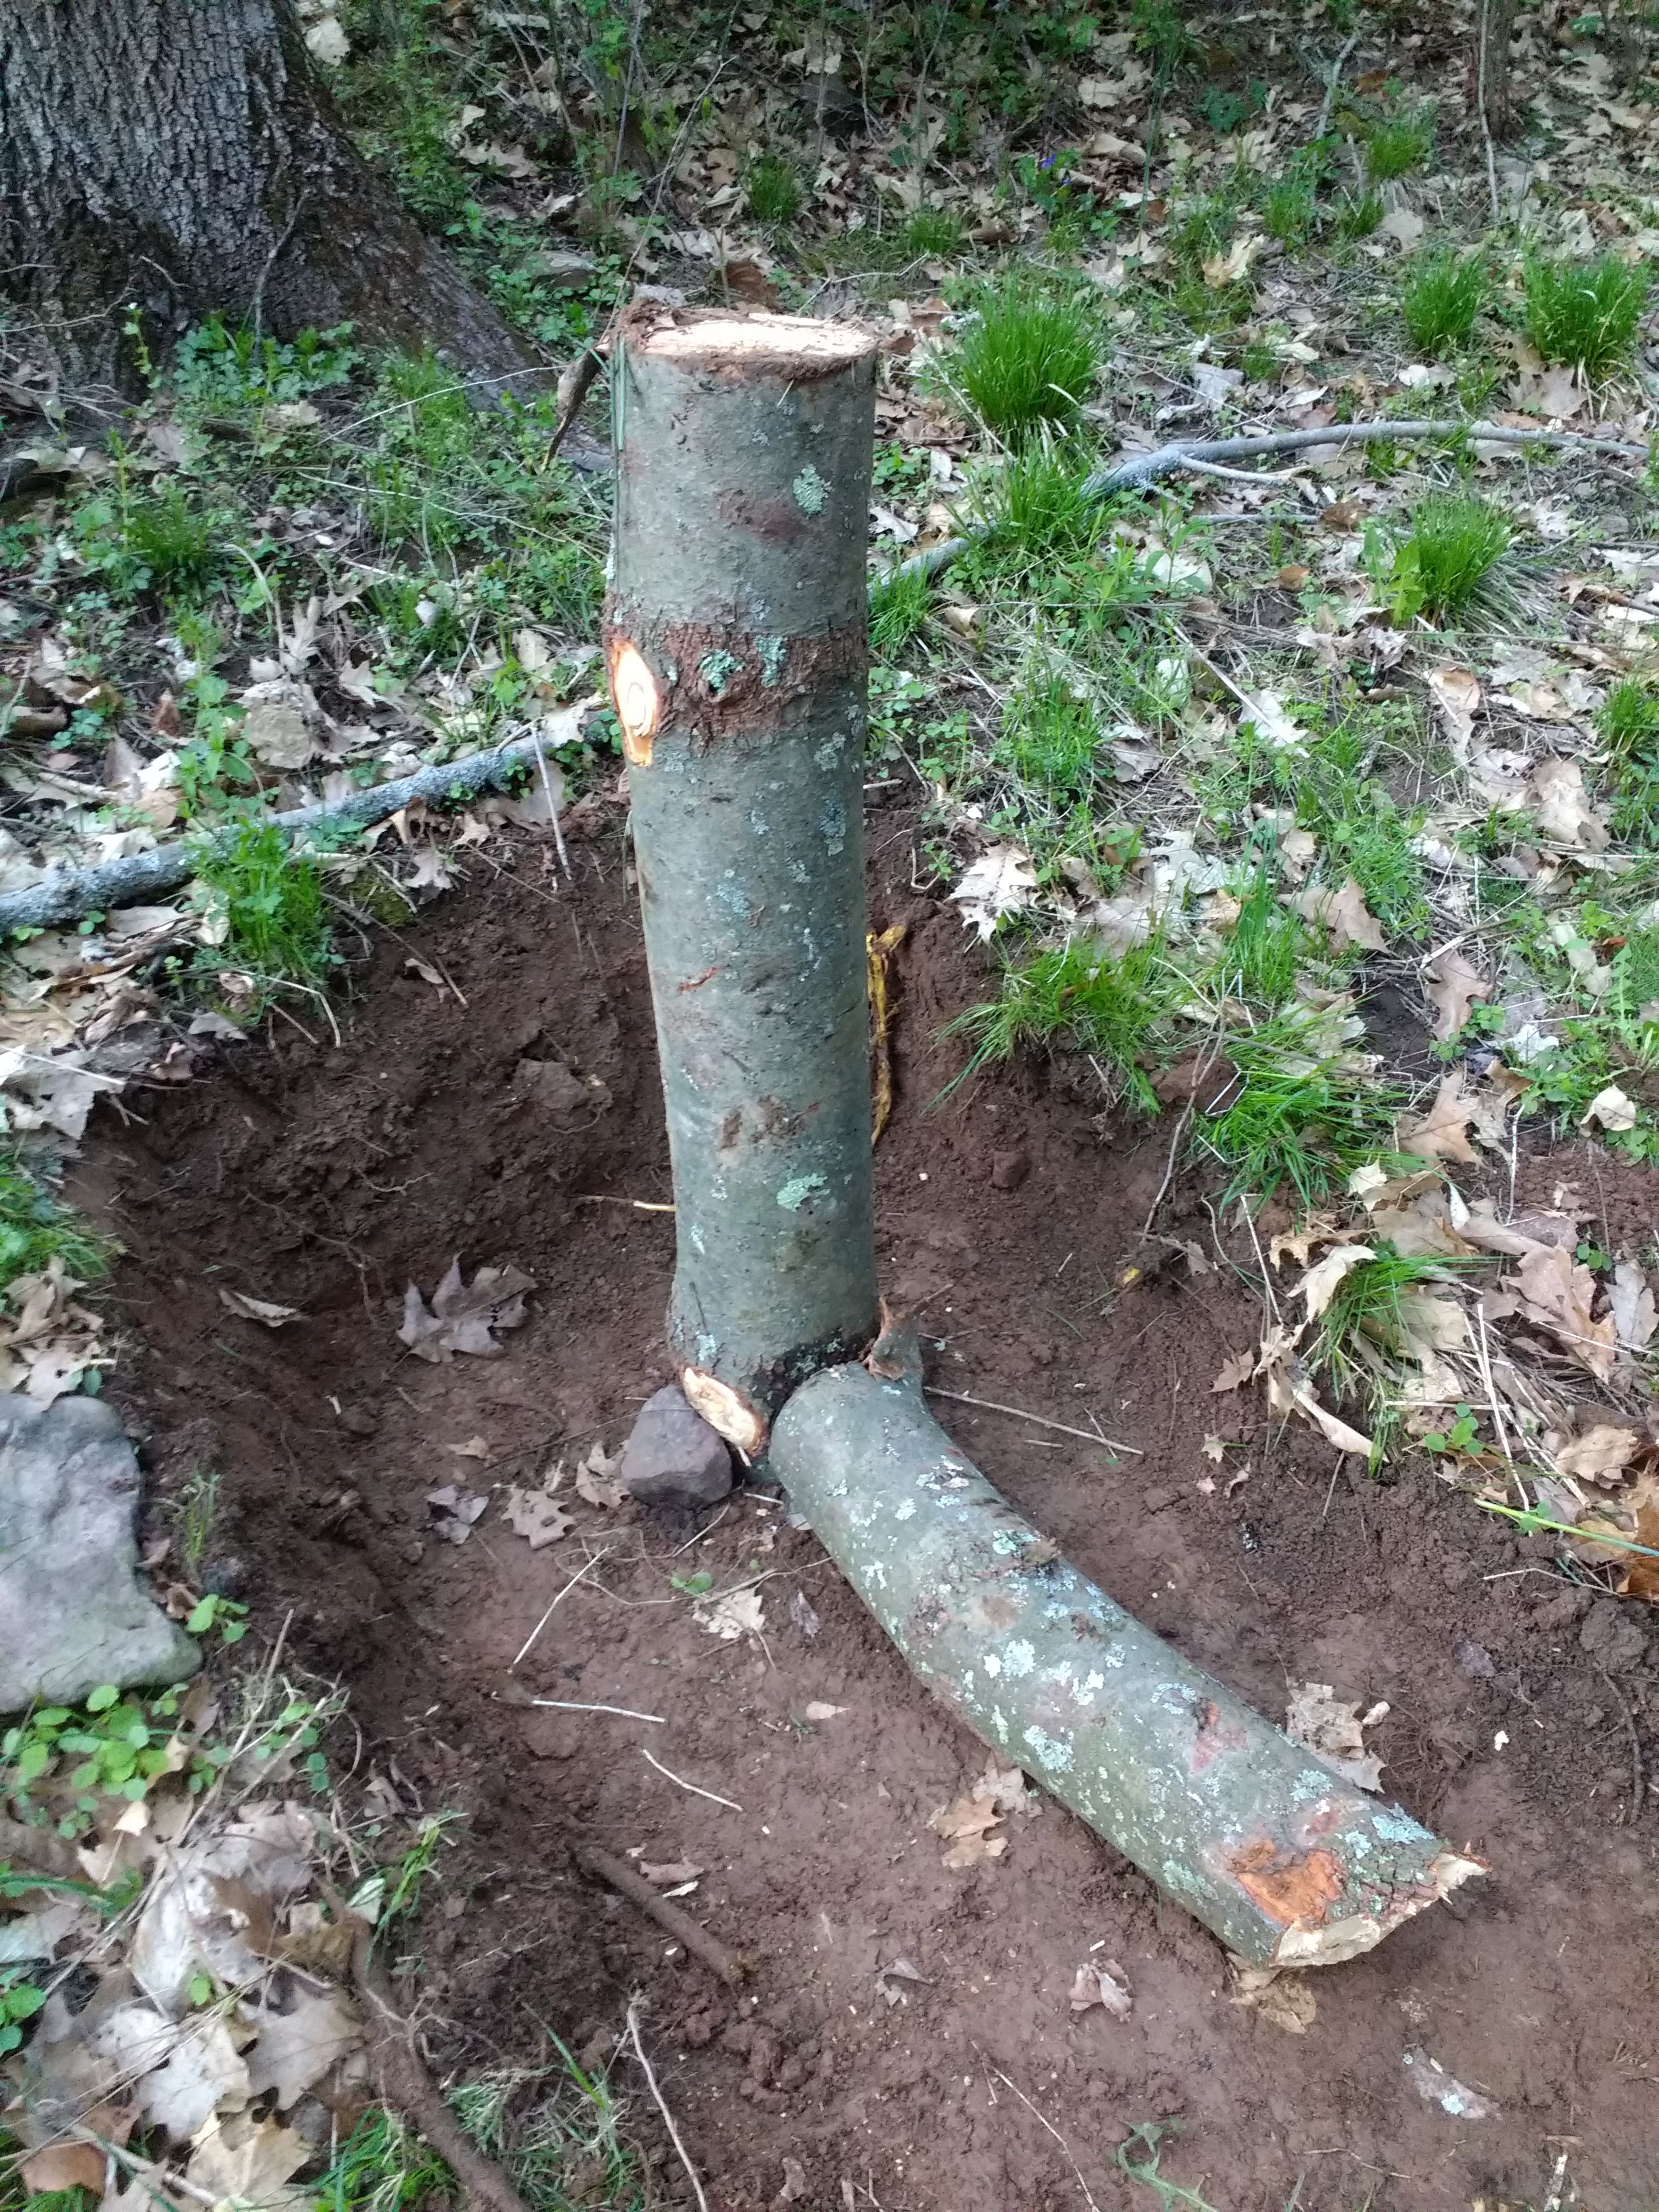
Figure 4. Logs indicate hollow areas inside the furnace.
Once the logs were placed, rocks from the nearby forest and stream were gathered and assembled around the logs. I have been building things with rocks for as long as I can remember, so stacking structurally sound walls of stone is almost second nature to me. To help insulate the interior of the furnace, I manufactured my own refractory using commonly available materials. My mixture is as follows: 1 Part Portland Cement, 1 Part Sand, 1 Part Perlite. All of these materials were purchased from the local hardware store. If you try this, I would recommend using perlite without fertilizer because the fertilizer will react with the lime in the cement and release ammonia gas. I only used this because it was all that was available at the hardware store. This mixture will help prevent the silica rich rocks from melting into the bloom which would make unnecessary slag. I lined the entire interior of the furnace with this compound as displayed by Figure 6. The base and refractory can be seen in Figure 5.
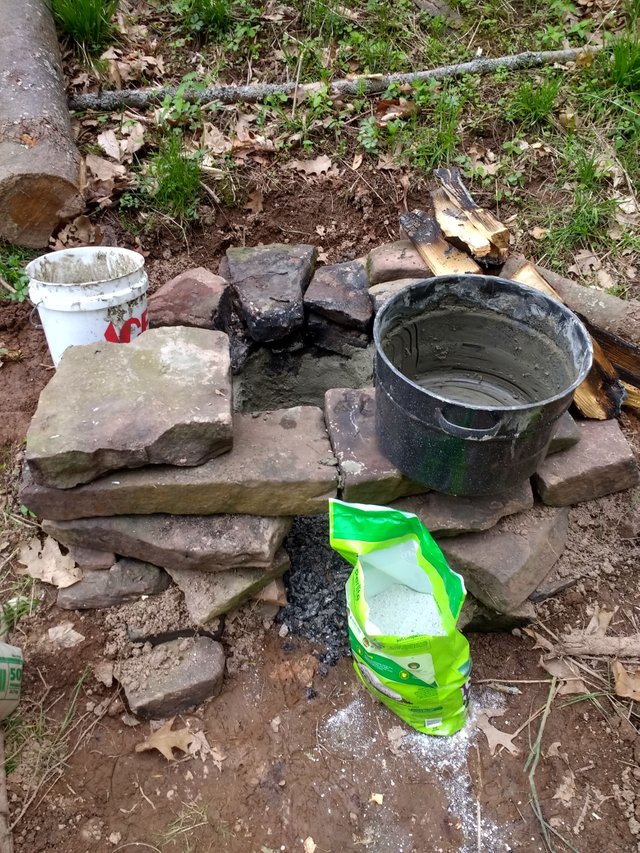
Figure 5. Base of furnace with internal refractory.
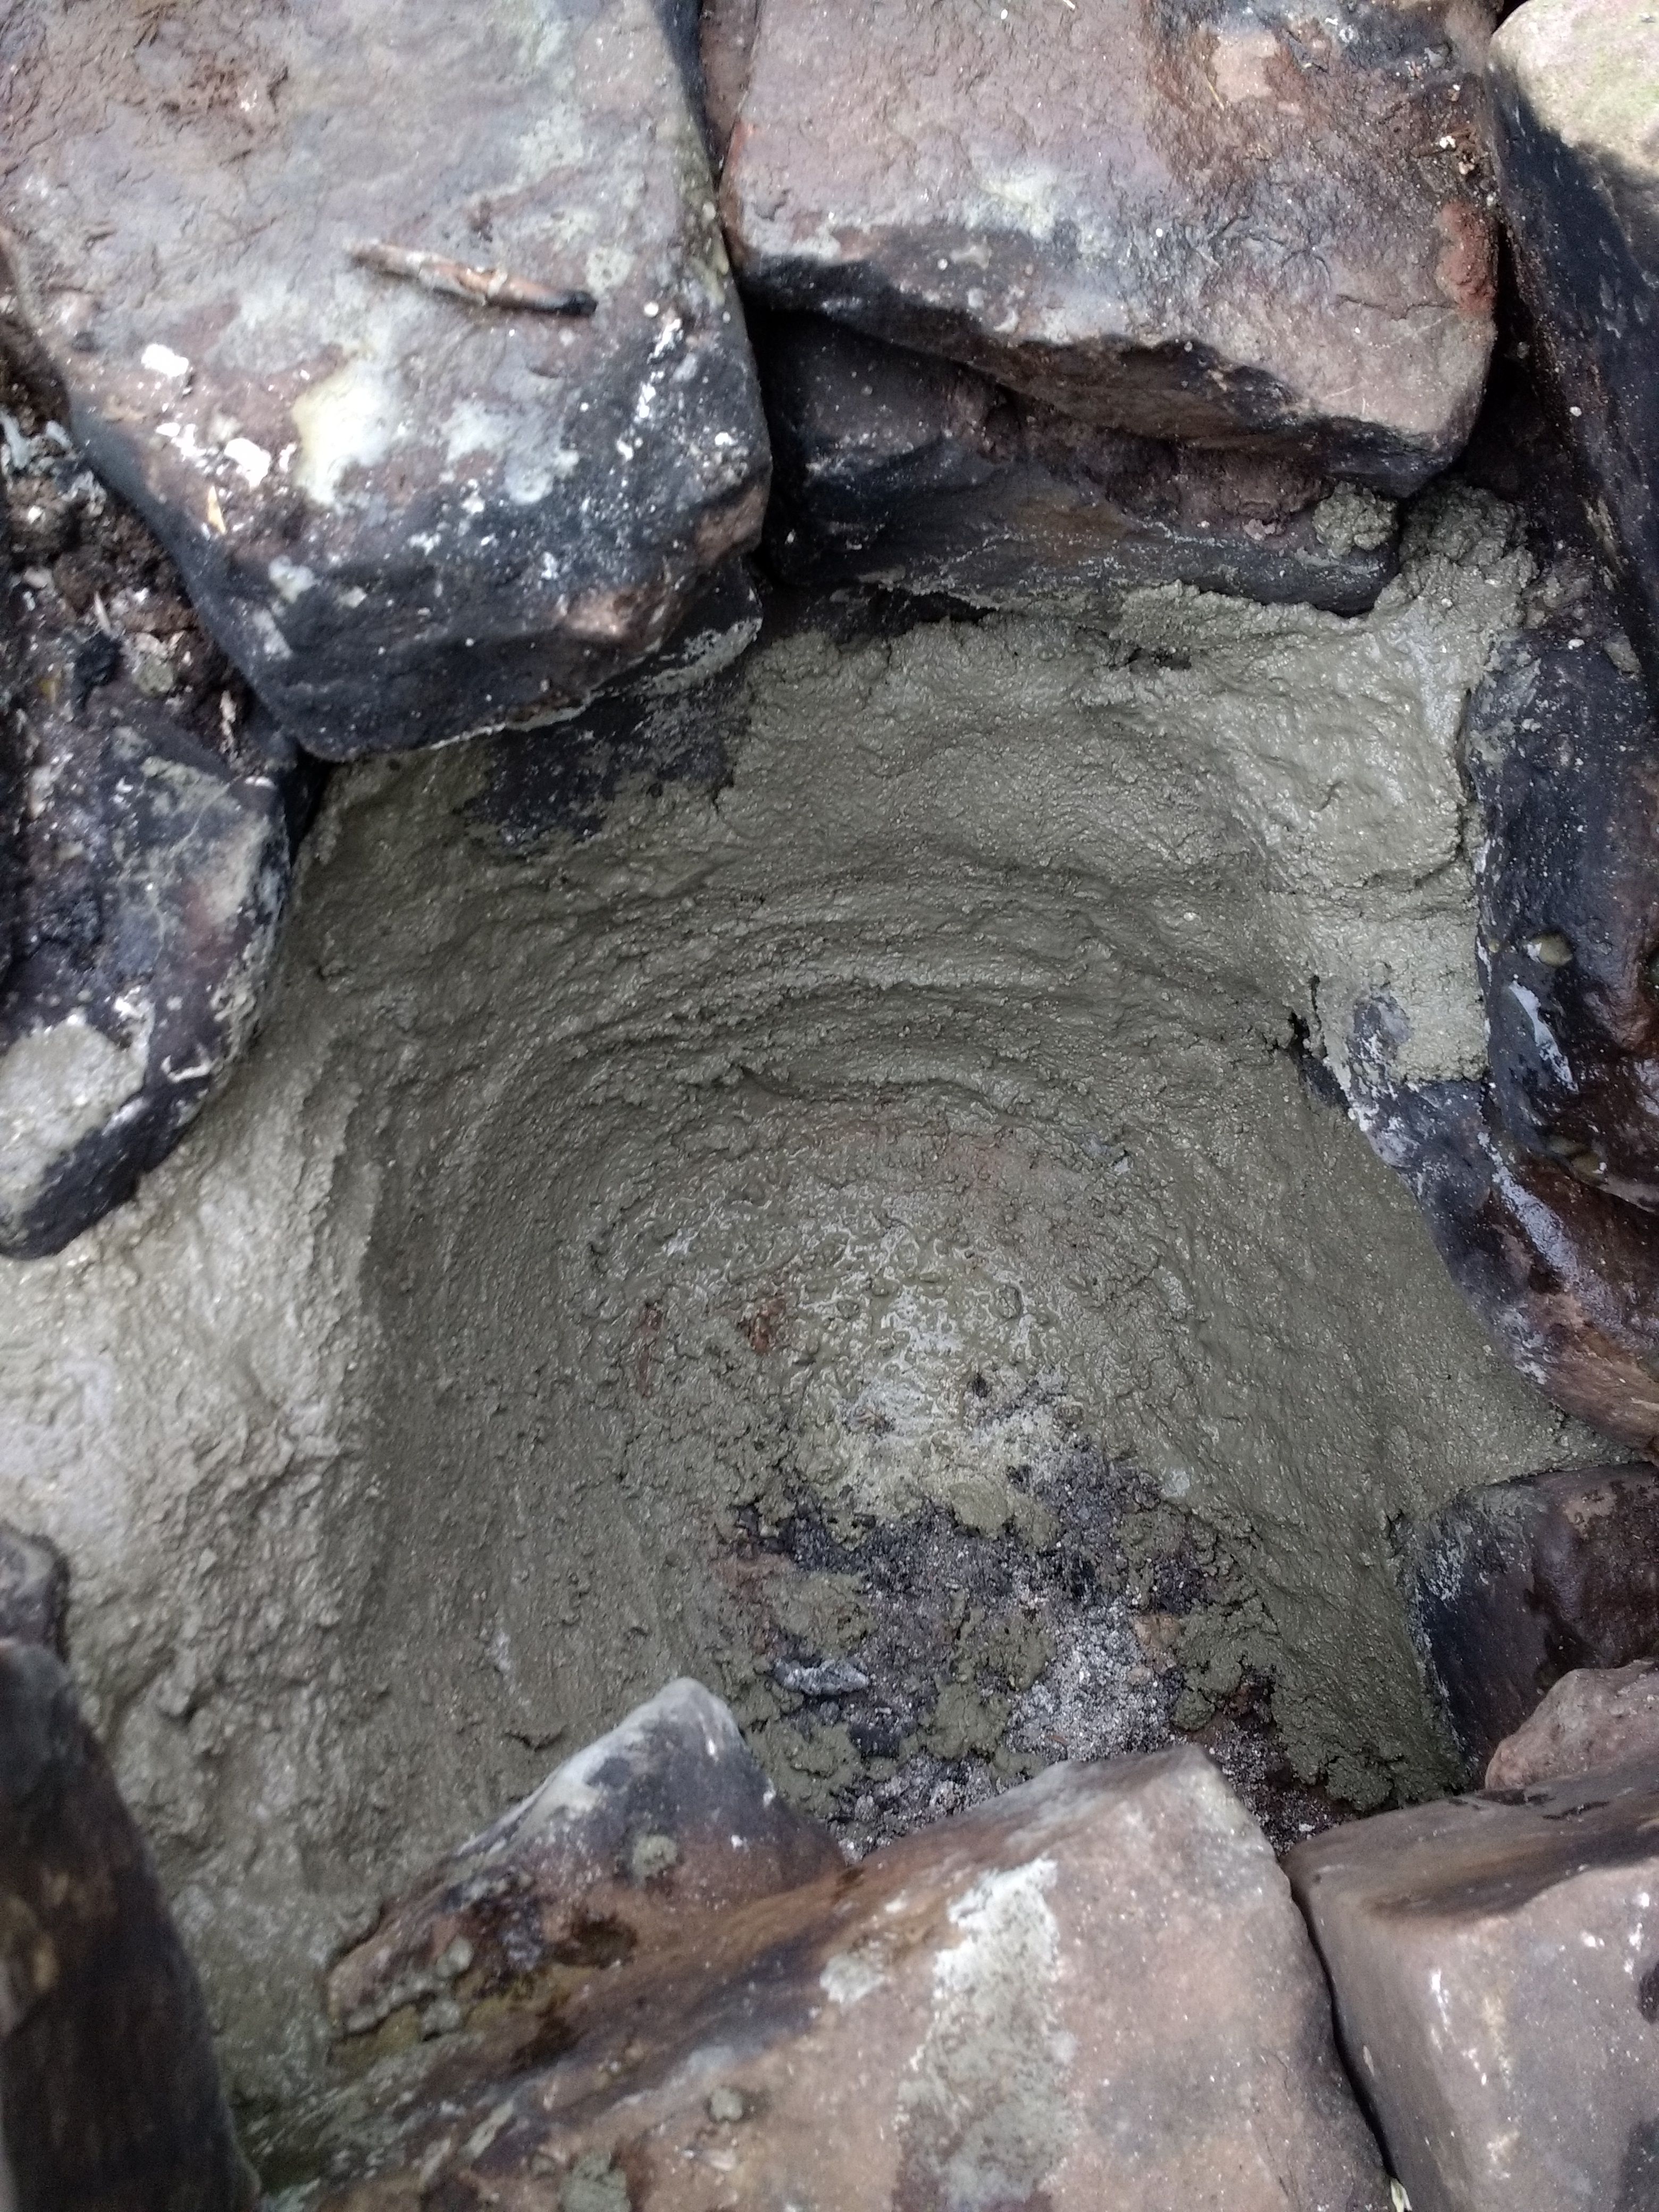
Figure 6. Fresh homemade refractory lining the inside of the furnace.
I currently have built up to what is shown in Figure 7 and plan on continuing construction! It has been raining constantly which makes it difficult to lay the refractory. Once operational, I plan on smelting around 300 lbs of ore total. I have not worked out the details on each run but I will likely do either 2 or 3 runs and split the ore up evenly. The ore was gathered locally and primarily consists of limonite and geothite along with some other iron containing compounds. Before the ore can be smelted, it must be preprocessed to remove impurities that would otherwise ruin the iron.
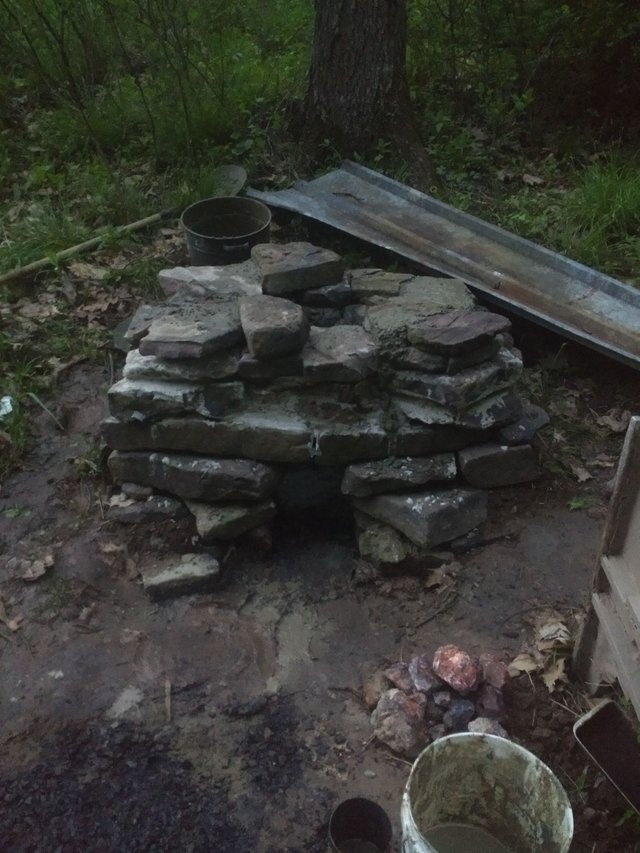
Figure 7. Current progress on furnace construction.
Ore Processing
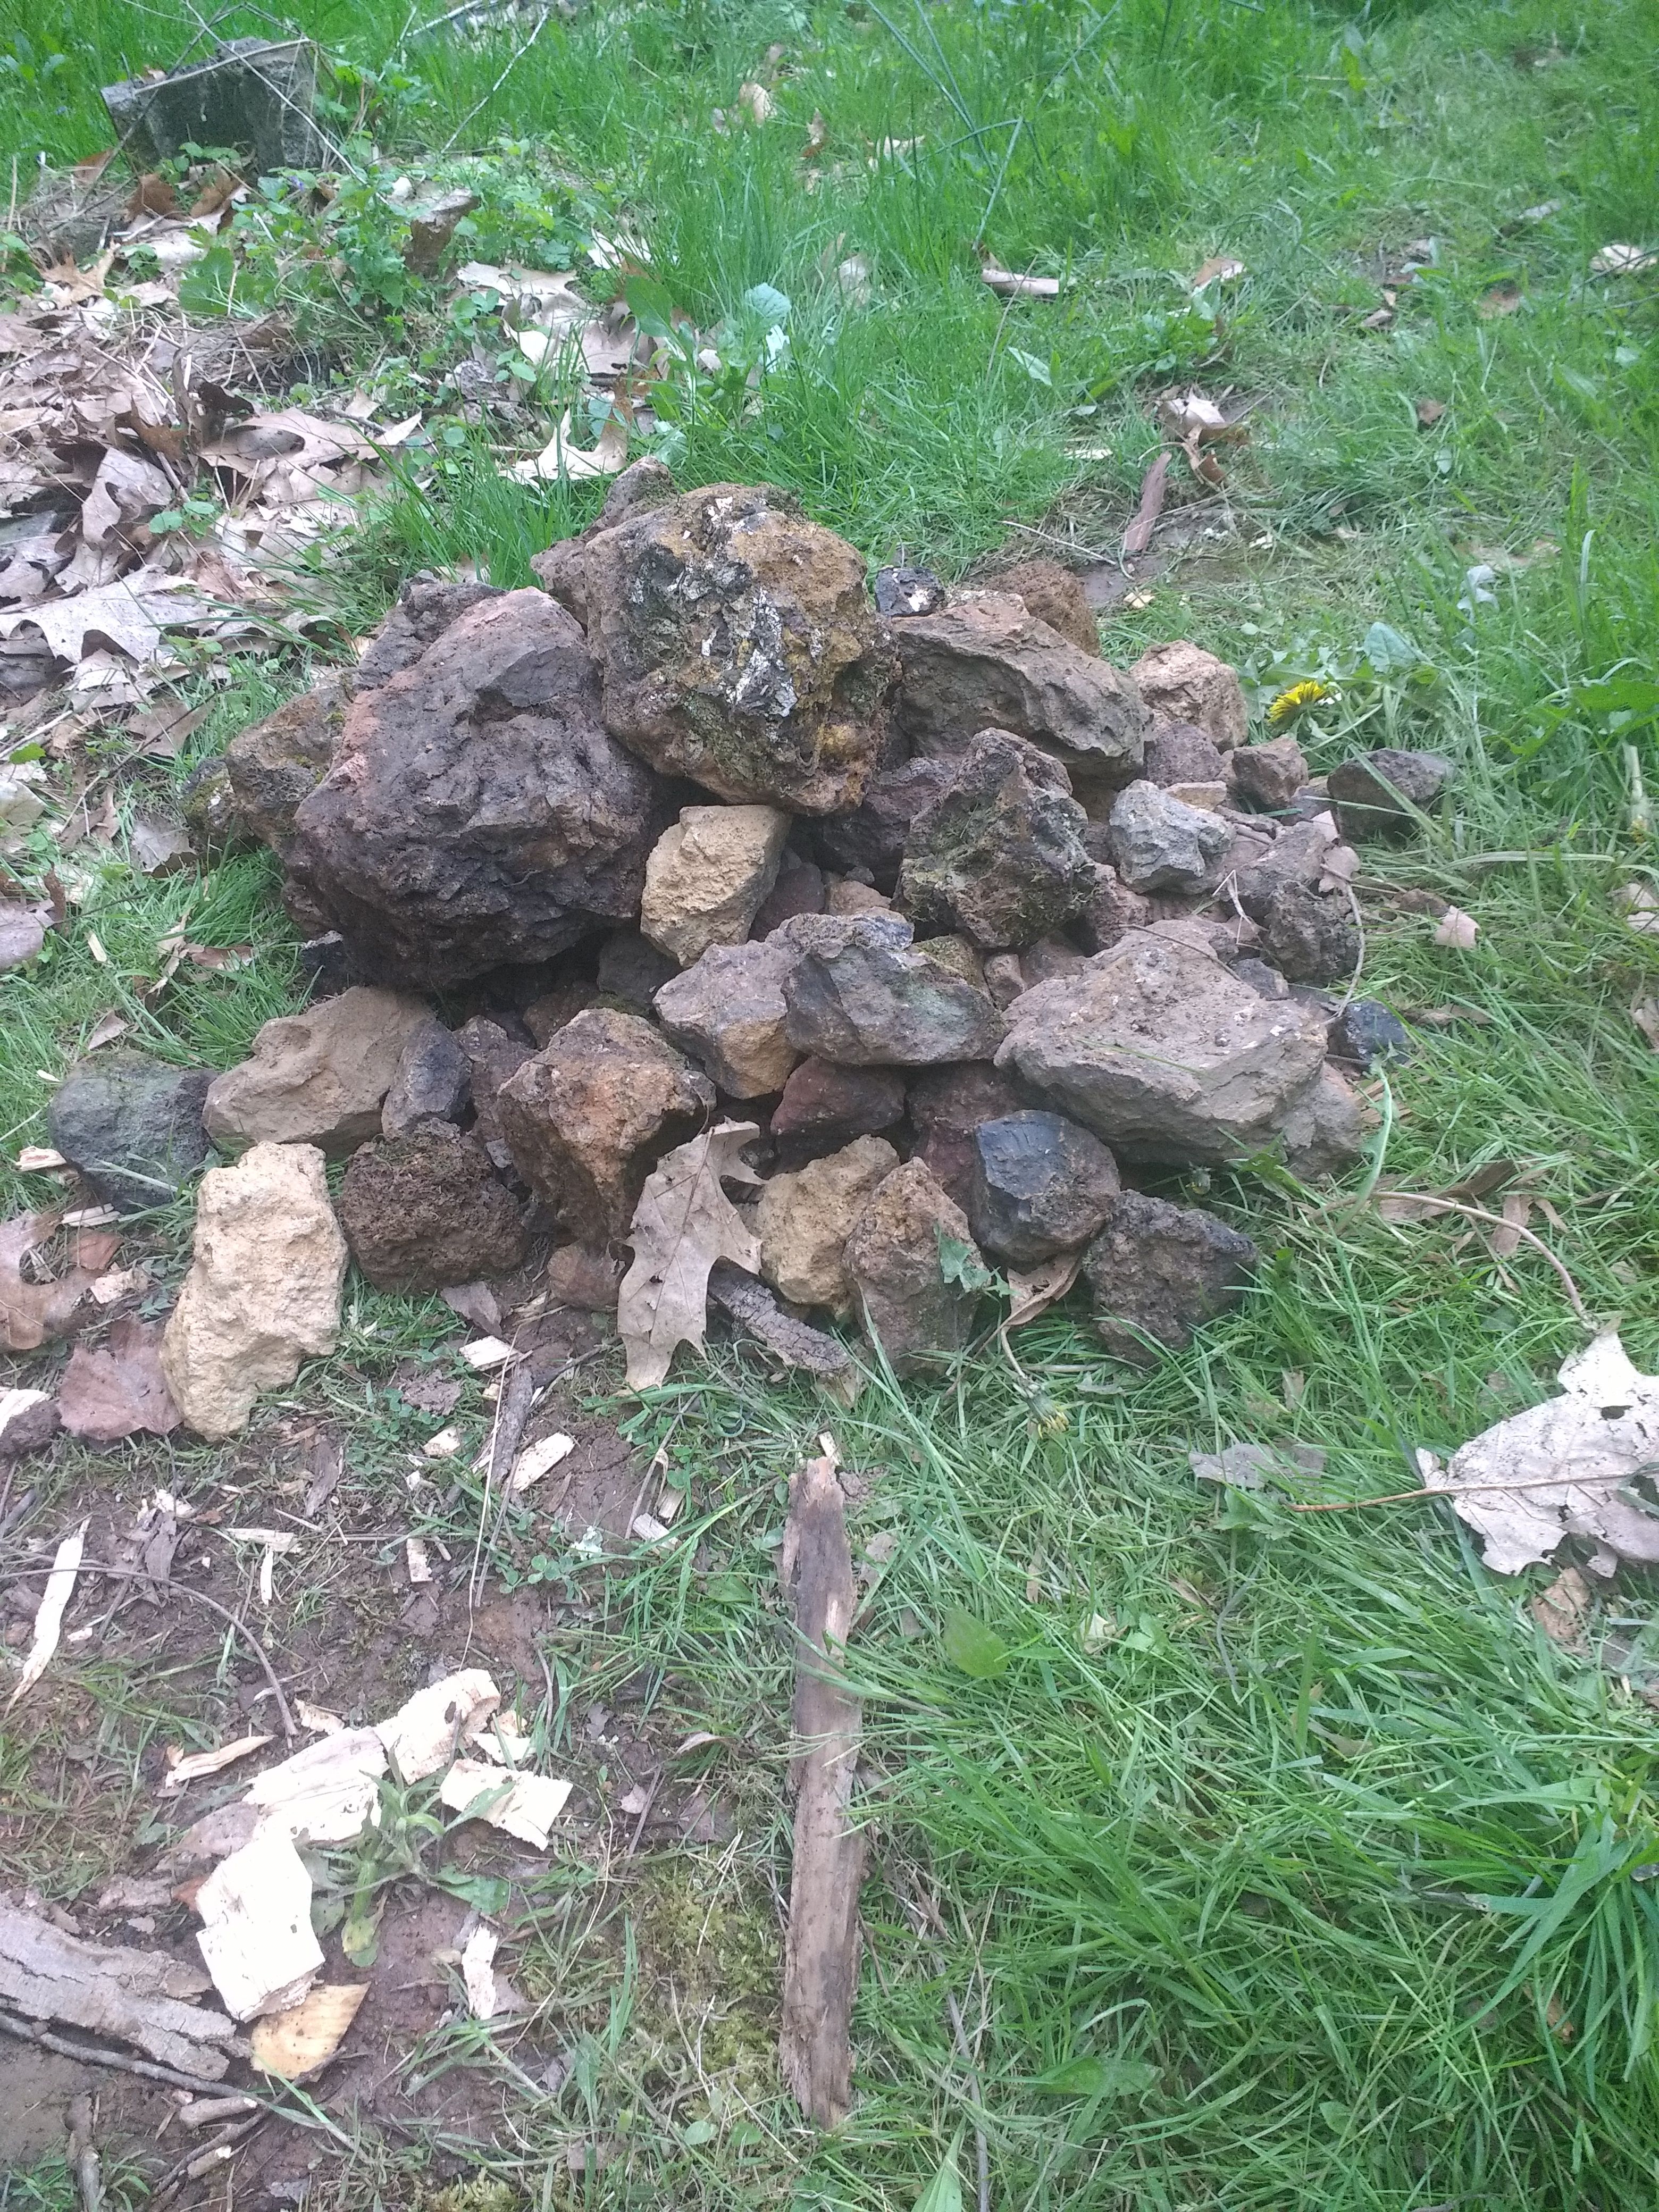
Figure 8. Unprocessed ore stacked in a pile.
Once the ore was gathered, it was collected into a pile and sorted again (I sorted it when I harvested it) and picked out the few straggler rocks that I misidentified. Once this screening was complete, the ore had to be roasted. Roasting the ore in a large fire drives off impurities, such as sulfur, which would otherwise ruin the final product. In addition, roasting the ore drives off excess moisture and converts much of the iron hydroxide in the ore into the more readily smelted iron oxide. To start off the roasting process, pine and ash wood were harvested from the forest near my house (Figure 10). The wood choice is not critical as long as there are both hard and soft woods available. Alternatively, green soft wood can be substituted for the hardwood.
IMG_20180512_161917469.jpg
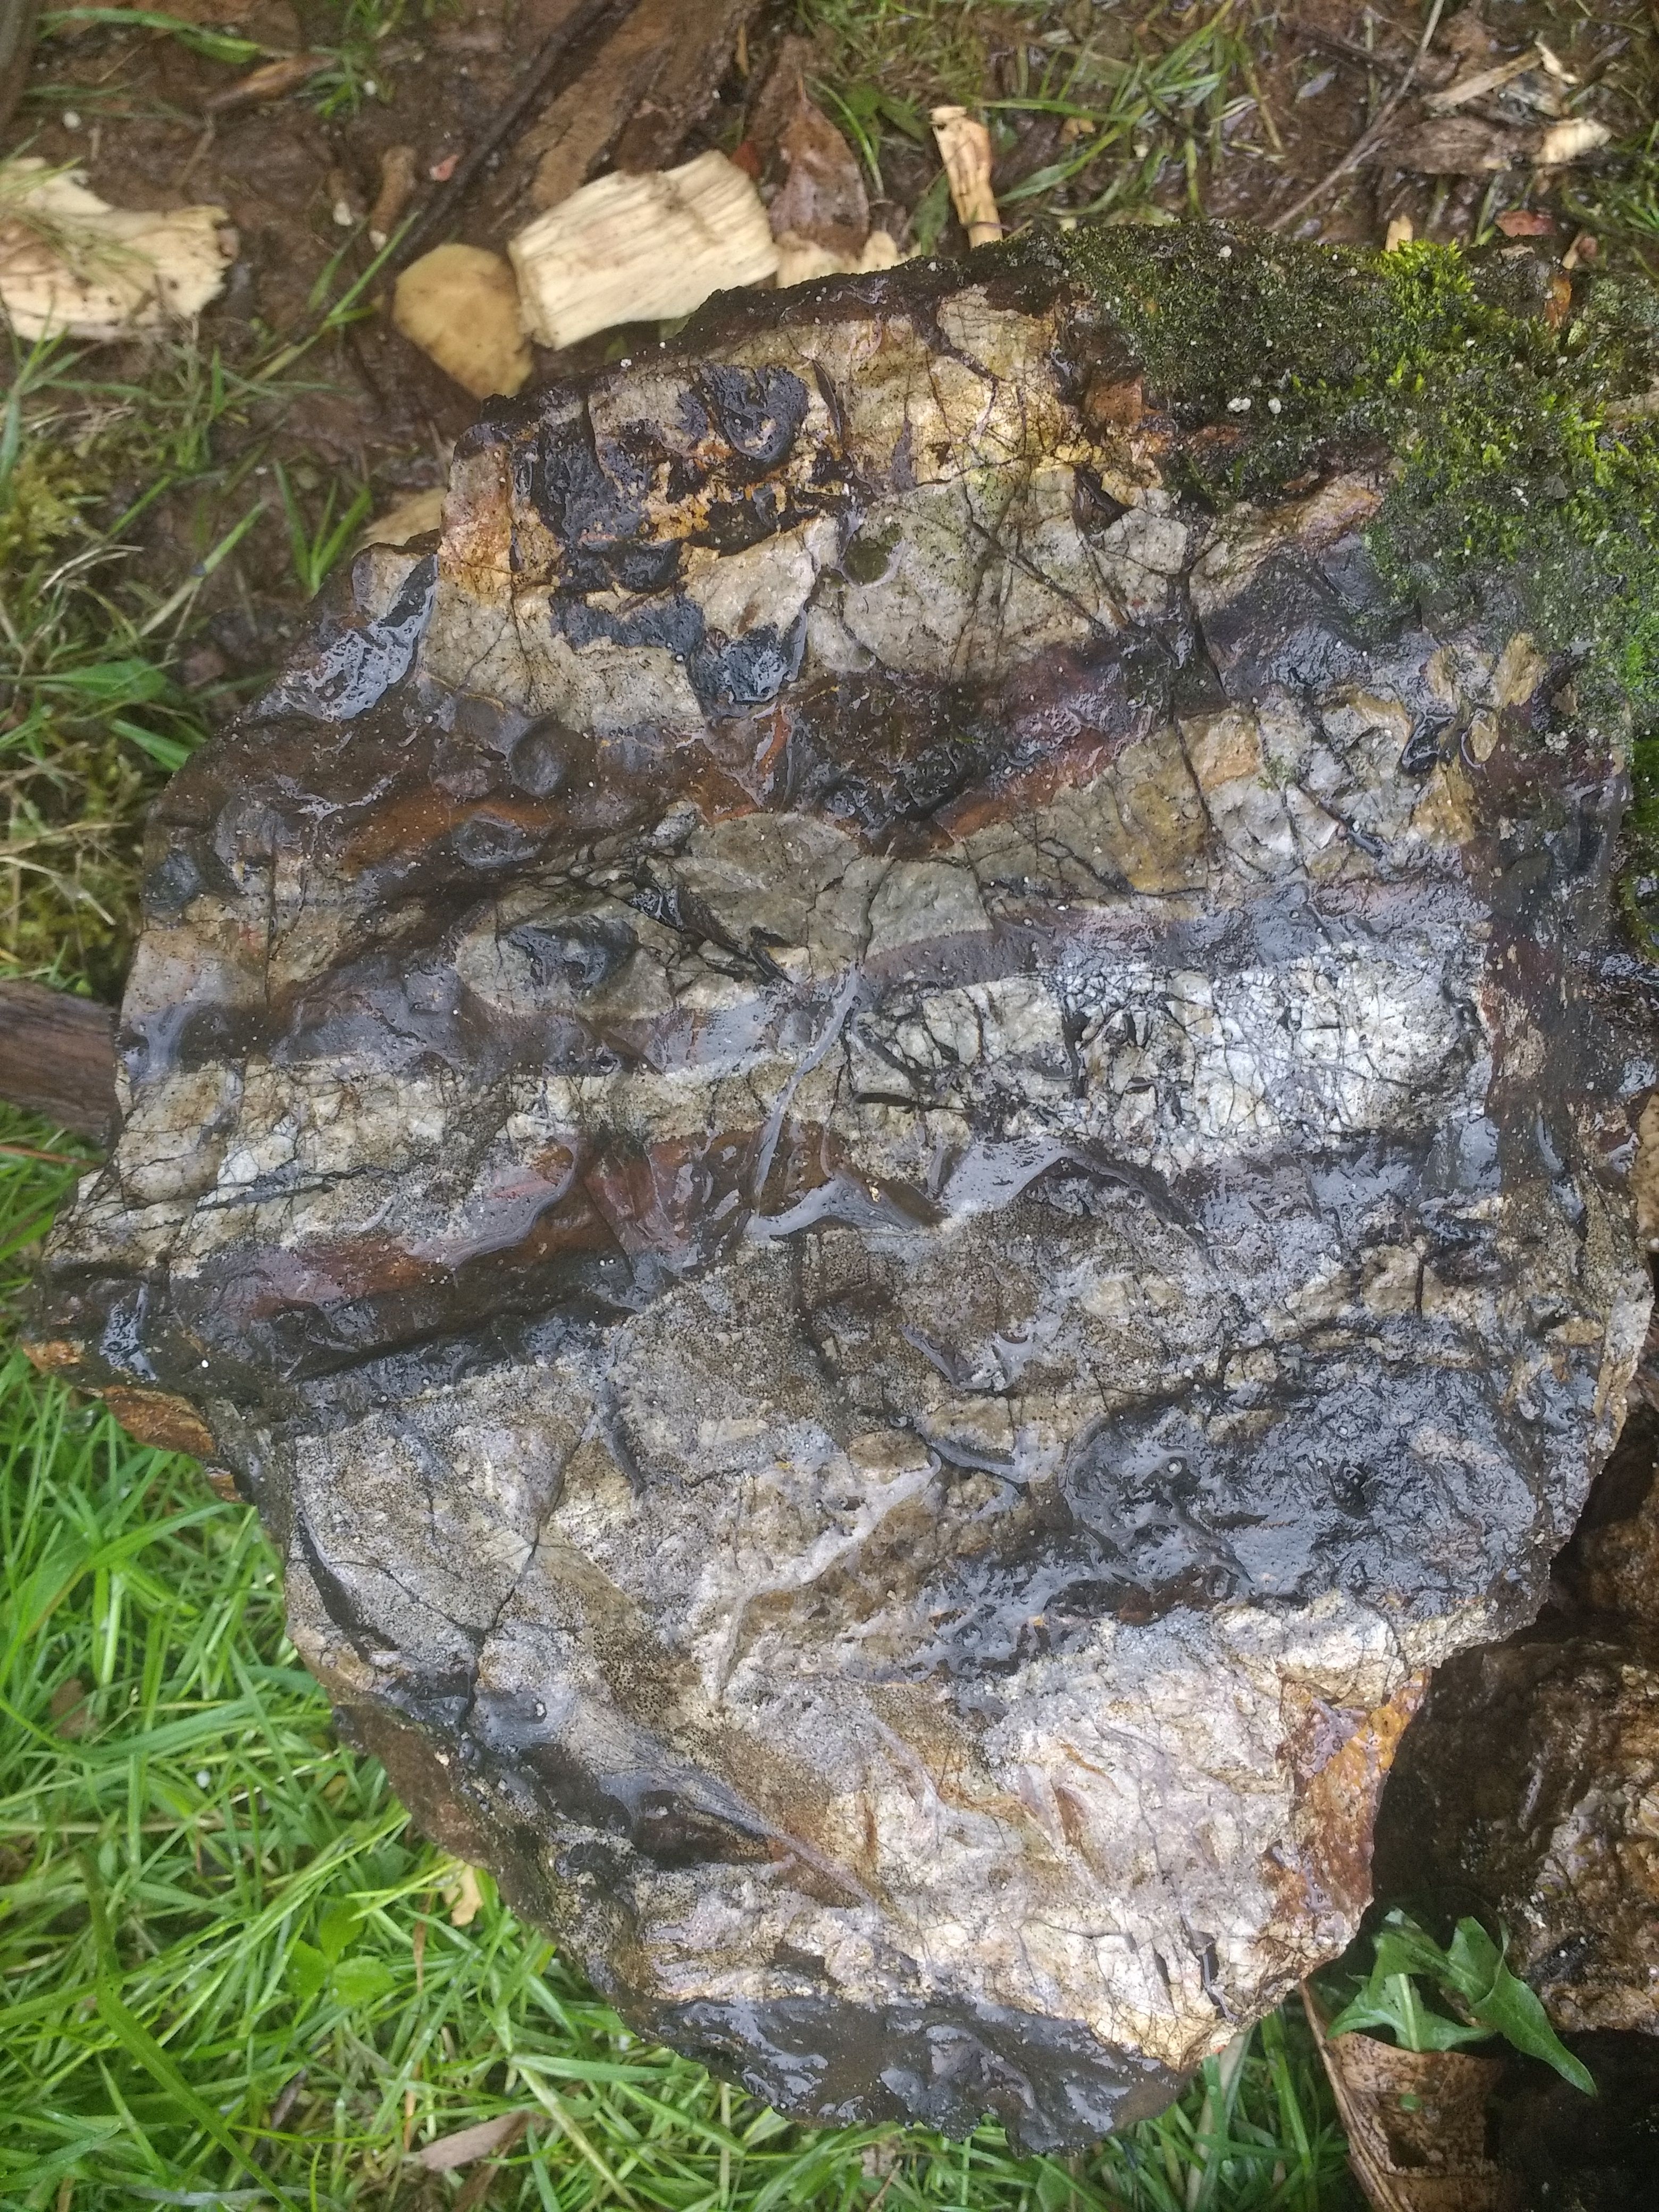
Figure 9. Large piece of limonite banded with geothite and other iron bearing minerals.
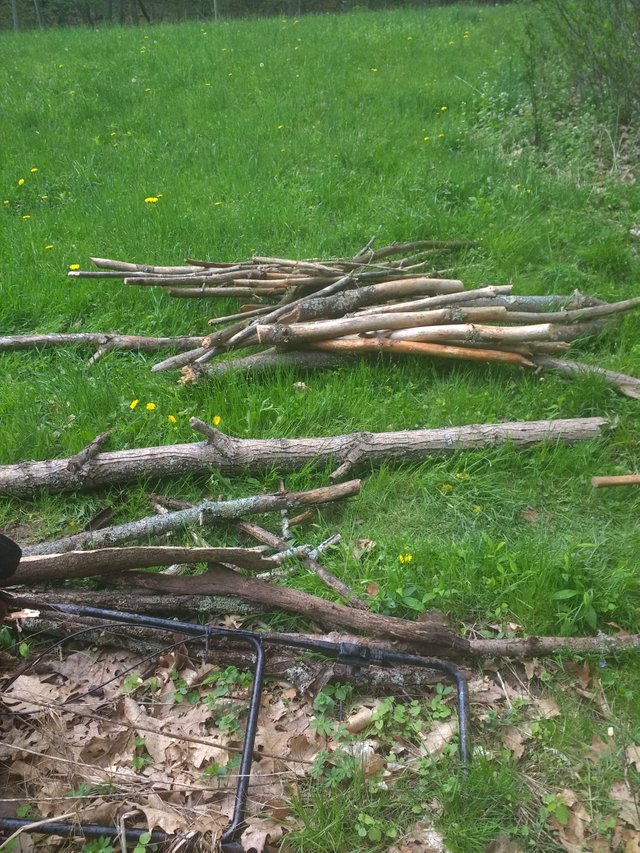
Figure 10. Dead pine on the top and hard dead ash on the bottom.
I started building the actual fire by laying two large green pine logs side by side about 20 inches apart as displayed in Figure 11. I used green wood because it wouldn't burn nearly as fast as the dead wood and would help keep the ore in a large pile of hot coals.
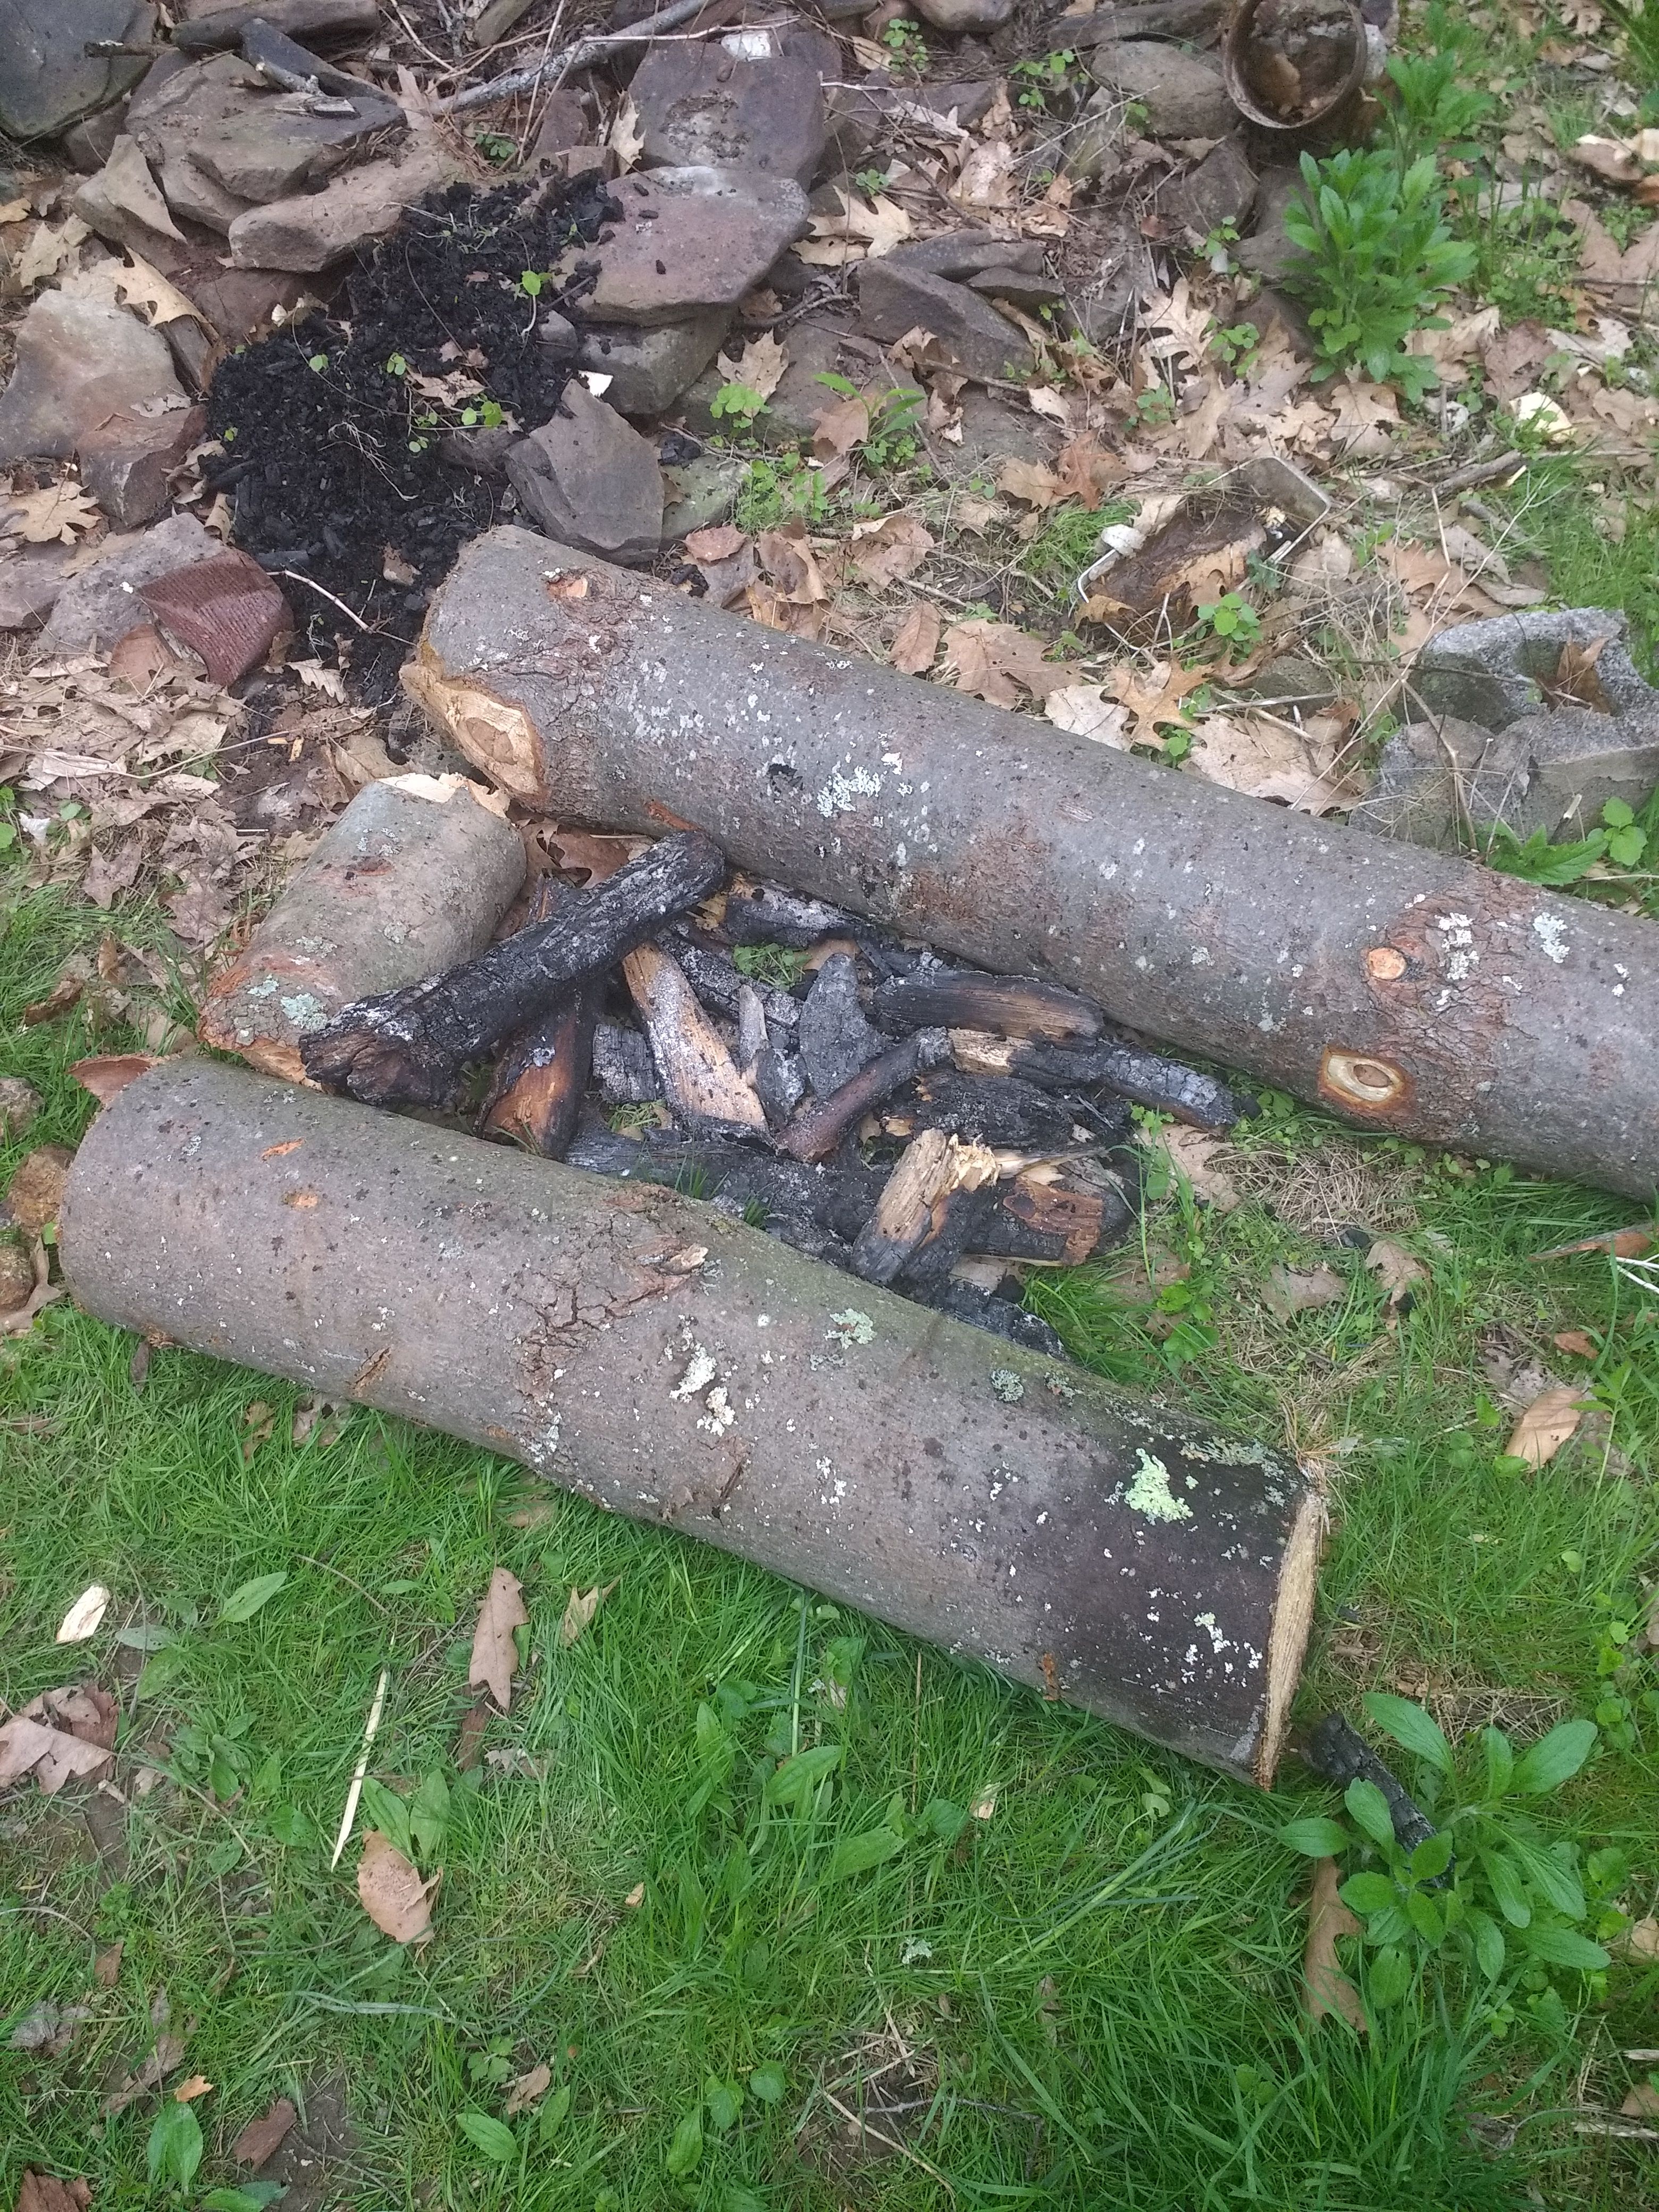
Figure 11. Base of the ore roasting fire.
Once the base was built, the remaining wood supply was cut into sections and stacked next to the pile. To create a strong bed of coals for roasting the ore, a small fire was started in-between these logs using some extra pine sticks. I pre-cut the wood because the next step needs to occur rapidly before the fire can spread to much.
The next step is to start stacking the cut logs in alternating layers ontop of the existing fire. I put the larger logs and hardwood on the exterior of the log stack and put the softer pine in the center. I repeated this layering step 2 or 3 times before I started adding ore (Figure 12). This would provide a nice hot coal bed to roast the ore. The reason why I used hardwoods on the outside is that they burn much slower than the soft pine. This means that they will crumble last and the heavy ore will be contained within them as the fire burns. Unfortunately, I did not gather enough hardwood and had to use pine for the last few layers which led to the roasting pile collapsing later on. Time is of the essence in this step since the wood starts igniting as soon as it is added to the fire. I did not want to start the fire after the stack was completely built because it would have been difficult and would not have supplied as strong of a fire. It also would be likely to burn uneven which is not ideal.
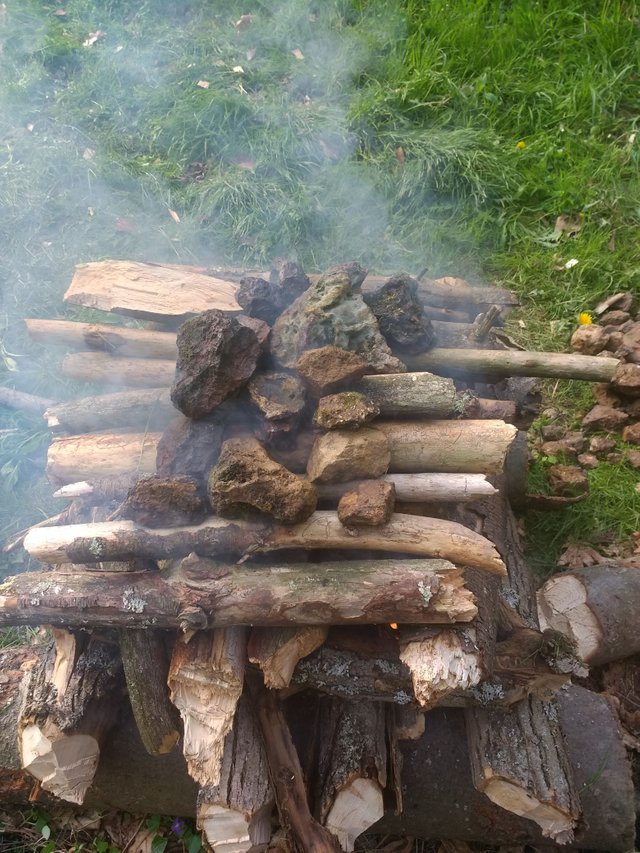
- Figure 12. Ore being added to the wood-stack as the fire begins to spread upward.*
Layers were added until no more ore could fit on the pile and a few additional layers of wood were added to the top after that. The fire can be seen spreading in Figure 13 below. As mentioned previously, I did not gather nearly enough hardwood and it only lasted for the first few layers.
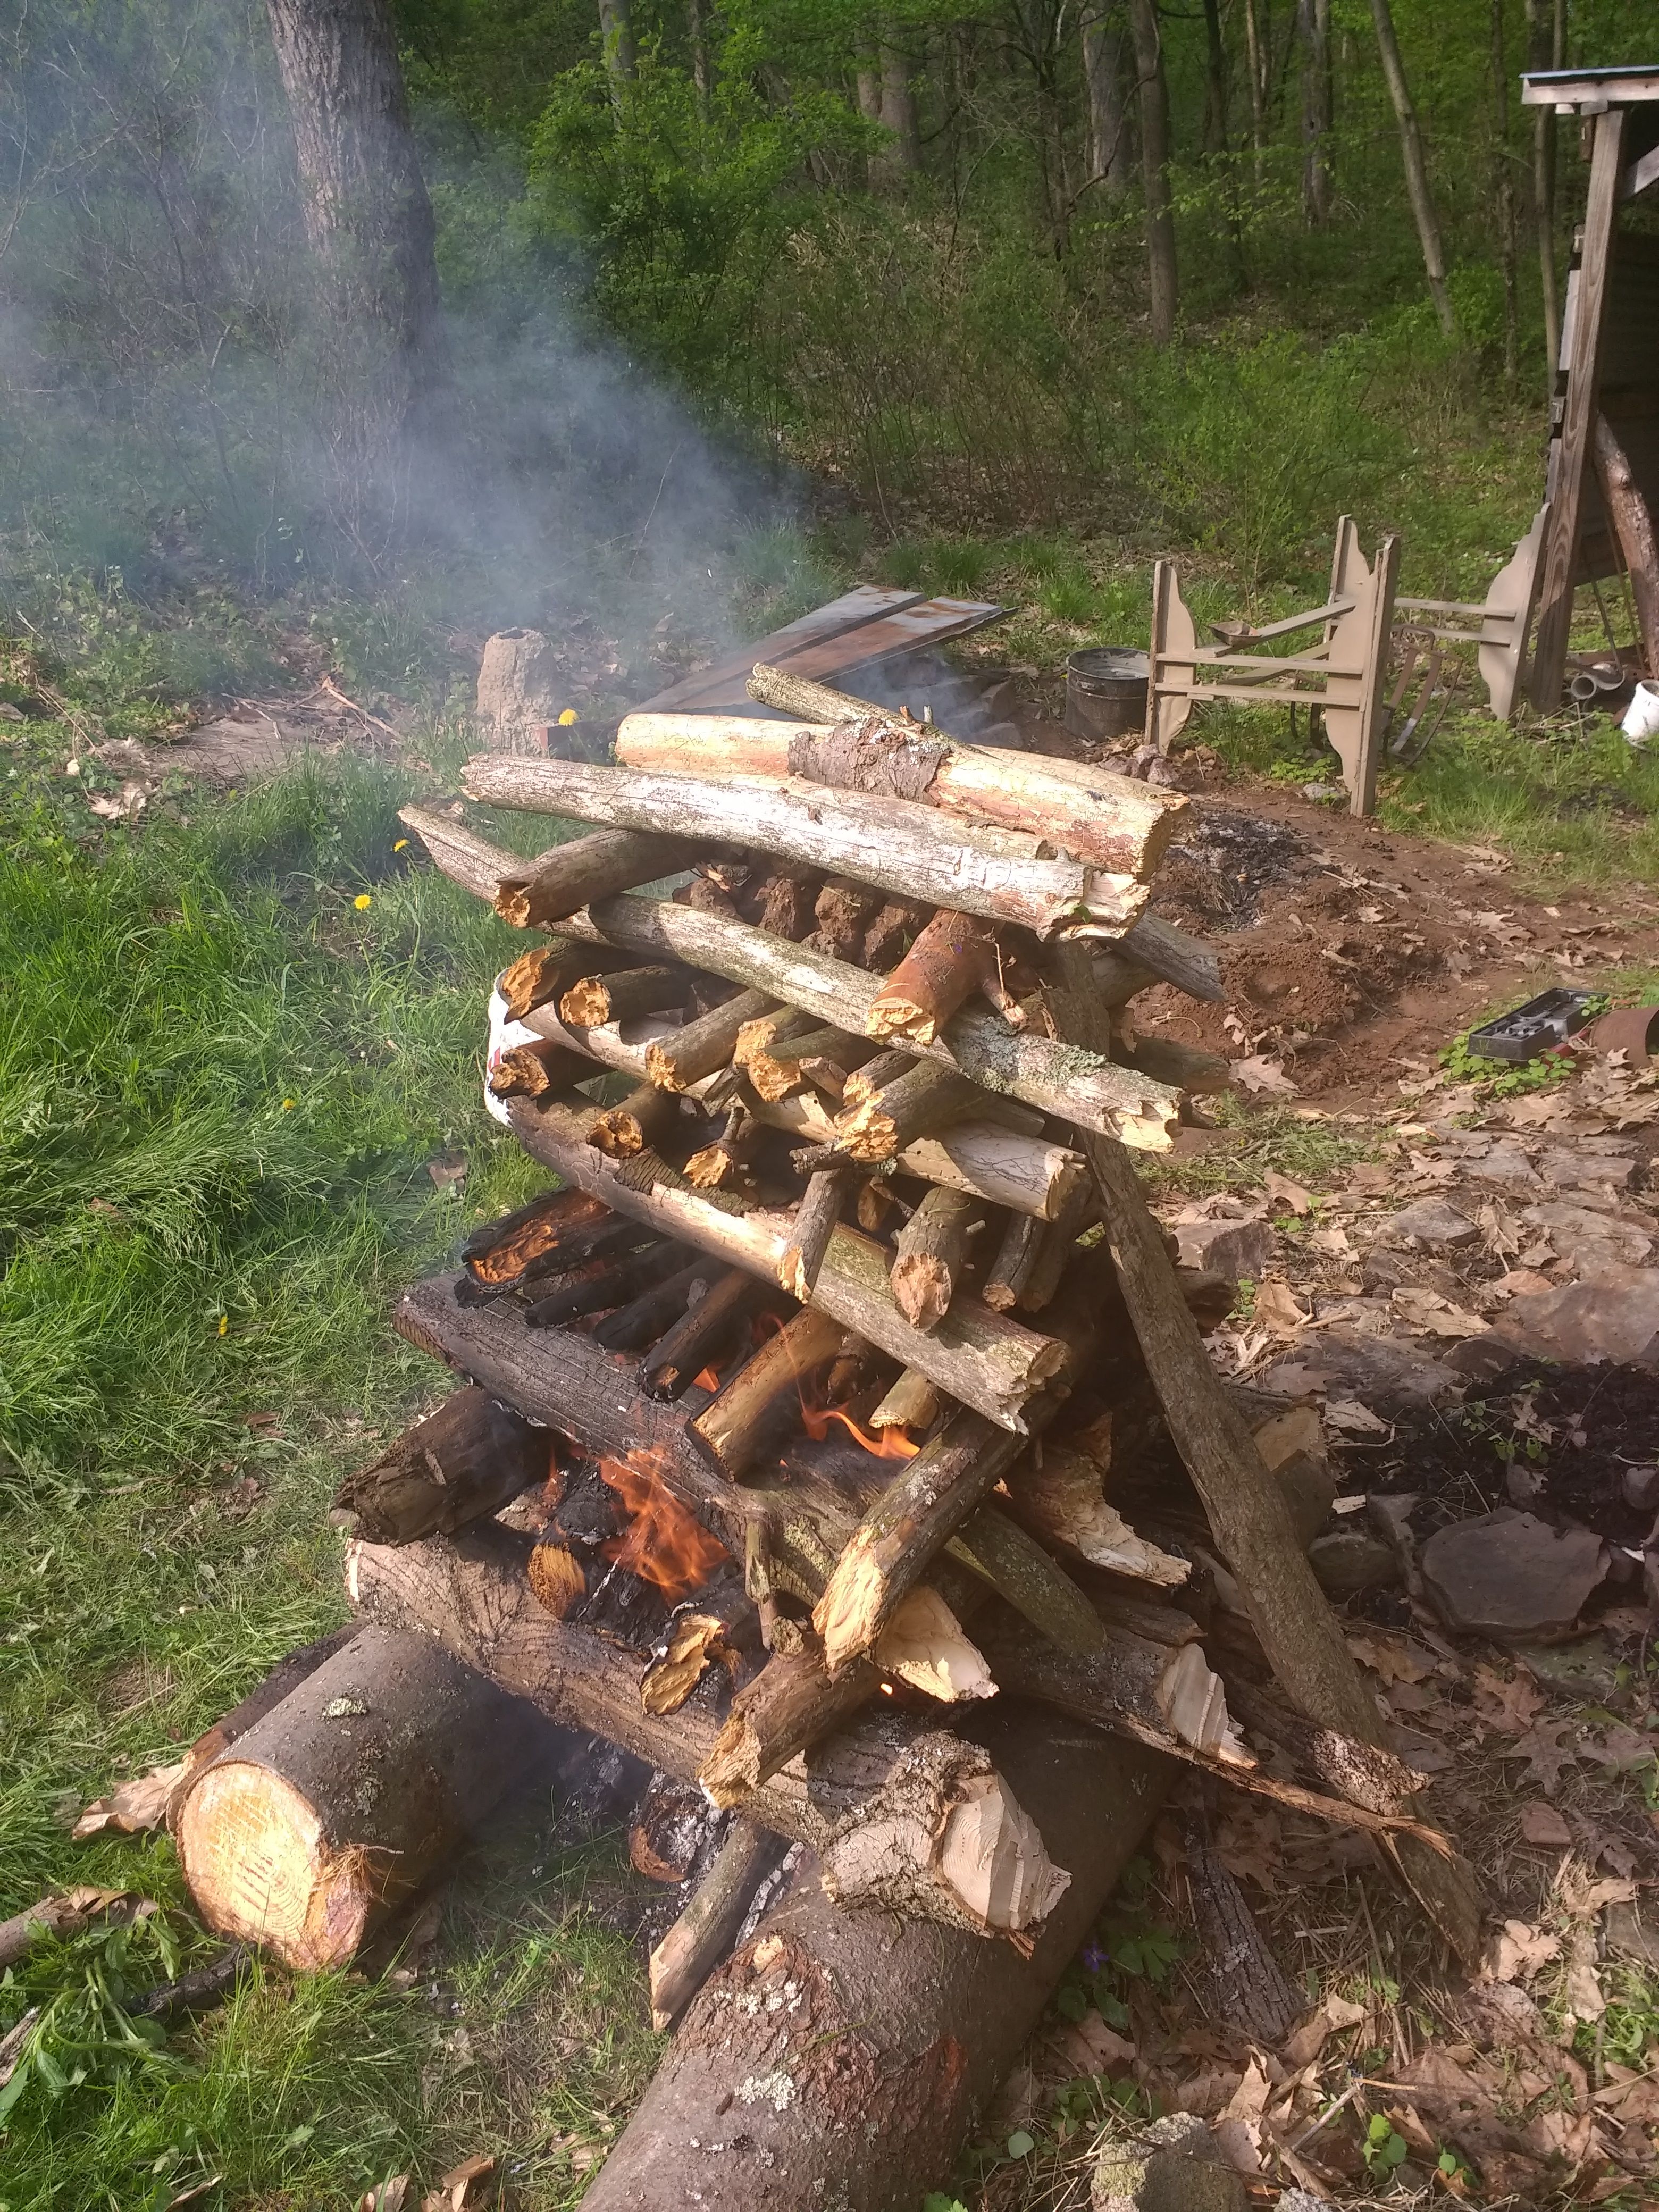
Figure 13. Completed ore roasting stack starting to blaze away.
Since I did not gather enough hardwood, the pile eventually fell over and I had to rebuilt it into a more standard campfire as shown in Figure 14.

Figure 14. Ore roast pile after reconstruction.
The ore was brought to a nice red heat as seen in Figure 15. As mentioned previously, this drives off a fair amount of impurities and yields and overall higher quality final product. In addition, it helps make crushing the ore in future steps much easier.
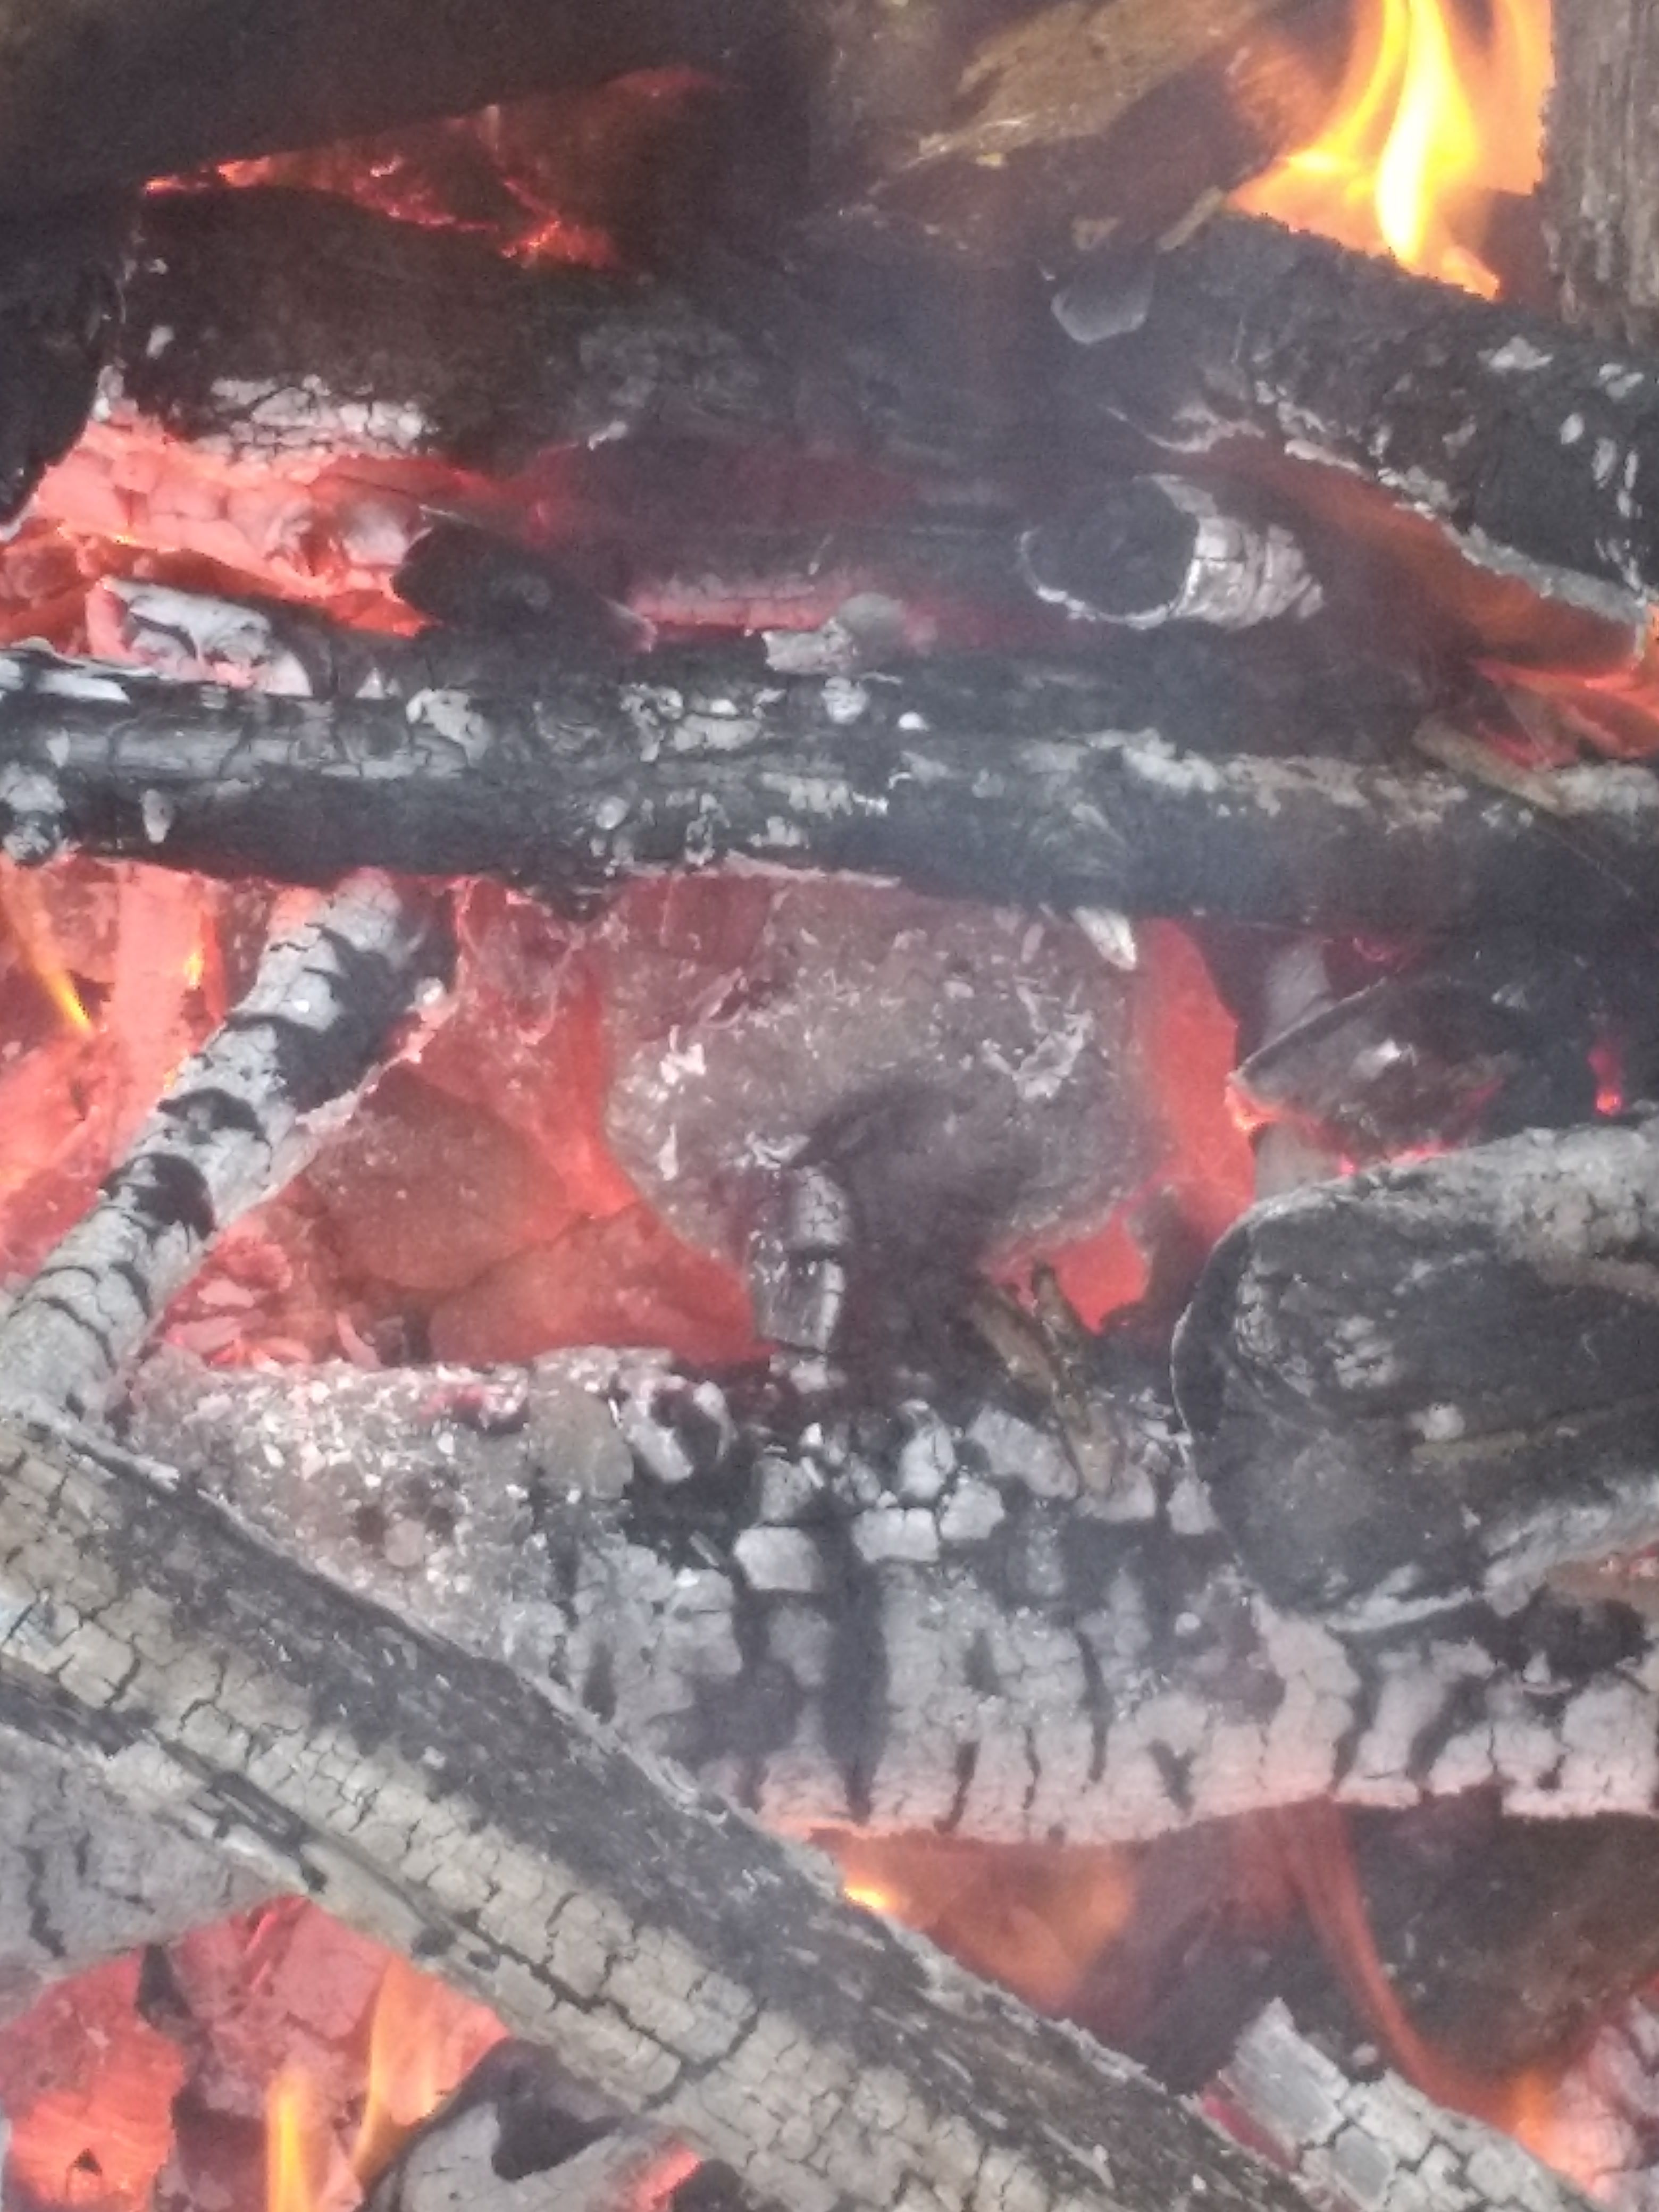
Figure 15. Glowing red ore.
This fire was maintained for a couple of hours and any ore chunks that fell out were picked up with tongs and thrown back into the bed of coals. The ore was then left overnight to cool and I reinspected it in the morning. I found a few additional pieces that were not actually ore and separated them out. Interestingly, I found some geodes in with my ore that contained crystals. The ore after roasting turned a brighter red and appeared to have rusted in multiple places. It rained during the night which is part of the reason why rust appeared.
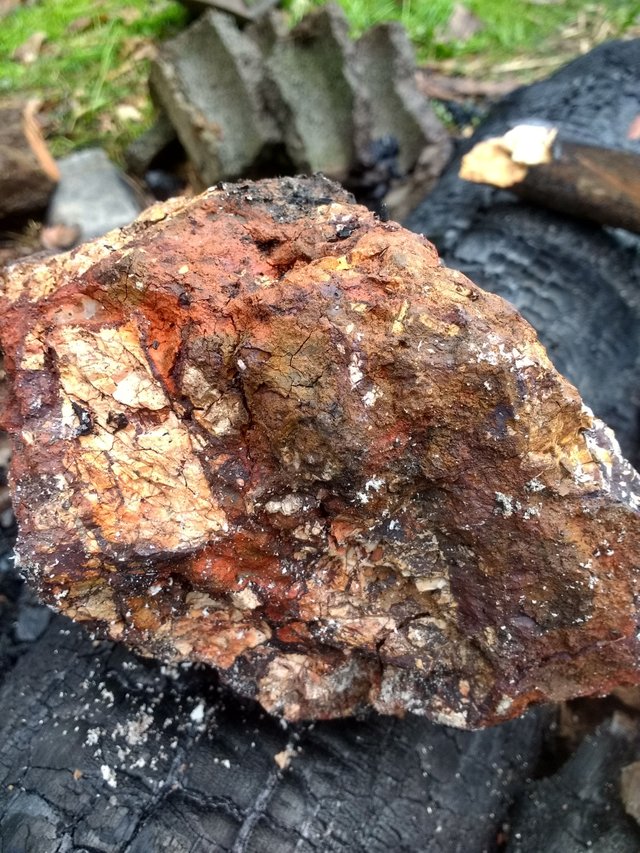
Figure 16. Ore after cooling off and being exposed to rain.
*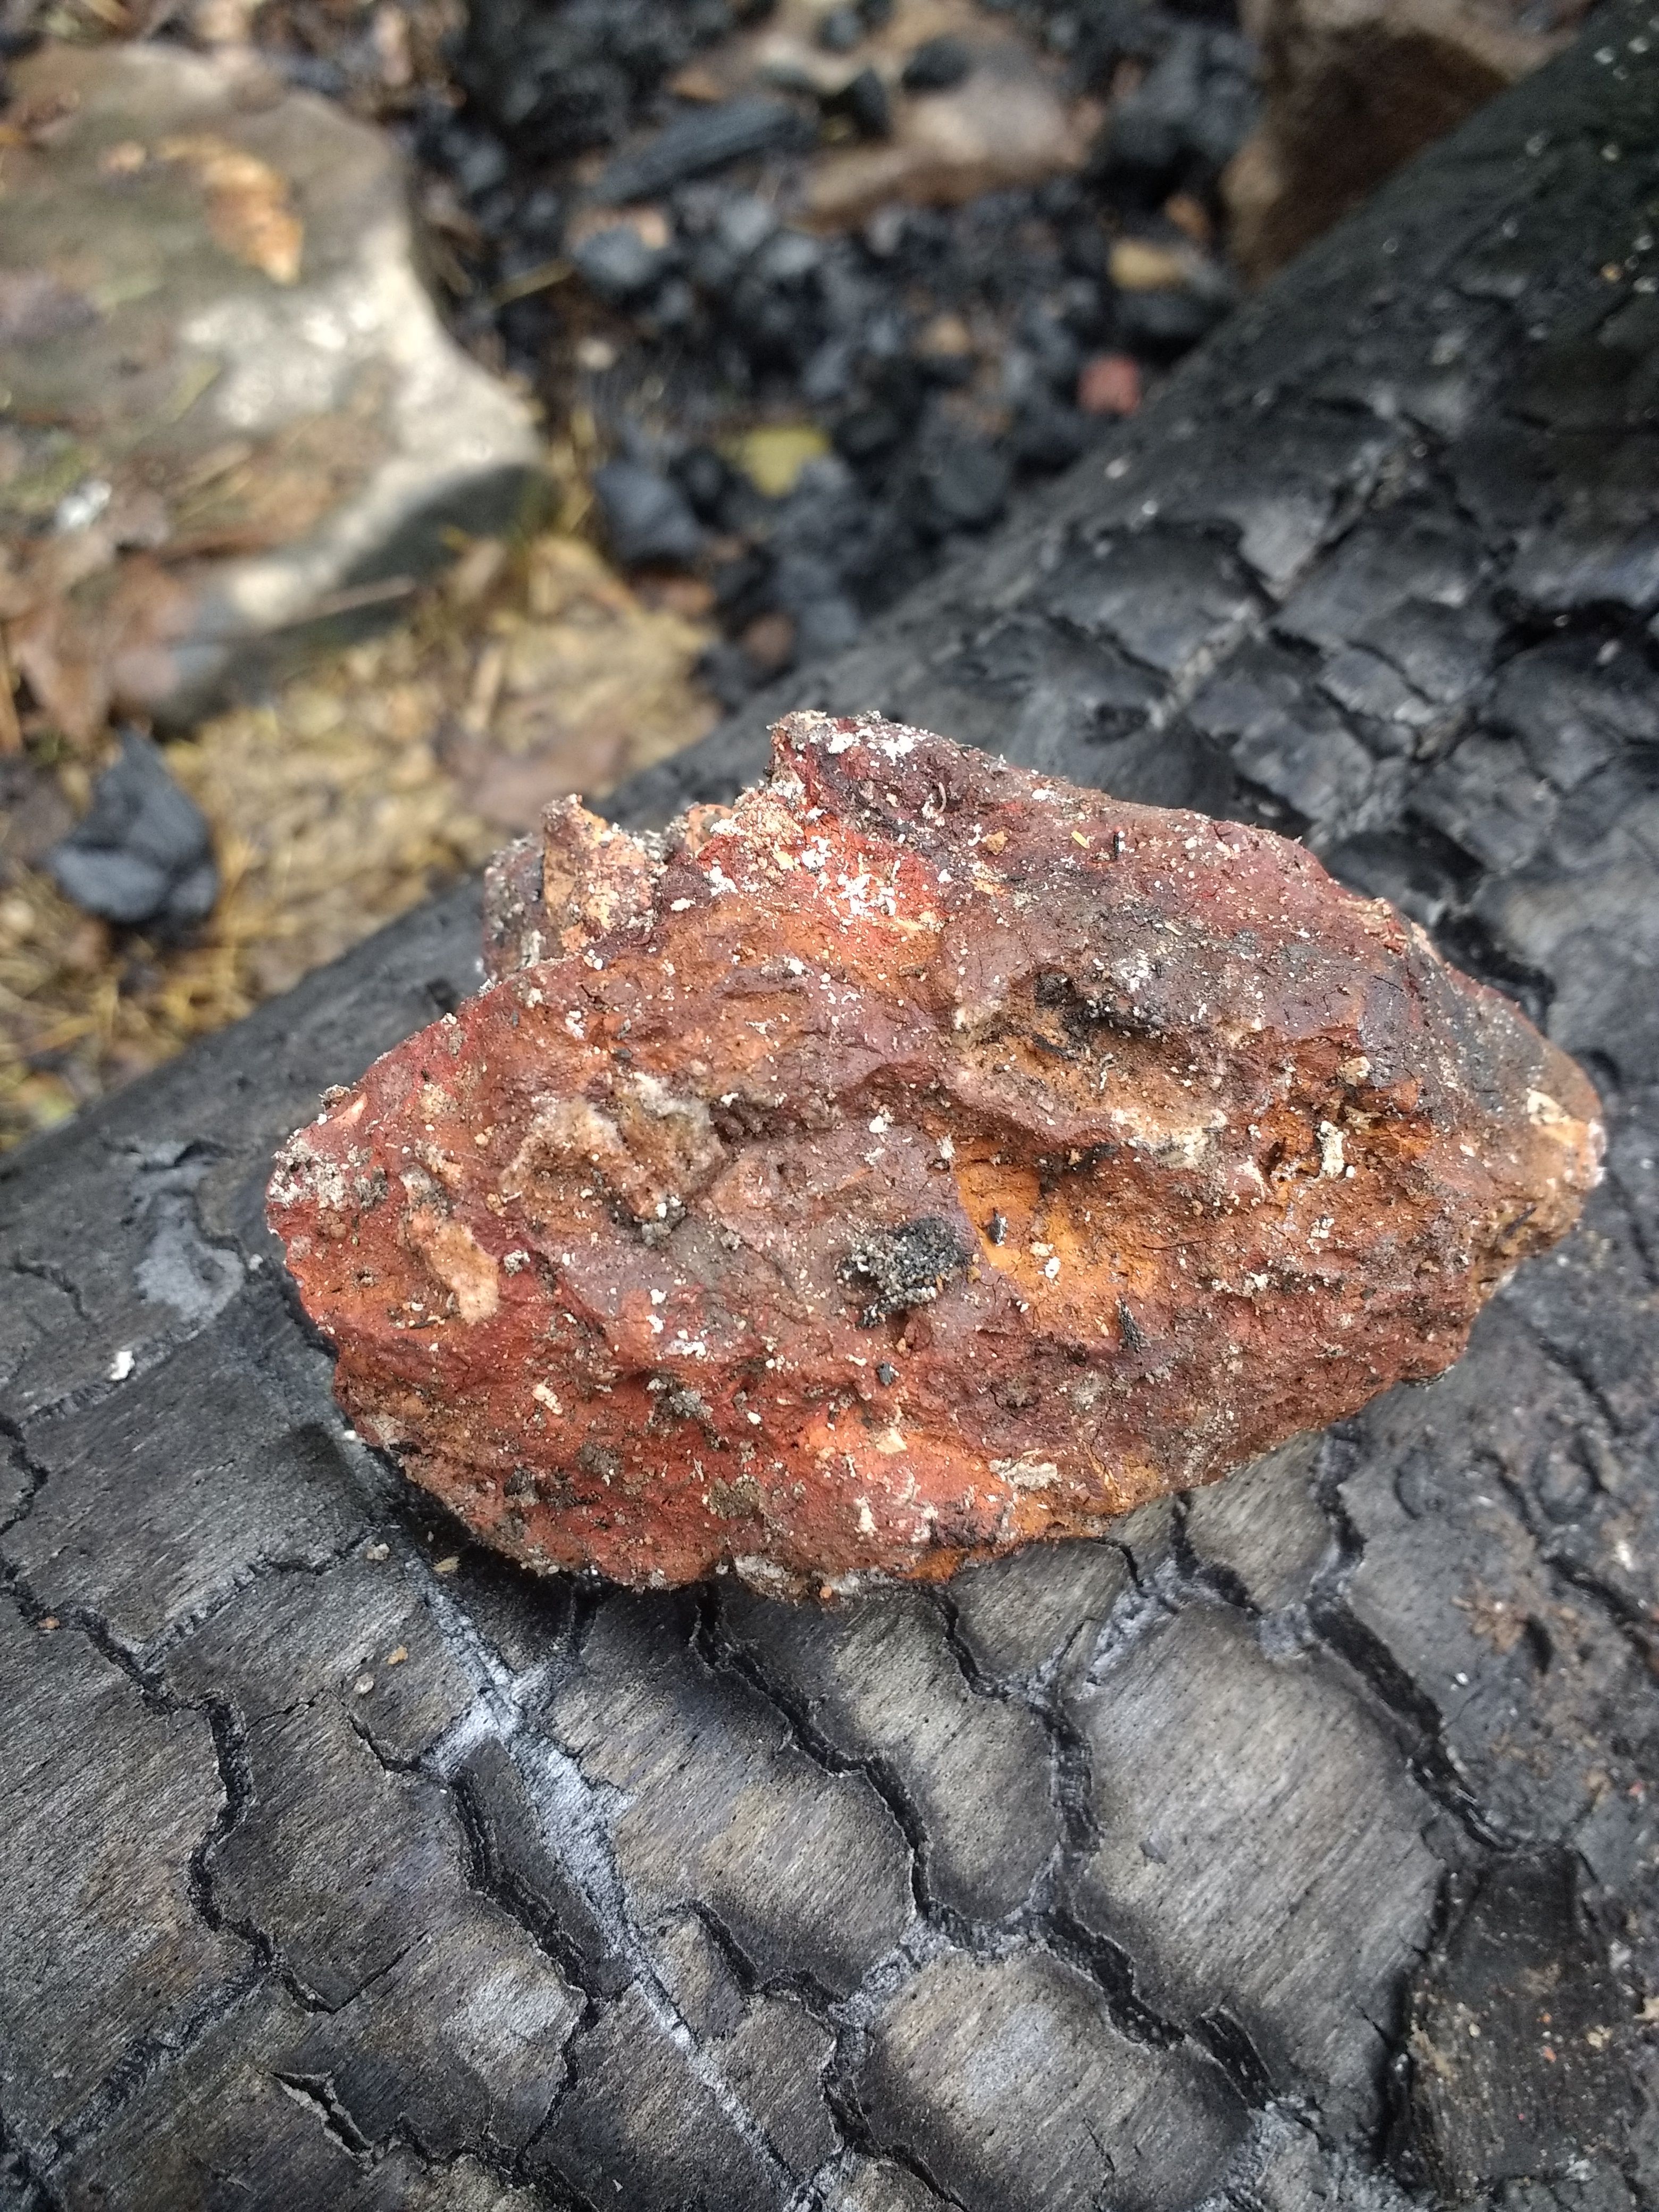
Figure 17. Another piece of roasted ore.
This is where I am so far and I will continue to post updates as I make progress on this project. In addition, I am in the process of making a Discord which will hopefully be up and functioning this weekend. I will also be posting soon about my latest plasma project: A Plasma Cathode Electron Gun. I need to work out a few more kinks with this one then I will write an article about it. As usual, if you have any suggestions for experiments or tips on how I can improve my writing, please let me know in the comments below. I hope you learned something!
References
Figure 2: http://lonetownwood.blogspot.com/2016/02/how-did-sanfords-forge-operate-we-dont.html!
Hello @hellfire-labs this is going to be a fun project to follow!
No doubt you have seen the primitive technology youtube channel where he does something similar and might be a good source of ideas.
I have seen primitive technology and I will say his natural draft furnace is very impressive. My only concern about that furnace type is that the air flow is not as penetrating and regulated so you can burn your iron. He was also using low grade bog iron ore (seems to be all he could find) and I have some pretty high quality ores in my area which works to my advantage. I actually got into blacksmithing when I was in middle school thanks to Runescape. I started heating pieces of rebar up in a campfire and smacking them on rocks with a hammer.
Hard to imagine they had to manually make coals back in the day, I imagine that job didn't have good longevity stats. Are you planning to make spears to invade neighboring villages with?
Depending on the Iron yield, I will probably make a few knives and possibly an axe. I have about 300lbs of good quality ore at the moment and will probably end up doing a 100lb ore run to start and see what my yield is. From there, I will determine if I need to do bigger or smaller runs to get workable amounts of iron. Hell, if this furnace works decently I will gather a bunch of ore and make a sword from scratch too!