WINDOWS ZCASH MINING TUTORIAL (AMD)
Have you ever wanted to learn how to mine, but got turned off by the complexity? Well in this tutorial we're going to start at the very beginning (feel free to scroll further down if you're a bit more experienced :D).
INTRODUCTION/OVERVIEW
There are 4 things required before mining (in this order).
- Crypto Wallet
- Crypto Address
- Mining Pool
- Mining Program
CRYPTO WALLET: This is essentially your own personal bank. With your wallet you will be able to send, receive and store your cryptocurrency. Within this wallet is where our address will be generated and stored.
CRYPTO ADDRESS: Our address is essentially an identifier that allows the currency to find it's destination. This is very similar to your banks Routing Number. We will be able to generate our own personal address using our wallet mentioned above.
MINING POOL: A "pool" is a group of "workers" (systems mining around the globe) contributing their computational "hashing" power in order to find blocks.
MINING PROGRAM: This is the program that will allow the mining process to initiate, this is the last step where everything we did prior will fall into place.
AQUIRING THE WALLET (ELEOS): https://github.com/zencashofficial/eleos/releases
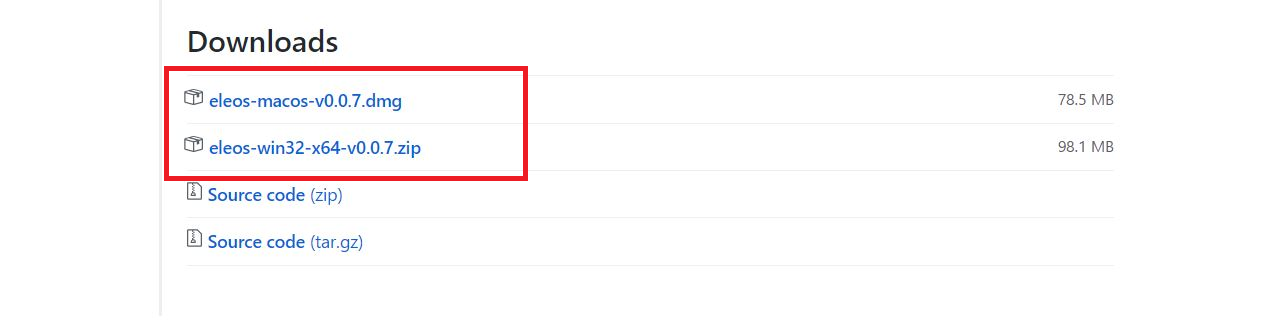
Click on the appropriate OS link at the bottom of the page. This will begin to download the ELEOS Zip file.
Once the zip file is complete drag it onto your desktop (or a preffered location you won't forget) and extract the file.
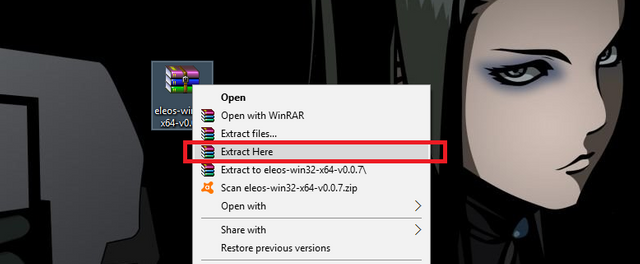
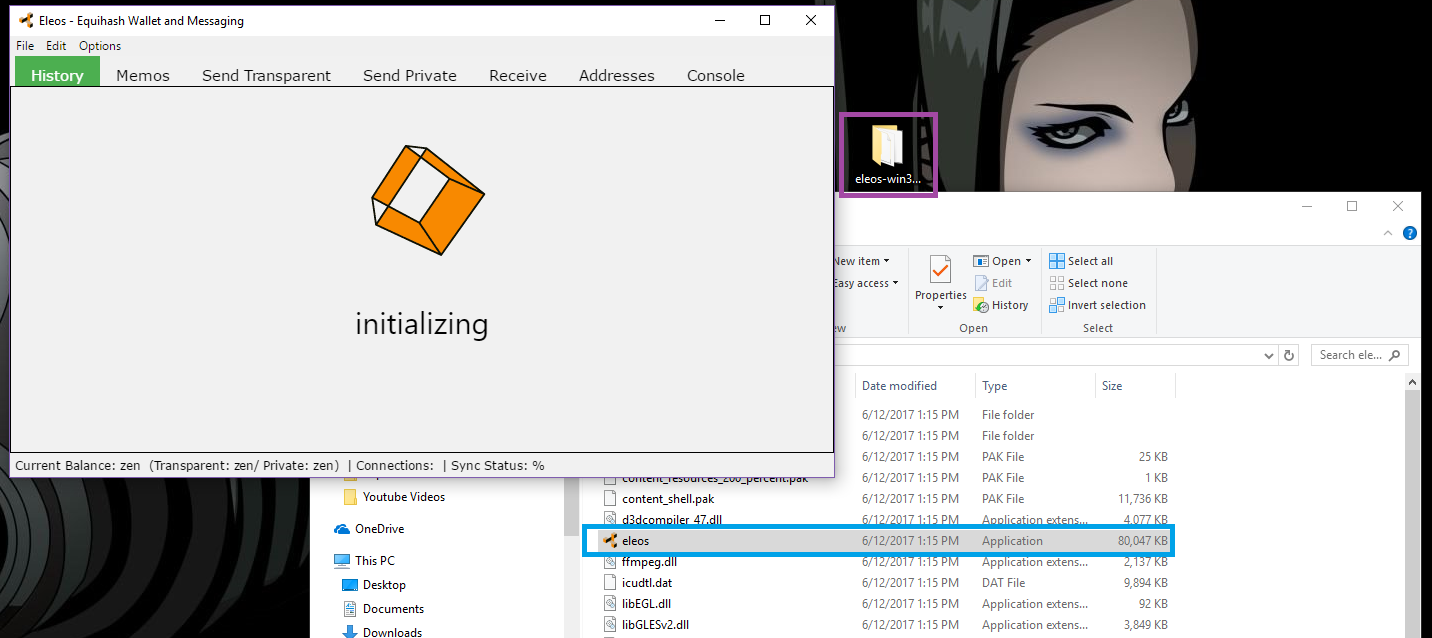
Extracting the ZIP file will create a "eleos-win32-x64" folder. We will double click on the newly created folder and start the "eleos" application inside.
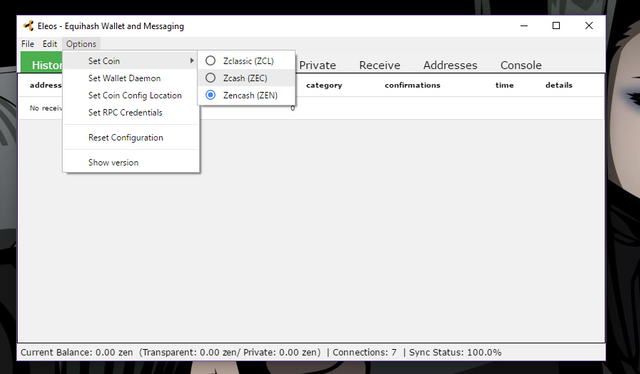
In this step you can chose to synchronize all 3 currencies (ZEN,ZCL and ZEC) or simply press on the Options tab above and switch the currency to Zcash to begin synchronizing the blockchain.
GENERATING THE ADDRESS
Lastly we need to go into the "Receive" tab and click on "New Transparent Address" (pools will not accept private addresses so make sure you press on transparent instead of private!).

Once you have created your new address, save it somewhere safe so you don't lose it! We are half way there, Step 1 & 2 complete!
CHOSING A MINING POOL:
I will be showing you guys how to mine using flypool. (https://zcash.flypool.org/)
Click on the link I provided uptop and scroll down until you reach the "How to connect" section. In this section we will start piecing together our own configuration file for the miner.
We will need to copy the "Sever" that best fits the location we live in (In my case us1-zcash.flypool.org shown in the blue box below), then we will need to copy the "Full examples" line (Highlighted it in orange below) under the Windows - AMD Claymore Miner mining software.
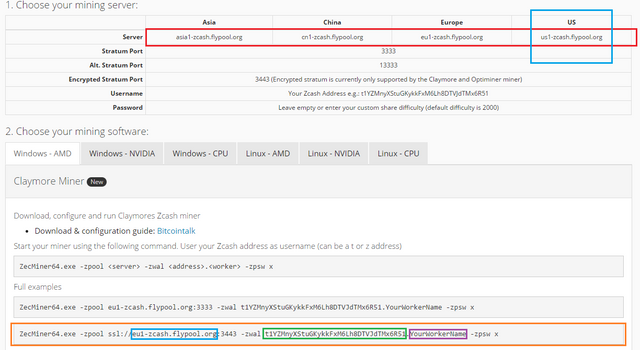
Once we have this example line copied and know our server, we will open any word document program (I'll be using notepad) and paste the line.
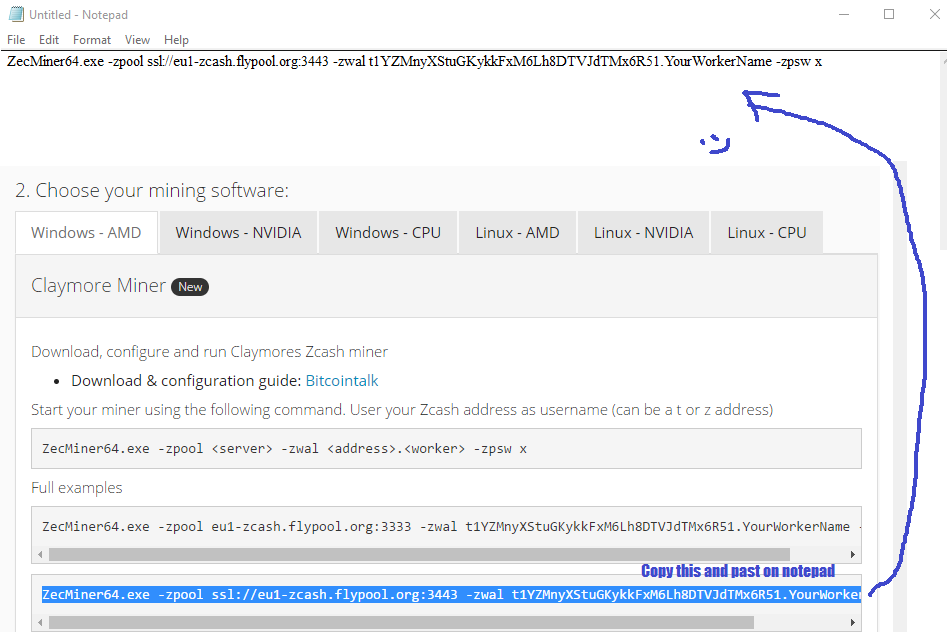
The last thing we need to do is replace the information in the "example line" with our own information. We will need to replace the example SERVER (highlighted in blue below), example ADDRESS (highlighted in green) and give our worker a name (if we want to, not required [highlighted in purple]).

Once we have our custom line created, we will copy the text (we will use this line for our miner later on) and save the notepad document.
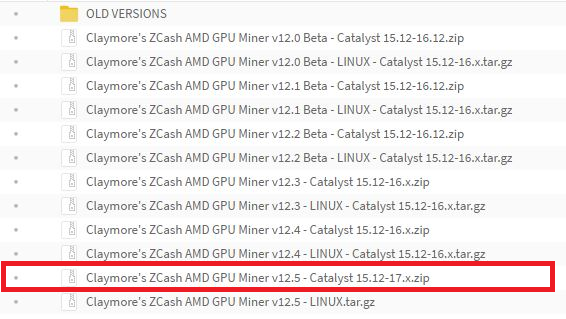
THE MINING PROGRAM: Claymore Zcash Miner V12.5 (https://mega.nz/#F!P0ZjFDjC!Cmb-ZRqlbAnNrajRtp4zvA)
Woooo we made it to the end guys!! Just one last step to go.
Alright, lets get to it. We are going to click on the link I provided above and download the latest version (currently 12.5).
Just like our wallet, we are going to extract the ZIP file into a desired location (my desktop in my case) and open our newly created folder.
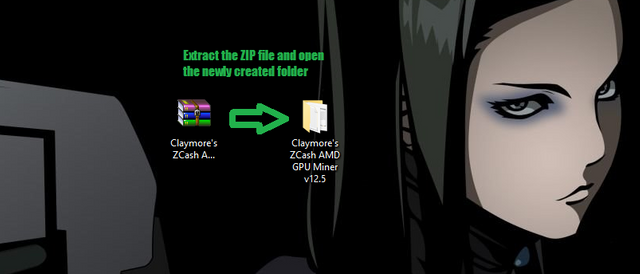
Inside of the "Claymore's ZCash AMD GPU Miner v12.5" we will find a batch file named "start". We are going to right click this file and press edit. This will open a notepad document with mostly empty contents inside.
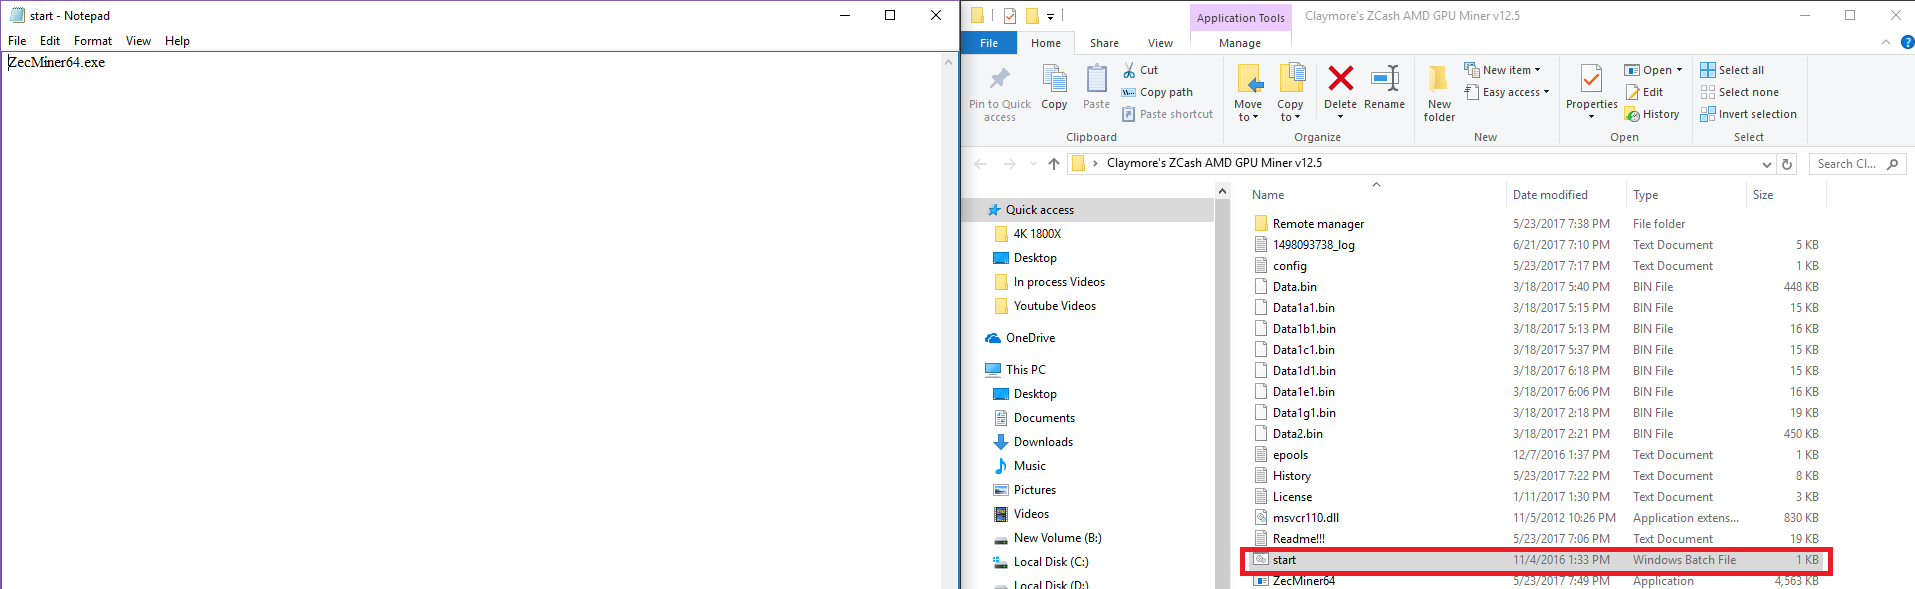
We will then delete the "ZecMiner64.exe" from the original batch file and paste our text line we saved earlier.

Once we paste of custom config line we will click file and save.
Lastly, the moment of truth!!
We can now close the "edit" notepad batch file document and double click the batch file. This will launch the miner (if everything went correctly).
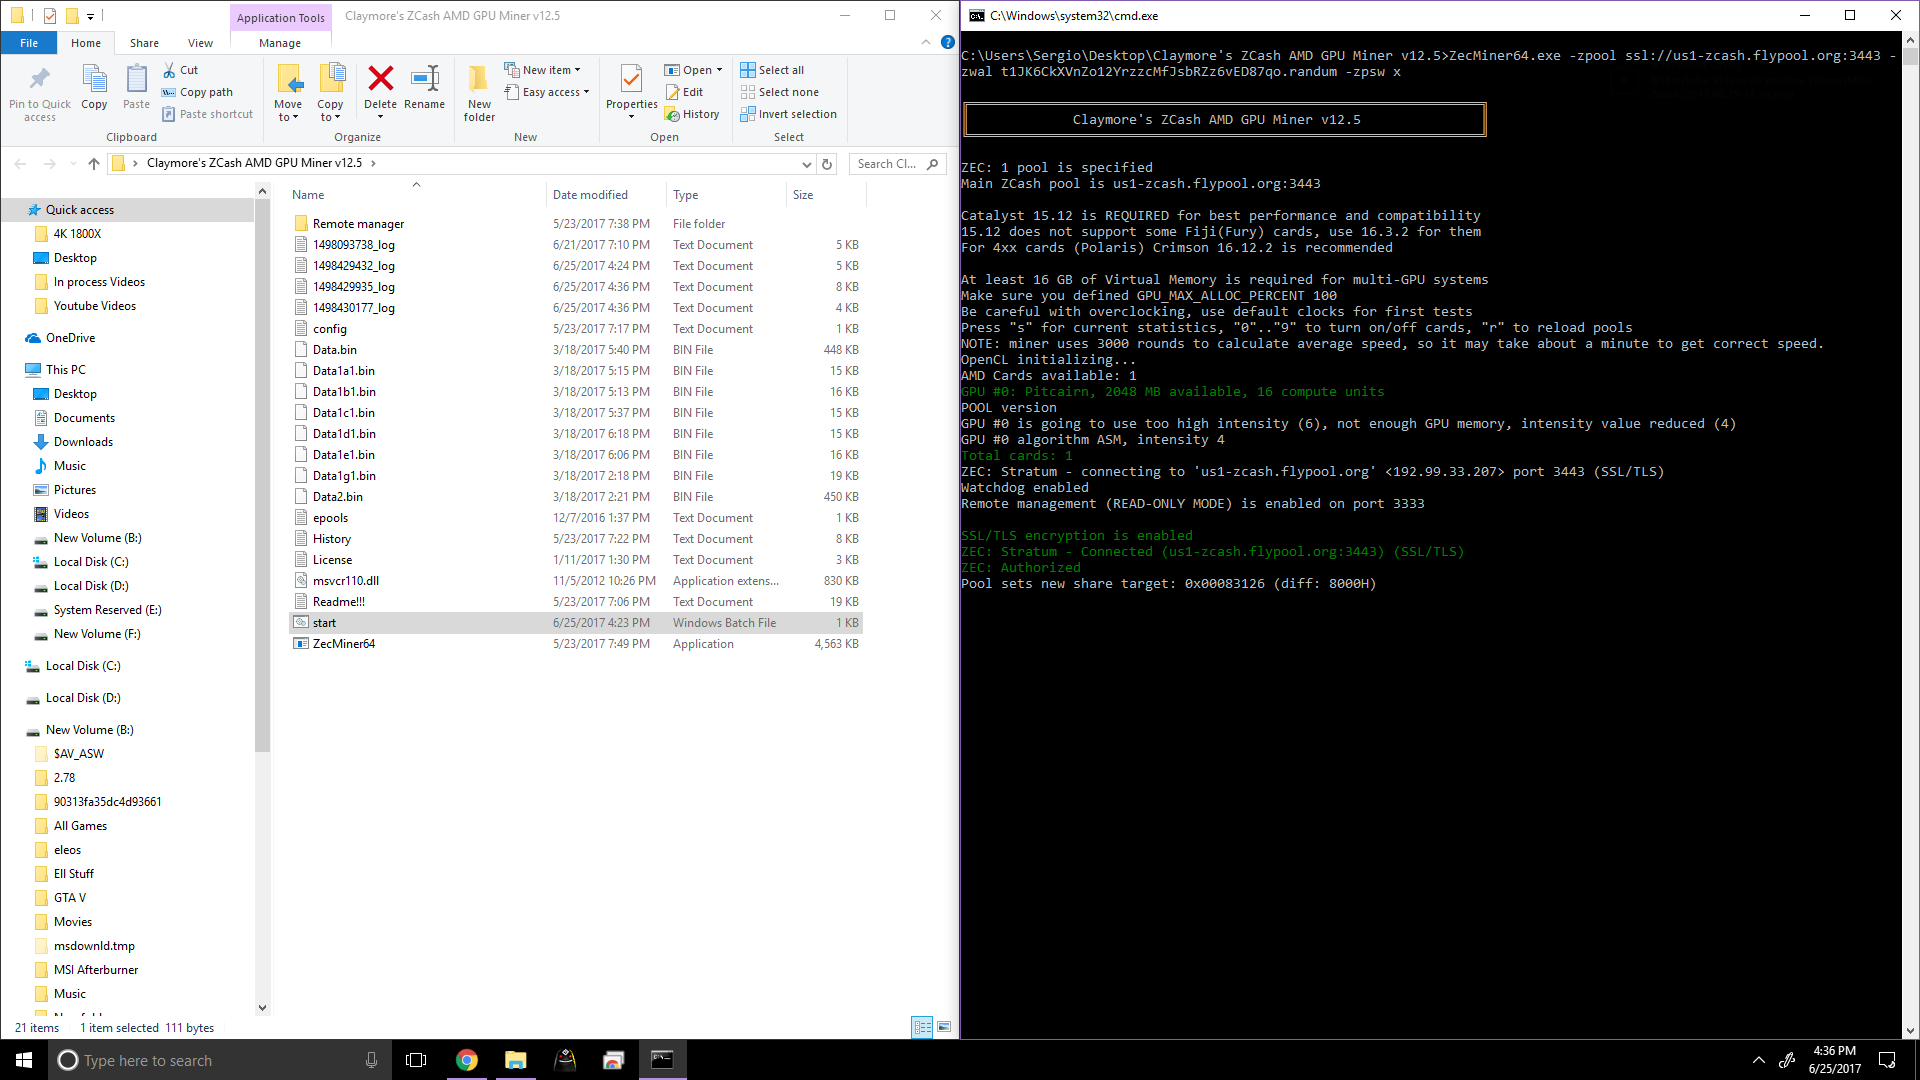
Congratulations, you have officially setup your very own Zcash Mining Rig!!
Awesome Mark! great tutorial. Im meining Zclassic at the moment!
haha yea that's def me, knee deep with my crypto pickaxe in hand