How to build a DIY Bench Grinder Stand
 !
! !
!When it comes to getting things done, sometimes you have to improvise. On my latest project I am building a custom stand for my bench grinder. When it comes to setting up everything that I am doing in the shop, some times I have to use re-purposed material. I use all of the little bits and bobs that I find lying around the shop and the farm.
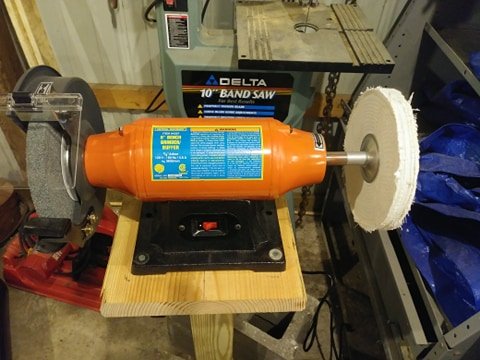
It was quite a shock for me to get my new grinder fired up. It moves at 3600 RPM and it roars like a beast. It started shaking and rumbling all of the metal work table...it even made things start to vibrate off and on to the floor. It didn't take any time at all to realize that I needed it to be on a stand and not connected to anything else.
After checking out a few pictures on the internet I set to it. The Inventor and I headed out to the garage today to get everything sorted out and put together. We used a piece of treated 4x4 post, some 2x12, some 2x4 and some 3 inch decking screws.
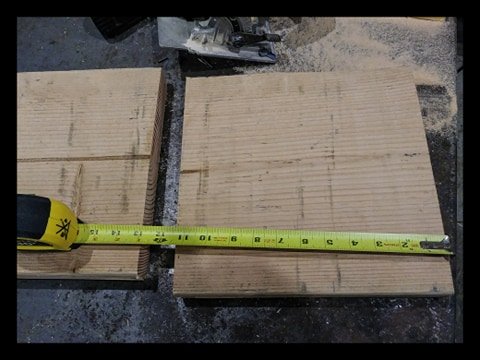
We started with making the platform. It is the base of the stand where the grinder sits on. What we did was started by cutting it to the length that we wanted which was 11 1/2 inches.
 !
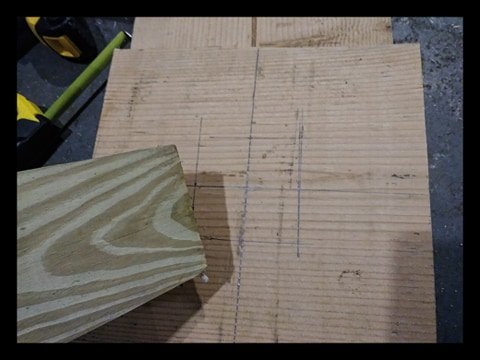
!After that we sectioned off the platform. We made two lines that would intersected right in the center. From there we measured out to make other cross sections. The idea is that we would be able to stand the 4x4 post up up on top and put a couple of screw in it to old it in place. Then we flipped it over and made the same marks so we knew exactly where to put the screws in from the top.
 !
!It was after that we stood it up on the floor to see how high it would be. I wanted to make sure that it was not too short. I remember making knives on my bench grinder down in Southern Missouri. I would stand for hours hunched over and it would leave me with such an aching back.
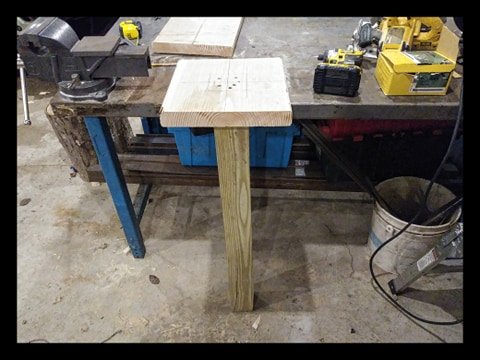 !
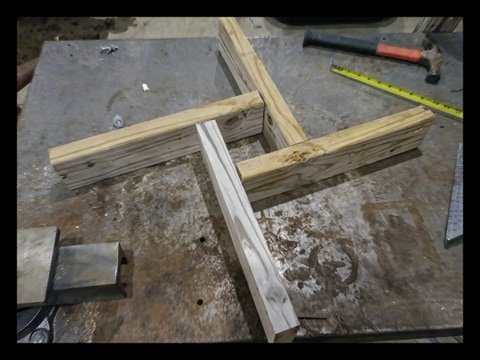
!It turned out that the height of the post was perfect. So I should be able to stand there for a while without having any issues! The only thing it needed now was something to sturdy up the foundation. We used 4 pieces of 2x4 cut to 16 inches long. We put them in a pattern that the would maximize stability with minimal construction. As I was working through this idea with The Inventor I explained that if you want something to be stable...you need triangles. So this design would create triangles on each side and if you push against the grinder, you are actually pushing against two of the points on the triangle.
 !
!I thought that was going to do it. I thought "shoot this is going to work perfectly". Wouldn't you know it..it was a little bit trickier than I thought. We ran into several issues including wonky wood and floor issues. It wobbled a bit, and we had to keep making adjustments. That's ok right, now it will work perfectly.....well, I mounted the grinder and turned that mother on.
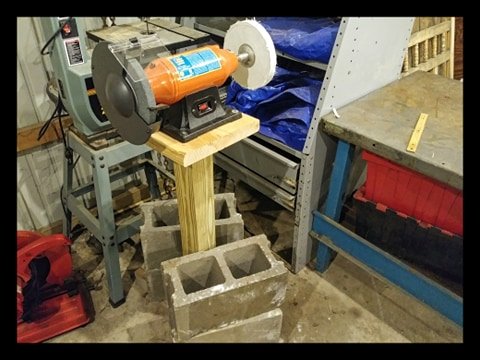
It danced and vibrated all over. It whirled like a jet engine and almost sounded like it was going to take flight. I tried holding it and even putting a foot on it and it started to carry me away haha. I finally got it sorted out when I stacked two cinder blocks on it. Nope, two didn't do the trick. I ended up stacking 4 cinder blocks on that thing just to hold it down. Now it purrs like a kitten and is ready to work.
I hope you all are enjoying our adventure as much as we are. Stay tuned for more knife making excitement.
Be well
~The Yeti
https://steemit.com/@freedompoint
https://twitter.com/the_alpha_yeti
https://www.instagram.com/thealphayeti/


Hi @freedompoint, your post has been upvoted by @bdcommunity courtesy of @hafizullah!
Support us by setting us as your witness proxy or delegating STEEM POWER.
JOIN US ON
Congratulations @freedompoint! You have completed the following achievement on the Steem blockchain and have been rewarded with new badge(s) :
You can view your badges on your Steem Board and compare to others on the Steem Ranking
If you no longer want to receive notifications, reply to this comment with the word
STOPTo support your work, I also upvoted your post!
Vote for @Steemitboard as a witness to get one more award and increased upvotes!
Thank you for using the #howto and #diy tags. This post has been manually rewarded with BUILD tokens in the form of an upvote with our @build-it.curator account. You can buy, stake, and exchange our "BUILD" tokens for steem on steem engine and Steem Leo's exchange
Build-it is a central hub for DIY and How-To projects. It's an opportunity to find and share the latest in DIY, and How-To tutorials. The recommended tags required when creating a DIY article are #diy, #build-it. #how-to, or #doityourself.
Chat with us on our discord and telegram channels Discord, Telegram. Are we adding value ? your witness vote will be appreciated! Click here to vote