How to make a 1 week sketchbook, perfect for daily drawings!
The one week sketchbook is a little sketchbook with few pages which idea is to do a daily drawing on it. In this post I want to relate you what I did and where I got the idea.

I found this tutorial in Youtube meanwhile I was searching how to use watercolors.
Hello hello! This time, I want to relate you how I made the little sketchbook I show in the thumbnail. It is something very simple and actually don't take to much time.
When I'm going to draw, I always struggle in front of big pages size, and this type of sketchbook is a perfect and a cute solution to my problem. I want to take back my daily practice but since I finished my last sketchbooks, I found difficult to find motivations to draw new things.
The original tutorial video I didn't found it. So, I decide to watch the video over and over again until I could infer the process,
And here I show you the step by step of how I did it.
In fact, this little sketchbook supposes to have 10 pages, but in my case it has 20. I have added more than suppose to be.
Materials
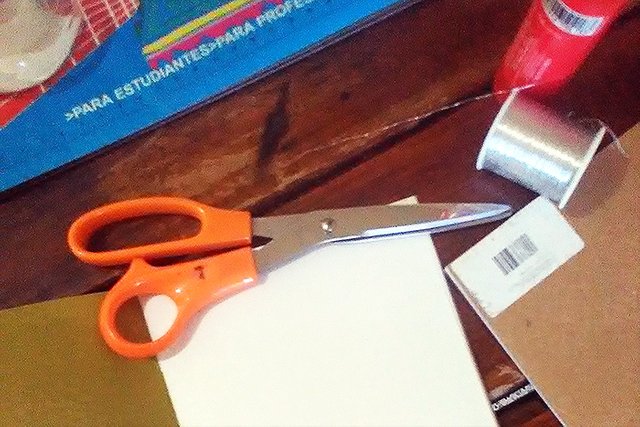
The materials I used were:
- Color cardboard.
- Sketchbook paper. I used one from a block I barely use.
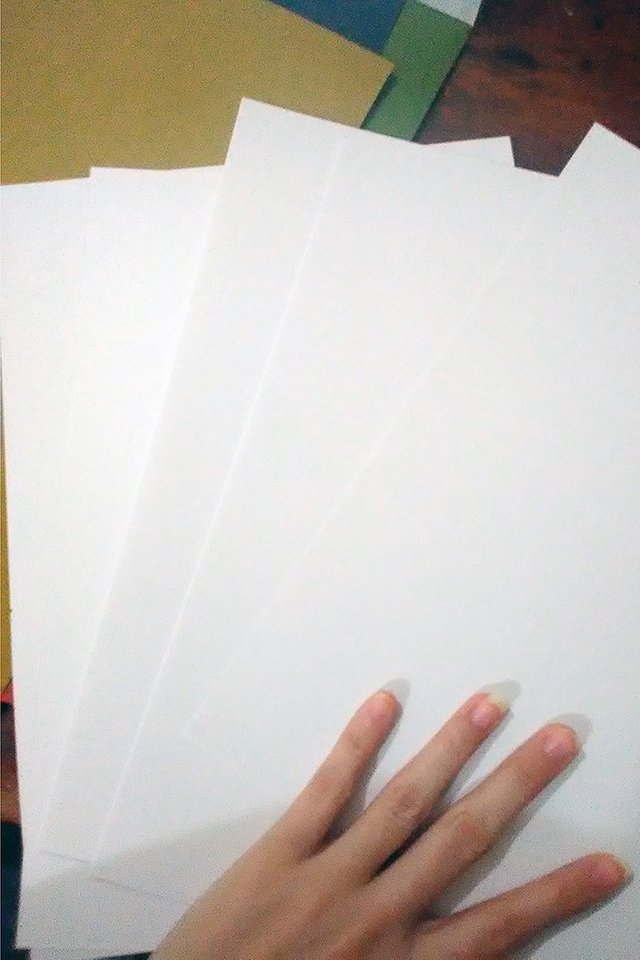
- A needle, yarn and a pin.
- Scissors, glue and a ruler, just in case.
Process!
First, I took the sketchbook paper and I folded it in half. No one by one, all at the same time.
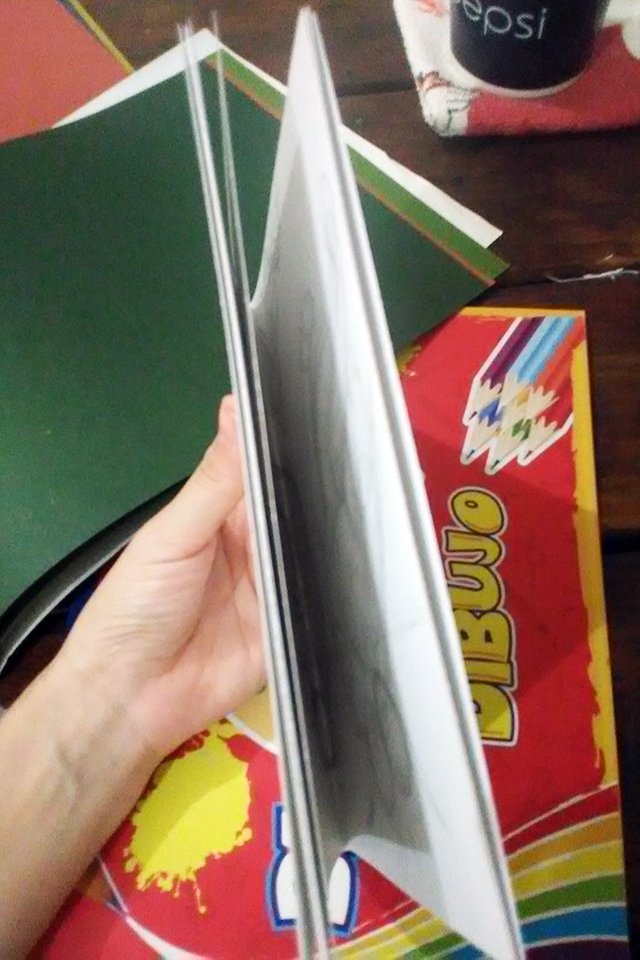
With a ruler, I made some measures for determine where the yarn is going to pass through, to be honest; I made the measures where I thought it look better.
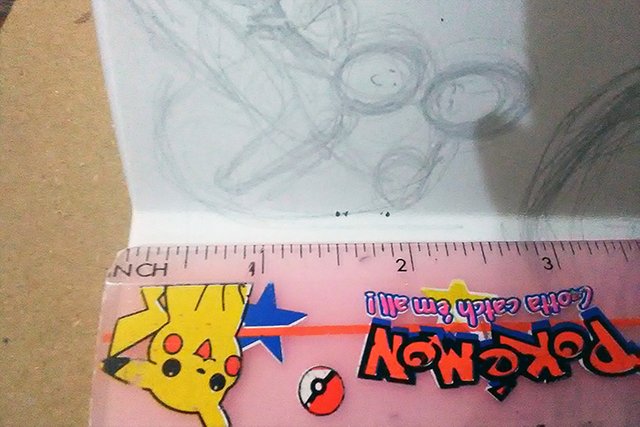
The little holes I made it with a pin, with this I pass through all the pages at once.
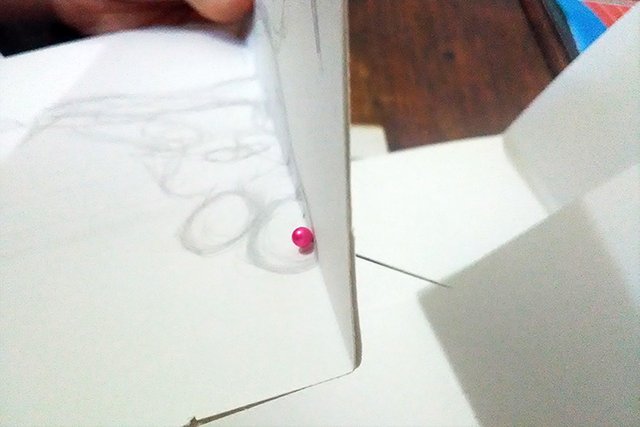
Then, with the needle and the yarn, I passed through the little holes I had previously done. I made this twice. The idea is to make a strong seam but without harming the paper.
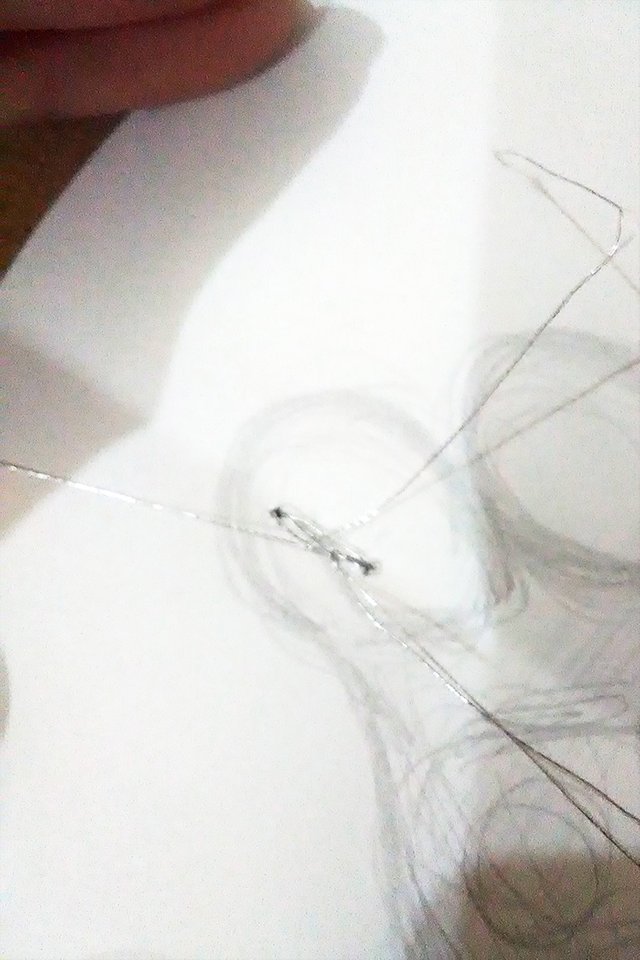
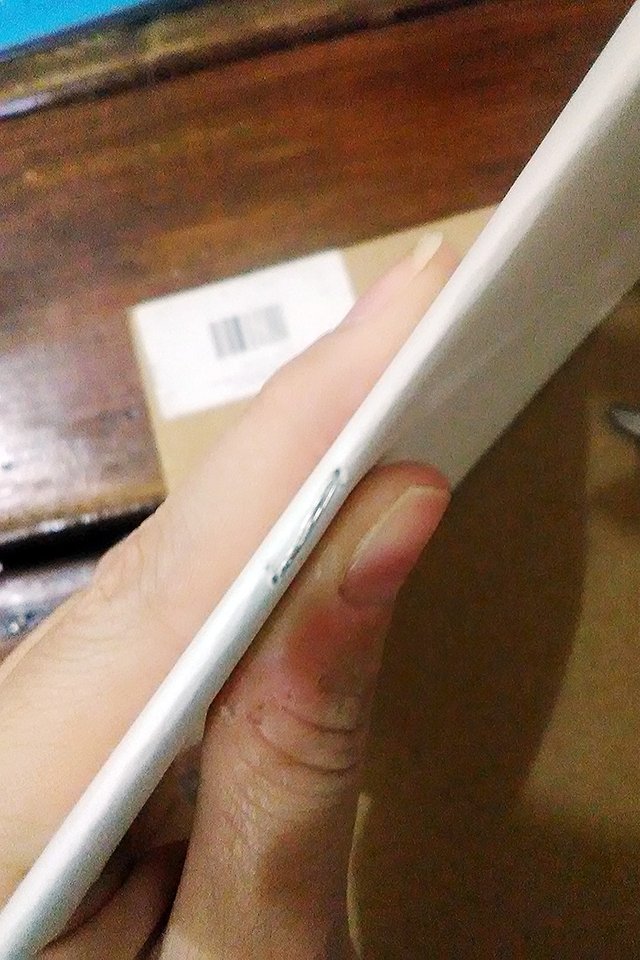
I sew in the same way the cardboard. I put it around the folded sketchbook paper, and then I attached it with a seam. At this point, it looks like a little sketchbook.
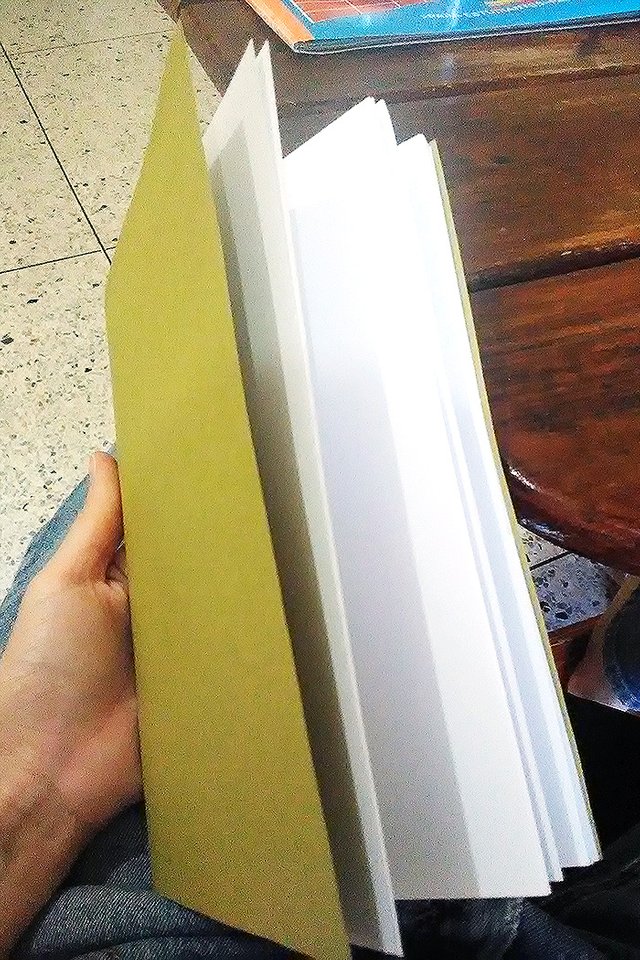
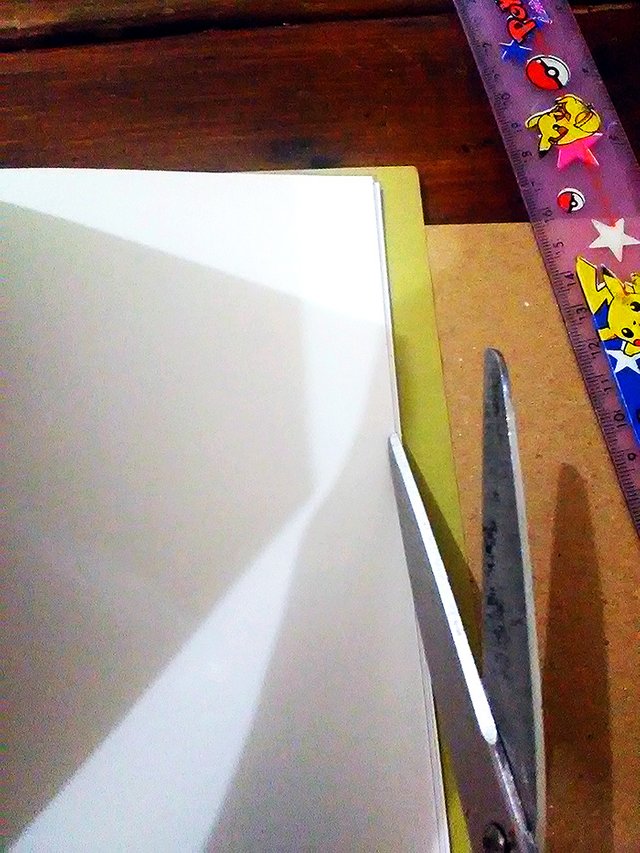
My cardboard was bigger than my sketchbook papers, so I cut it around to fit the size of the pages. This can be do with a cutter or a razor blade, but I don't have nothing of that so I used a scissor.
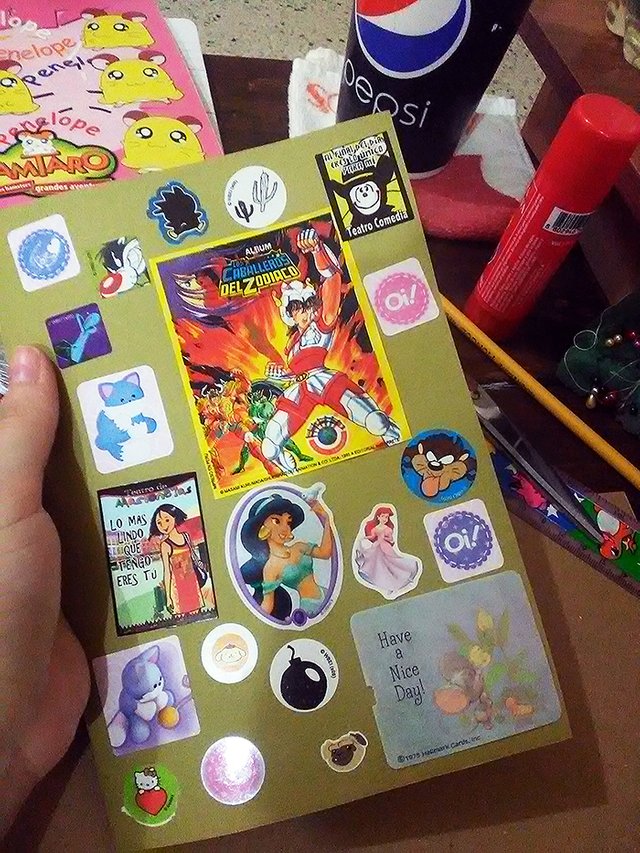
Just the yellow cardboard look very flat to me, for solving this I decided to put some stickers on it, now it looks better and colorful!
And this is the Final result!
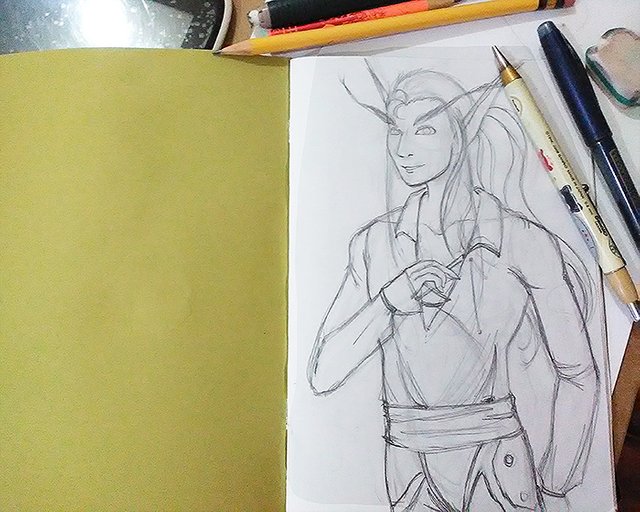
I made this sketch in the first page of my new sketchbook. I believe I have done better things, but right now I feel pretty insecure about my art. 😅
And... what do you think? Would you be interested in doing a sketchbook like this too? I would like to do another one when I finish this one. :3
Let me see your opinions in the comment section below!

I hope to see you soon!
If you had liked this, my photos, my sexy elf drawing or you found my tutorial useful, please, hit the upvote button. That would help me a lot.
All the images are my elaboration and belong to @faffy, except the Adventure Time gif which comes from Giphy.com



Upvoted.
DISCLAIMER: Your post is upvoted based on curation algorithm configured to find good articles e.g. stories, arts, photography, health, etc. This is to reward you (authors) for sharing good content using the Steem platform especially newbies.
If you're a dolphin or whales, and wish not to be included in future selection, please let me know so I can exclude your account. And if you find the upvoted post is inappropriate, FLAG if you must. This will help a better selection of post.
Keep steeming good content.
@Yehey
Posted using https://Steeming.com condenser site.
Thank you very much!
Hello @faffy, thank you for sharing this creative work! We just stopped by to say that you've been upvoted by the @creativecrypto magazine. The Creative Crypto is all about art on the blockchain and learning from creatives like you. Looking forward to crossing paths again soon. Steem on!
Thank you very much Creative Crypto!