More DIY Goodness - Make A Simple Doctor Who Sonic Screwdriver Prop! (9th/10th Doctor)
I wish I had taken more pictures of this build, but hopefully I can walk you through it with the few I took. Any questions can be commented below and I will answer them as best I can.
Here's how I made my wife and I sonic screwdrivers for our outing to this year's Calgary Comic & Entertainment Expo!
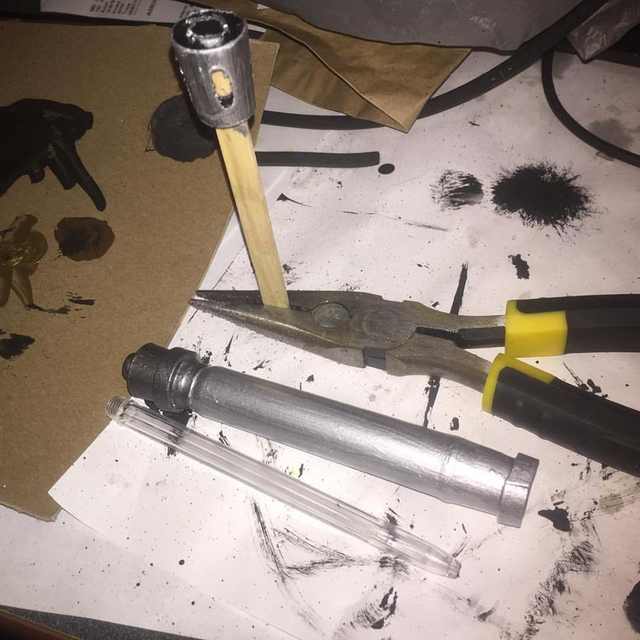
Some of the goodies I used to make them. Most of them are available at your local dollar store.
• A pack of dry erase markers (You will need at least 3);
• A rotary tool, with a cutting wheel and a thin drill bit;
• The clear outer casing of a pen;
• A screw (wide, rounded head - no longer than about 3/8" or 1/2");
• Silver acrylic paint;
• Superglue (not pictured);
• A bag of blue translucent stones (Also not pictured);
• Foam strips (Not pictured, and optional).
If you wanted to have yours light up, you can get a tiny LED light from the dollar store, one of those two-piece twist lights that some people have on their keychains.

It's hard to see in this picture, but I took the cutting wheel and cut off the bottom of the dry erase marker and took out the inside piece that holds all the ink. I sanded it down a bit to make it a little smoother.
I also superglued the lid onto the marker tip.
Below, you can see I superglued a second lid (upside down) to the spot that I cut off of the marker. Before I did that, though, I cut the tip off of it to make sure the clear pen casing would slide through it, similar to the way I cut the tip off the third lid that is sitting on the popsicle stick. You can see I cut the rounded areas out of the third lid, using a thin drill bit on the rotary tool.
Optional: If you want to have yours light up, this is where you will hollow out the third marker lid and put the TOP half of the LED light into the marker lid
You'll notice I have wrapped foam strips around the outside of the marker, simply for the look. Another step that is purely optional. If you aren't a stickler for fine detail (which I wasn't for this build), you can make yours look however you like.
You can't see it in the above picture -it is clearer below- but I cut a vertical rectangle into the body of the marker, about 1 1/2" long by 1/4" wide. This will be needed to slide the head of the screwdriver up and down.
From there, I slid the clear pen casing into the marker, made a mark where the bottom of the rectangular cut was on the clear pen, and took it back out. I used the thin drill bit to put a small hole into the pen casing, and slid it back into the marker. Then, I screwed the screw into the pen.
On one of the props, I needed to reinforce the inside a little, as the pen was a bit wobbly. I ended up lining the rim with a thin strip of foam to help keep the pen straight when it was extended.
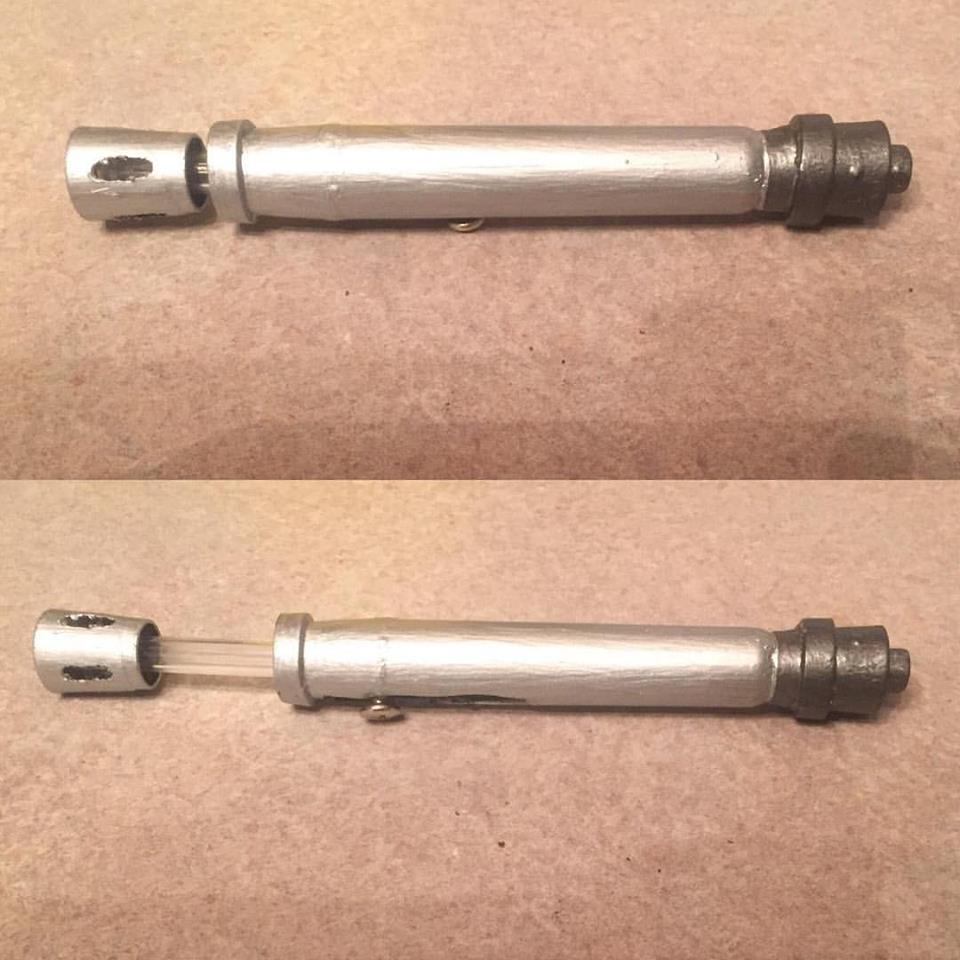
Once I was satisfied, I stuck the pen into the third lid and superglued it into place (shown above).
For the LED prop, I superglued the BOTTOM piece of the two-part LED onto the top of the pen.
The final touch was the tip. I superglued one of the blue stones onto the top end of the prop.
My Ninth Doctor and my wife's Tenth Doctor sonic screwdrivers were complete!
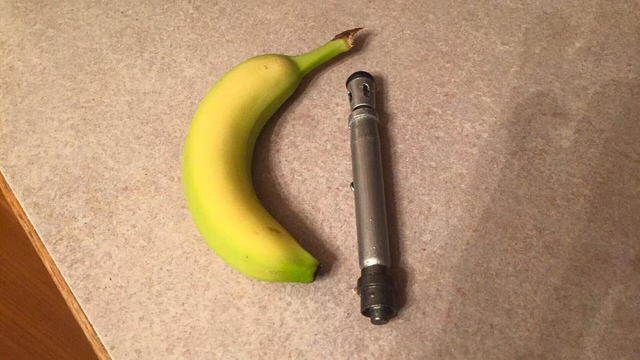
Banana for scale
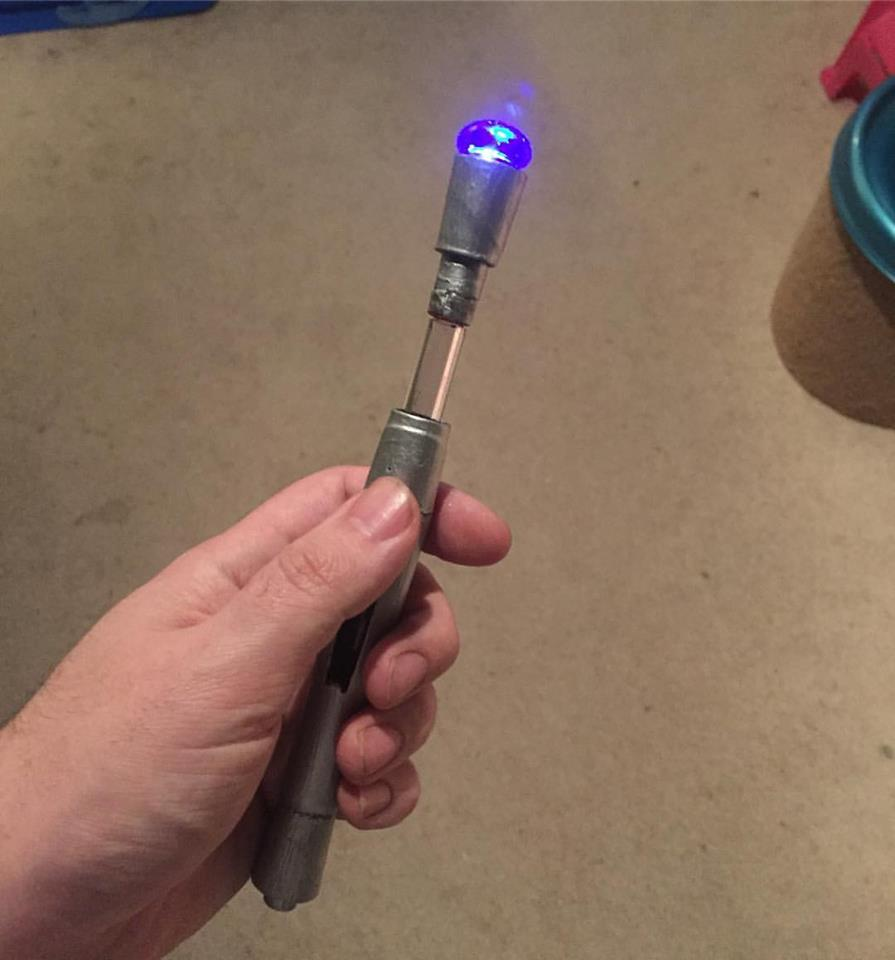
With a quick twist, the LED illuminates the translucent stone to give it the desired glowing effect!
They were even appreciated by the Twelfth Doctor himself, Peter Capaldi!

"Bananas are good!"
I hope this was insightful, or at least entertaining!
If you enjoyed this, please UPVOTE, RESTEEM, COMMENT and be sure to FOLLOW ME for more of my artistic mayhem!

Hi darxide403~ I found out your posting through google
I like reading your post Why you write another posting in Steemit?
you can visit another health supplement Blog That i Build and love it