Creativewriting:- The Making of a Masterpiece: Combining Photoshop & CorelDRAW for a Flex Design (Part 1 - The Power Cut Cliffhanger!)
Hey Steemit community!
Today, I want to take you behind the scenes of a flex design I was working on. It was a really fun and detailed project combining two powerhouse tools in the graphic design world: Adobe Photoshop and CorelDRAW.
The process was going smoothly—I was in the zone, everything was falling into place—but then, as often happens in this part of the world, BAM! The lights went out, leaving the final touches for another day.
I couldn't just keep the progress to myself, though. I want to walk you through the journey so far and let you know what we'll be looking forward to finishing. Get ready to anticipate the final, stunning result!
Phase 1:
The Photoshop Prep Work (Background Removal & Masking)
Every great design starts with great source material, and in this case, it was a few beautiful photos of the client. The first and most critical step was using Adobe Photoshop to prepare the images.
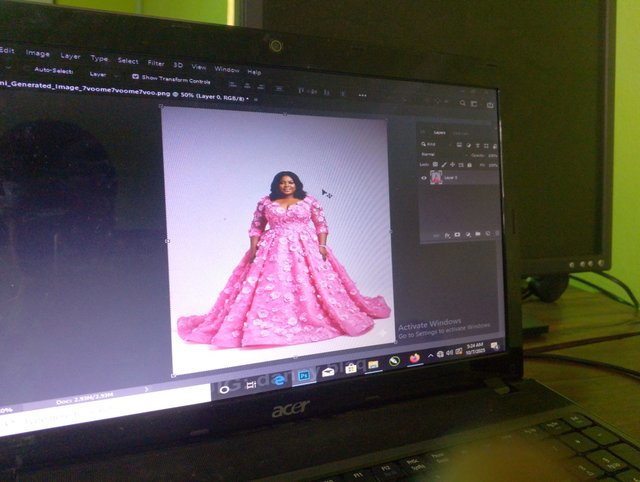
1. Isolating the Main Image
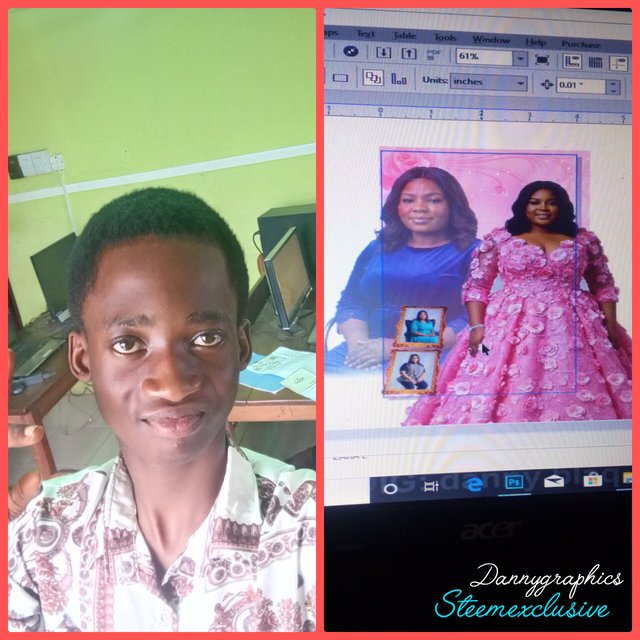
My main focus was the magnificent photo of the client in the gorgeous pink floral dress (as you can see in the photo that's currently on my screen). This photo needed to be perfectly isolated from its original white background.
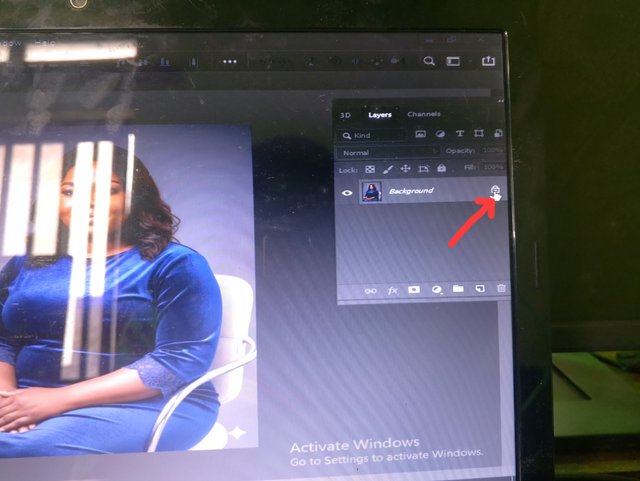
The Tool of Choice: I used a combination of the Quick Selection Tool and meticulous refinement with the Masking feature. I never rely on an automatic selection alone; when you're dealing with fine details like hair and the intricate edges of a floral dress, you must use a Layer Mask. This non-destructive editing method allows for extremely precise edge control.
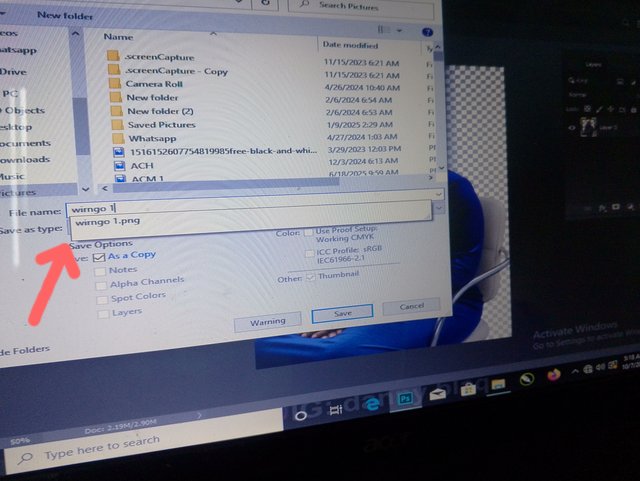
Saving for CorelDRAW: Once the background was completely knocked out, I saved the file as a PNG. The PNG format is essential here because it preserves the transparency, which is key when you want to layer and composite the image seamlessly in CorelDRAW. (The image named wirngo 1.png was one of the files saved, as you can see in one of the snapshots!).
2. Prepping Supporting Images
I had a couple of other photos to use as supporting elements. For the image of the client in the blue velvet dress (the one sitting on the chair), I followed the exact same process: perfect selection, background removal, and saving as a high-quality PNG with transparency.
Phase 2:
Building the Layout in CorelDRAW
Once all my images were prepped and exported from Photoshop, it was time to move to the layout and composition stage in CorelDRAW 2018 (64-Bit Evaluation Version). CorelDRAW is fantastic for print-ready designs like flex banners because of its powerful vector tools and precise sizing control.
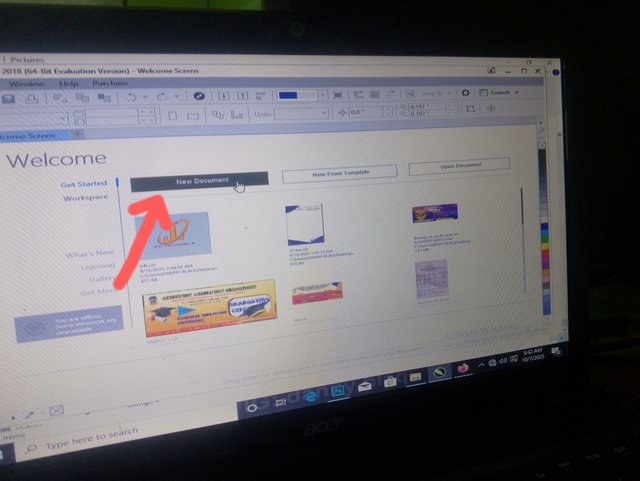
1. Setting Up the Canvas
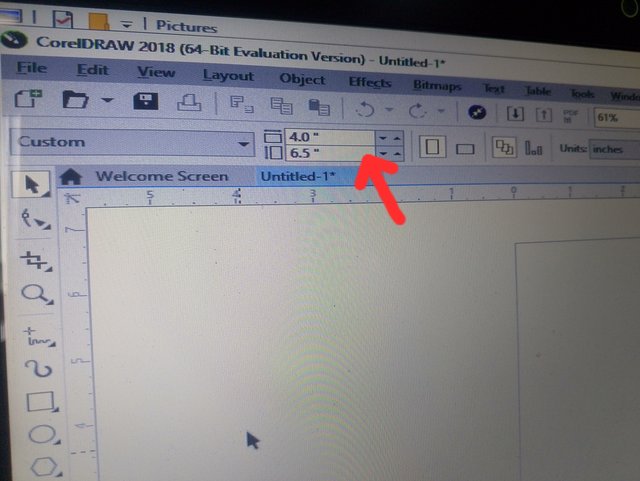
First things first, I created a New Document. I immediately defined the precise dimensions needed for the flex banner. Getting the dimensions right at the start is crucial for any large format printing.
 |  |
|---|
 |  |
|---|
2. I started with adding a Background
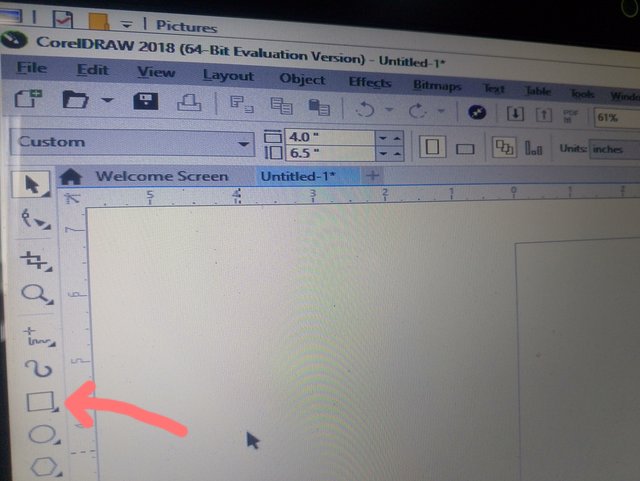
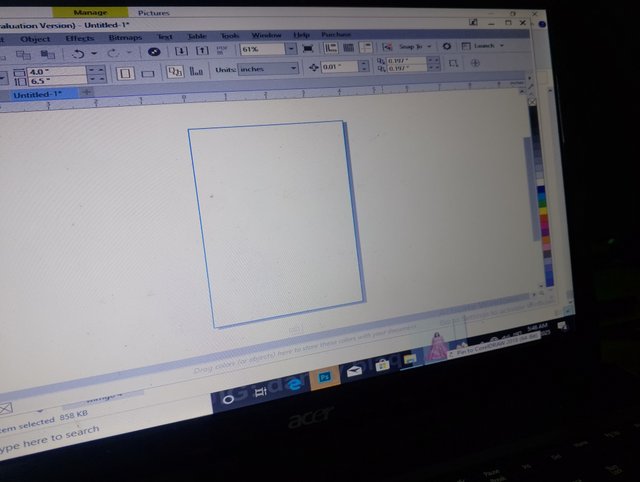
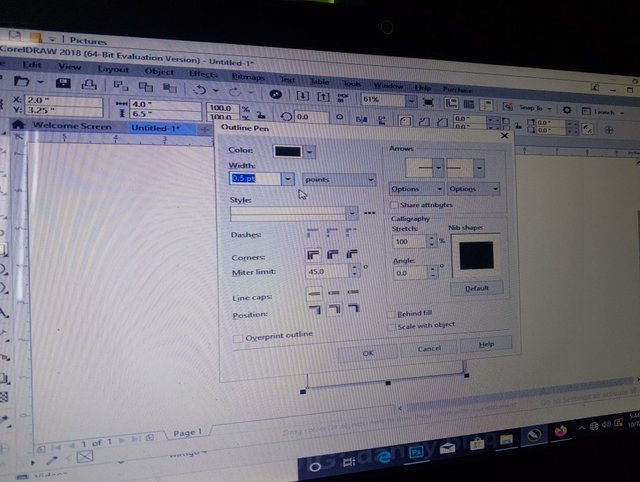
Before adding Color Theme with the images in place, I started working on the general aesthetic. I used the Rectangle Tool (F6) to create a background shape and (F12) to change the outline from 0.5pt to noon to make it more professional, then I now change the size to costume, and edited it to 4.0-6.5
3. Composition and Initial Placement
I imported the main PNG images we created in Photoshop. This is where the magic started to happen:
The Main Focus: The large photo of the client in the pink dress was placed centrally and scaled to be the dominant figure in the design.
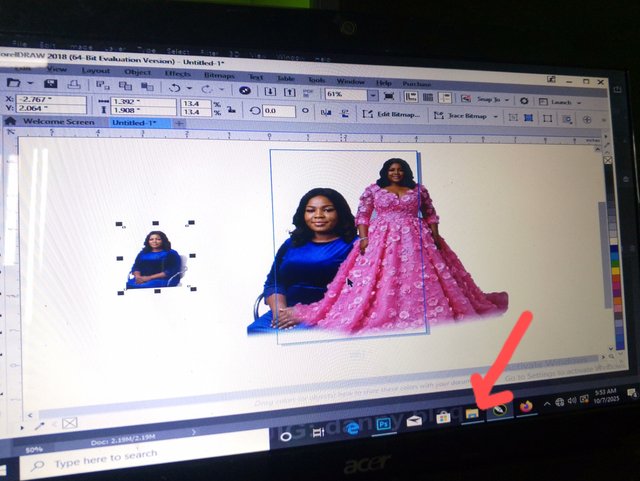
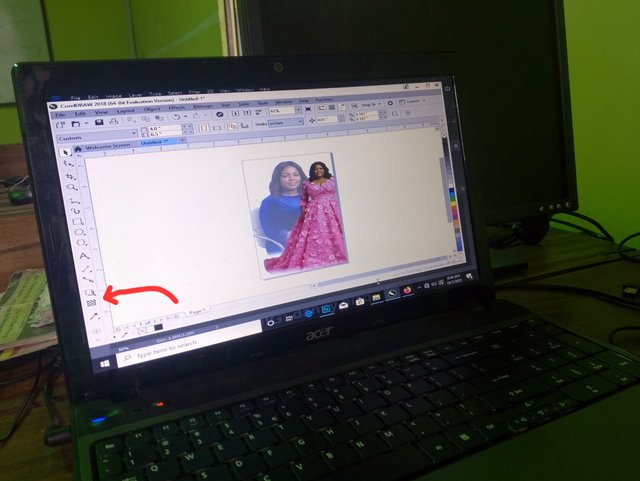
The Shadow Effect: For the image of the client in the blue top, I wanted to give it a soft, ethereal presence, almost like a beautiful shadow or a spirit of the client. I did this by placing a larger version of that image behind the main pink dress image and applying the Transparency Tool in CorelDRAW. You can see me selecting the Transparency tool and then gently adjusting its settings to make the image partially revealed, creating a smooth fading effect. This adds depth and visual interest to the background.
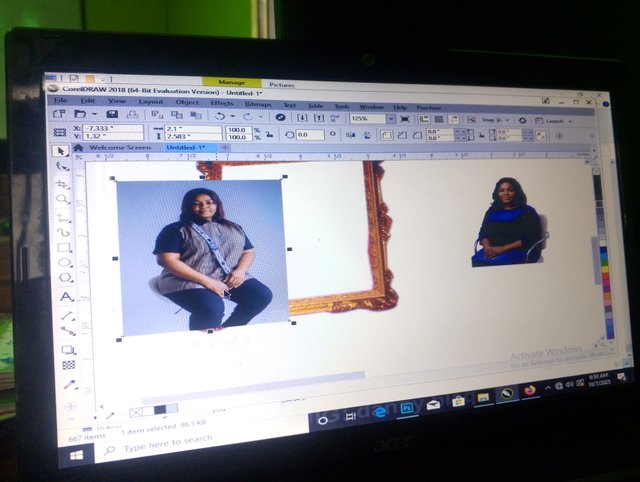
Adding Elements: I started bringing in other supporting photos and even a decorative frame element, sizing and positioning them strategically on the canvas. The idea is to create a dynamic, balanced, and visually appealing collage.
I was just about to lock in the final color combinations for the background, refine the placements one last time, and begin adding the necessary text elements (names, dates, etc.)—the home stretch, you know?
My hand was literally hovering over the color swatch when... the screen went black.
It’s always a little frustrating, but that’s the reality of designing outside of a studio with industrial-level power backup. All my files were saved (thank goodness for frequent saving!), but the creative flow for the day was officially over.
Stay Tuned for Part 2!
So, the design is currently looking like a gorgeous, half-finished collage, a beautiful blend of Photoshop precision and CorelDRAW layout. The main images are in place, the shadow effect is done, and the decorative elements are waiting for their final polish.
In Part 2, we will pick up exactly where we left off:
Finalizing the background color and graphic elements.
Adding the crucial text and typography.
Making the final pre-press checks and exporting the finished file!
What do you think of the progress so far? Are you excited to see the final, vibrant flex design?
Let me know what your favorite design software combo is in the comments!
curated by: @fantvwiki
Thanks for voting my post