Steemit crypto academy || my home work submission post for yohan2on
Hello friend this is my submission post for the week-5 lecture taught by one of the steemit crypto academy professors which is professor @yohan2on he taught about understanding decentralized finance (defi) part 2 a continuation from previous class. My home work is centered on the task given to us as fellow
Homework task: Getting involved in the DeFi ecosystem requires one to have a DeFi web3 wallet; one must even know how to use it. The following is a list of some of the DeFi wallets; Select one and explain how to use it.
Meta Mask
MyEther wallet
Coinbase wallet
Argent wallet
In this case I will be writing about the meta mask wallet which is not only a wallet but also an etherium browser which enable you to link with other applications from your web browser.
Metamask is a wallet built for etherium and for any other token that is also running on the etherium block chain (ERC20). Tether, bnb, usd coin, Dai etc are all example of ERC20 means they are runing on etherium blockchain too, you can use Metamask to hold on them.
Metamask is one of the best wallet to use when you want to store your ERC20 tokens because the risk of stealing your funds with your private key is reduce unless you expose your keys. You can also get back your fund by importing your private keys should incase you lost your app or your device got malfunctioned.
metamask can be downloaded from any of these browsers chrome, Firefox, Brave etc aslo available on playstore (Android users) and appstore (iPhone users).
In this case we will be using chrome. Also, note that the steps we want to use now in Chrome can be used in other browsers your choice too.
.jpeg)
What you do first is to search the matamask app on Chrome them after that at the top conner of the right hand side you will see add to Chrome click on it that you want to install the app and them you confirm.
.jpeg)
The next thing we look at after installation is to create an account.
- Open your app, and you will receive a welcome message for you to get started
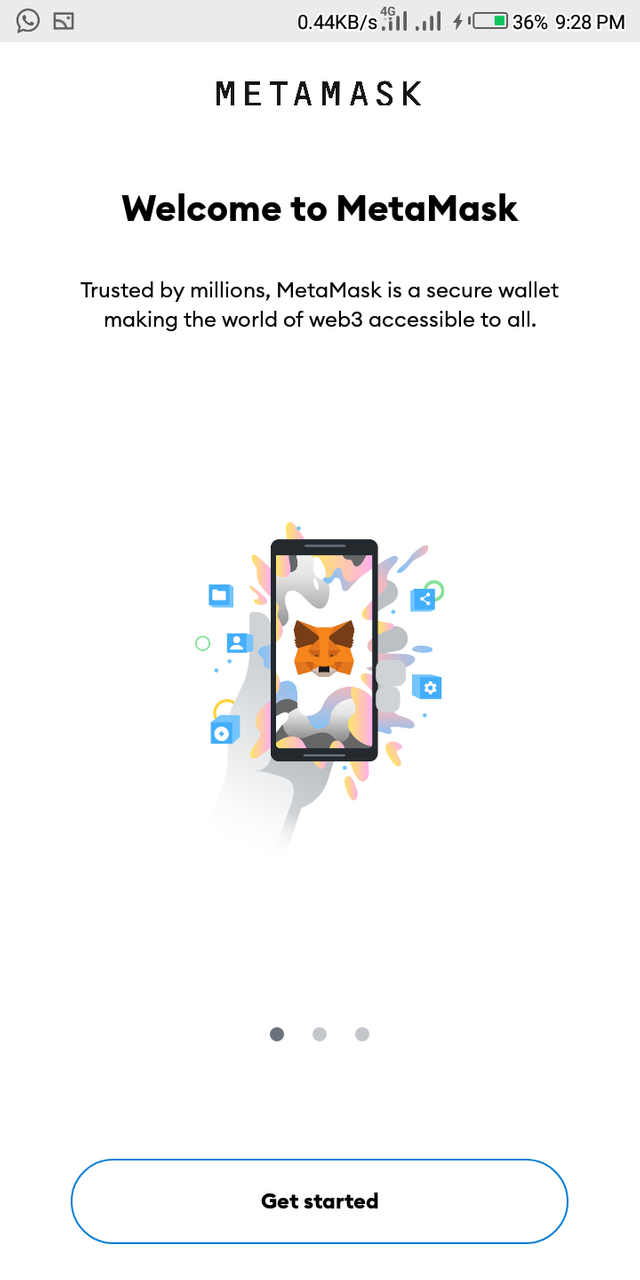
Click on the get started a page will display showing you two options to crate a wallet or import. You don't have any business with importing, importing is for those who already have an account and lost it due to certain issues and want to restore. For you that doesn't have am account you will click on crate an account
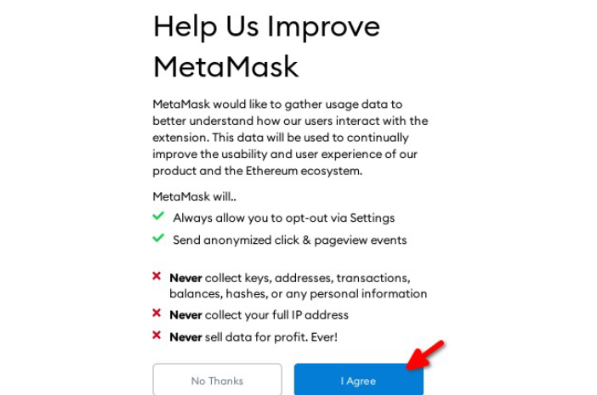
After that a page will display asking you to improve metamask them you click on yes I agree
After that you will be asked to crate and confirm a password
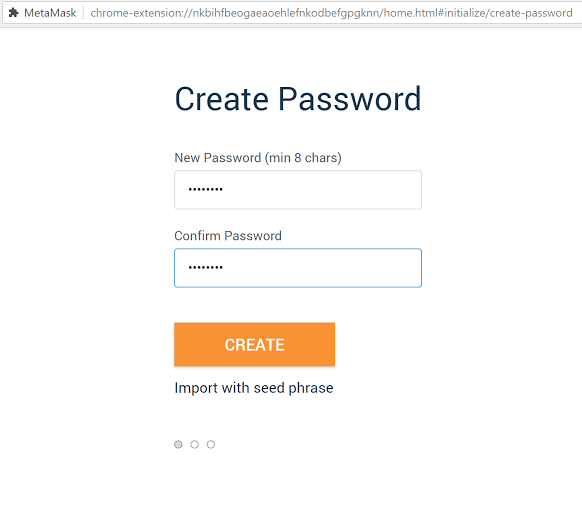
After you have fill in your password them you click on crate. After that a page will display asking you to back up your recovery 12 words phrase.
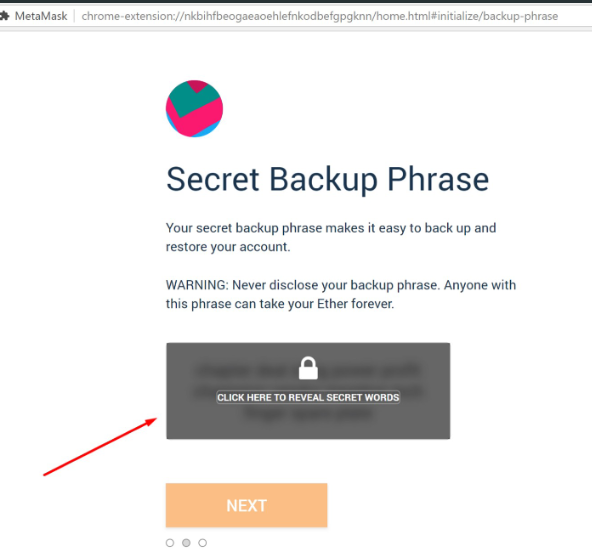
Click on the marked arrow to review your keys, them you will be ask to rearrange them in other to be sure you have written it down. After you successfully rearrange them your account has been created successfully. Them you will be welcome

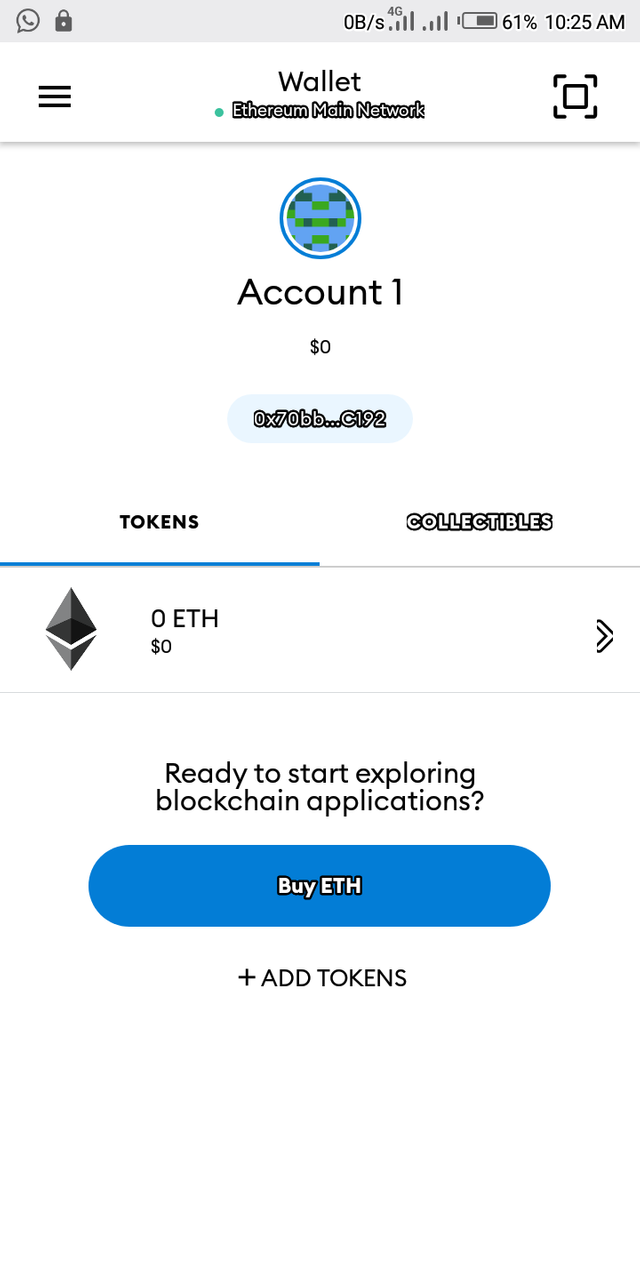
You will click on all done and your dashboard will show up.
dashboard after successfully creating your wallet
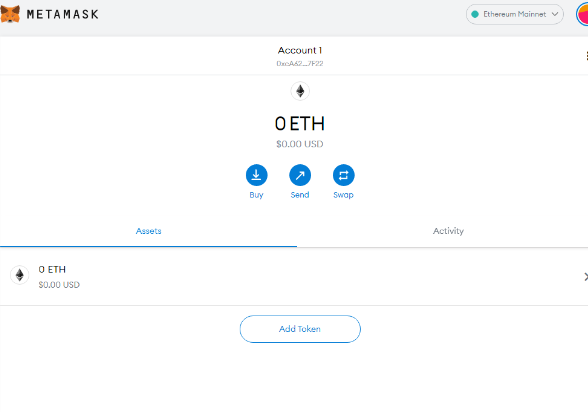
The above steps is how to crate your wallet with METAMASK.
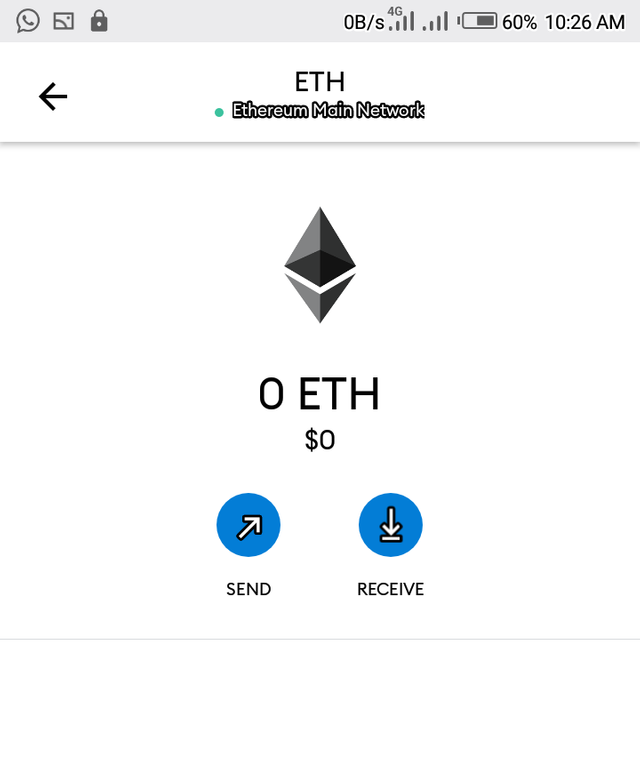
Sending and receiving finds in your created METAMASK wallet is simple what you have to do is to open your wallet.
- To send out funds you need the recipient wallet address
Under the asset tab click on eth
Options will display buy, send and swp since you are sending click on send them a box will display were you can impute the recipient wallet address them copy it and paste
.png)
After that you input the amount of eth you want to send out. When you put it, a gas price will show up if your Okey with it them you click on continue. You have successfully sent eth to another person
Also in metamask if the transaction is taking longer to be confirmed you can go to your transaction history their you will find cancel and speed up. If you want to cancel the transaction you click on cancel vice versa.
.png)
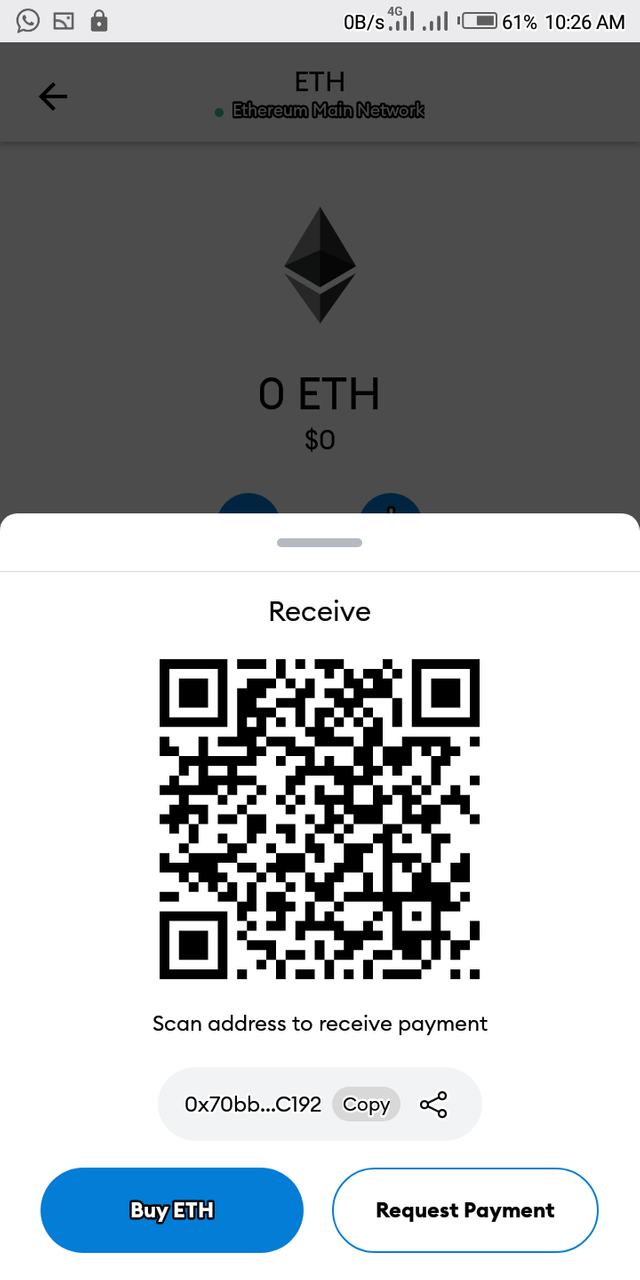
To receive any token to your METAMASK wallet click on your asset tab and your token will dis play click any one you want to receive since you have not added any token yet it will be eth their let work on the eth when you click it a page will pop up showing you buy and receive option click on receive
When you click on receive a barcode will show up showing copy option click on the copy them a text will pop "your wallet address has been copied to your clipboard" them you paste it to the person you want to receive from
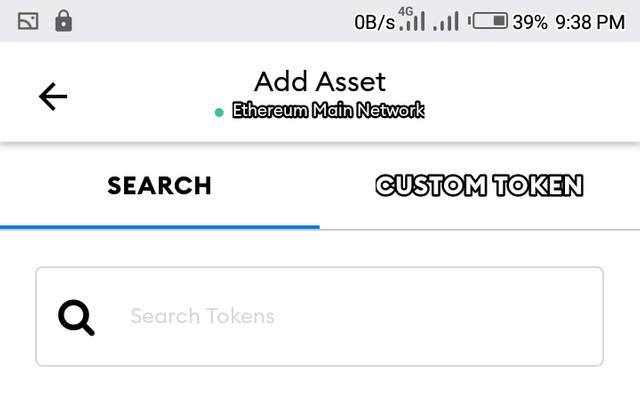
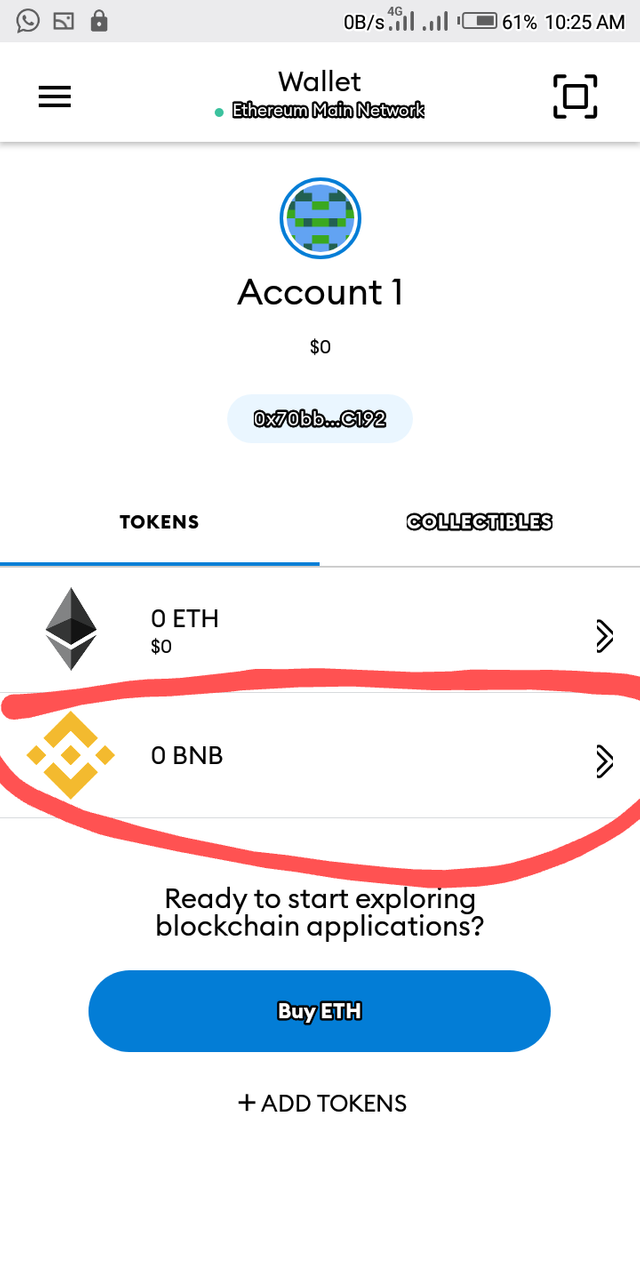
When you crate your metamask wallet new only eth is available should in case you want to store other ERC20 token you have to add the one you want let work on binance coin bnb for example
Open your wallet at down side you will see add a token click on it
When you click on it a page will pop up asking you to search for the token note only ERC20 tokens
Them I typed bnb since we are working with bnb
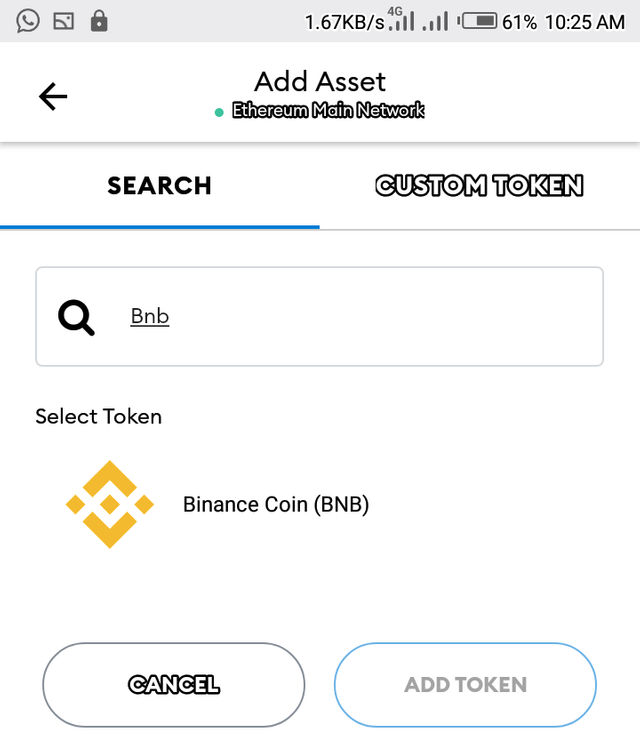
So when BNB displayed I clicked on it and them click on add to token and it was added successfully I can now make use of it to send and receive bnb token in my metamask wallet
 .
.
Thanks for reading through my article, I attended this weak course and here is my home work post.
Most of the images used in this post was downloaded since matamask wallet does not support screenhot in some sensitive areas and I properly put them in quote to show it not mine, while some was mine.
Thanks once more for reading through..
Cc:
Hi @chimezunem001
Thanks for attending the 5th crypto course and for your effort in doing the given homework task.
Feedback
This is excellent work. You indeed took the time to explorer the various features of Meta Mask and were in position to lay out this information in a detailed and clear way. You backed up what you were explaining with well edited screenshots. Thanks for the hard work.
Homework task
10
Thank you professor @yohan2on it was great attending your class I really appreciate you for going through my work
Hi thanks for sharing an interesting info.
Metamask is indeed secure for storing erc20 token and another coins.
I really appreciate you for coming around my post