An Ethical Hackers Guide: Part 3 - Virtual Machines, and Kali Linux - CrackBox Setup
Hello Steemstemers, Utopians, Future Hackers and Crackers :]
Allright guys, I've decided that were done with this script-kiddie BS. Today, for those of you who are following along, we are going to be setting up our own Virtual Linux CrackBox. The only things you will need for this project, will be a mind that's ready to learn, a free PC, and at least 16 GB free on the HDD/SSD, and 4 GB ram total in your computer.
For those of you interested in becoming a more proficient hacker, I strongly suggest that you do everything you can to learn programming, Including reading the other tutorials I have, and will be posting. This is going to become a little personal Disclaimer throughout the guides here:
This is an Ethical Hacking Guide. That being said, the majority of the things you will be learning in this guide, are not legal, and should not be used on any device, or network that you do not have written permission to test on. (From the owner)
So the first thing we will want to do is head HERE, and download oracle virtualbox. VirtualBox, is a software that will emulate virtual components of a computer, using many different techniques to do so. After that, were also going to need a disc image of the operating system we wish to run. For now, we're going to be using an OS called 'Kali', as it has specifically designed for like-minded people, with every tool a hacker could ever wish for, pre-installed.
While both of those things are downloading and installing, I'd like to talk to you guys about Linux for a moment. Linux is not your average operating system. For one thing it is inherently more secure than a Windows OS. with that being said, you will also find yourself missing certain functionalities, if you are a common user, and I would like to take this time to assure you, for every single thing that it seems Linux is 'missing', it has at least two much more powerful features to compensate. You will see what I mean as these guides carry out, but for now, fear not.
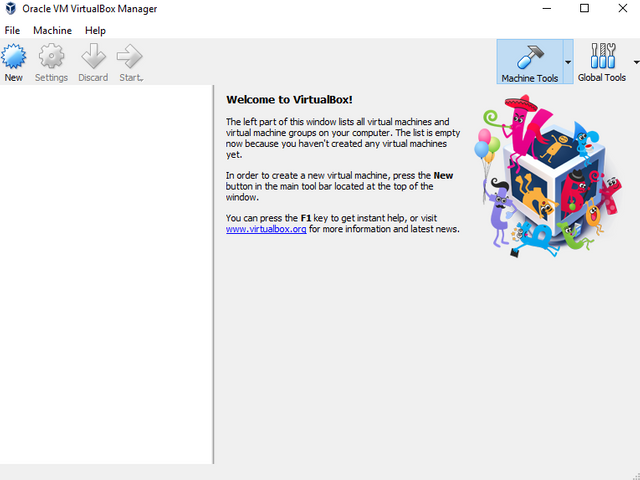
Now that our disc image has downloaded, and Oracle VirtualBox has been installed, lets set up a fresh box for us to work on. First, we will need to open our start menu, find VirtualBox, and give that a run. Soon you will find yourself confronted with a screen much like the one above.
To create a new Virtual Machine, we will click the 'New' button marked with the plus. This will open a new screen for us, looking quite similar to the one on the right. Here, under 'Name', enter any name you choose for your VM, for type, select 'Linux', and for version, choose 'Debian 64-bit'
(Most computers these days, run on x64 architecture, however if you are running on a 32 bit PC, you will need to select the 'Debian 32-bit' option for the last step
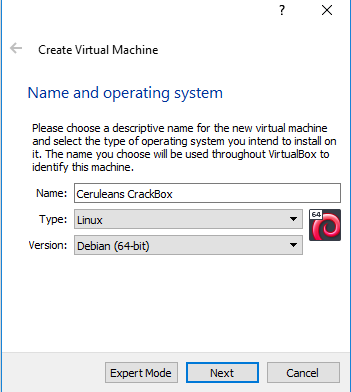
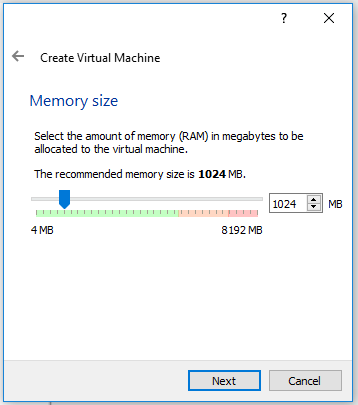
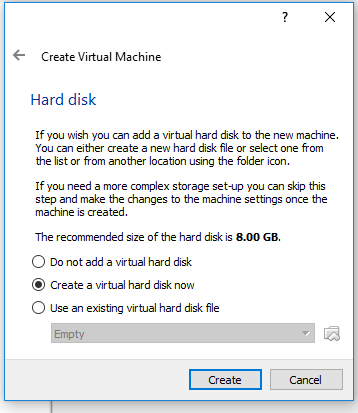
After selecting 'Next', the next screen (Left Below) that will be presented to you is asking you how much RAM to allocate to your Virtual Machine. A general recommendation would be about half of the available ram on your PC. A side note: This ram will only be used while VM is in operation. The page after this, (Right Below) will help you to create a hard disk for your VM to work off of. yes we are building a complete Virtual Computer lol. Select the option to 'Create a Virtual Hard Disc Now', and this will take you to yet another setup page.
I will not be including a picture of this next screen, as it is quite simple. You will need to select a type of hard drive file to create. I always prefer .vdi files, but it is up to you. On the next page, choose Dynamically allocated, as this is just quicker for now. you can always create a new hard disc later. Finally we are presented a page asking for the size of hard drive to create, where we will select between 8-32 GB if you have it free. Upon clicking create, you will be brought back to the main page, only now, there is a Virtual Machine in your list of machines.
Now the first time we start our vm, by clicking the green 'Start' arrow with our VM selected, (Do this now ^_^), we are going to be presented with one last configuration option. This is where we use the Disc Image I had you download in the beginning of this tutorial. Once your machine starts you will be greeted with a menu page, asking you to choose which disc image you would like this machine to run. (You will only need to do this step on the first launch.)
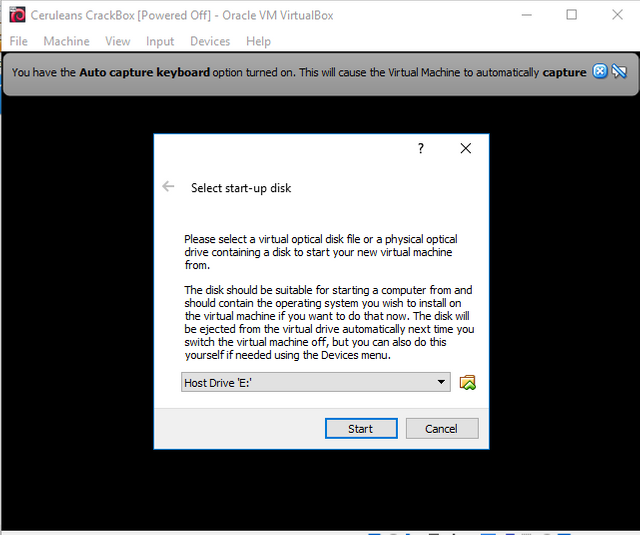
Once you have found, selected and loaded the Kali disc image, likely in your downloads folder, your machine will start up. Once the machine has started completely, I recommend you take something called a 'snapshot' of your machine. This will make loading in and out simpler. Snapshots essentially save the machines state in the exact way it is as when the snapshot was taken. To do this, (Not the only way), simply select the 'save the system's state' when you try to close out of your VM.
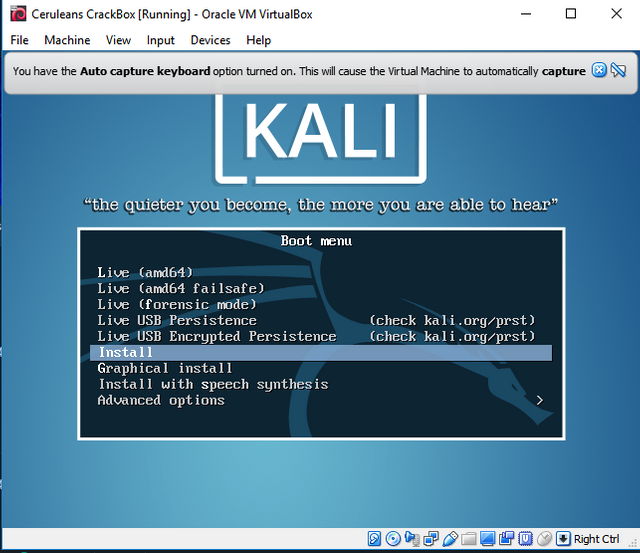
Once Kali's disc image has been booted, the bios screen will offer you a few options on how to proceed in running the OS. I recommend selecting the 'Install' option, however, continuing in a live demo should be fine for you. In any case, Once the operating system has loaded, you will be logged in automatically. Kali will always create a Root User, titled 'root', with a password of 'toor', root spelled backwards. It is advised to change this, however we will not be discussing any system security until the next article.
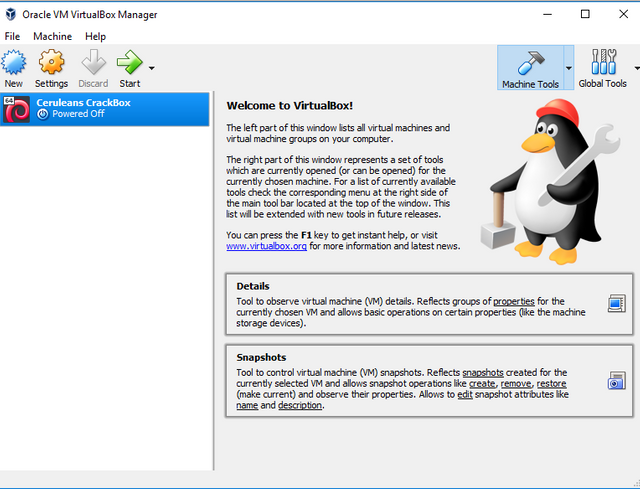
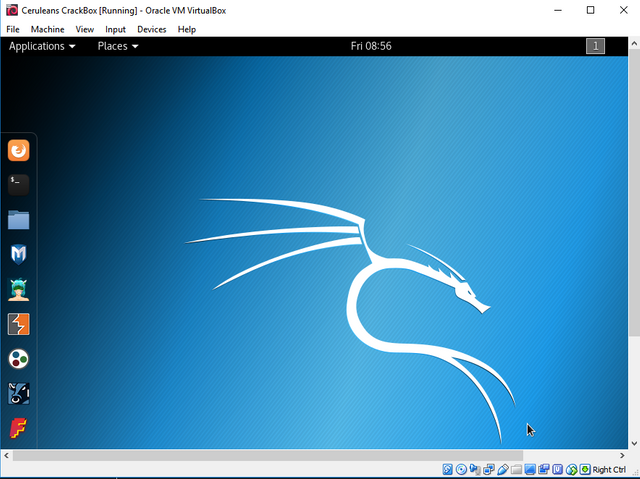
Now this is Kali. Kali, as mentioned earlier, is a distribution of the Linux operating system, designed by hackers, for hackers. Kali is a bit clunky of an operating system, but given time you will find your way around. I am here to help for that as well, and I will say it again at the end of this, but you guys are always welcome to comment if you are having any trouble. For now, I would simply like to show you the wide selection of tools that Kali comes with for us to get our jobs down.
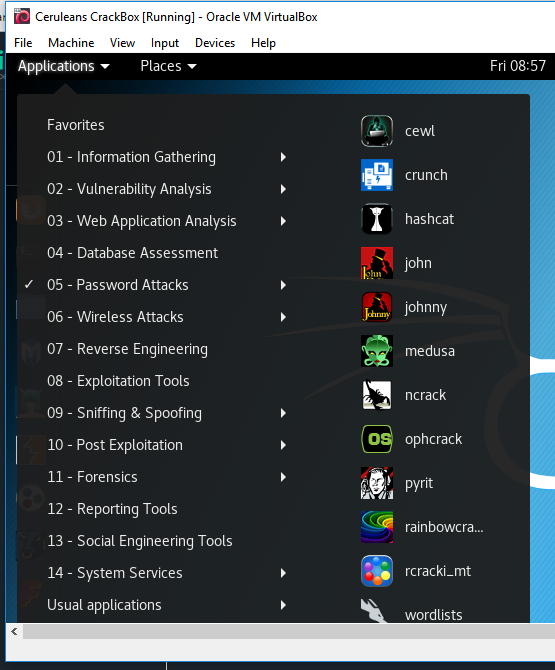
Just look at all of these powerful tools at our disposal! I'm sure now you can see, though other OS's may be equally good for hacking & cracking, Kali was clearly designed to be an all encompassing standalone. Until you become some sort of master coder, there will probably be no need for any other OS. For now, take some time to look around the OS if you like, but in our next article, we will be taking an in depth look at many of the most useful tools in this OS.
I hope you have enjoyed this tutorial, and I am quite excited for the next one, and to be getting into some more real hacking. I am currently having trouble deciding where to take this guide as an end game plan. I obviously want to teach you all how to be the best hackers you can be, however I would like to do so, in a way that keeps these guides, at least fairly legal.
I do not yet know everything about the Steemit blockchain, and in no way aim to shine a bad light on such an excellent platform in these uncertain times of the cryptocurrency world. I am currently thinking that the best way, may be to participate in Bug-Bounty hunts together. This way you will be able to see real world attacks and defense, and it will all be in a safe, and more importantly helpful manner. Would love to hear your thoughts on this guys :)
Happy Hunting,
Cerulean
%20(1).jpg)
