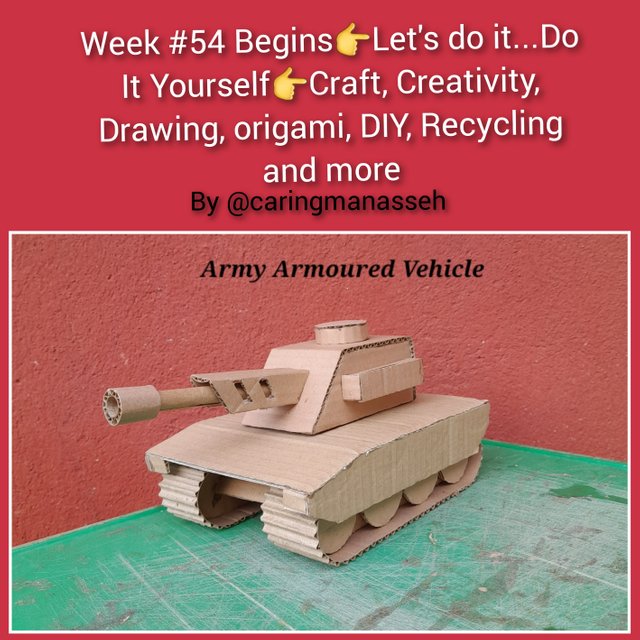
Week #54 Begins👉Let's do it...Do It Yourself👉Craft: Construction of Army Armoured Vehicle using a waste carton
Edited using Grid-Art
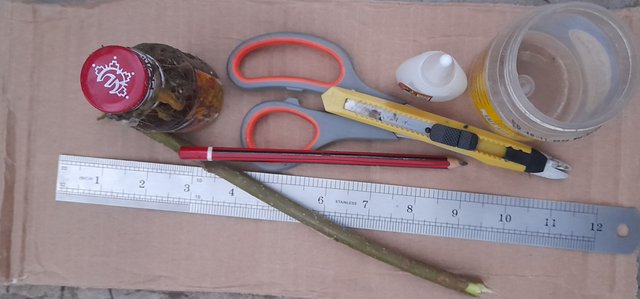
Materials used for construction
- Carton
- Pencil
- Eraser
- Paper cutter
- Evostic gum
- Super glue
- Rubber
- Stick
- 30cm rule
- Scissors
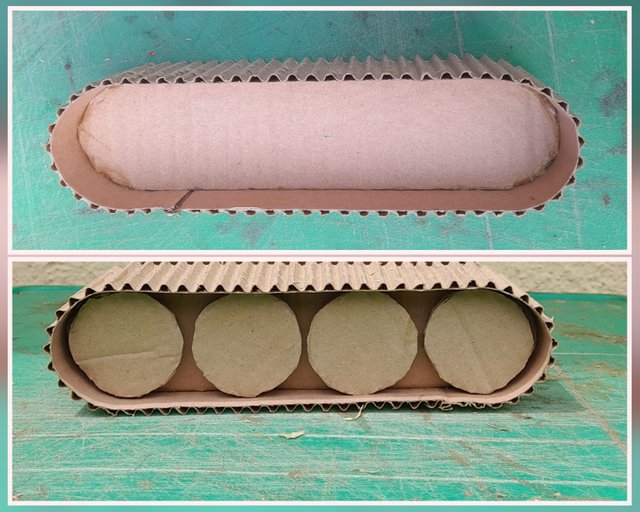
Step 1
I began the construction of my army armoured vehicle from the road wheel (tires). I used the mouth of a container to draw a circle and cut it with the help of my paper cutter and duplicated the circle into eight pieces. I again cut a rectangular carton 2 inches wide and 8 inches long and shaped the edges to have a U-shape

Edited using Grid-Art
Step 2
I then cut my carton 2 inches wide and 20 inches long. I pield one side of the carton and that forms my link or chain. I also duplicated it into two

Step 3
I gummed the link (chain) around the 2-inch wide by 8-inch long rectangular carton and then gummed the four (4) pieces of the road wheel on it. I also duplicate it.
Edited using Grid-Art
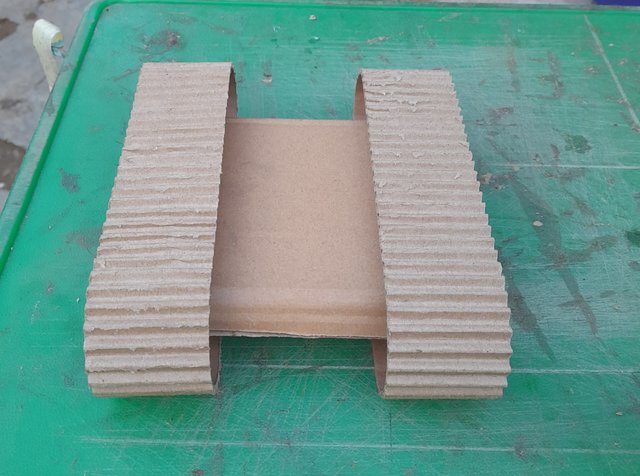
Step 4
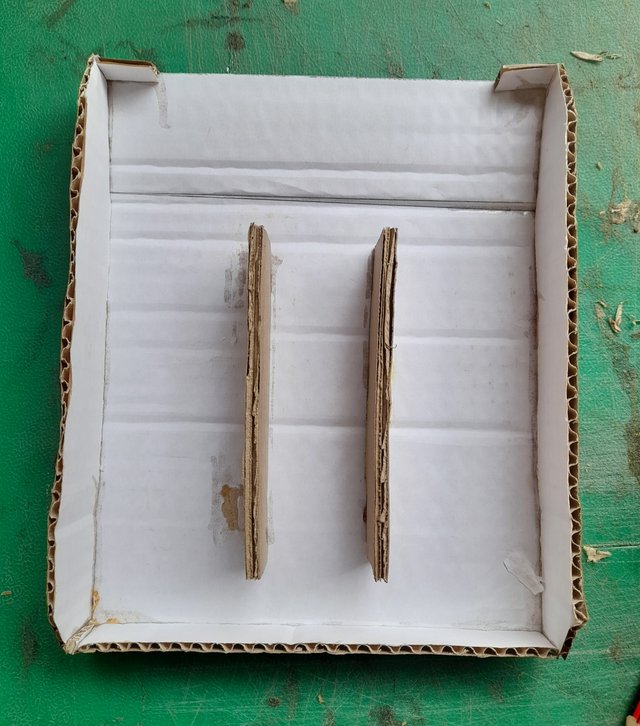
I cut a carton 5 inches by 6.5 inches and used it to connect the wheel.
Step 5
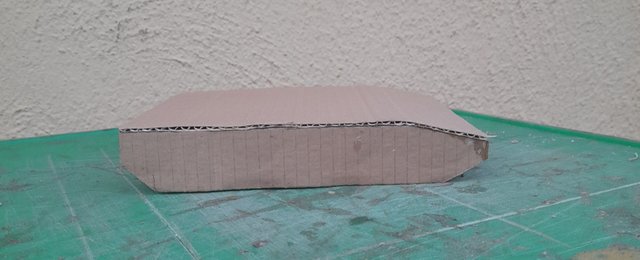
The next thing I did here was to construct the armoured plate. I measured the centre plate 7.5 inches by 9 inches, the side skirt 1.5 inches by 9 inches, and the rear plate measured 1 inch by 7.5 inches. After all the measurements and cutting, I glue it together with my Evostik gum and superglue
Step 6
I cut a carton measuring 1.5 inches by 3 inches. I duplicated the paper and gummed it under the centre plate
Step 7
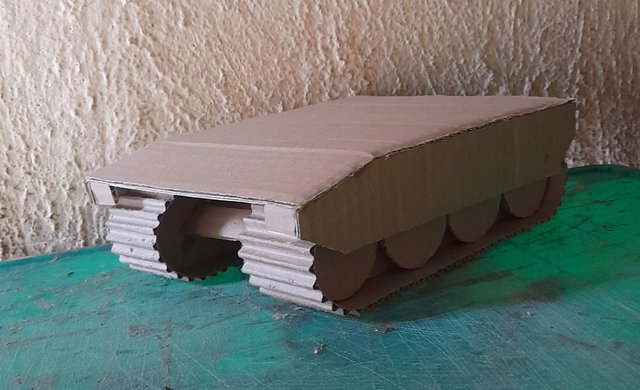
I mount the plate on the wheel of the vehicle
Step 8
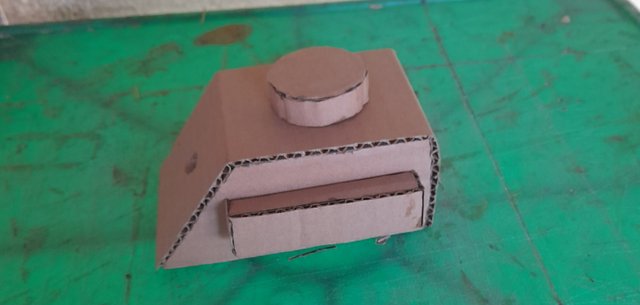
The next thing I constructed was the turret. I cut my carton 3 inches by 9inches and cut another carton inform of trapezium. I duplicated the trapezium and gummed it at the left and right-hand side of the 3 by 9 inches carton. I then constructed a rectangular pocket at both left and right. Finally, on the turret construction, I constructed a circular top with a cover which serves as the door of the armoured vehicle and gummed it with super glue.
Step 9
I constructed the main gun (barrel) by using a piled carton measuring 9 inches by 3 inches. I folded it with the help of a stick and gummed the edge. I formed the muzzle which is the top end of the barrel with a piled paper measuring 1 inch wide.
Step 10
I made a hole in the turret and connected the barrel with the help of super glue. I also constructed a small cover on the barrel
Step 11
I mounted the turret on the top plate of the vehicle and this marked the end of my army-armoured vehicle construction.
My selfie
Conclusion
This is my Army armoured vehicle constructed with a carton. I want to thank @ngoenyi and the Steam kids & parent community for organising this contest and for allowing me to participate. Participating in a contest like this makes me improve. I appreciate every steemian for visiting my blog and for contributing. I also want to invite my friends to participate in this contest:
@zisha-hafiz
@vickyson
@waterjoe
Note:
All pictures are snapped by me using Samsung Galaxy A12
This army-armoured vehicle looks real. You are really targeted. Weldone
Thank you Ma'am
X (Twitter) Share
https://x.com/Manasseh3600/status/1829399952864272540?t=jPTr40WomNTVrXTOwlRmWw&s=19
Thank you very much
Nice diy project , you really know how to make good use of carton and i admire you for that. Your armored car is outstanding and beautiful, thanks for sharing your creativity with us
Saludos
Que gran trabajo
Se puede ver cómo con materiales de provecho se puede crear diferentes manualidades.
Te deseo éxito
Thank you
You have made a very nice cannon car out of cardboard. It looks very nice.
Best wishes to you