The Big Flip and other Progress
Watching Paint Dry and the Big Flip....a light at the end of the tunnel
Well the last few weeks have been slow in progress, but that doesn't mean big steps weren't made. After sealing the exterior with the penetrating epoxy, it was time to apply the bottom paint. My goal is to only flip the boat once, so getting the paint below the waterline complete is essential. I can handle the remaining exterior surface easy enough in the upright position.
Since the boat will live on a trailer, it's not necessary to use a traditional ablative bottom paint that repels barnacles, decaying organisms and other such issues, rather a simple topside paint will do. Lowe's hardware store has a Rustoleum Topside Paint that I've used on past projects with pretty good success. I chose a glossy black for the bottom, applying it with a roller in a total of four coats. With the painting and drying taking place over the course of about a week, it was time to flip the boat!
Preparing for the Big Flip
I spent an undue amount of time pontificating on the various methods for flipping the boat over, and came up with several options, all including ropes, come-alongs, straps and pulleys. I bought the tackle and came home to start rigging. Upon review of the procedure in my mind, I decided that a single-handed approach was risky, and that the rafters in the shop were insufficient for the task. I promptly returned all purchased items and moved on to Plan B (D?,E?).
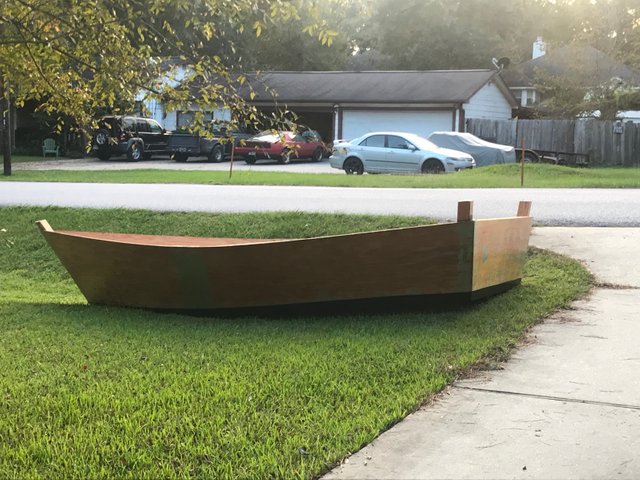
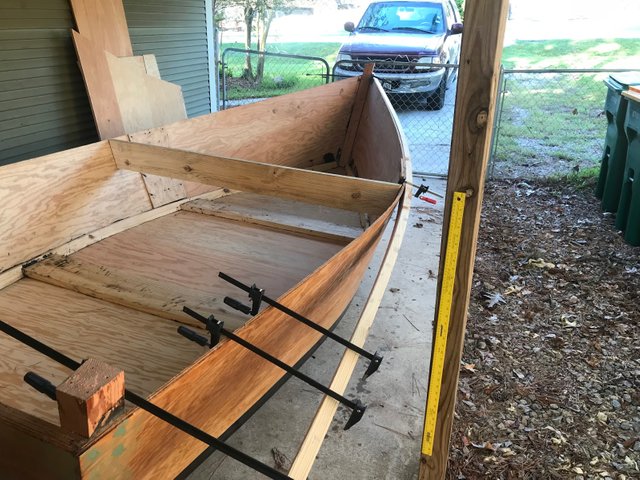
Plan B was to roll the boat out of the shop to the front yard, whereby the boat could be rolled over in the grass. I hoisted up each end of the boat and trimmed the stem and stern posts shorter and installed casters on each post. The casters where cheap little 200 lb. numbers from Harbor Freight but adequate for the task at hand. This worked out well, and I had the boat sitting in the driveway in short time.
Stern posts trimmed and casters installed.
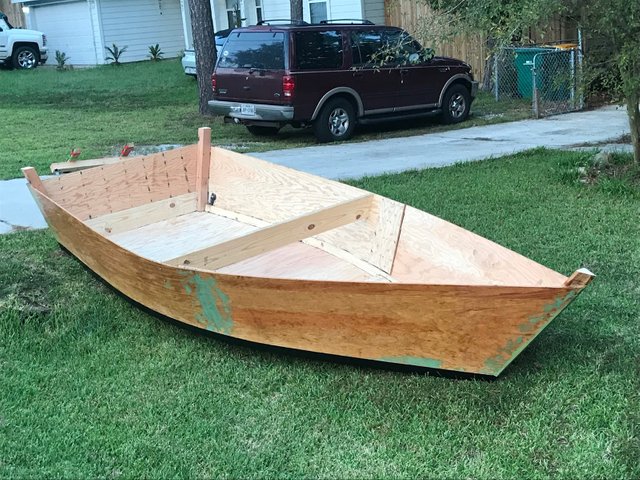
By happenstance, three able men were hanging out in the driveway across the street, and were happy to come over and assist with the rolling of the boat. With an emphasis on being gentle with the, as of yet, unsupported sides, the boat was right-side-up in about ten seconds. Now all I had to do was create some dollies to roll the boat back inside.
A view of the boat listing on the edge of the ditch.
Topside Construction
Once back in the shop, it was time to start cleaning up glue and begin construction of rubrail/gunnel/sheer clamps and framing. I started ripping the rubrails and promptly burned out my circular saw. This saw didn't last for a single project, having failed to earn it's $18.49 worth of cost. I shopped locally and had trouble finding a model that was both reasonably priced for my purposes and also had a rip guide. To Amazon I went, and found a Wen brand saw that fit the bill. The Wen brand of tools was new to me, but the saw works well. Rubrails have been ripped with bevels corresponding to the side flairs, stretched for a few hours, and then they were glued and screwed into place.
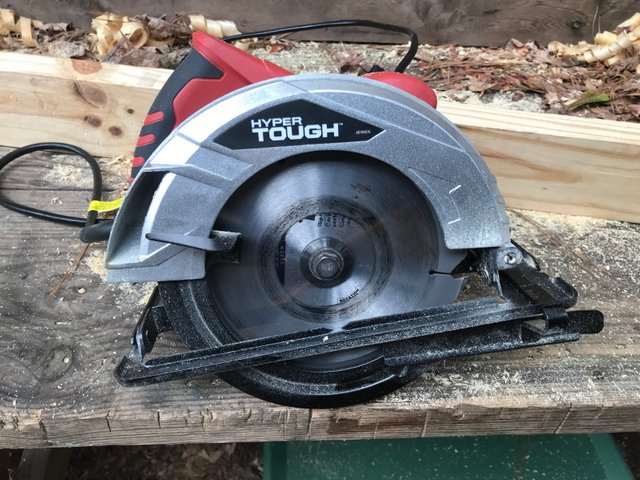
Bad Saw
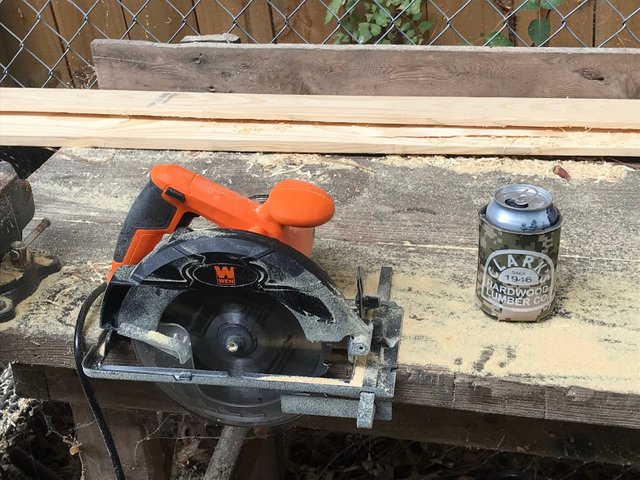
Good Saw
The first rubrail getting a good stretching
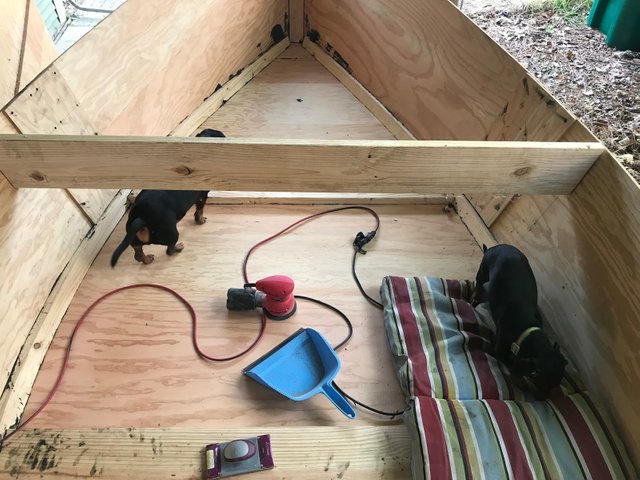
Shop foreman and safety officer inspecting the craft.
At the time of writing this I have to start making some decisions regarding the furniture to be installed. I go back and forth between center consoles, side consoles and Samson posts for steering. Also under consideration are forward casting decks vs. coolers, seating arrangements, and how wide I want the side decks to be. I'll start playing with various cardboard mockups this week and get the four frames installed in the meantime.