A Microgreens Adventure - Day 8
My adventure into microgreens continues and is proving to be rather fun. The one downside of gardening is that it takes time...there's no instant fix for much of ornamental and edible growing. Not with microgreens, however. It only takes a couple of weeks to have a harvest.
If you missed the previous updates, you can see them here:
Day 1
Day 3
Day 5
I shouldn't be surprised at how easy growing microgreens is, yet still it amazes me how plants germinate and grow so quickly. And, as with most things in life, there's nothing to equal experience. There's only so many YouTube videos you can watch before you've got to get your hands dirty.

Over this past week, I've discovered a few things...
Mould
Mould was initially an issue on the sunflower and a few of the radish husks. I put this down to the fact I forgot to spray with a 3% hydrogen peroxide at the outset. However, a couple of doses and there's now no sign of mould. In future batches, I'll spray both the seeds and coconut coir matting when setting each tray up.
Density
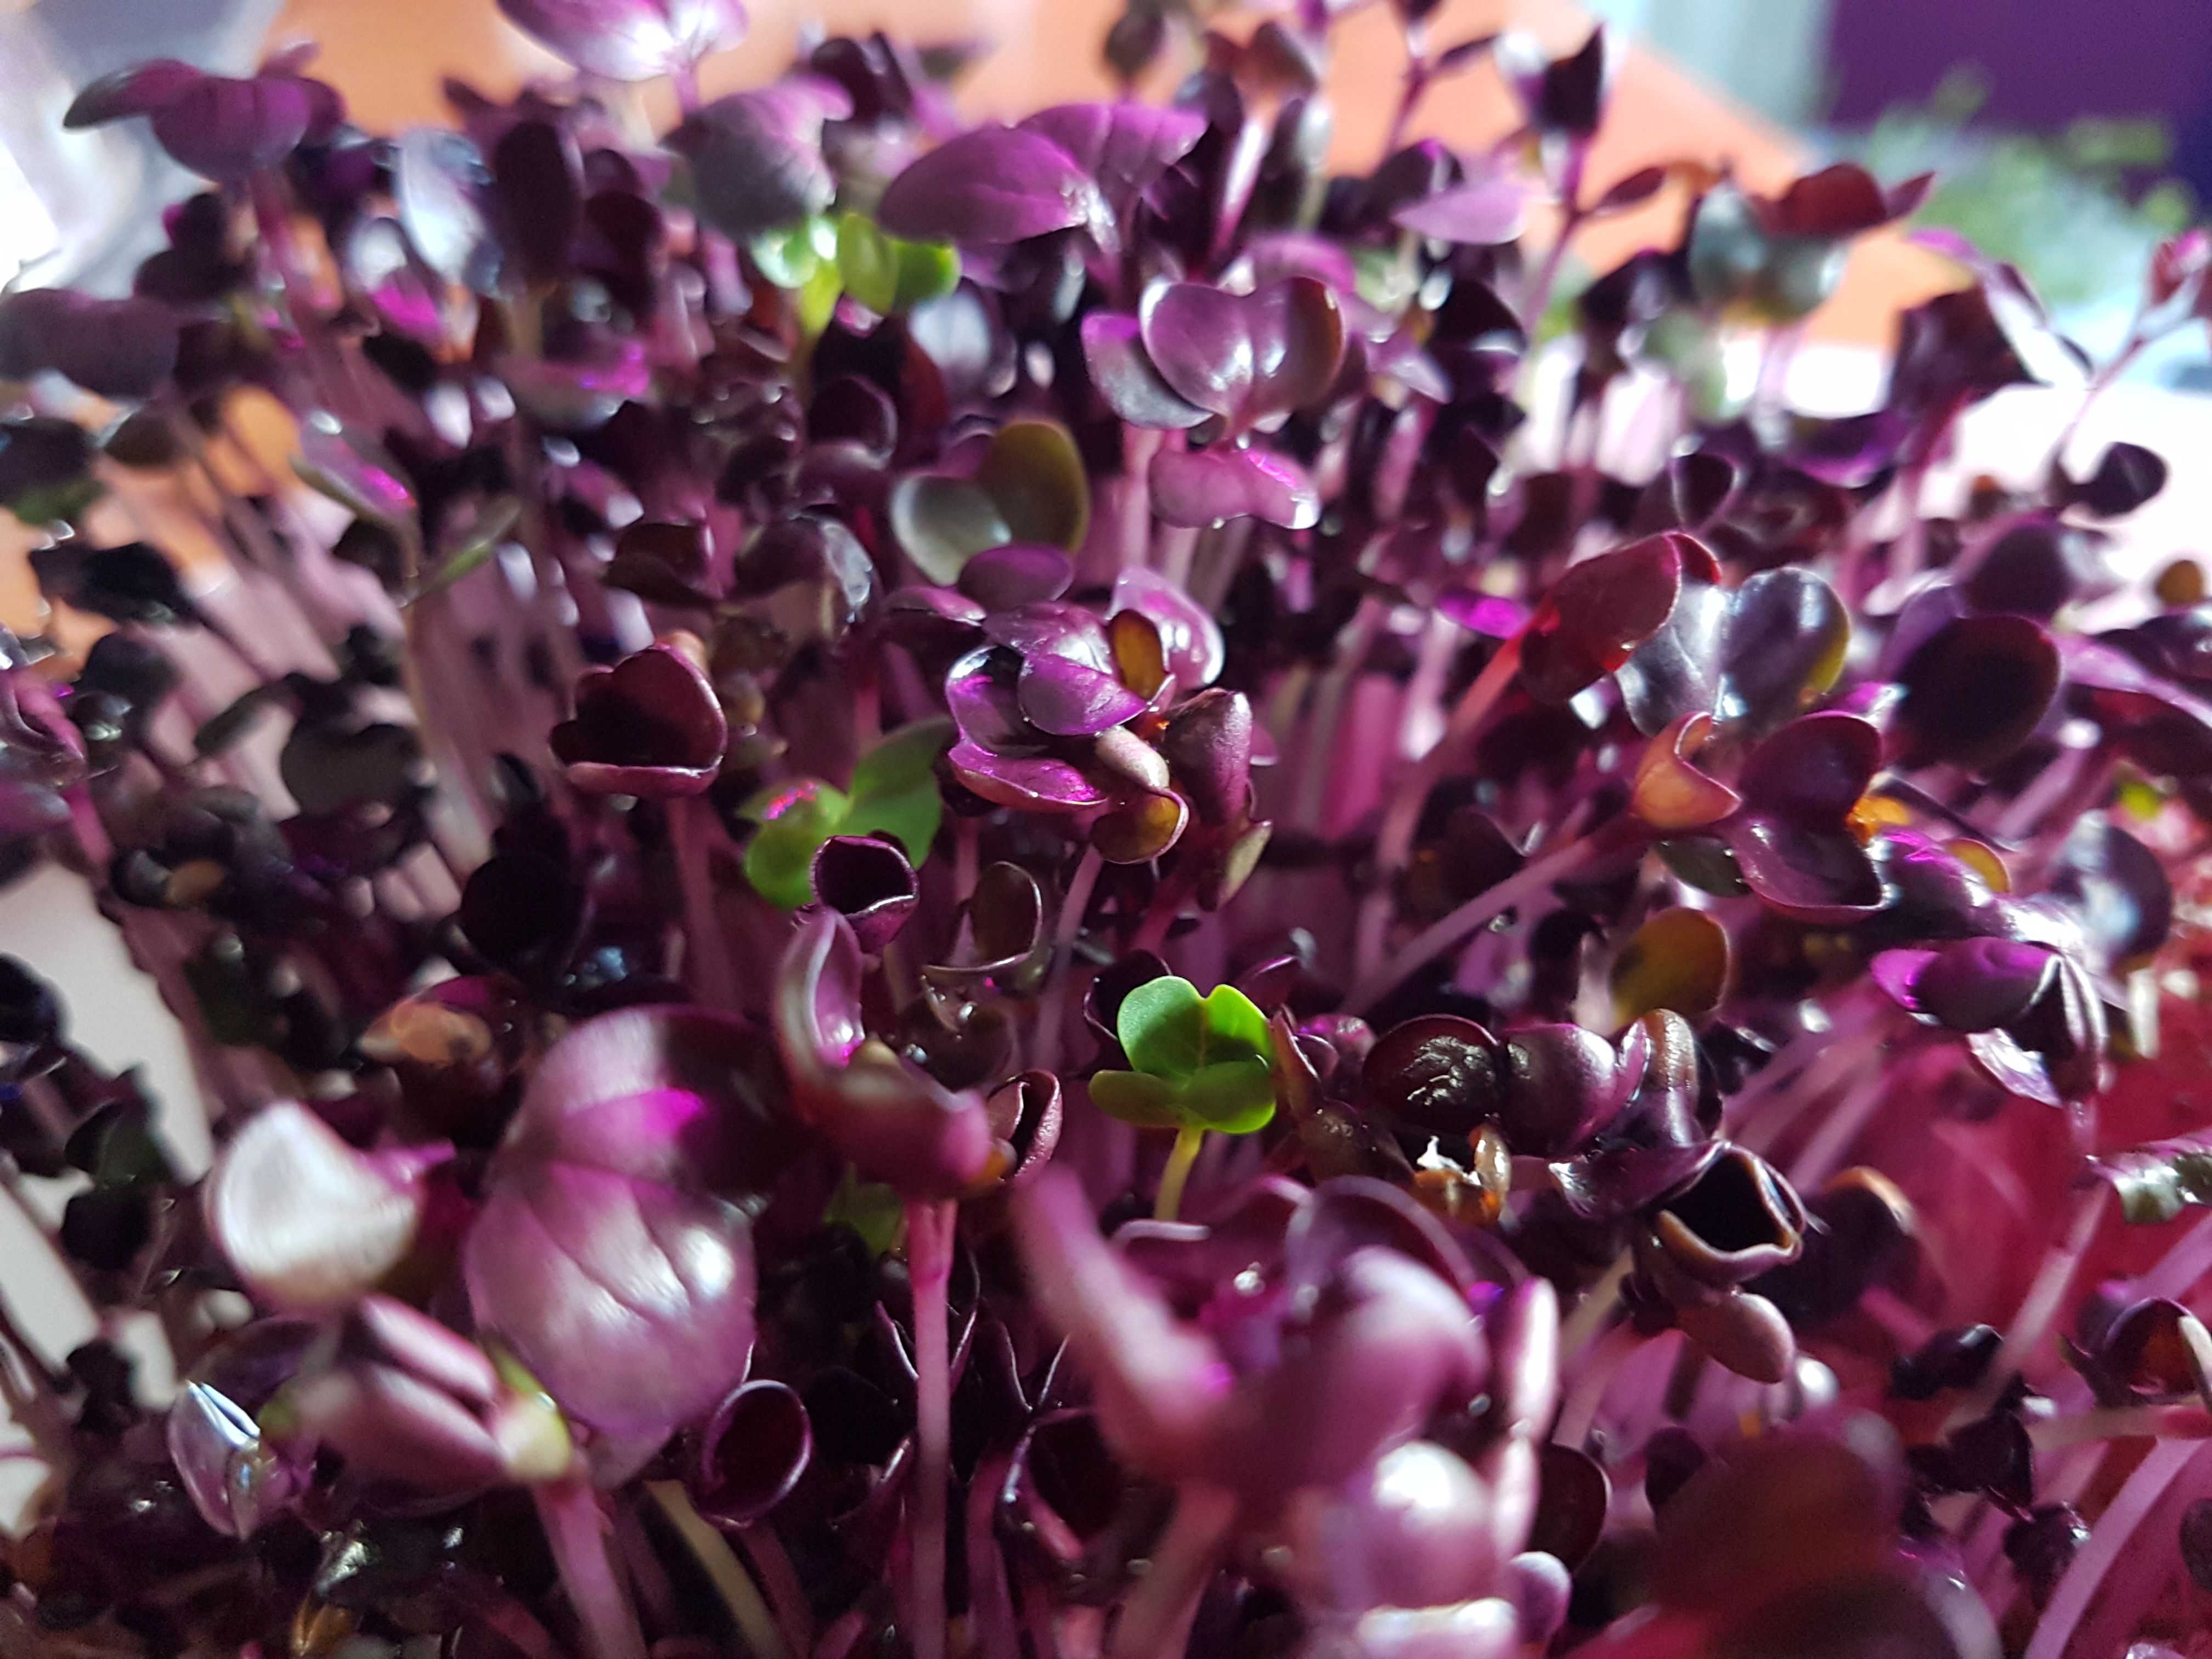
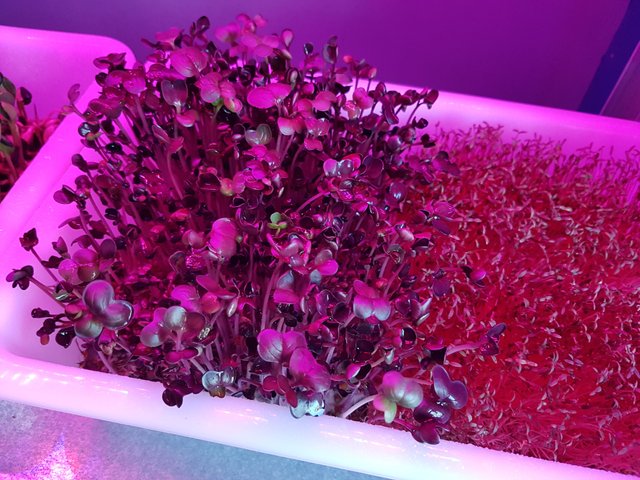
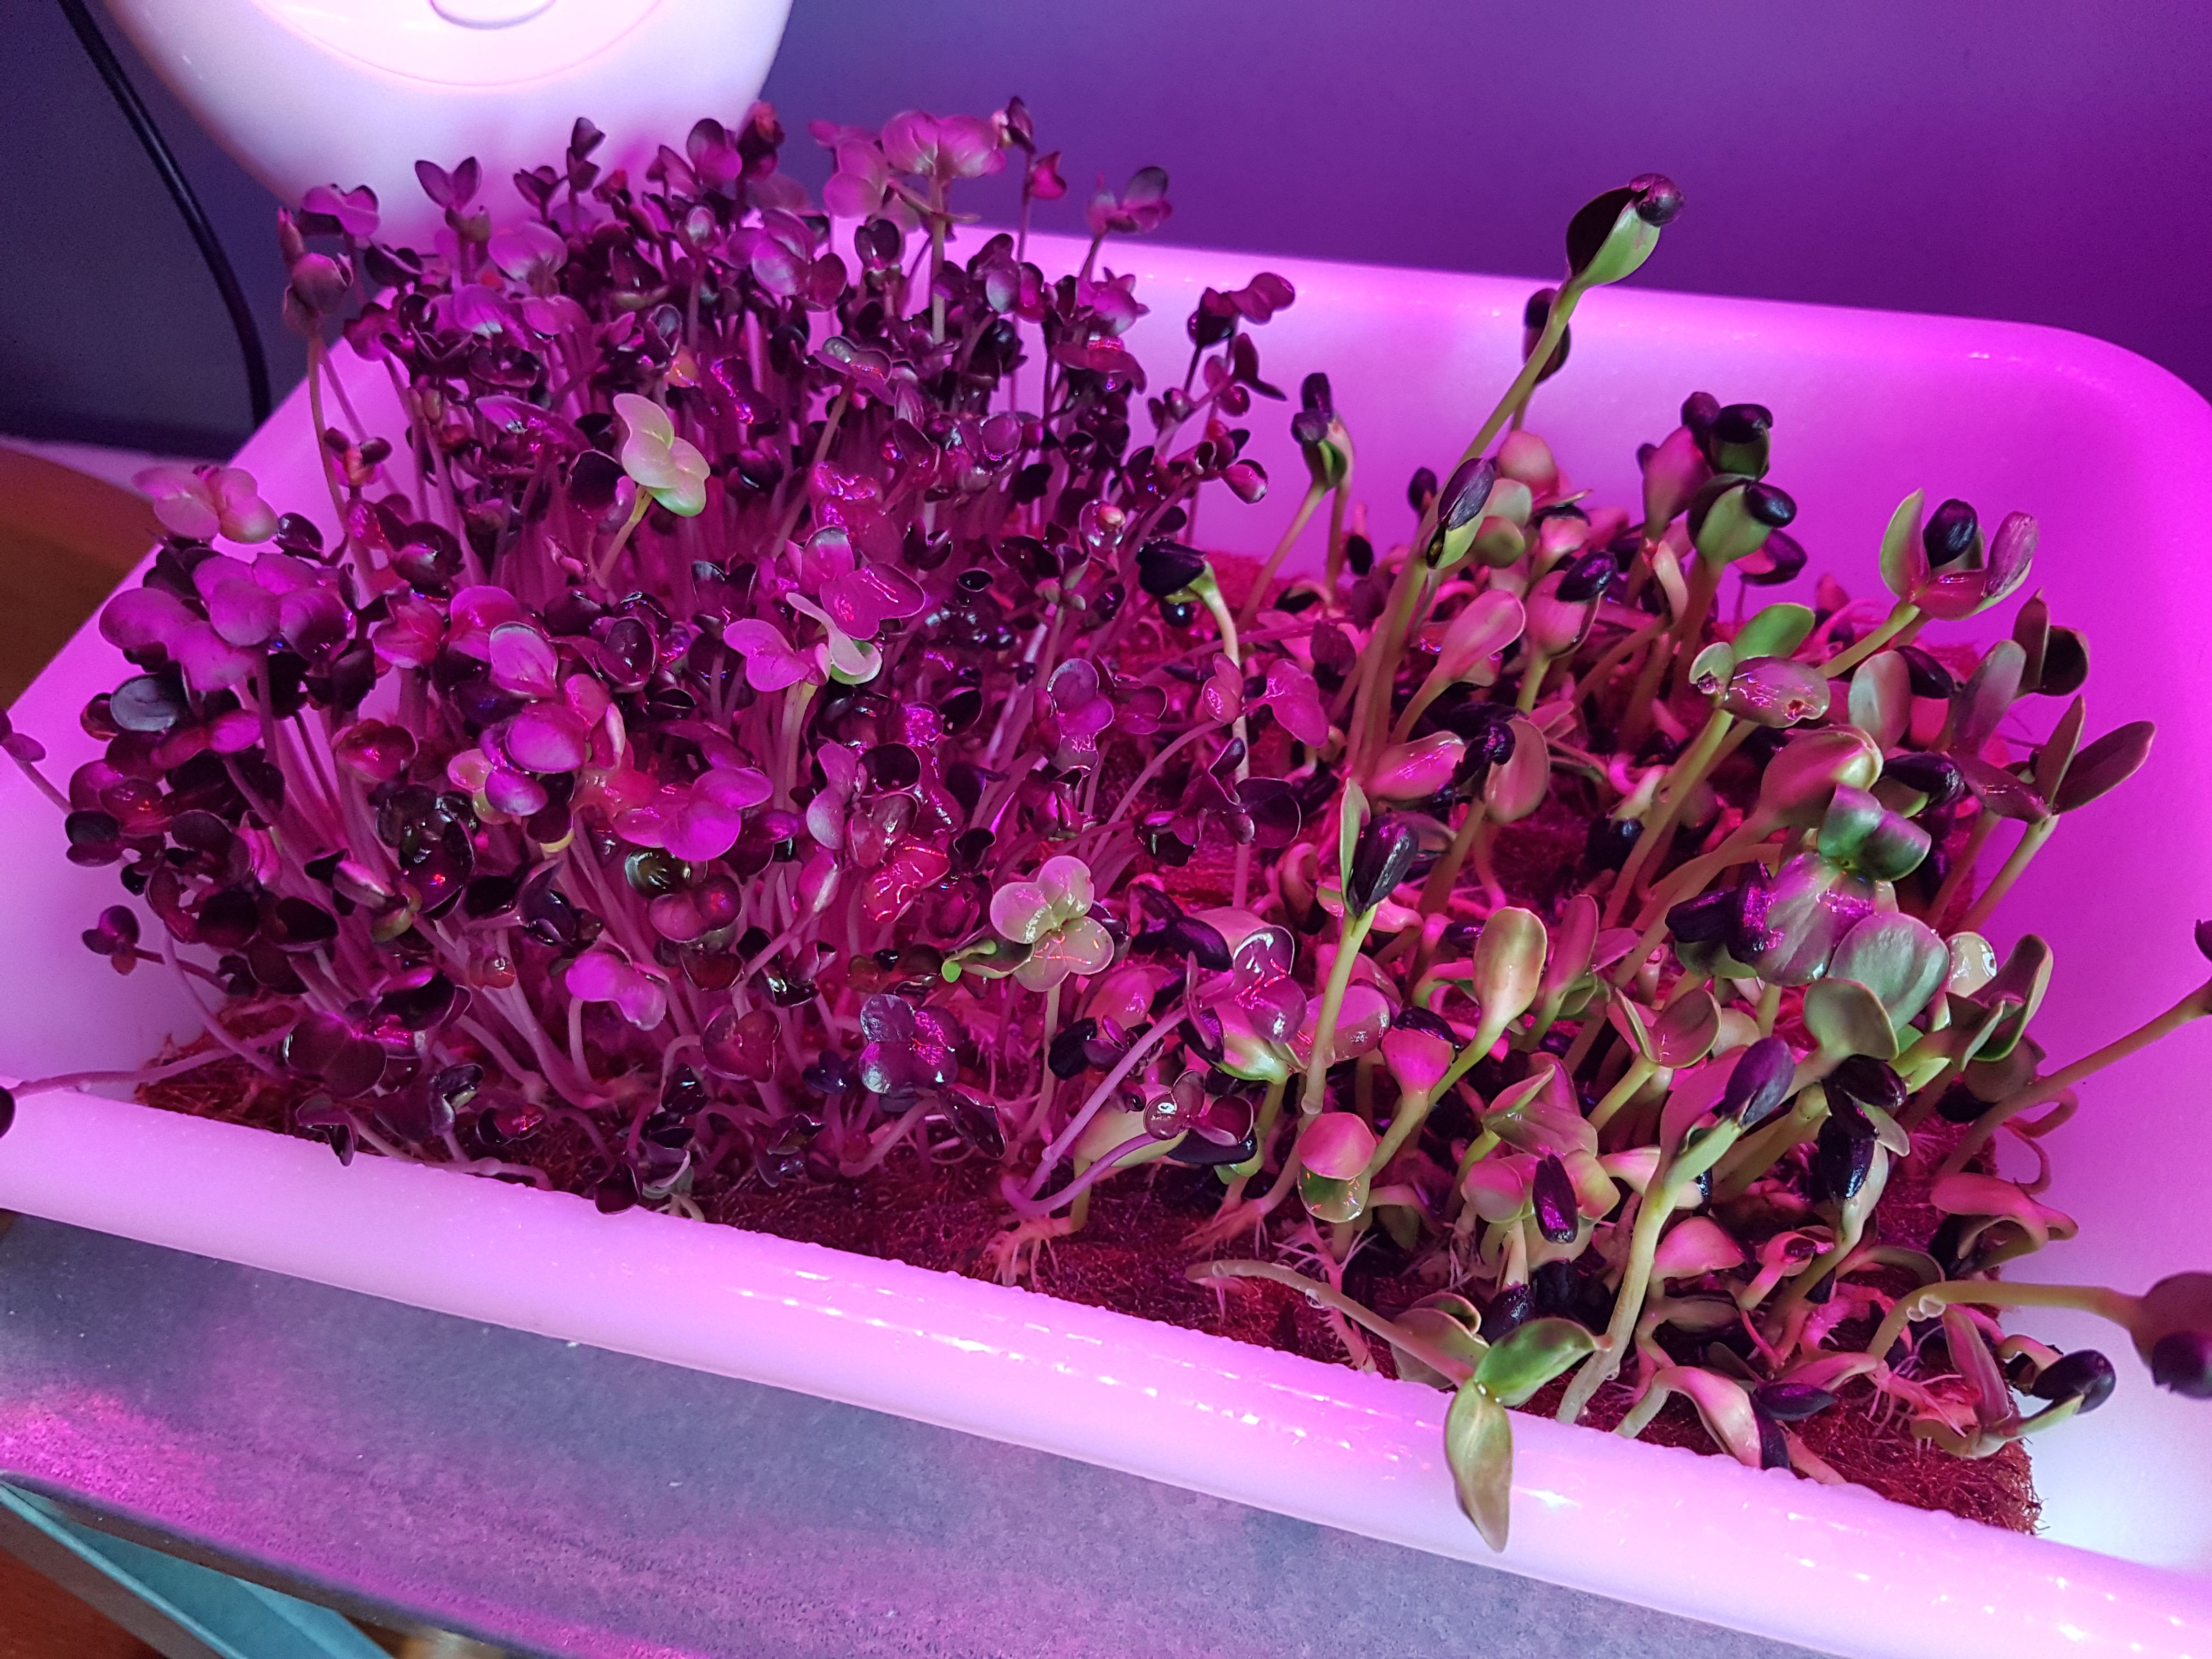
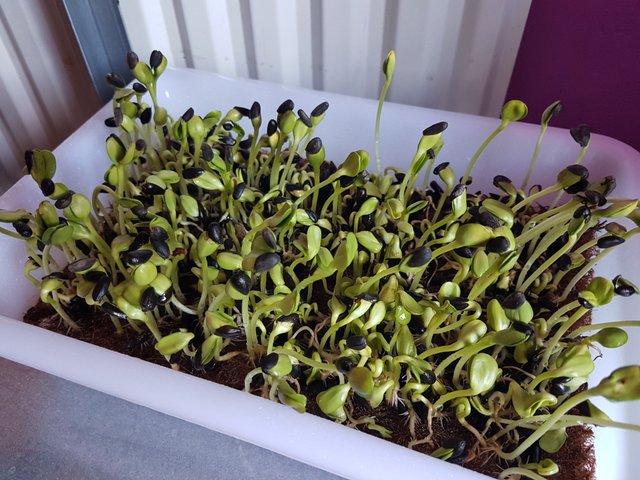
Getting the right density is a careful balancing act. Too many, and the pad is way too swamped with greens. Have too few and there are gaps, in-efficient yields and when spraying with water the mini microgreen forest doesn't stay uptight. It's clear to see from the following photos that I haven't got this right. In the first picture you can see the dark leaved radish is too heavily planted. I did almost half the seeds and get a new tray going, and you can see the seeds I removed in the second photo. Here, the density is too few and not evenly distributed.


So, going forward I need to find a nice mid-point on the seed density and try to spread more evenly across the matting.
Non-uniform Germination
What is also quite clear is that the seeds haven't all germinated and grown at the same rate so, again, the pads look patchy. I put this down to not applying any pressure when I stacked the trays. After I'd sown the seeds, I simply covered the trays in cardboard to block out the light and get germination going. HOWEVER, in some videos I've watched, the trays are stacked and weighted down a little. I think this helps to ensure all the seeds are at the same stage when it comes to uncovering. I'm going to try this with my next batch.

Now, with the speed of growth it won't be long before I can harvest these! Amazing. And then I need to start thinking about how to sell and market...but that's for another story.
Thnx @brimwoodfarm for putting this info all together.
No worries. I'm posting it as I learn so hopefully we can work out the mistakes together. :)
a very detailed explanation. i like your post my friend
Thank you :D
Curious... what would you 'weigh down' the sunflower seeds with?
But... great job! everything looks so healthy!
What I've seen Curtis Stone do is stack the trays on top of each other and then add an extra tray on top and pop a brick in. I'm guessing the theory is the weight doesn't stop germination but stops some bolting before the others so you get a more uniform batch.
Ahhh, ok. That makes sense.
Never would have thought about it that way, but I can see how it may happen.
@originalworks
I suppose if they were planted they'd have the weight of soil on them which has a similar effect. With nothing, they're free to spring up wherever they like!
There is more to life than increasing its speed.
- Mahatma Gandhi
Very true, but growing microgreens sure does wonders for those of us who are impatient. ;)
I'm watching this with interest. I've just (Monday) started a few trays of sunflower seeds as sprouted seeds for the hens but I've literally just soaked , scattered and rinsed 2x daily. It will be good to compare the two methods.
It's neat to see the progression. There's been considerable change over the few days since you started, making your first posts even more interesting to revisit.
Hopefully not long until the first harvest now. :D
Looks like you're learnin' a lot! Try Red Garnet Amaranth if you want some of the most beautiful translucent red greens you'll ever grow. Your purple radish looks DELECTABLE!
~ Kevin
Thanks Kevin, I'll look that one up. The amaranth I have is Red Army - again, sown WAY too close together. I tried a little radish today - AMAZING taste!
Love the radish micros! Easiest to grow, too :)
Mega easy. Will probably begin harvesting today!
Looking Good! "I forgot to spray with a 3% hydrogen peroxide at the outset." great tip We did trays of wheat grass some years ago but had to abandon due to humidity and mold once spring hit. Only works here in Florida in Winter, but I love your tip! I will run by my husband...He is the microbiology guy ...see what he thinks...It sounds like a winner!
Melissa
It's worked really well and was a tip I picked up from a YouTube video of a company with huge distribution to restaurants etc. They said it was the most important step - which I initially missed! Oops!
:)