how to make arduino mini gaming console
Hello world!, I would like to introduce you to this project using the arduino uno r3 microcontroller, push buttons and nokia 5110 LCD display modules, which is make a 'DIY Gamebuino'. What is GameBuino? There are a lot of people who are still unfamiliar with Gamebuino.Do you want to know what Gamebuino is? Gamebuino is an arduino game machine that makes up Arduboy and two mountain ranges. Like Arduboy, you can share your own games with your own homepage, or you can play games created by other users. Want to learn more about Gamebuino? click this link

Today i will going to show you how to make a DIY Gamebuino gaming console using arduino basic components.
HARDWARE
Gather all the Requirements
Requirements
For this part, you will need the following arduino components
- nokia 5110 LCD Display
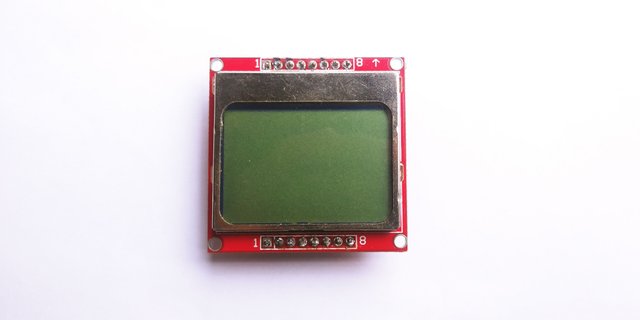
These displays were used in old Nokia 5110/3310 cell phones. It is a 84x48 pixel monochrome LCD display. These displays are small, but very readable and come with backlight. This display is made of 84x48 individual pixels, so you can use it for graphics, text or bitmaps. so less expensive than using oled display. this display module has built in 8 pin outputs, the power pins GNd and VCC the LIGHT pin and the 4 data pin which will be connected to specified arduino pins.
- Speaker / piezzo buzzer
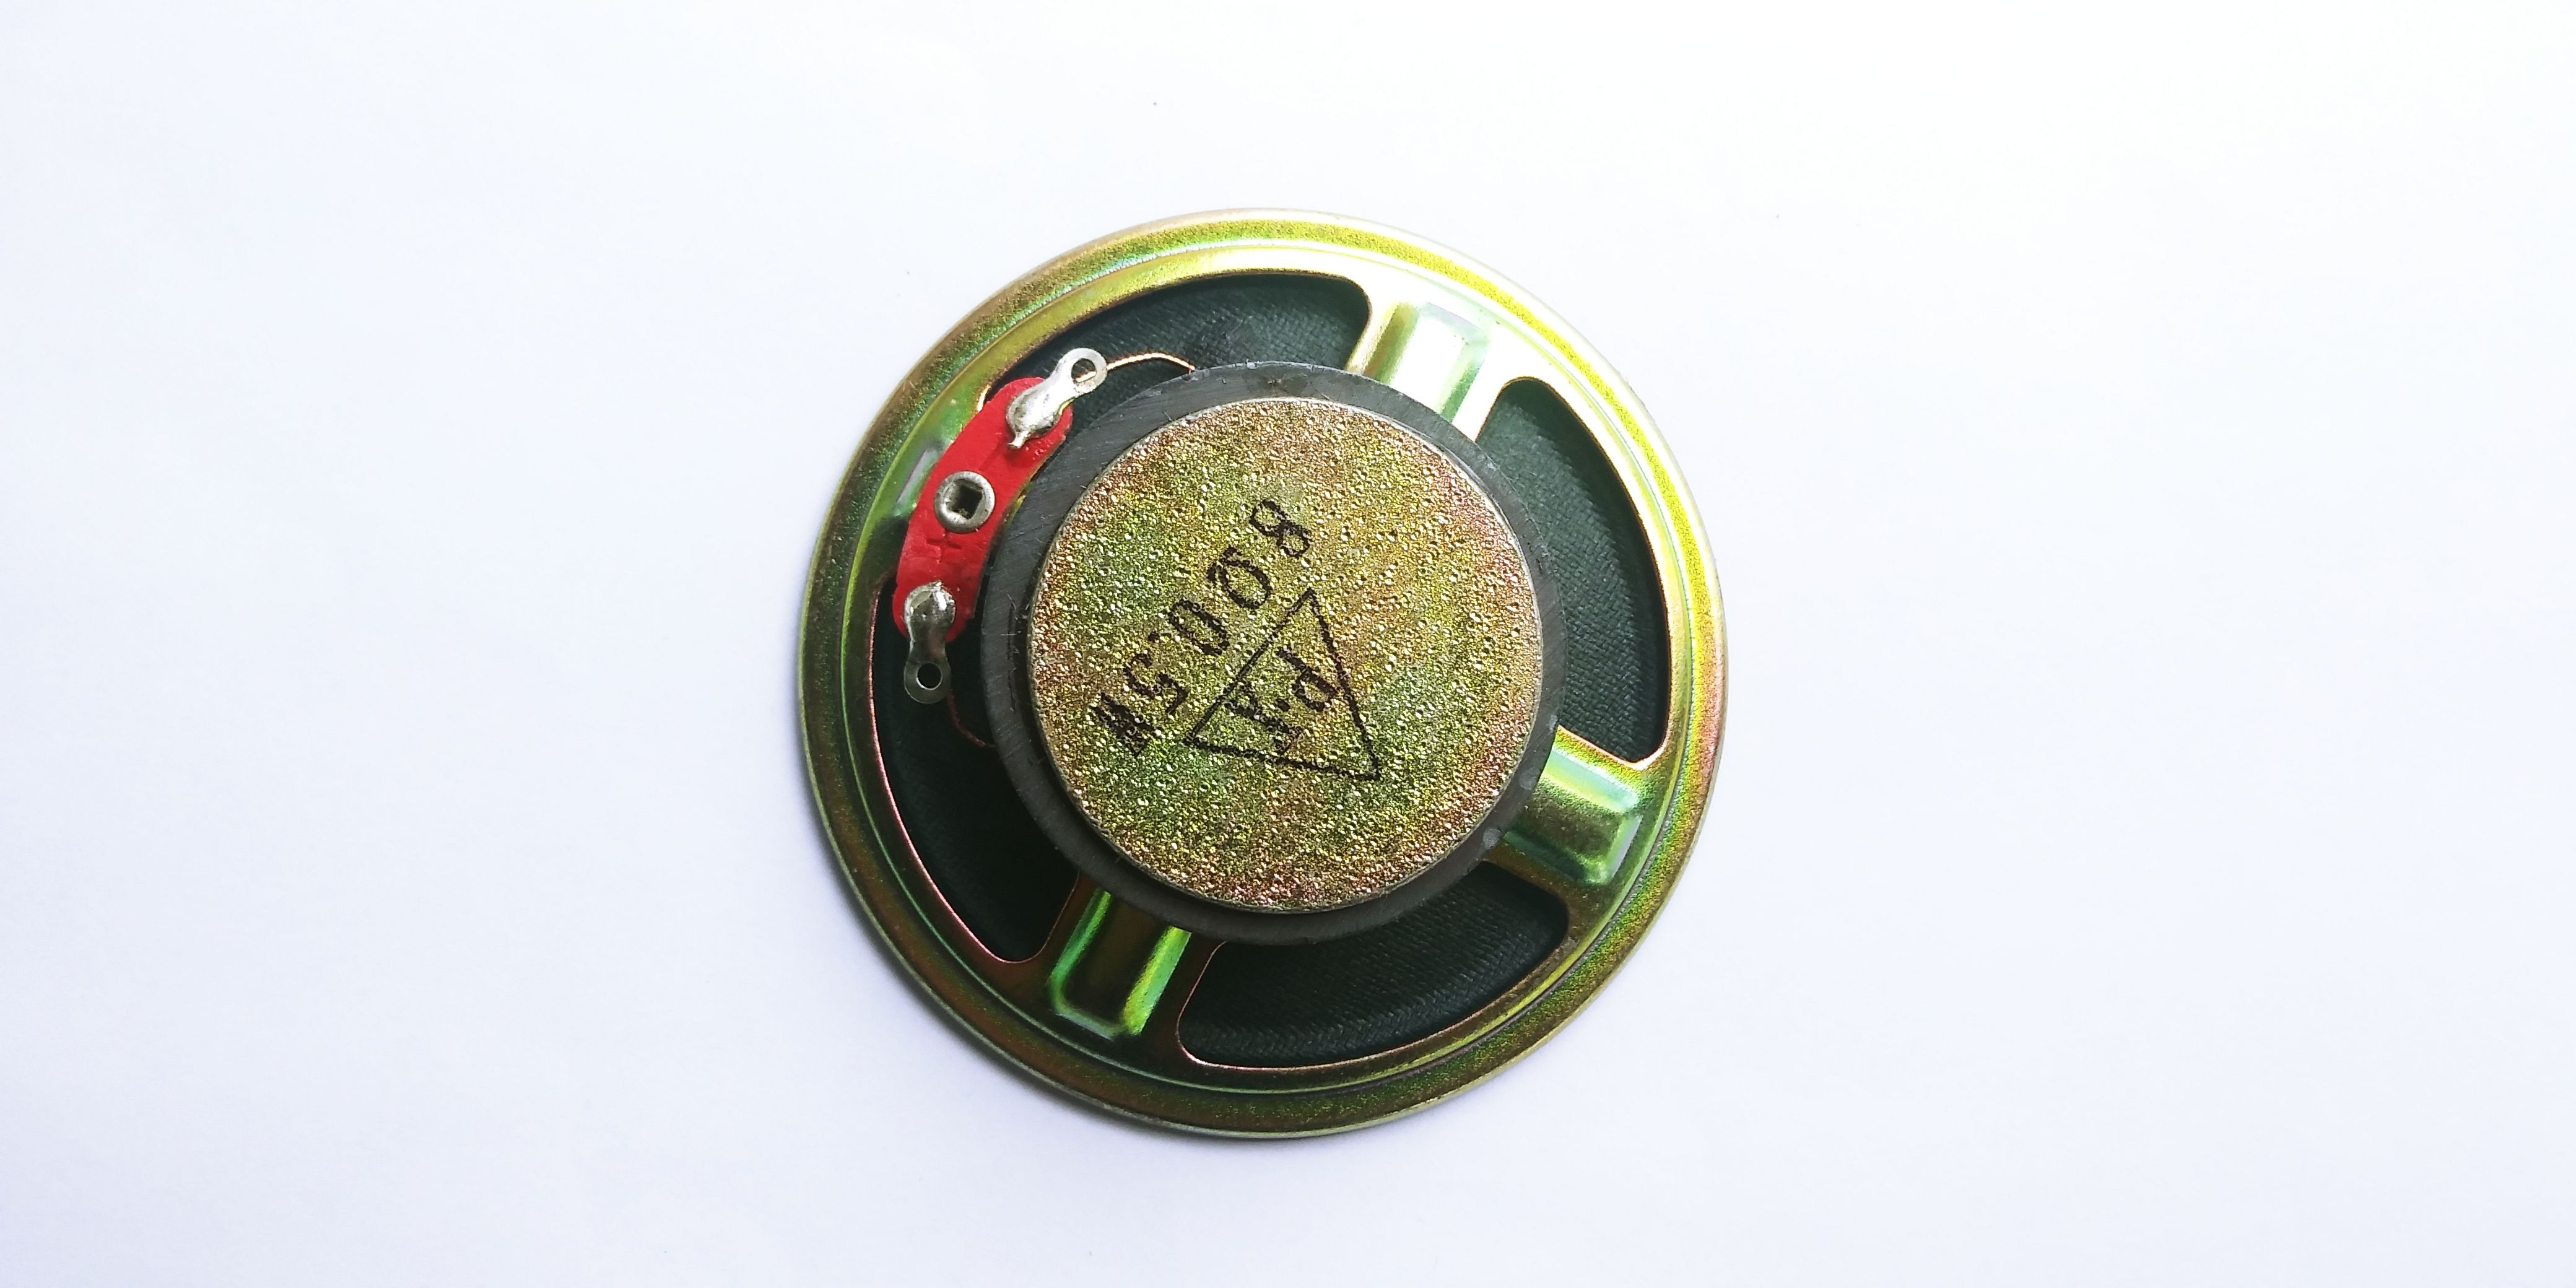
This electric speaker/buzzer can be driven by an oscillating electronic circuit or other audio signal source. A click, beep or ring can indicate that a button has been pressed most of this using to make alarm tune or alarm system that we will use in this tutorial. the speaker that i used here was came from an old mini fm radio.
- Breaboard
We will use a Single Panel Breadboard it is a solderless device for temporary prototype with electronics and test circuit designs. both side of the breadboard is the power rail it is horizontal lining and the middle is the vertical rail for arduino components.
- Push buttons
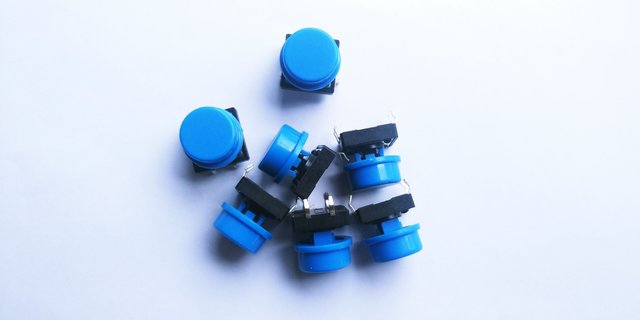
We will use the Momentary Push Button Switch a 12mm Square, These buttons gives a nice soft click every time it's pressed so you know that you've definitely activated it. Their almost instant return make them great for building your own homemade button pad. it also make a good reset switch or user feedback for a microcontroller circuit.
- Jumper wires
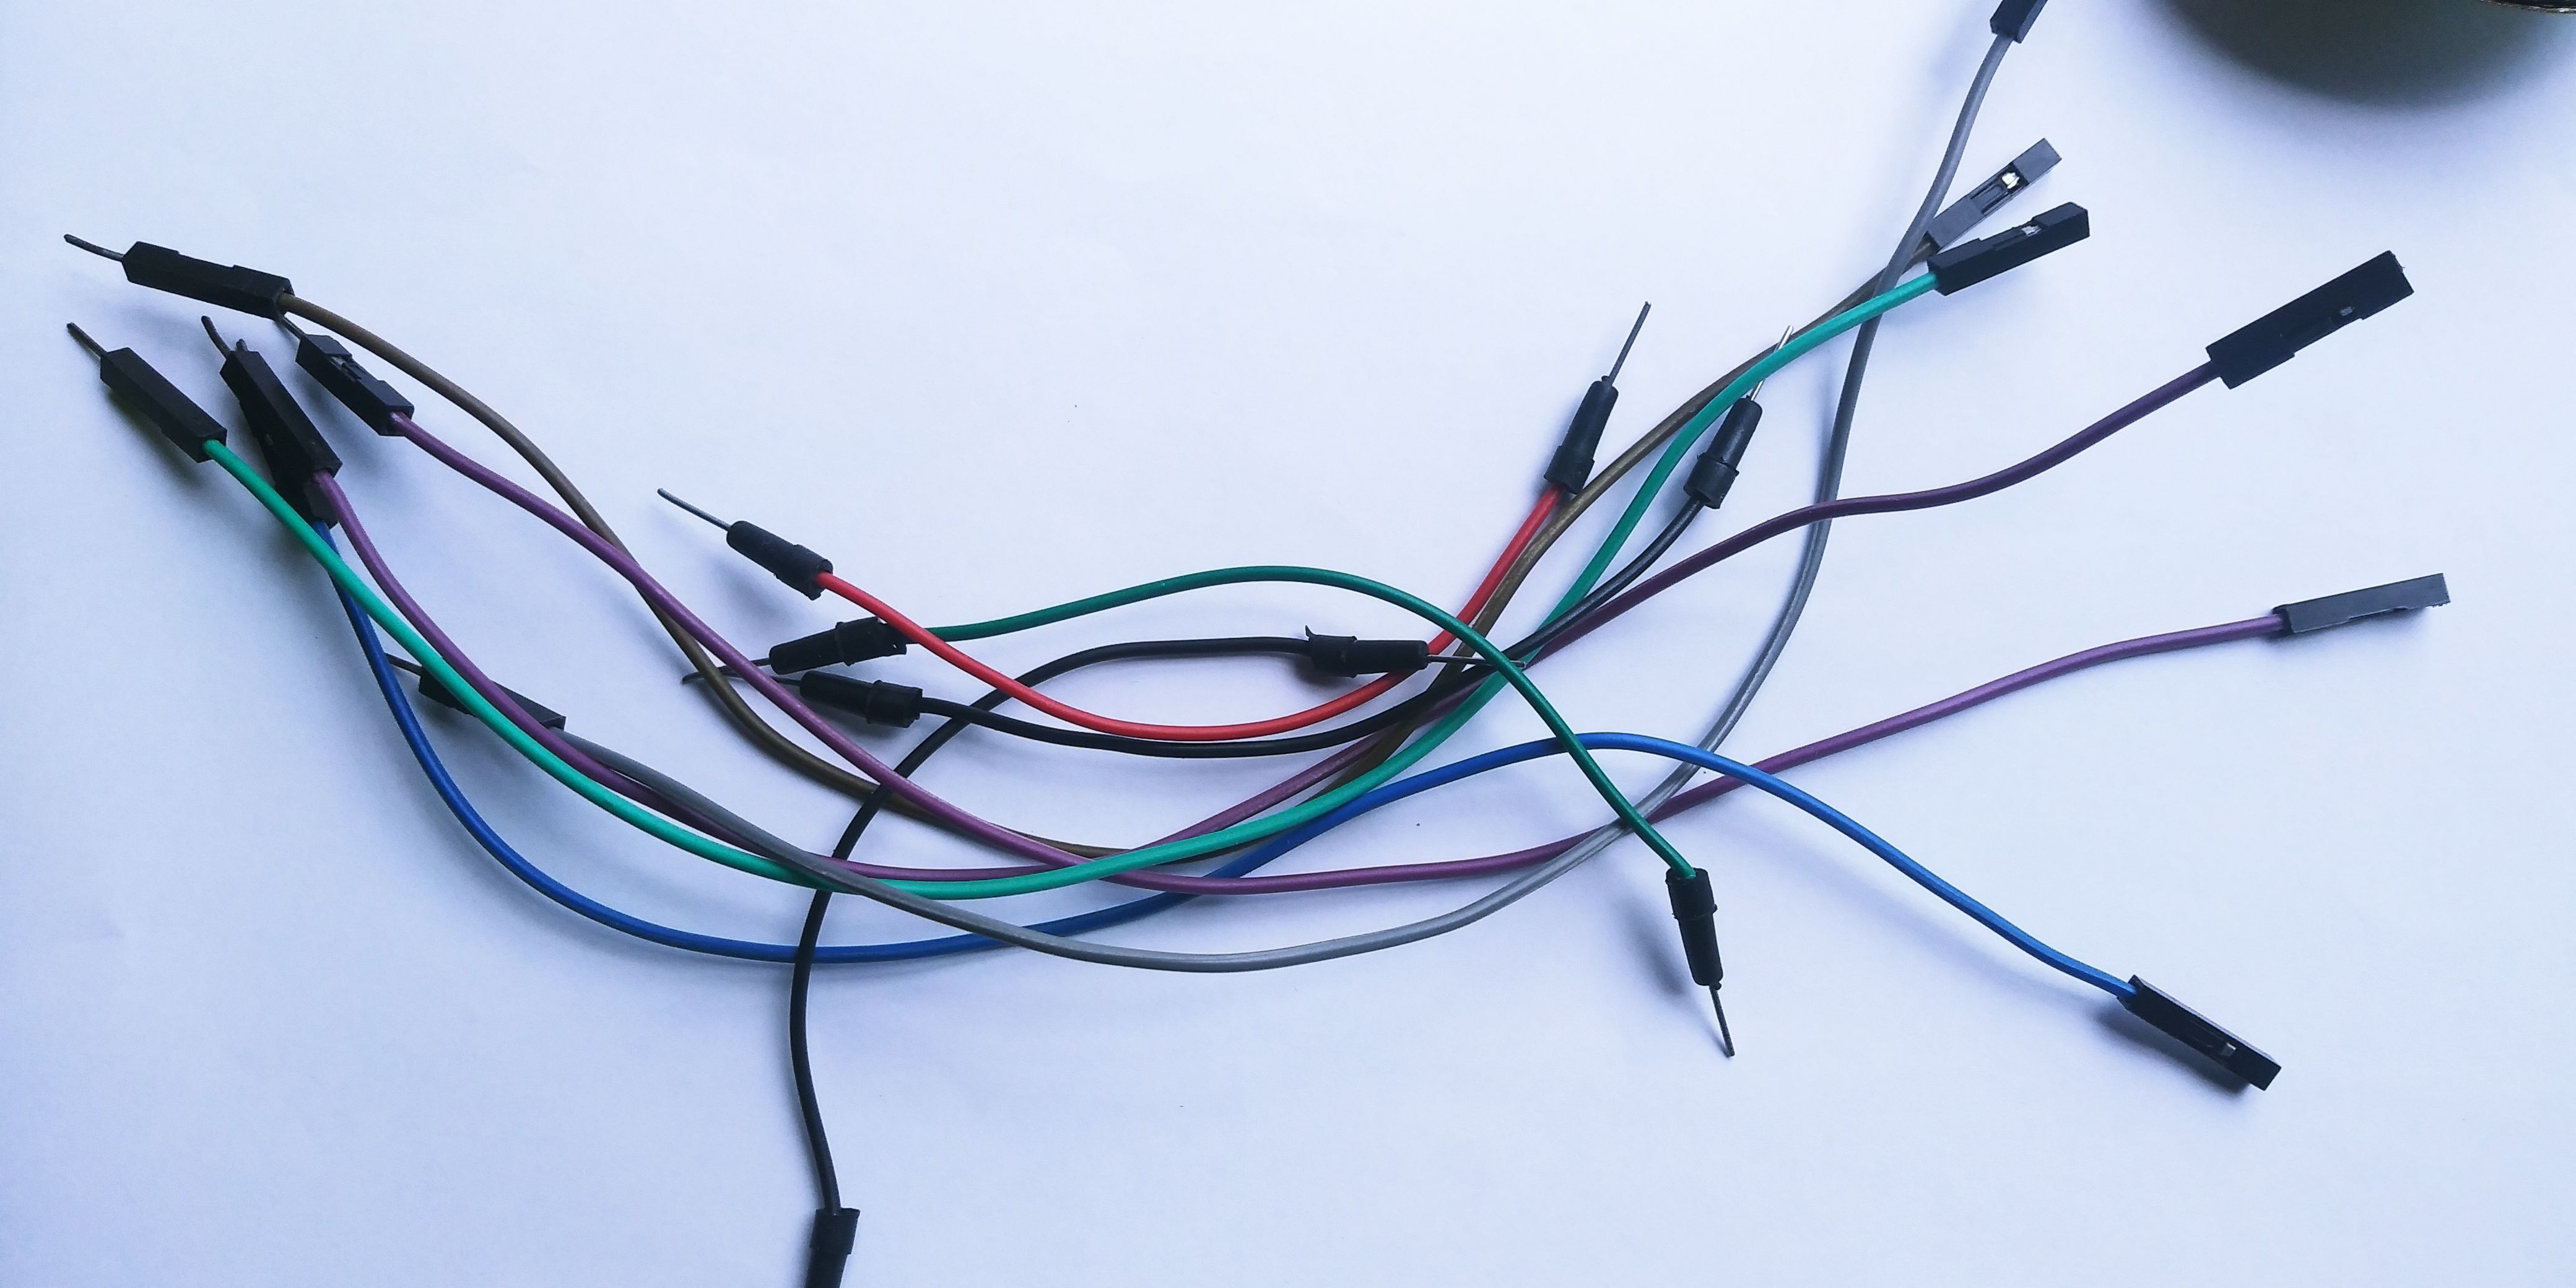
we will use jumpers to connect on a breadboard or female header connector, size and color to distinguish the different working signals. we will use the male to male jumper for buttons and male- female doe nokia lcd to connect to arduino.
Experimental Procedures
- Build the circuit
The connection of nokia 5110 LCD to arduino
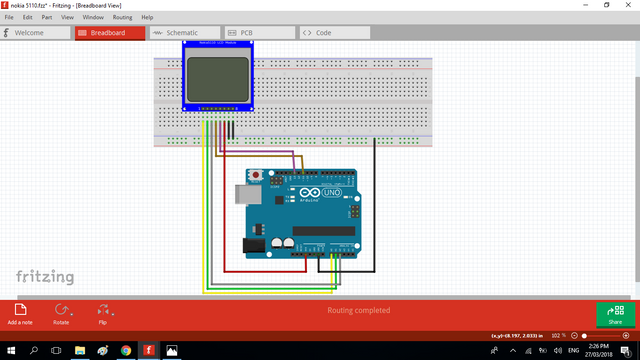
To drive the nokia display, we need 5 digital output pins. the LIGHT pin can be used to control (via on/off or PWM) the backlight, the GND and the LIGht pin should connected to GND on the arduino board, The display driver is a PCD8544 chip which is on the library weve recently downloaded, and it runs at 3.3V so you will need a 3V supply handy. Logic levels must be 3.3V to prevent damage so you must use some kind of resistance. or we can use resistor between the light pin and the GND pin on the arduino. the remaining pin on the LCD will be conneted to the specified digital pin out on the arduino board llisted below.
Breadboard layout
- GND pin of nokia 5110 lcd - GND pin of arduino
- VCC - 3.3V
- LIGHT - GND
- RST - A0
- CS - A1
- DIN - A3
- DC - A2
- CLK - D13
The connection of speaker and push buttons to arduino
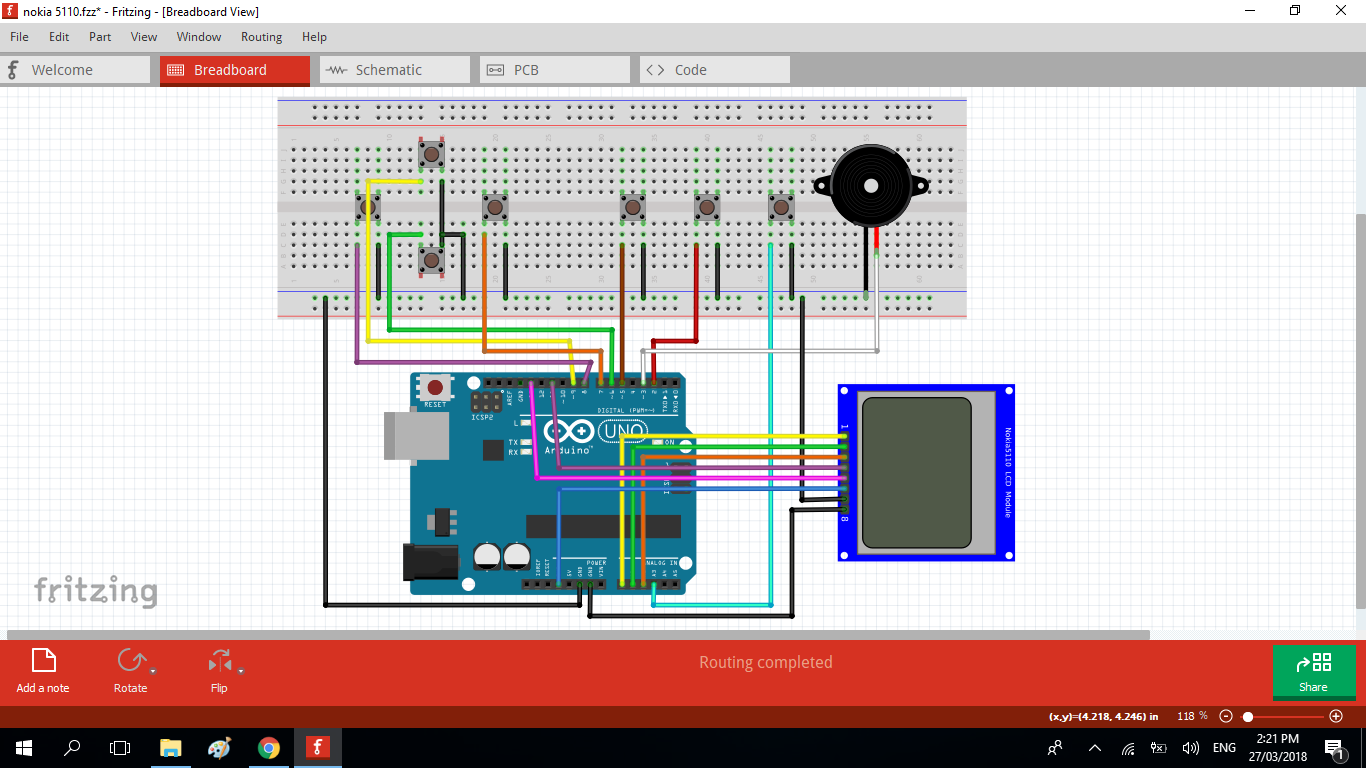
The push buttons has 4 set of legs but we will using 2 legs, both the right leg is connected to the GND pin on the arduino, the left one is connected to specified arduino pin depends on the use of it. we will use 7 buttons the 4 is then navigation buttons and the 3 is for the option button.
Breadboard layout
- Up Button - D9
- Right Button - D7
- Down Button - D6
- Left Button - D8
- A Button - D4
- B Button - D2
- C Button - A3
- Speaker pin - D3
Software coding
- Download the Software and Libraries
- download the Arduino IDE for your specific operating system. I’ll leave a link to where you can download this software: https://www.arduino.cc/en/Main/Software
- Adafruit-GFX-Library; https://github.com/adafruit/Adafruit-GFX-Library
- Adafruit-PCD8544-Nokia-5110-LCD-library;https://github.com/adafruit/Adafruit-PCD8544-Nokia-5110-LCD-library/
- Download the Gamebuino library; http://legacy.gamebuino.com/wiki/index.php?title=Download
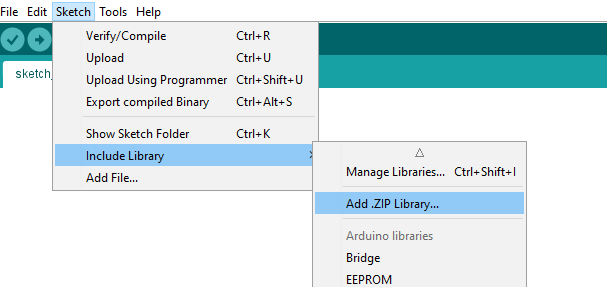
Once installed the arduino IDE add the 3 important libraries by locating the SKETCH tab at the top of the arduino software, navigate ADD ZIP LIBRARY >> then look for the downloaded libraries in the download folder. SELECT the zip file then wait for the process. include all the libraries for gamebuino and nokia 5110.
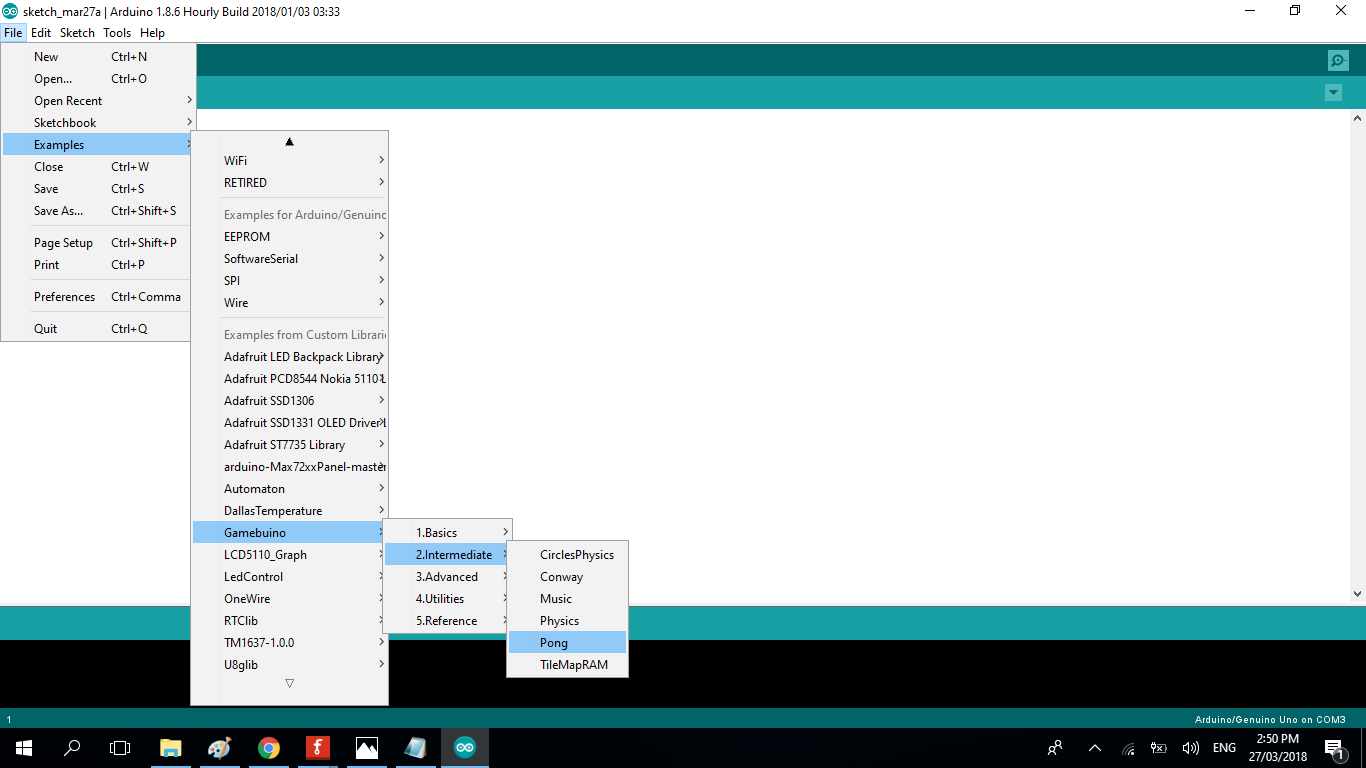
the addition to the library is complete, you have to make sure that the hardware is properly connected through the example source, and check if the game works well in the Gamebuino. Run the Adunino IDE and run [File] - [Examples] - [Gamebuino] - [2.Intermediate] - [Pong].
SOURCE CODE from pong examples
#include <SPI.h>
#include <Gamebuino.h>
Gamebuino gb;
boolean paused = false;
//player variables
int player_score = 0;
int player_h = 16;
int player_w = 3;
int player_x = 0;
int player_y = (LCDHEIGHT - player_h) / 2;
int player_vy = 2;
//oponent variables
int oponent_score = 0;
int oponent_h = 16;
int oponent_w = 3;
int oponent_x = LCDWIDTH - oponent_w;
int oponent_y = (LCDHEIGHT - oponent_h) / 2;
int oponent_vy = 2;
//ball variables
int ball_size = 6;
int ball_x = LCDWIDTH - ball_size - oponent_w - 1;
int ball_y = (LCDHEIGHT - ball_size) / 2;
int ball_vx = 3;
int ball_vy = 3;
extern const byte font5x7[]; //get the default large font
///////////////////////////////////// SETUP
void setup() {
gb.begin();
gb.display.setFont(font5x7); //change the font to the large one
gb.titleScreen(F("Pong Solo"));
gb.pickRandomSeed(); //pick a different random seed each time for games to be different
gb.battery.show = false; //hide the battery indicator
}
///////////////////////////////////// LOOP
void loop() {
if (gb.update()) {
//pause the game if C is pressed
if (gb.buttons.pressed(BTN_C)) {
gb.titleScreen(F("Pong Solo"));
gb.battery.show = false;
gb.display.fontSize = 2;
}
//move the player
if (gb.buttons.repeat(BTN_UP, 1)) {
player_y = max(0, player_y - player_vy);
}
if (gb.buttons.repeat(BTN_DOWN, 1)) {
player_y = min(LCDHEIGHT - player_h, player_y + player_vy);
}
//move the ball
ball_x = ball_x + ball_vx;
ball_y = ball_y + ball_vy;
//check for ball collisions
//collision with the top border
if (ball_y < 0) {
ball_y = 0;
ball_vy = -ball_vy;
gb.sound.playTick();
}
//collision with the bottom border
if ((ball_y + ball_size) > LCDHEIGHT) {
ball_y = LCDHEIGHT - ball_size;
ball_vy = -ball_vy;
gb.sound.playTick();
}
//collision with the player
if (gb.collideRectRect(ball_x, ball_y, ball_size, ball_size, player_x, player_y, player_w, player_h)) {
ball_x = player_x + player_w;
ball_vx = -ball_vx;
gb.sound.playTick();
}
//collision with the oponent
if (gb.collideRectRect(ball_x, ball_y, ball_size, ball_size, oponent_x, oponent_y, oponent_w, oponent_h)) {
ball_x = oponent_x - ball_size;
ball_vx = -ball_vx;
gb.sound.playTick();
}
//collision with the left side
if (ball_x < 0) {
oponent_score = oponent_score + 1;
gb.sound.playCancel();
ball_x = LCDWIDTH - ball_size - oponent_w - 1;
ball_vx = -abs(ball_vx);
ball_y = random(0, LCDHEIGHT - ball_size);
}
//collision with the right side
if ((ball_x + ball_size) > LCDWIDTH) {
player_score = player_score + 1;
gb.sound.playOK();
ball_x = LCDWIDTH - ball_size - oponent_w - 16; //place the ball on the oponent side
ball_vx = -abs(ball_vx);
ball_y = random(0, LCDHEIGHT - ball_size);
}
//reset score when 10 is reached
if ((player_score == 10) || (oponent_score == 10)) {
player_score = 0;
oponent_score = 0;
}
//move the oponent
if ((oponent_y + (oponent_h / 2)) < (ball_y + (ball_size / 2))) { //if the ball is below the oponent
oponent_y = oponent_y + oponent_vy; //move down
oponent_y = min(LCDHEIGHT - oponent_h, oponent_y); //don't go out of the screen
}
else {
oponent_y = oponent_y - oponent_vy; //move up
oponent_y = max(0, oponent_y); //don't go out of the screen
}
//draw the score
gb.display.fontSize = 2;
gb.display.cursorX = 15;
gb.display.cursorY = 16;
gb.display.print(player_score);
gb.display.cursorX = 57;
gb.display.cursorY = 16;
gb.display.print(oponent_score);
//draw the ball
gb.display.fillRect(ball_x, ball_y, ball_size, ball_size);
//draw the player
gb.display.fillRect(player_x, player_y, player_w, player_h);
//draw the oponent
gb.display.fillRect(oponent_x, oponent_y, oponent_w, oponent_h);
}
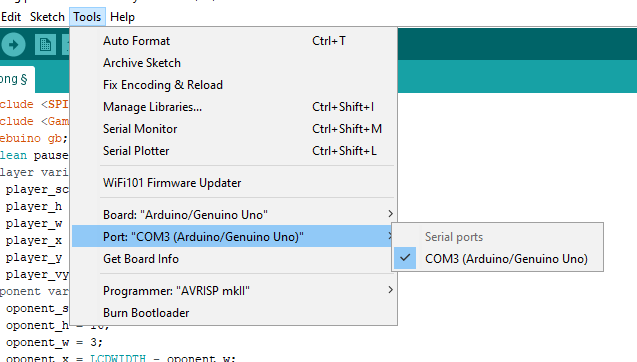
}Connect the arduino uno board nano/mega/r3 to your computer via type b usb cable.
your computer will automatically scan the device driver, to verify the board of the arduino, on the IDE click >. TOOLS then verify the board type and PORT where the USB is connected.
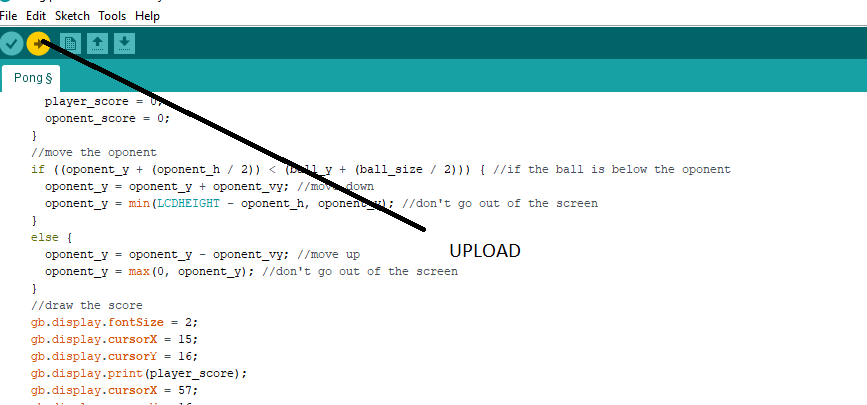
- once done click upload, it will compile the sketch first before uploading.
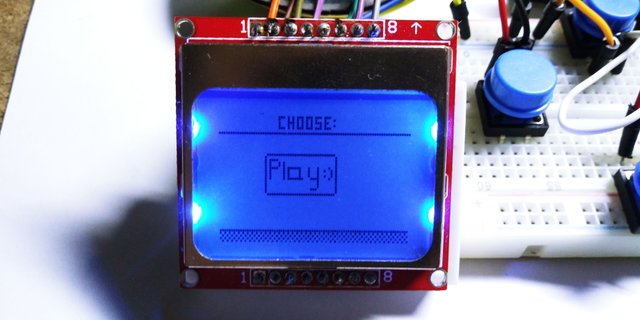
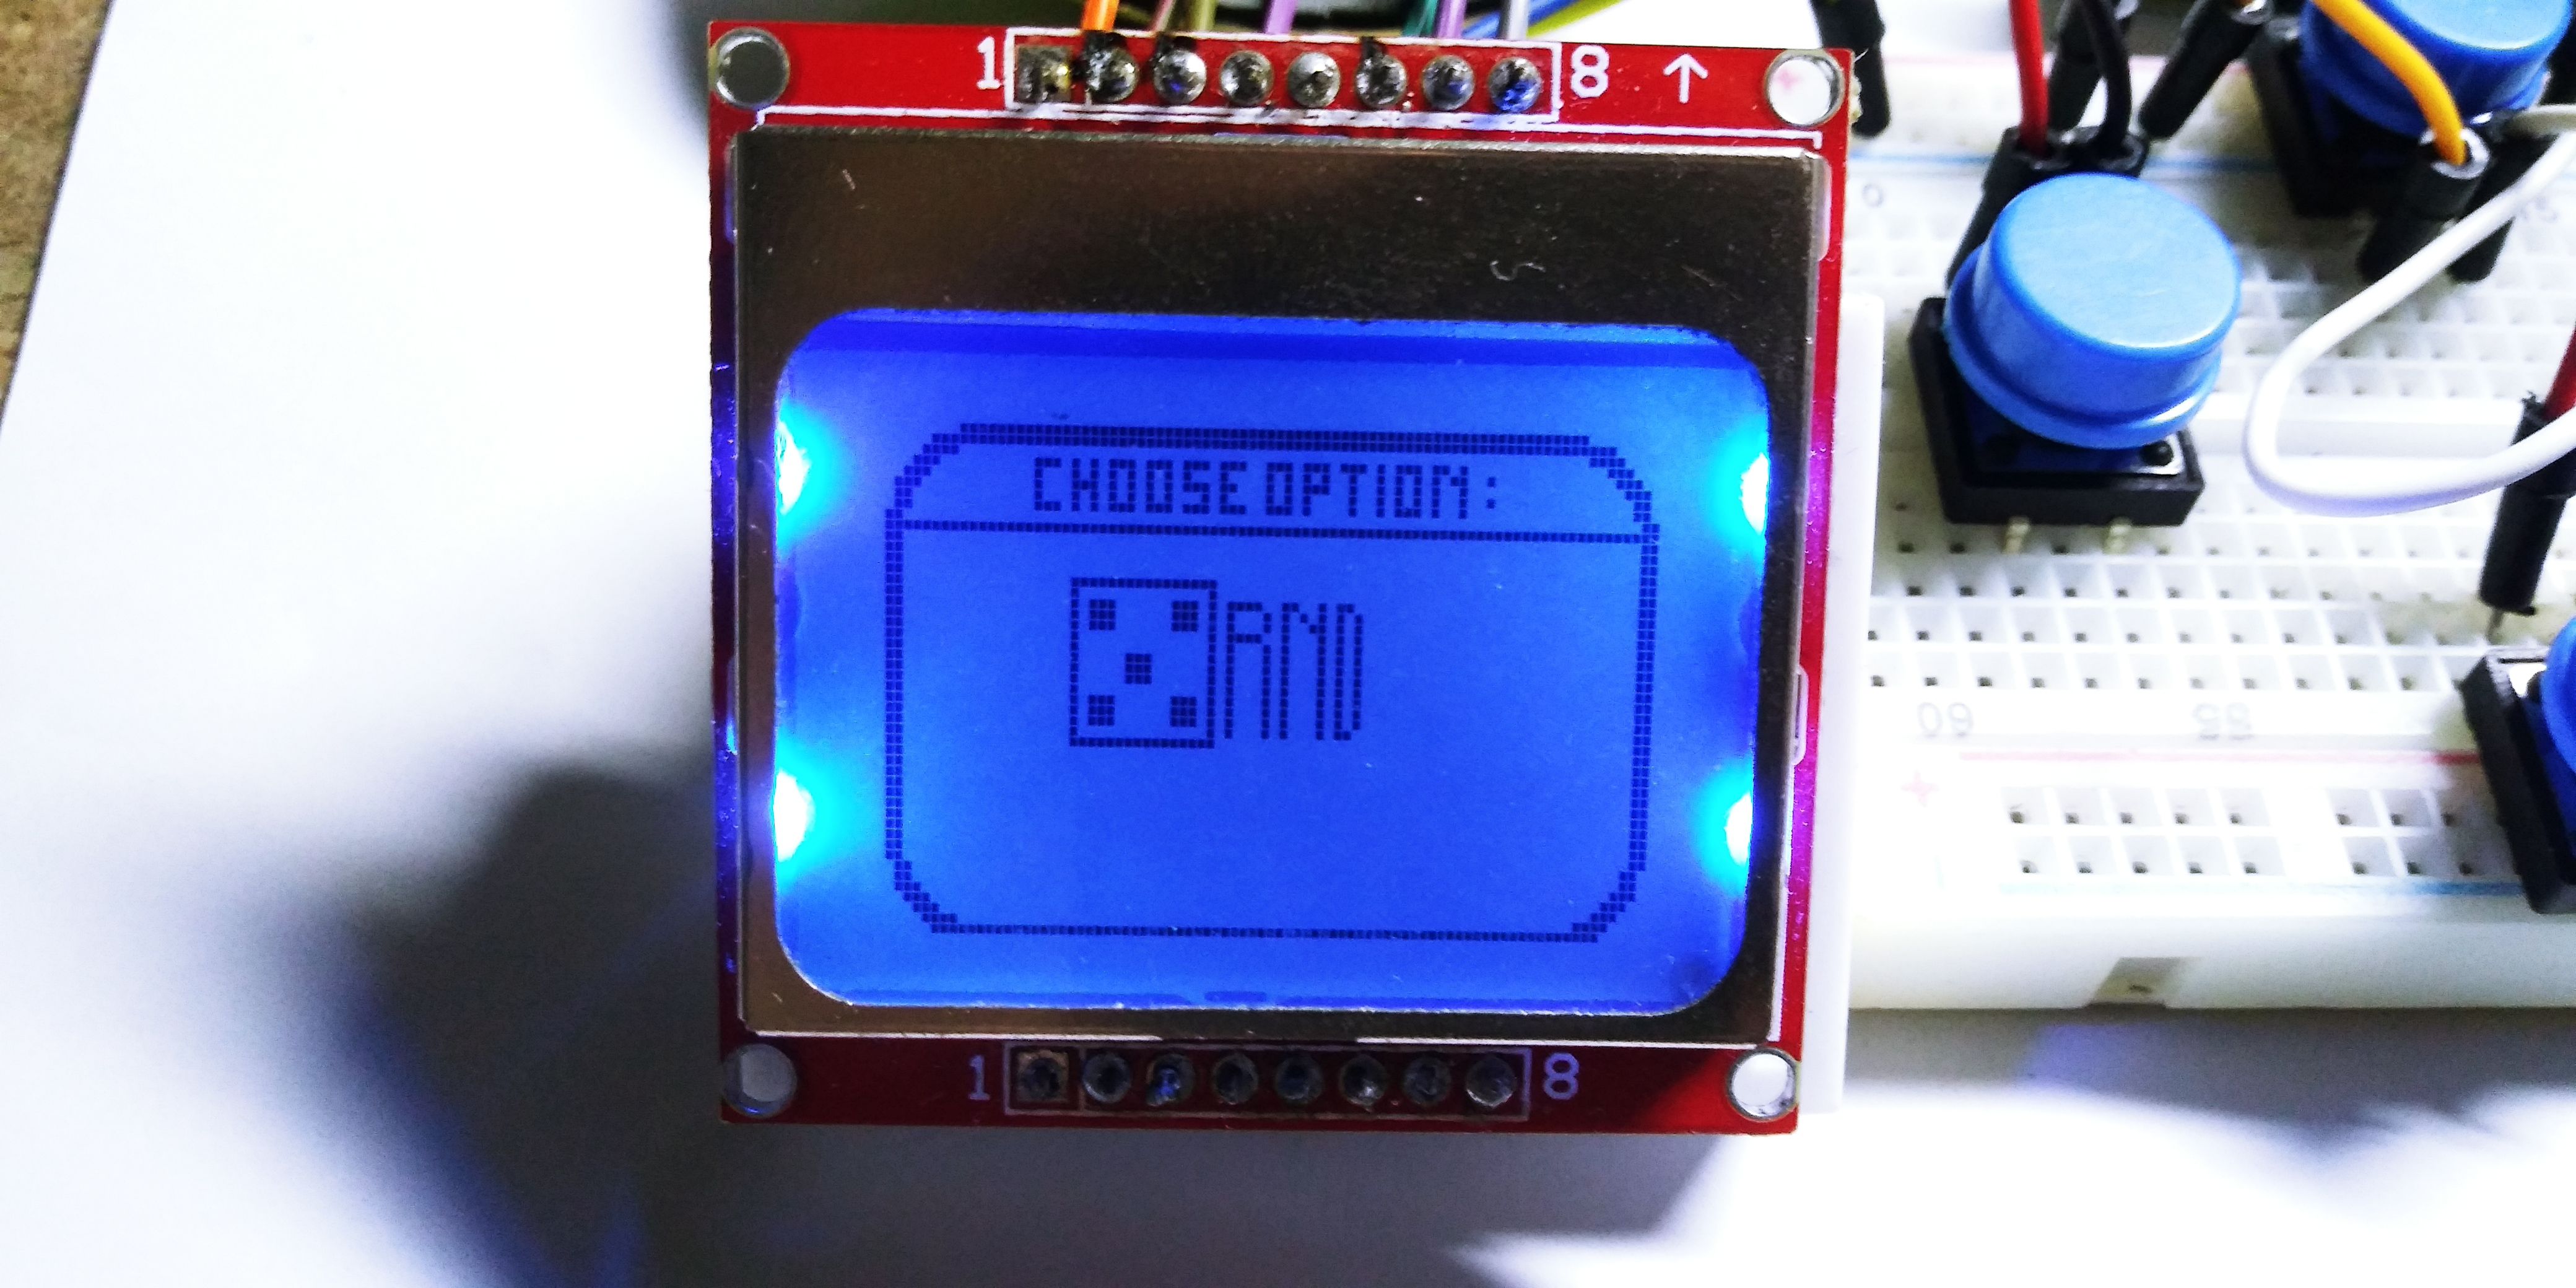
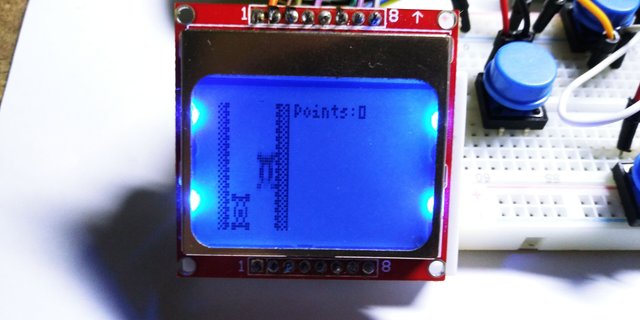
When the game main screen is displayed on the screen of nokia 5110 LCD as shown below, firstly, the LCD is connected without any abnormality! ;)As you can see on the screen, you can operate with three buttons on the main screen. The operations for each button are as follows. So let's test each button through the game to see if it works. In case of Pong Game, it is possible to play game through Up Button and Down Button. You can check if the piezo buzzer is connected properly by confirming that the sound of the game sounds well.Press C Button during game to return to main screen!

INSTALL GAMES from GAMEBUINO
Now let's try uploading another game to our own diy gamebuino. we are going to use the via ino file on PC on USB cable since there is no SD card module in our DIY gamebuino.
Access the Gamebuino homepage to download the game .
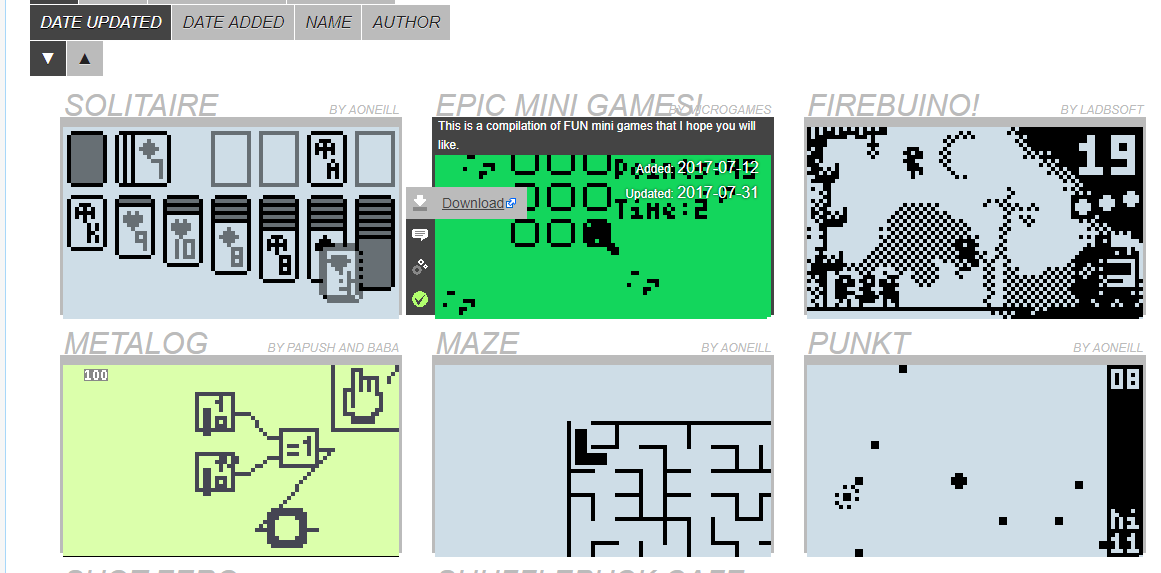
When you click on Game from the menu bar at the top of the homepage, you can see that various games are coming out. click on the DOWNLOAD button to install the zip file which contain the .ino file for arduino IDE.
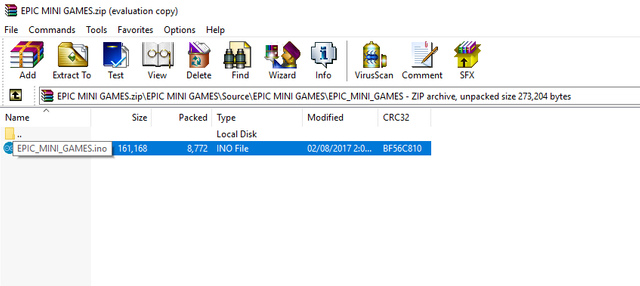
Lets try to download and play the EPIN MINI GAME to our DIY gamebuino. Download the zip file then open it, locate the source code .INO file then open it with arduino IDE.
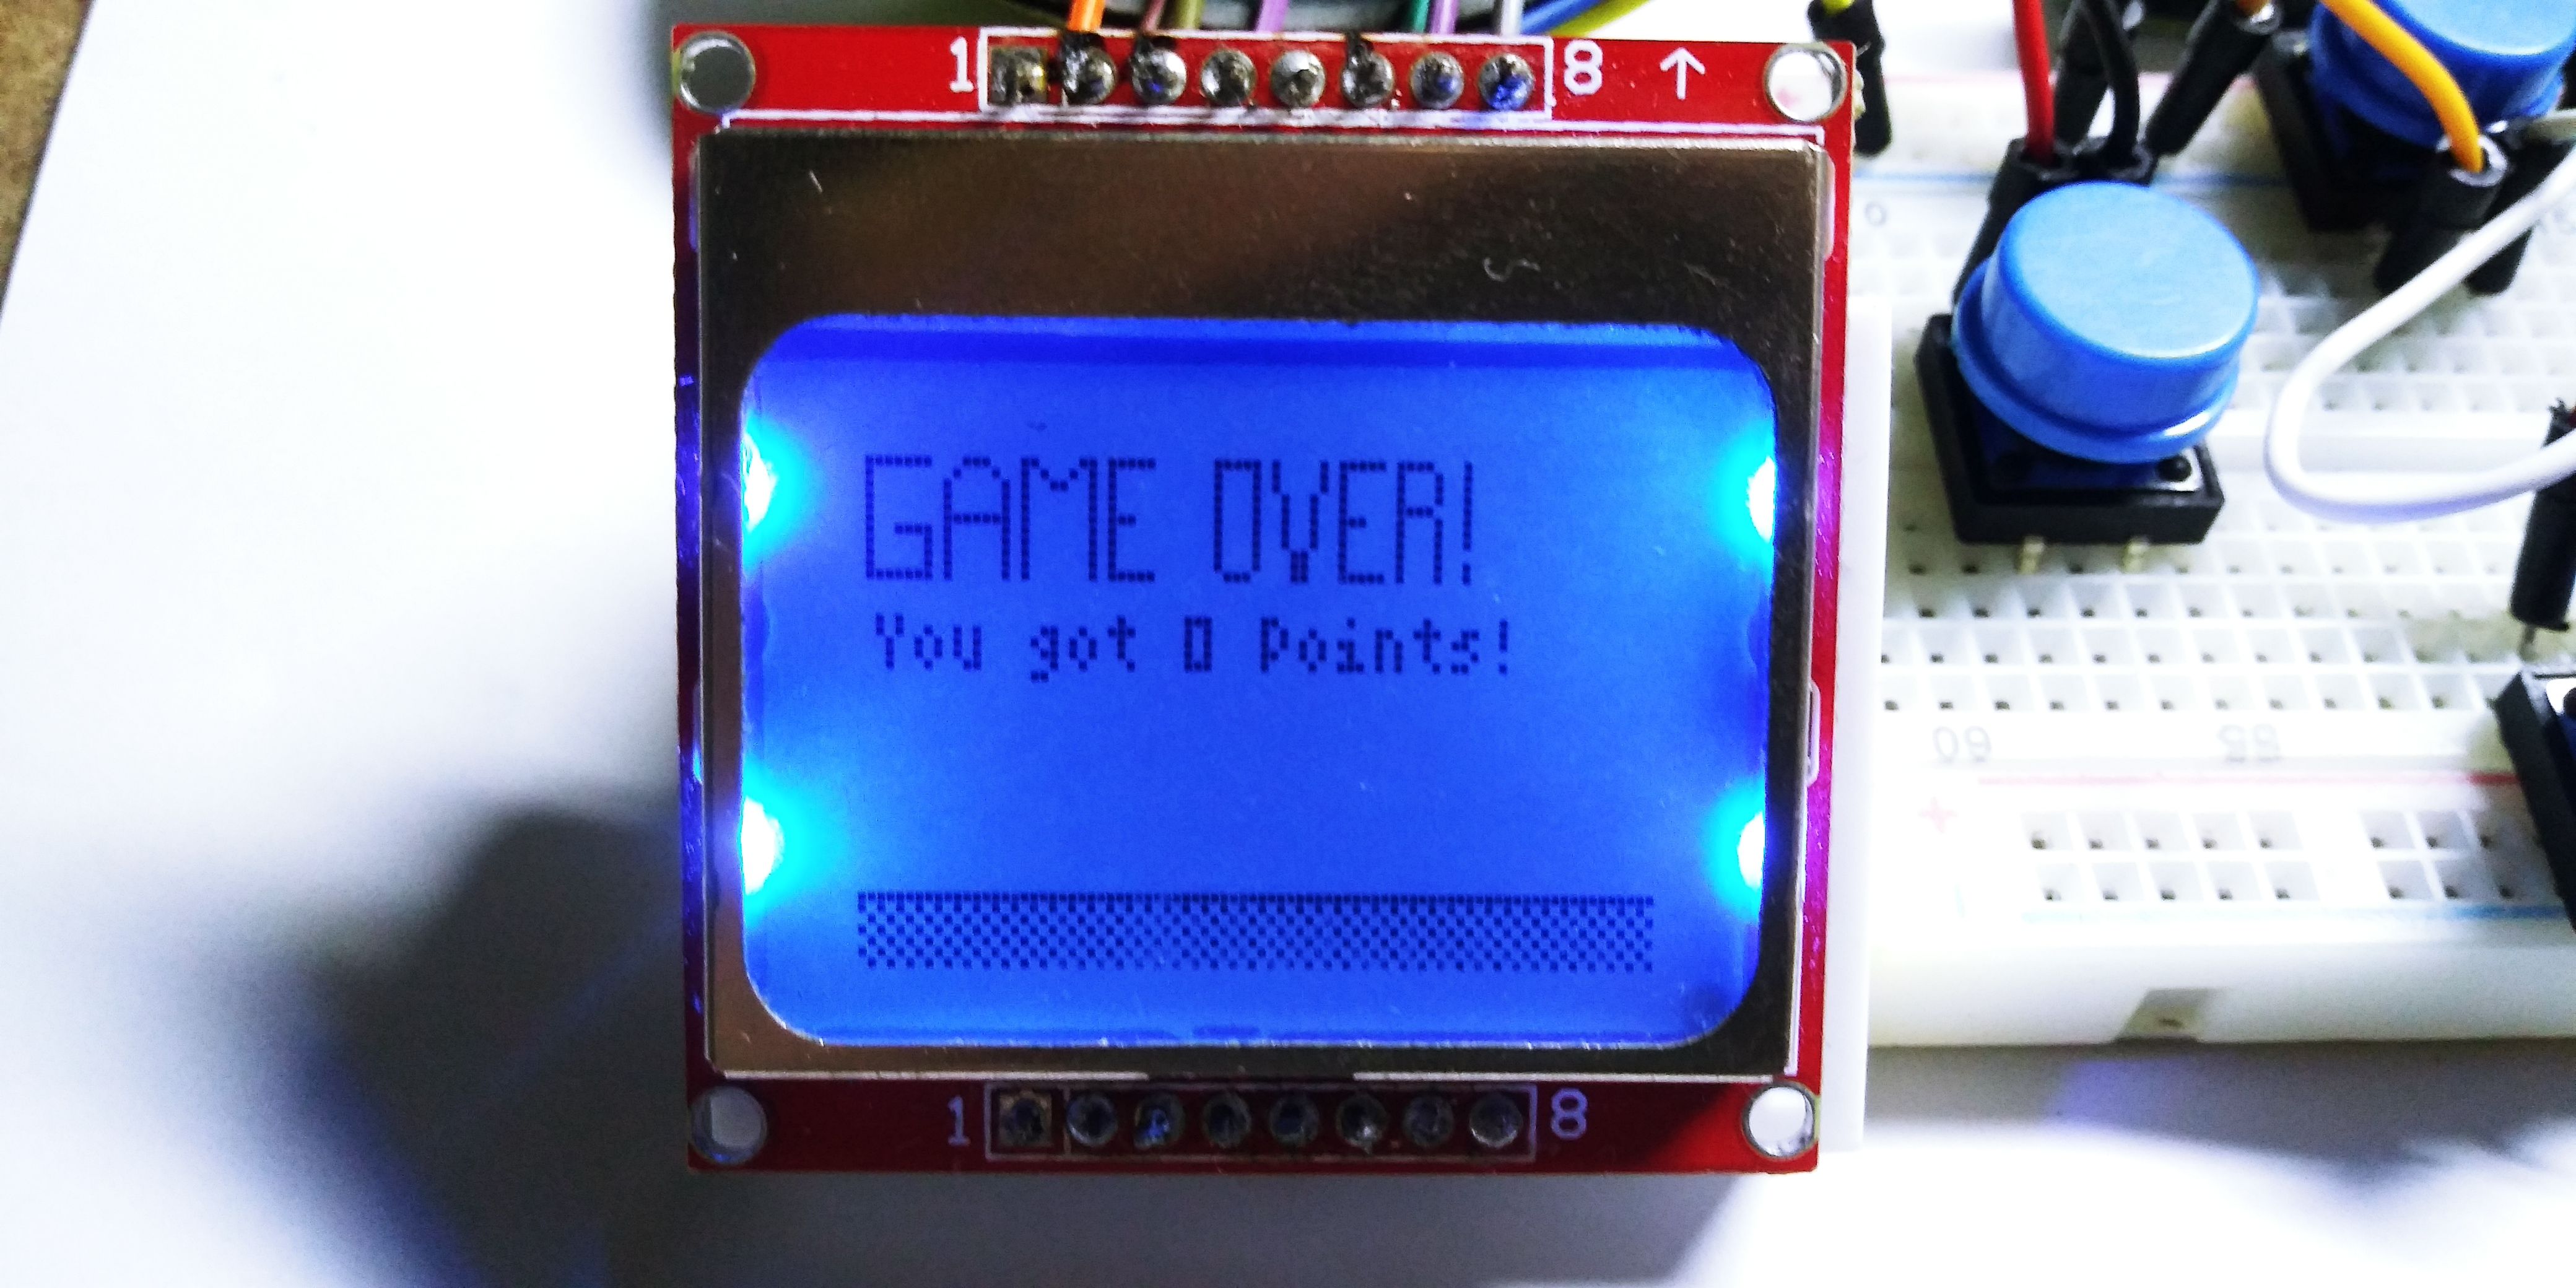
The game is running without any problems. Is not the quality of the game considerable to the game menu
Here is the process of making DIY Gamebuino! if you cant find materials you can bought it on bangood or on aliexpress just search for the name of the components, and tried to make gamebuino. The most difficult part seems to be the amount of information. But a series of trial and error seemed to have been a big help.. thank you for reading..

Realy nice project! Just nominated you for @SteemMakers. This post needs more readers :)
Pretty cool ! I knew the Arduboy a few years ago https://arduboy.com/
I did not know this, nice stuff.
There is the Meta which seems a pretty nice stuff. I like even the case mixing transparent plastic and wood: https://gamebuino.com/gamebuino-meta
Join our Discord Channel to connect with us and nominate your own or somebody else's posts in our review channel.
Help us to reward you for making it ! Join our voting trail or delegate steem power to the community account.
Your post is also presented on the community website www.steemmakers.com where you can find other selected content.
If you like our work, please consider upvoting this comment to support the growth of our community. Thank you.