Product photography - stacking the images. Tutorial.
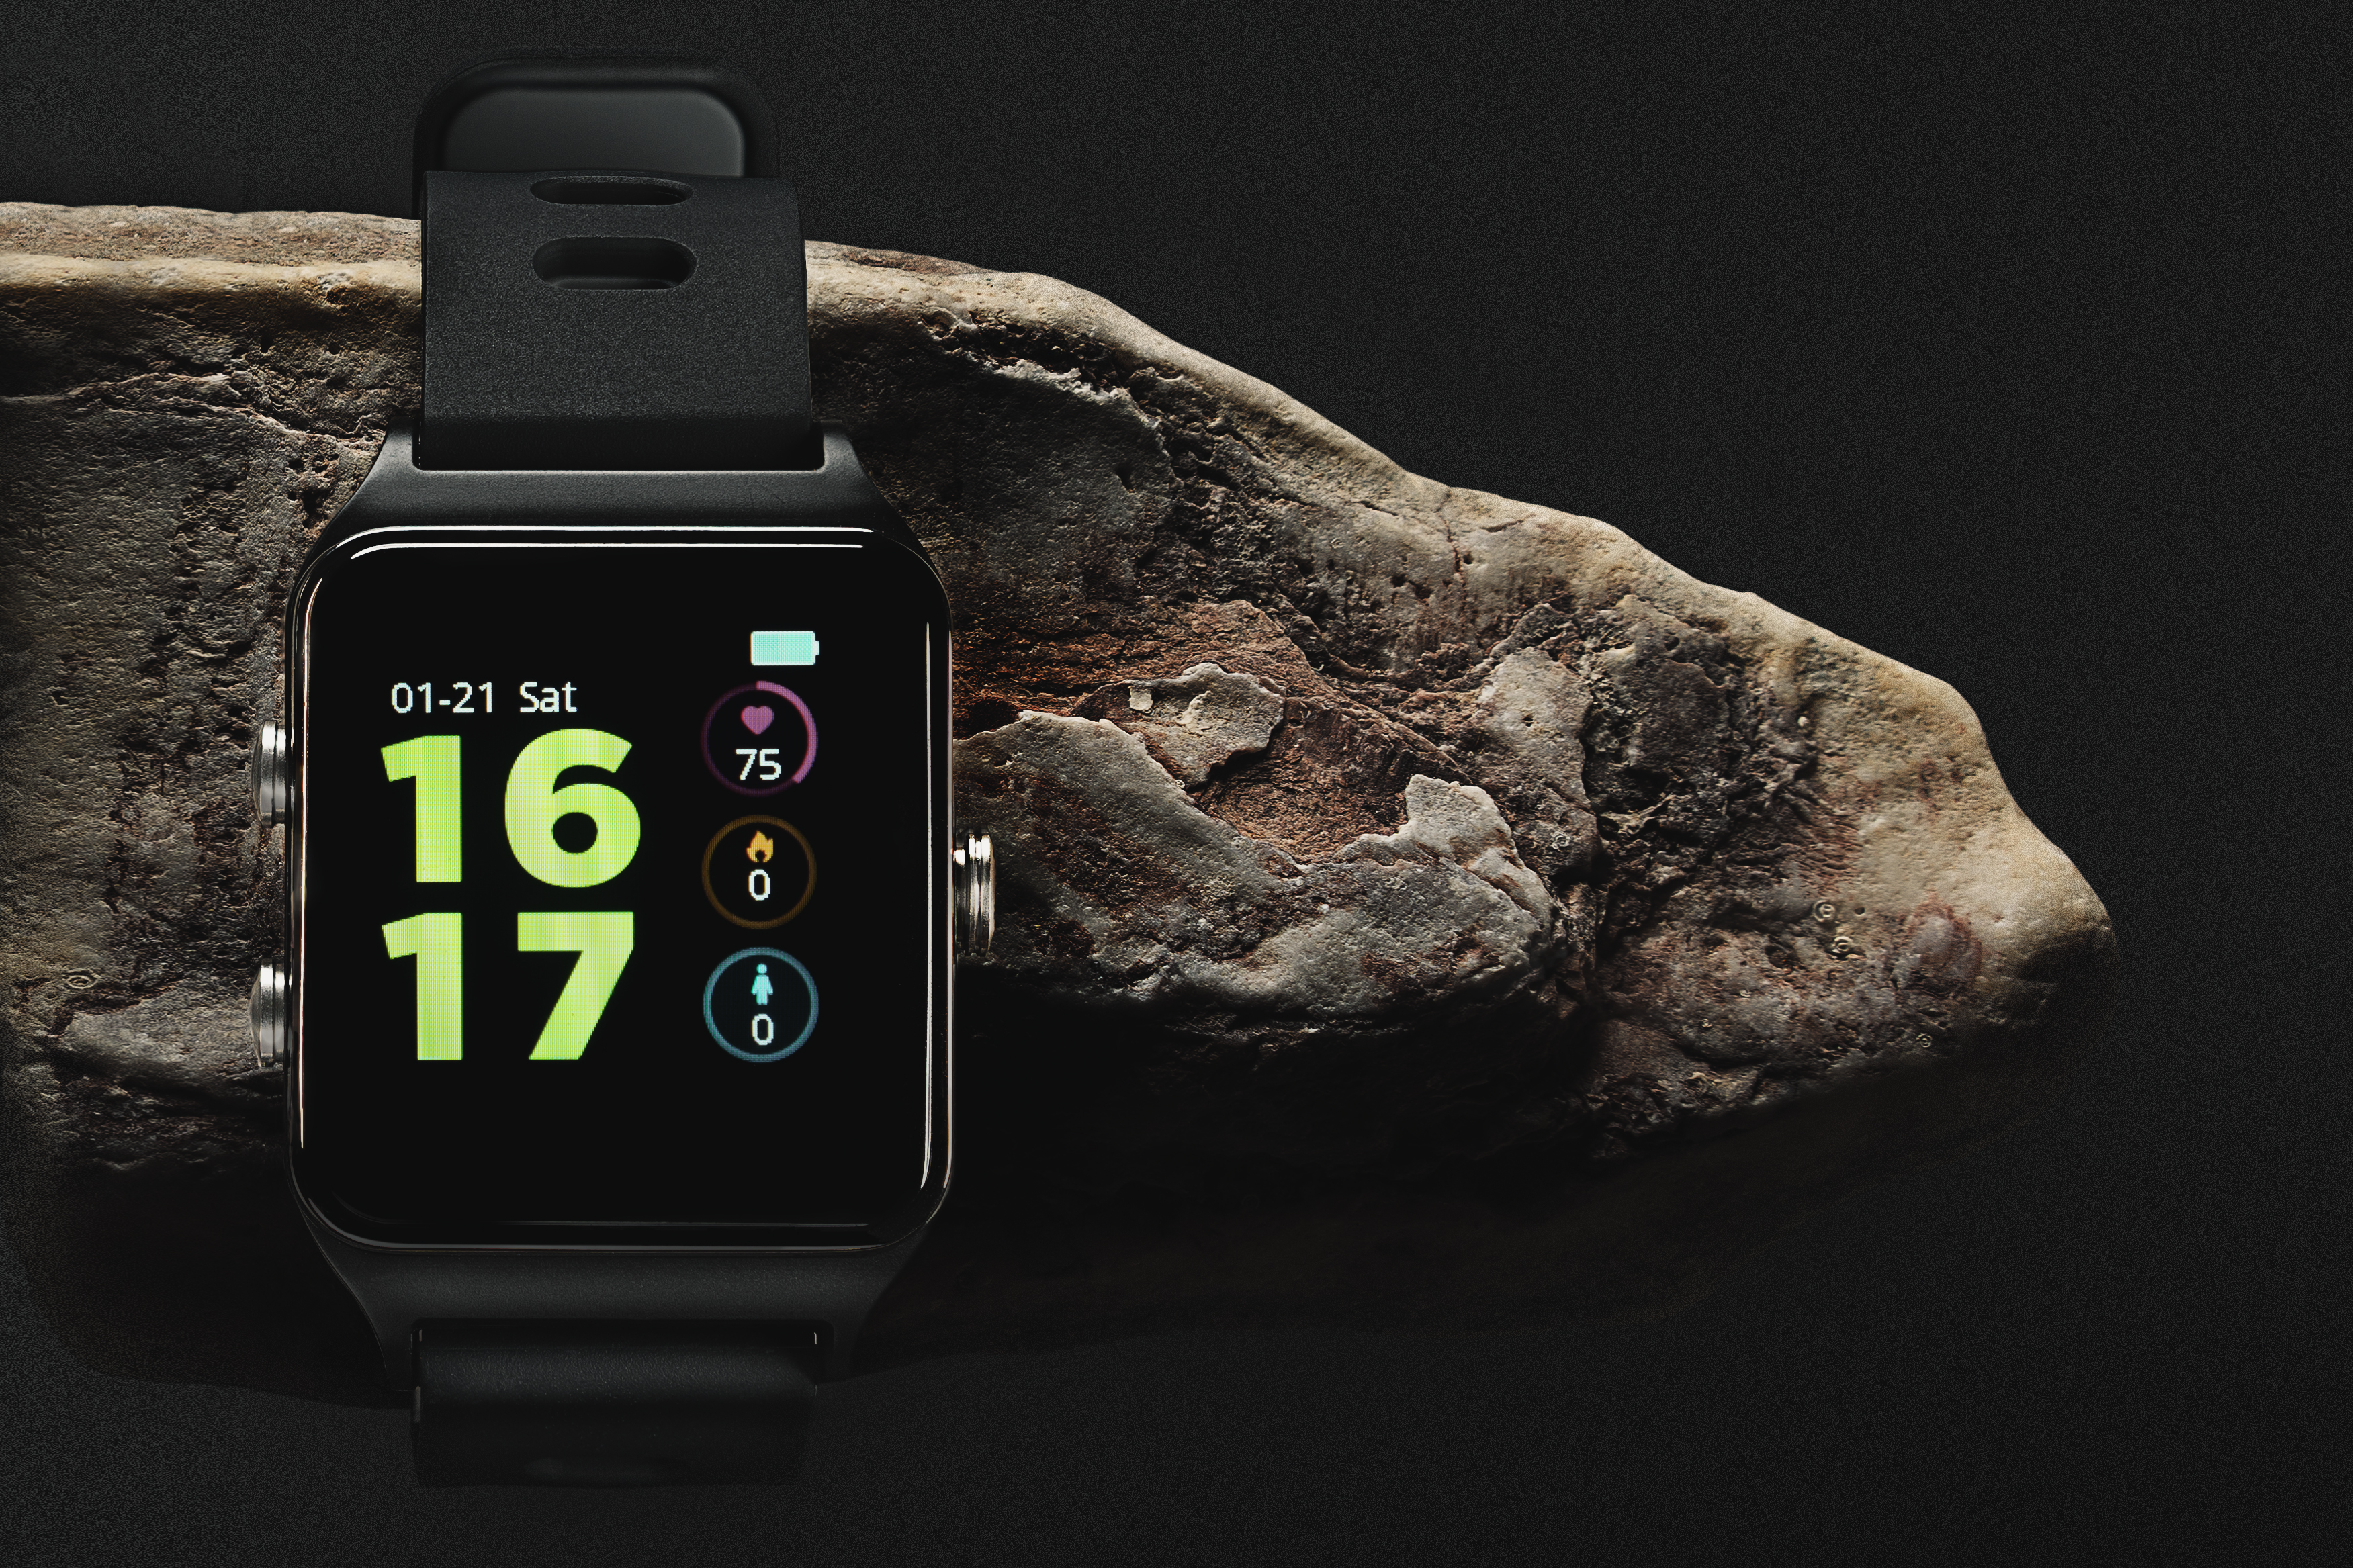
Final Image
 Click to enlarge
Oh boy, product photography can be hard, even with a simple product, that is not too glossy and generally looks good. Most of the time you need to have multiple light sources, knowledge of the light, blocking the light, distances, angles and all... While this is not actually the original focus stacking, similar but entirely different topic, it's more about masking out the parts you do not want in the final composition.
But what do you do if you have just a single light source and need to light product properly?
The only way to go then is image stacking, which means taking multiple shots of the same image, placing you light source in different places and then aligning your shots in post production software, lets say Photoshop.
The raw files usually do not look very good by itself, so you make adjustments to one image, and then when working on another raw file you apply from previous conversion. Shots would probably still look different, intensity of light might be too much or too low, so you make needed micro adjustments.
So you start throwing photons on different parts of the object, be creative.In this image i needed a highling for the lower part of the watch and bracelet. But i wanted the lower part of stone to be in shadow for a more dramatic look. So if you are familiar with masking, you just mask out the parts you do not want to appear.
 Click to enlarge.
But hey, i still want those shadows that drop from left to right on a stone for a more dramatic look. Ok, just put your light to the left, and mask the rest out, but the shadows on the stone.
 Click to enlarge.
Now i need highlights on the top of the watch and armband! And darn, i can not see those buttons on the right... Ok, so put your light source above and a bit to the right, and mask the rest out, leaving just the highlighted parts of the image that you want.
 Click to enlarge.
Ok, looks like we are done here... but.. damn it, watch does not seem to work... So you try to adjust camera setting so that only display is exposed correctly, just a little bit of light for camera to focus, probably modelling light, then tweaking with the watch settings for it to show somewhat desirable and appealing numbers... and again, mask the rest out.
 Click to enlarge.
And you are pretty much done. Just a quick tip: By no means move your camera or the object, if you bump into it accidentally, and move either piece, you will have hell of a job aligning parts perfectly.
Once you have an assembled image, you can flatten the layers into new one: Ctrl+Alt+Shift+E and perform the rest creative adjustments that you see fit. I've added some grain for the final image for example. It not just looks cool for me but also helps to hide that nasty moire on the background that appears after extensive manipulation of the image, especially on 8bit files.
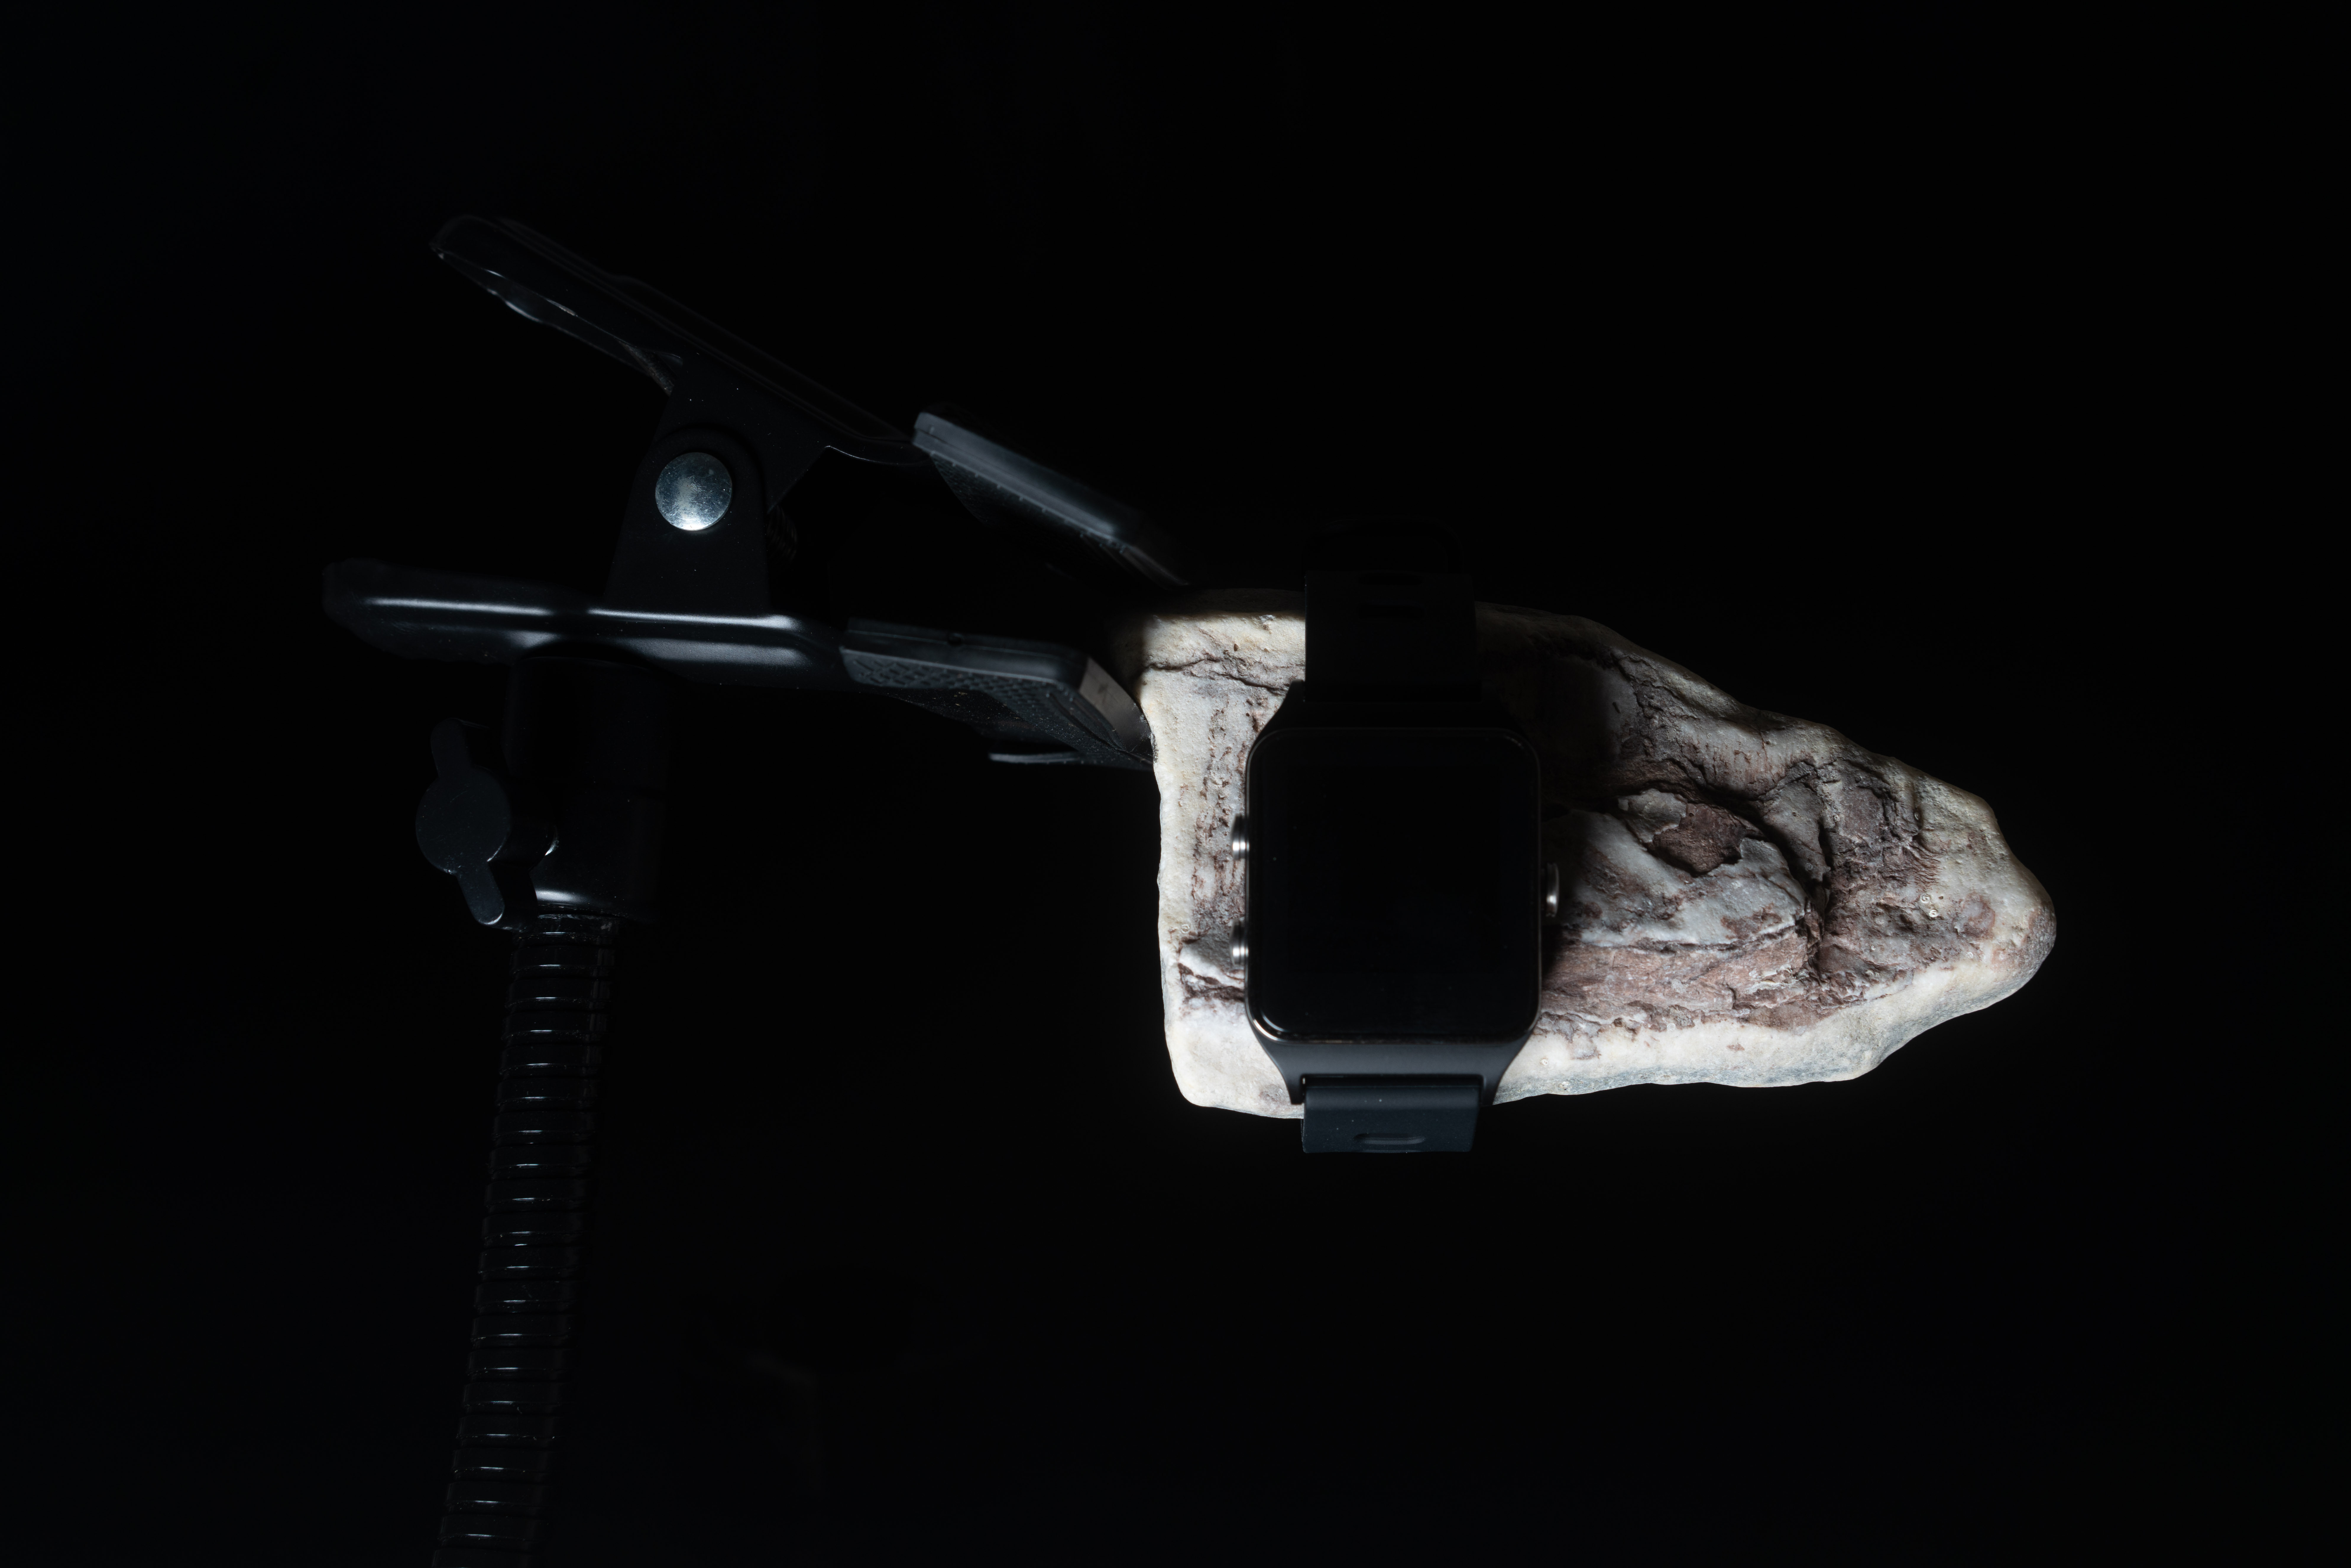
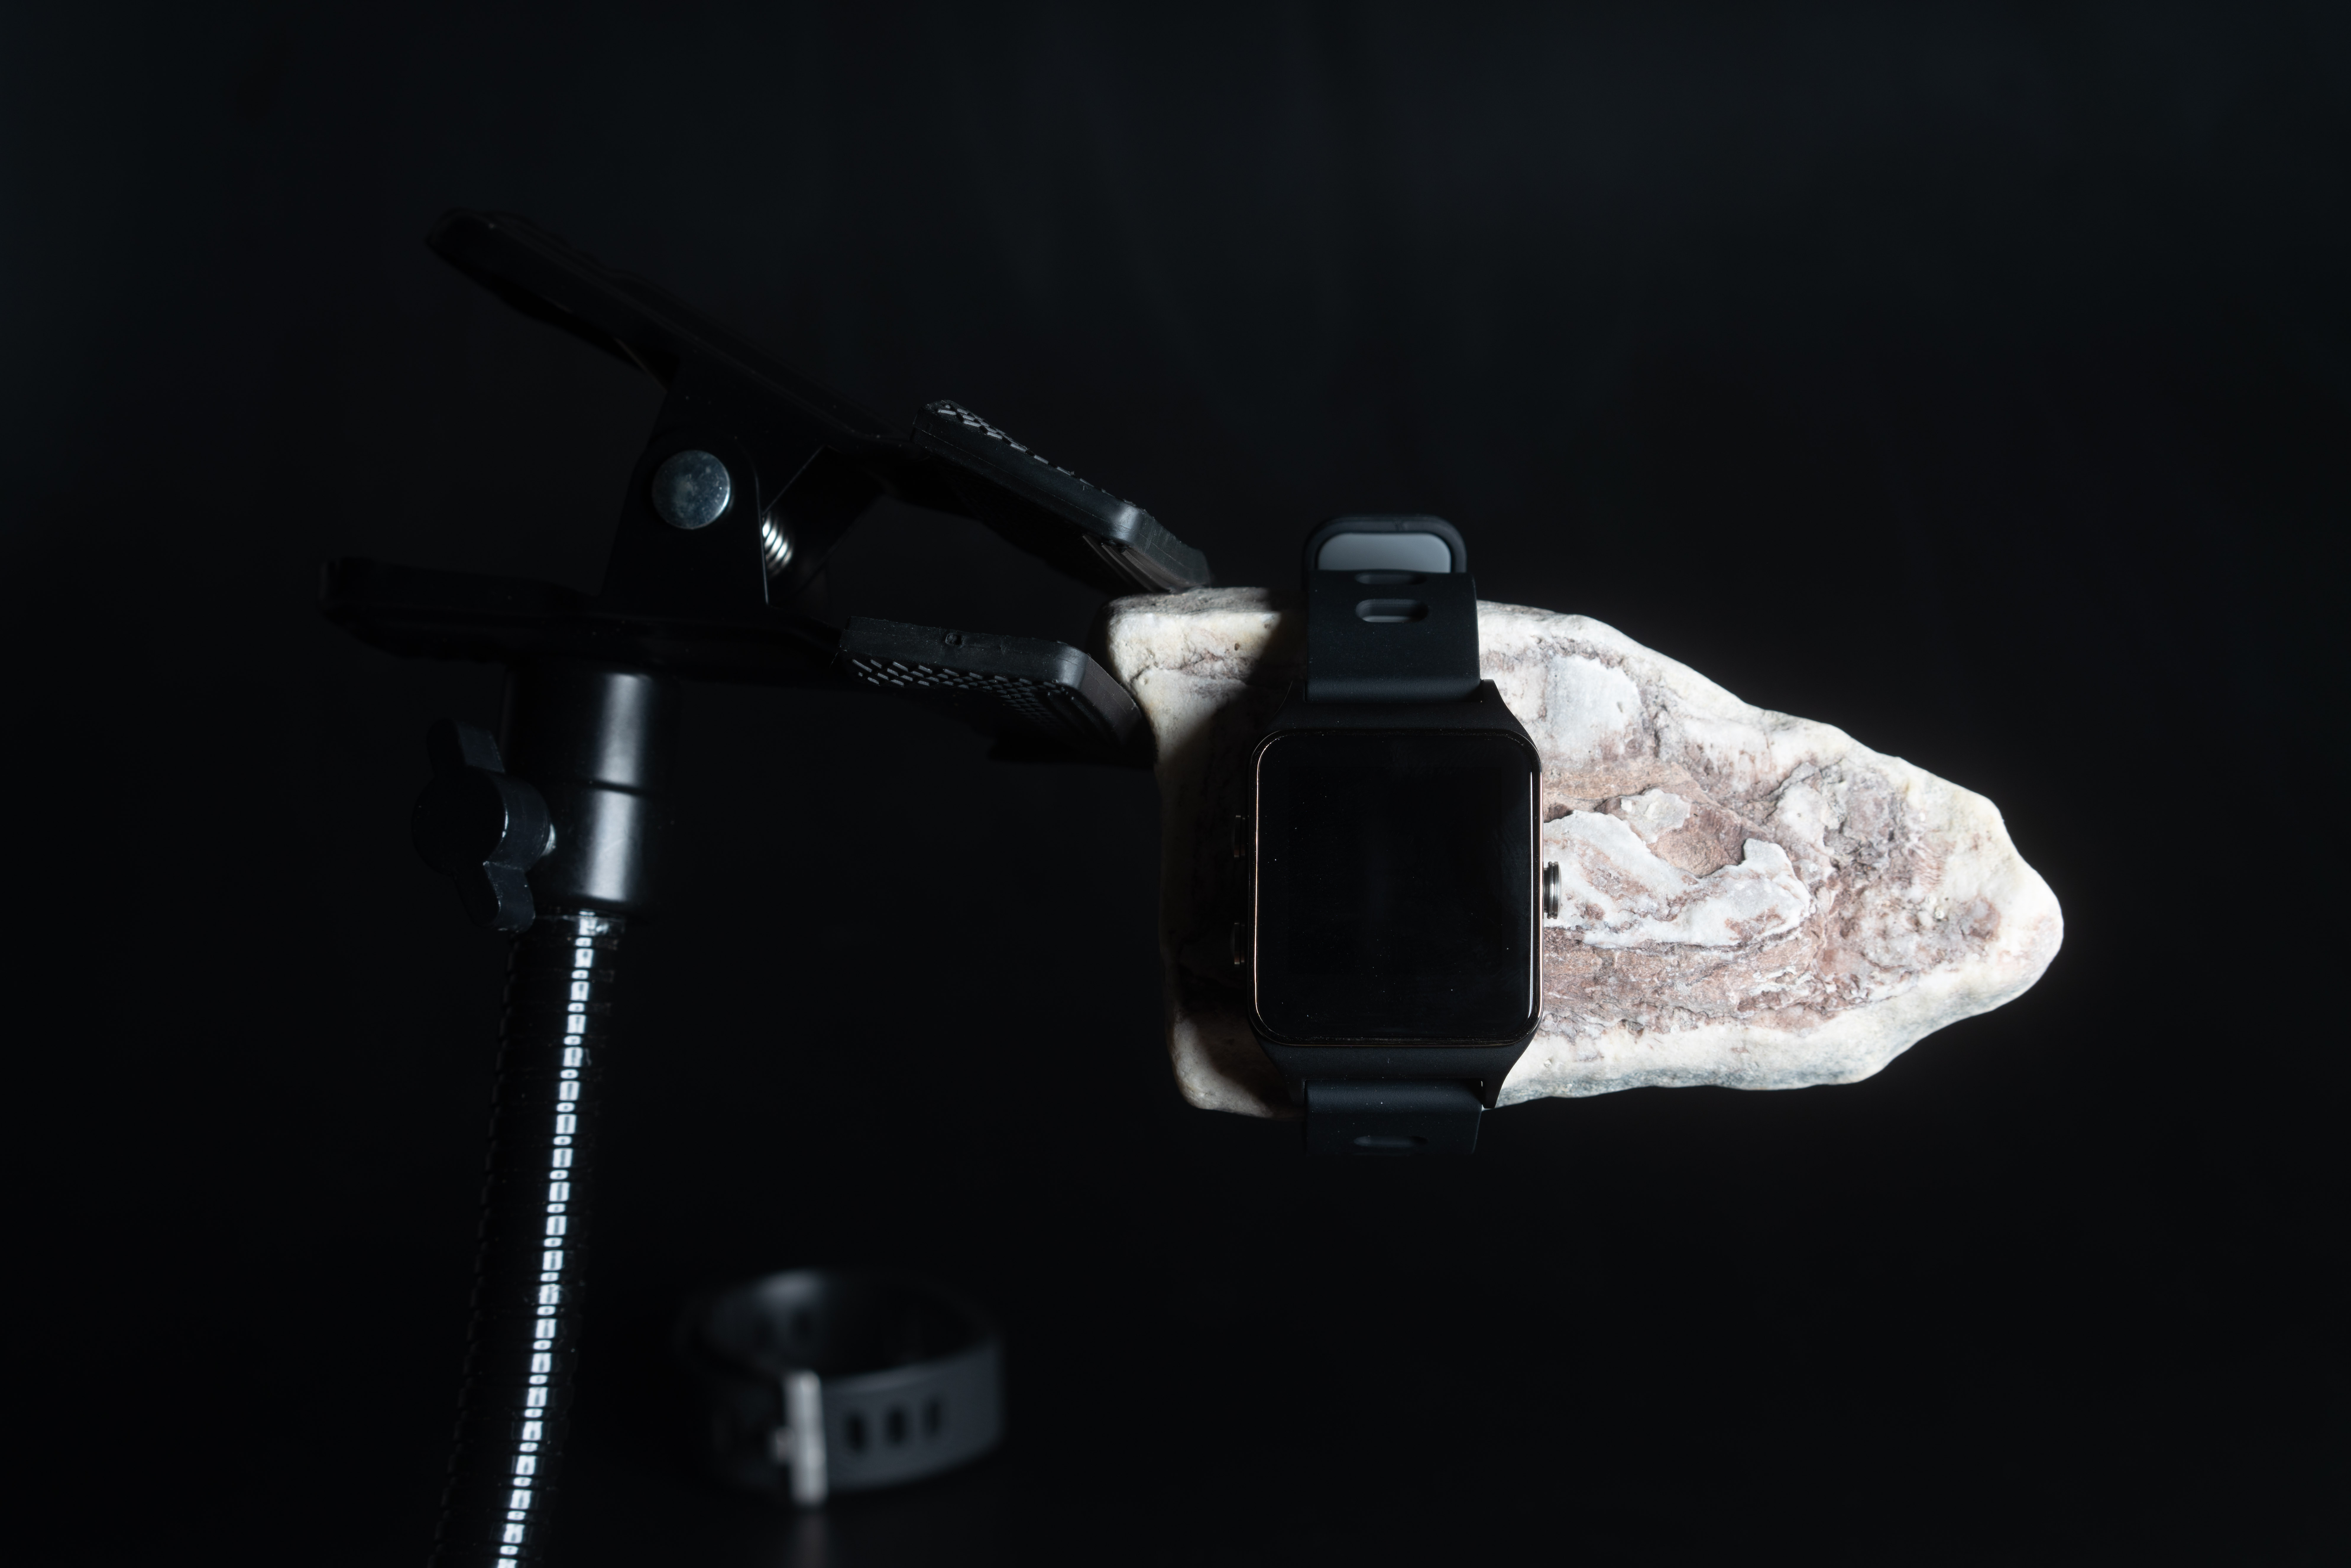
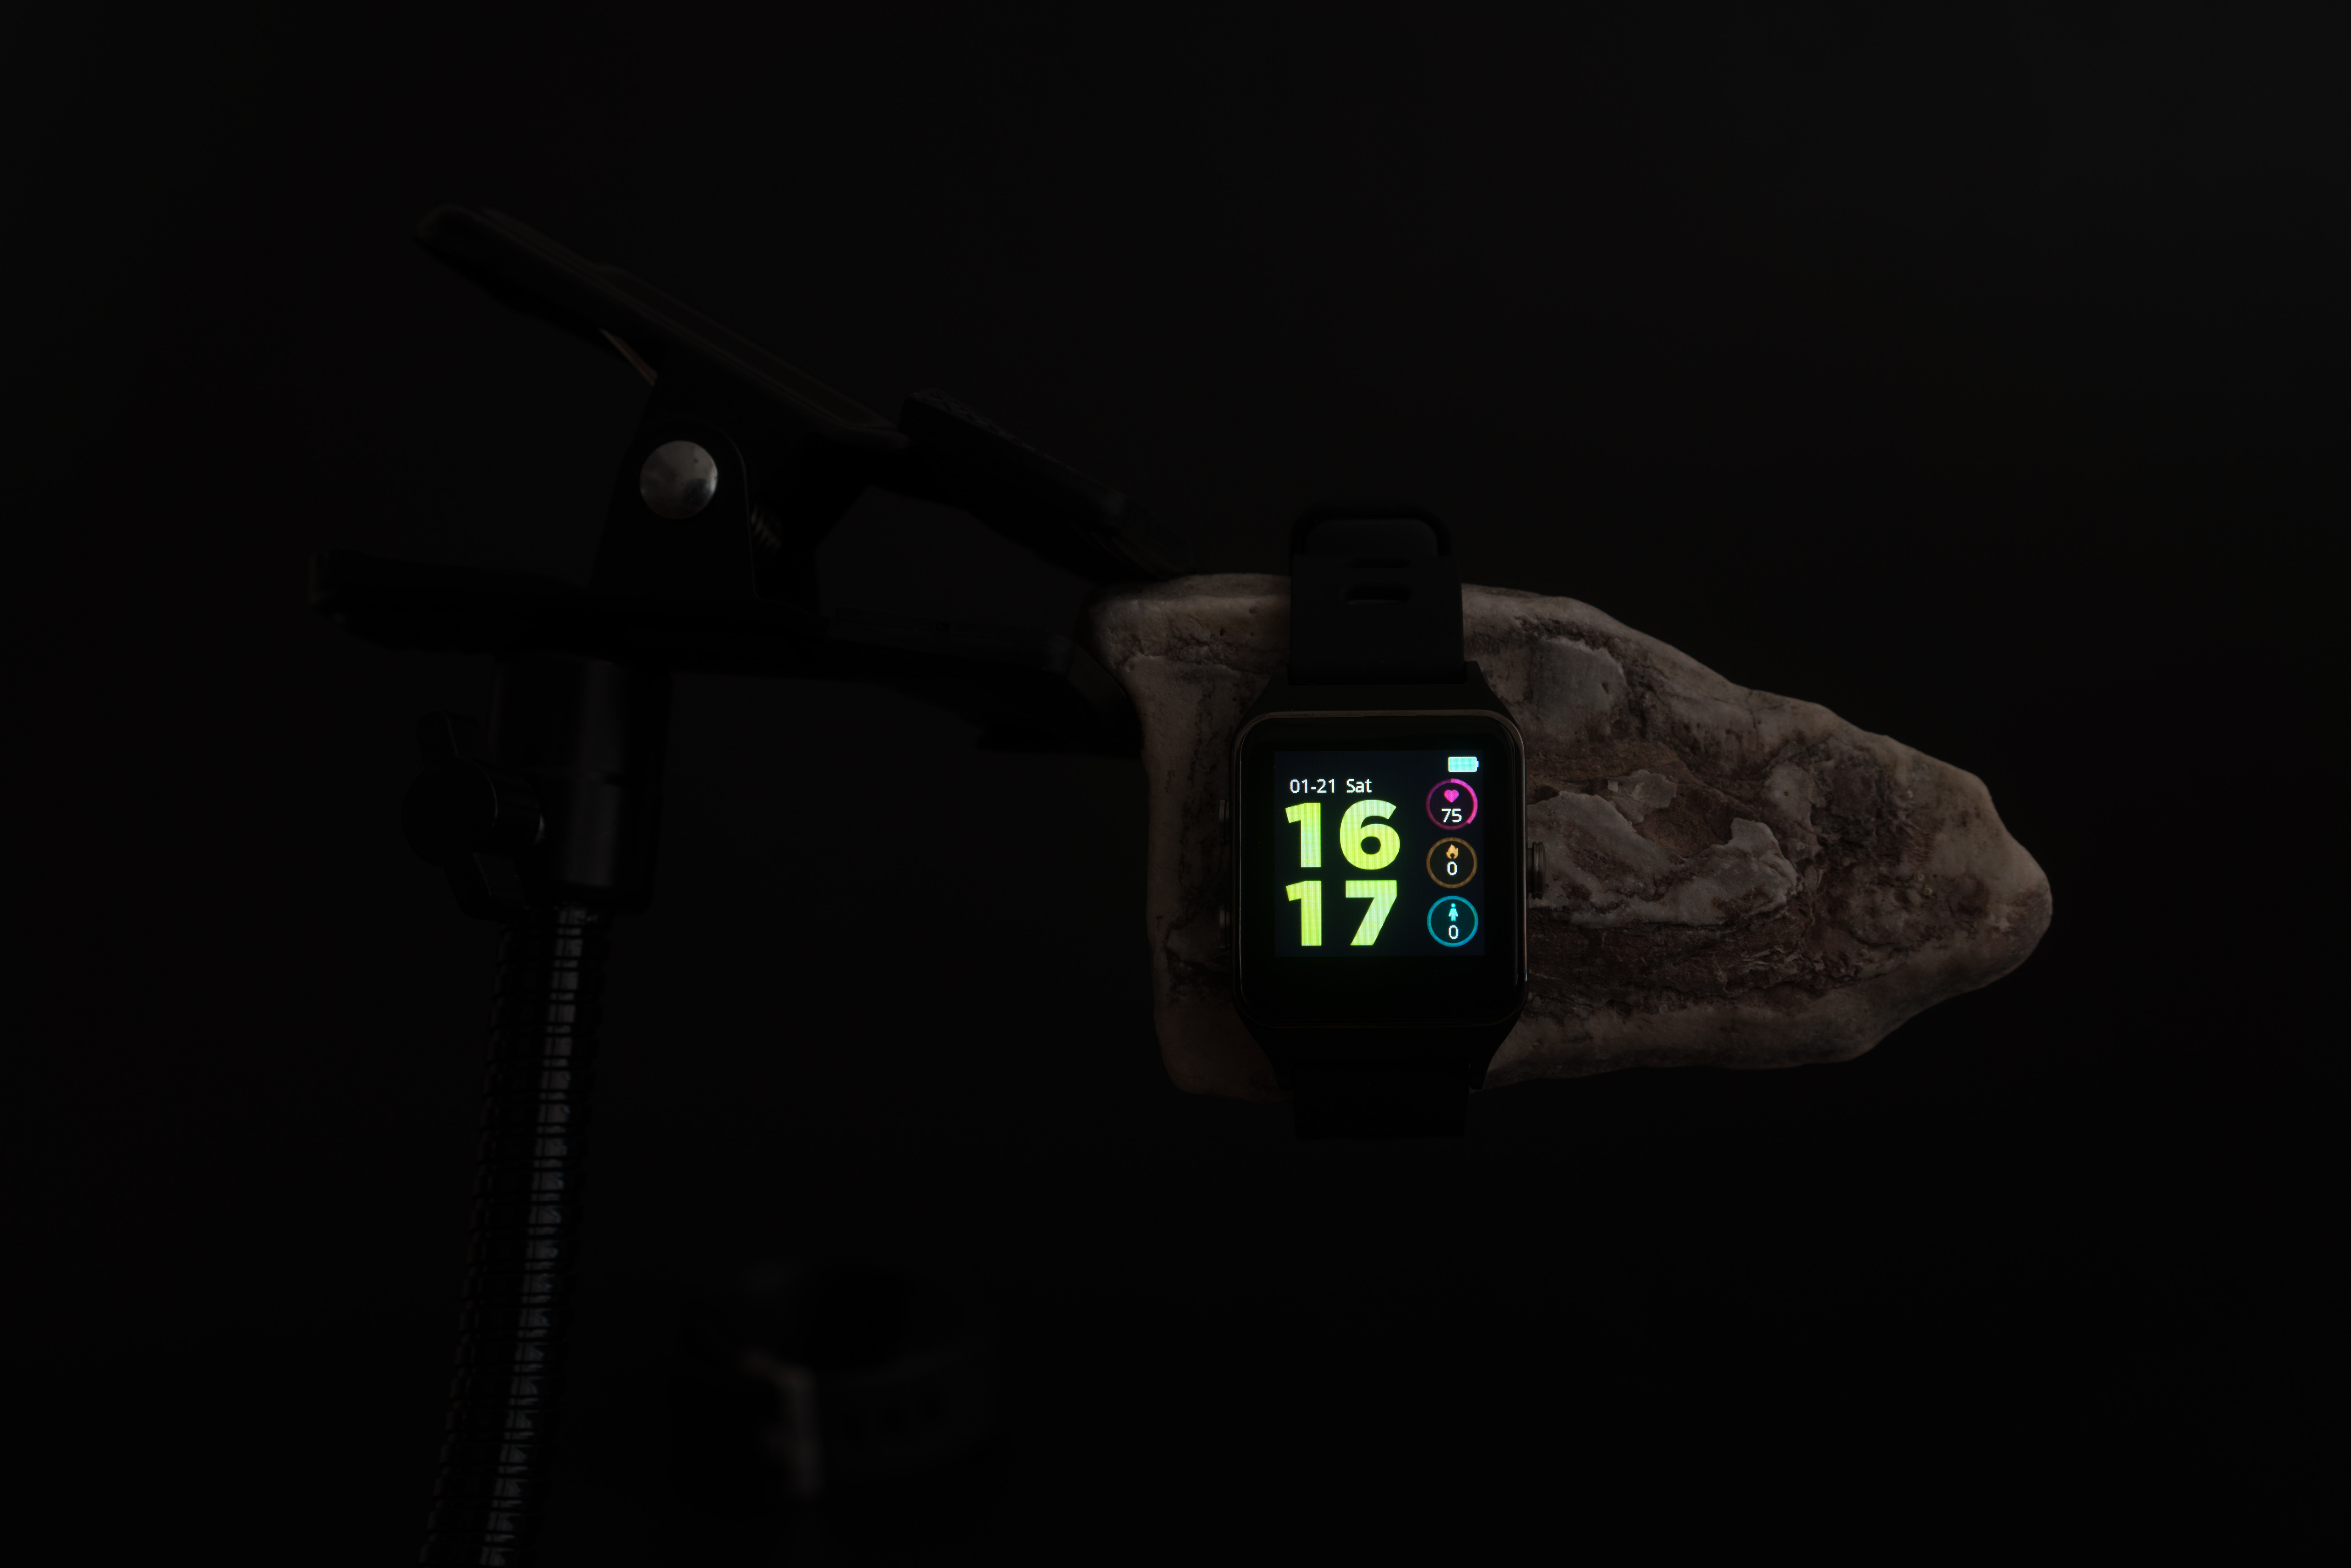
There is another version with the piece of clamp included, takes away some mystery, but also looks kinda cool to me, like a little mech offer:)
 Click to enlarge
Final note.
Always try to go extra mile, in your creativity. This watch considering it's cheaper price range is targeted to teenagers who are 16-17 years old, hence numbers 16 and 17. Full battery indicator of course :) And who does not want to be number 1, when 21 year old at the age of 16-17? And without a doubt everybody loves Saturdays!!! But of course, stay calm, and keep your heart rate low. It took me some time to get all of those parameters in order without moving the watch too much! (is this haiku?) All those small details might seem irrelevant, but it works on a subconsciousness level.
I am splitting my rewards 50%/50% in order to accumulate some STEEM in order to buy some ENG to create my own coin and integrate it with my website BeScouted for the photographic community.
Thank you if you went this far!
