Installing My EV Home Charger 🔌🏡 — A Game Changer!
Hello everyone 👋
Today, I’d like to share my first experience with owning an electric vehicle. I bought my EV at the end of March, while I was staying at my sister’s house in Tak Province. The decision was made rather quickly—my husband and I had been considering switching to an EV for a while, so when the opportunity came, we didn’t hesitate much. ⚡🚗
Although I purchased the car in Tak, my home is in Phuket. That wasn’t a big problem, but it did affect the license plate registration. The dealer informed me that it’s much easier to register a car with a Tak or Bangkok license plate, while getting a Phuket plate would require extra paperwork and procedures. To avoid complications, I chose to go with a Bangkok plate instead. 📄
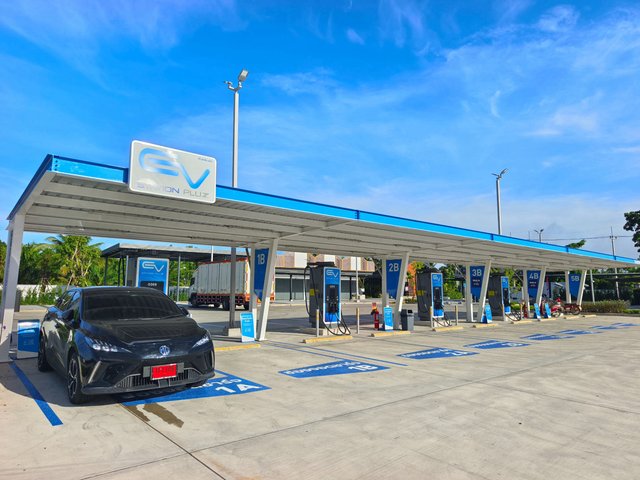
Once my loan application was approved, it didn’t take long before I got my brand-new EV delivered. The salesperson even took me to a charging station at a nearby gas station to show me how to use the fast charger. Since I was still staying in Tak and didn’t have a home charger installed yet, I had to rely on public charging stations. 🔌
As for the Home Charger, the dealership planned to send a technician to install it at my house in Phuket. So during the first few weeks, I simply charged the car at gas stations, including when I made long-distance trips. It was a completely new experience, but also quite exciting! 😄
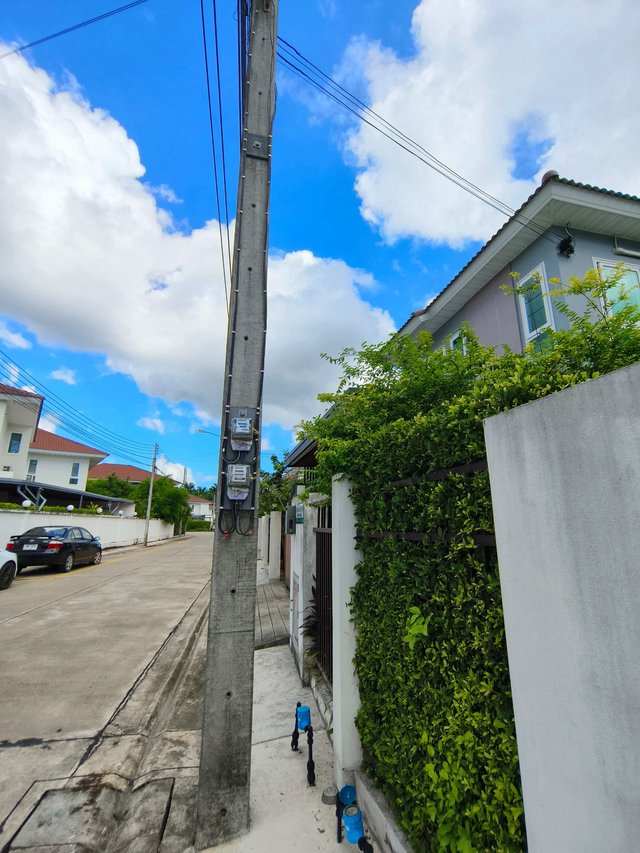
After returning home to Phuket from my sister’s place in Tak, I immediately contacted the technician to schedule the Home Charger installation. However, before the charger could be installed, I had to deal with an unexpected step — upgrading the electricity meter at my house. ⚡
The existing meter was a standard 15(45)A type, which simply wasn’t powerful enough to support an EV charger. To ensure safe and stable charging, the meter needed to be upgraded to 30(100)A. This upgrade was essential to avoid any risk to the electrical system and to support the power demands of the EV charger. 🔋
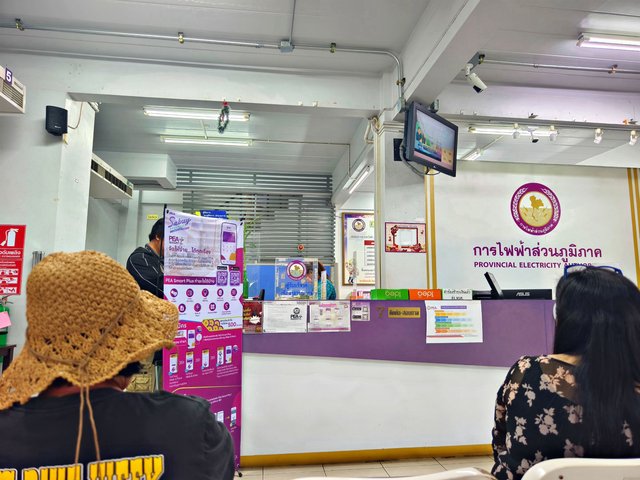
The very next day, I went straight to the Provincial Electricity Authority (PEA) office to request the meter upgrade. But the staff told me I had to first complete the installation of the Home Charger and upgrade the internal electrical wiring in my home before they could process the request. 🧾
So I returned home again and contacted the technician. The good news was that the charger unit and installation service were free, provided by the dealership. However, I still had to cover the cost of installing a new control cabinet and upgraded wiring, which were necessary for proper power distribution. 💸🛠️
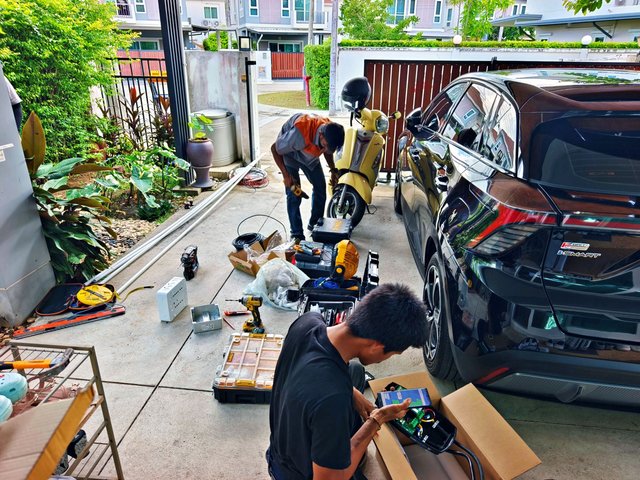
After finalizing the price for the control cabinet, the installation company didn’t waste any time. The very next day, their team arrived at my home in Phuket to begin installing the Home Charger right away. ⚡🏡🔧
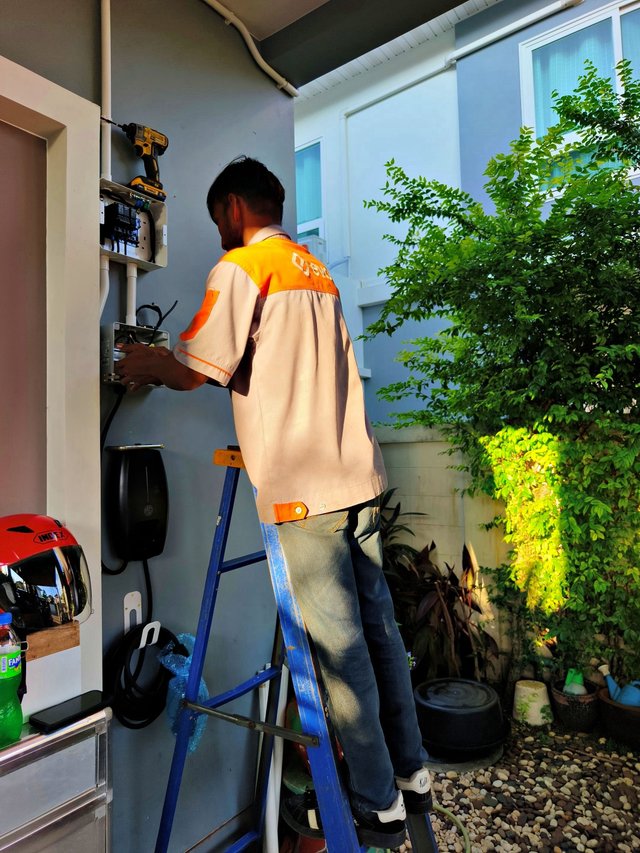
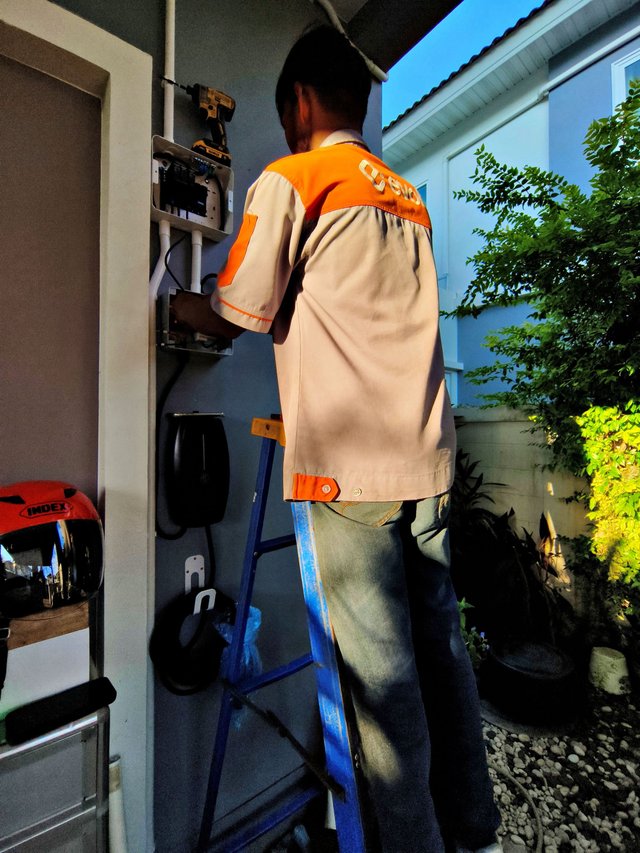
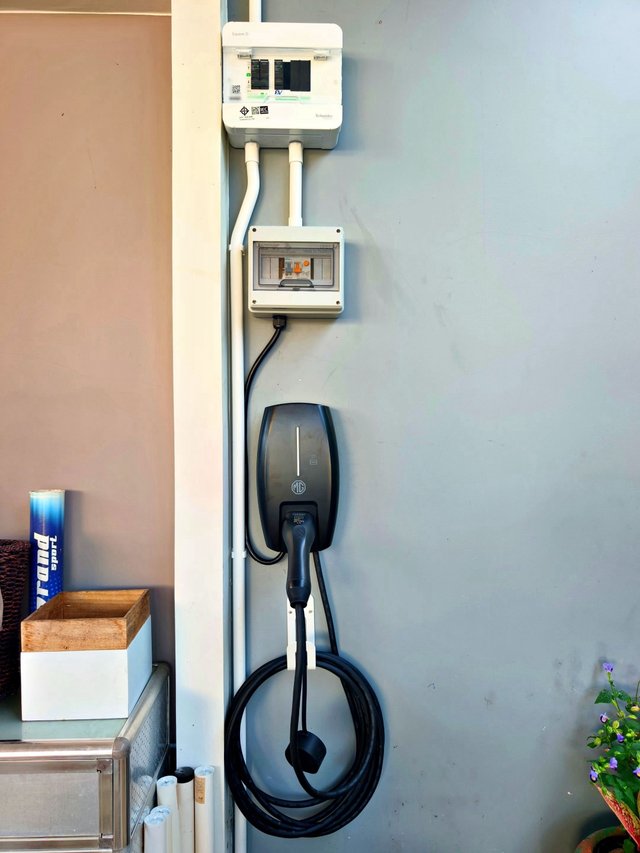
Thanks to the professionalism of the installation team, setting up the Home Charger didn’t take long at all. Everything was completed smoothly and efficiently. 🔧⚡
After the installation, an official from the Provincial Electricity Authority (PEA) came to inspect the setup — checking the control cabinet, the new wiring, and the connection from the cabinet to the electricity meter. Once everything passed inspection, the officer signed the necessary documents, allowing me to take them to the PEA office to proceed with the meter upgrade payment. 🧾✅
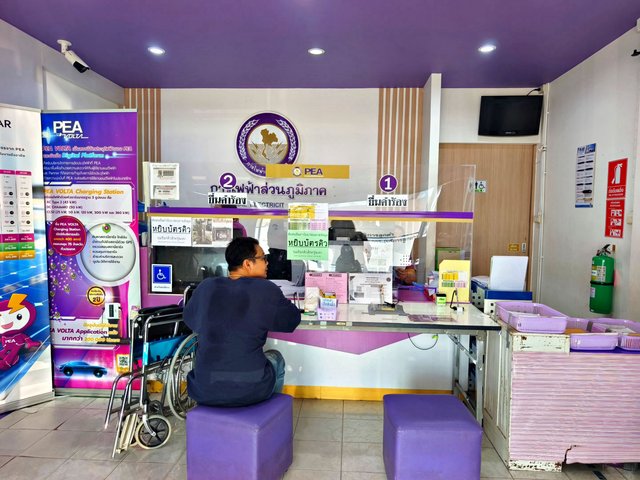
After the Home Charger installation was completed, I wasted no time. The very next day, I went straight to the Provincial Electricity Authority (PEA) office with all the necessary documents in hand. 🗂️🏃♀️
The staff carefully reviewed the paperwork, then handed it back to me and directed me to another room to pay for the upgraded electricity meter. Everything was well organized, and the process didn’t take too long. 💡
Once the payment was completed, the staff informed me that the new meter would be installed within three working days. I was excited — everything was finally coming together! 🎉
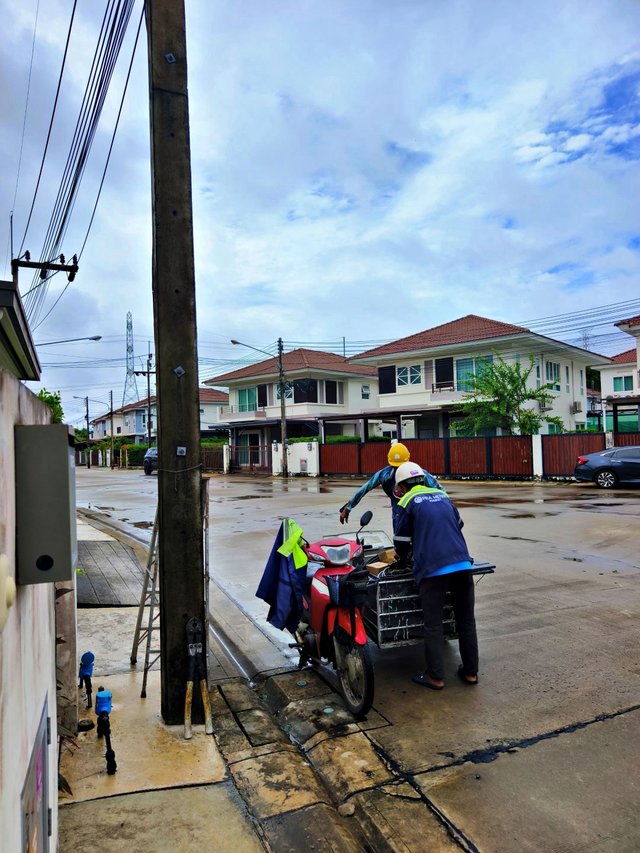
The very next morning, around 9:00 AM, the PEA technicians arrived at my house. They politely informed me that they were here to proceed with the electricity meter replacement. 🔧⚡🙂
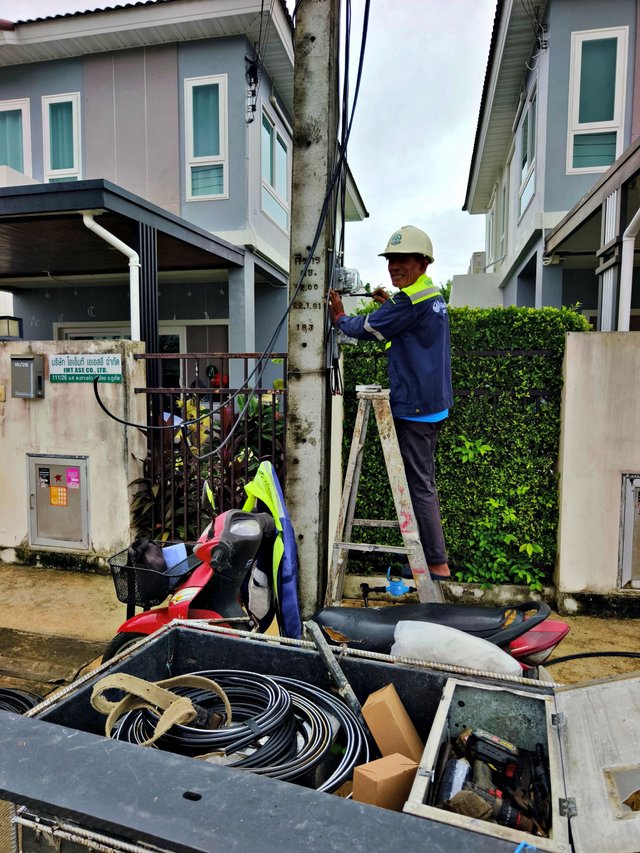
PEA technicians arriving at my home to replace the meter
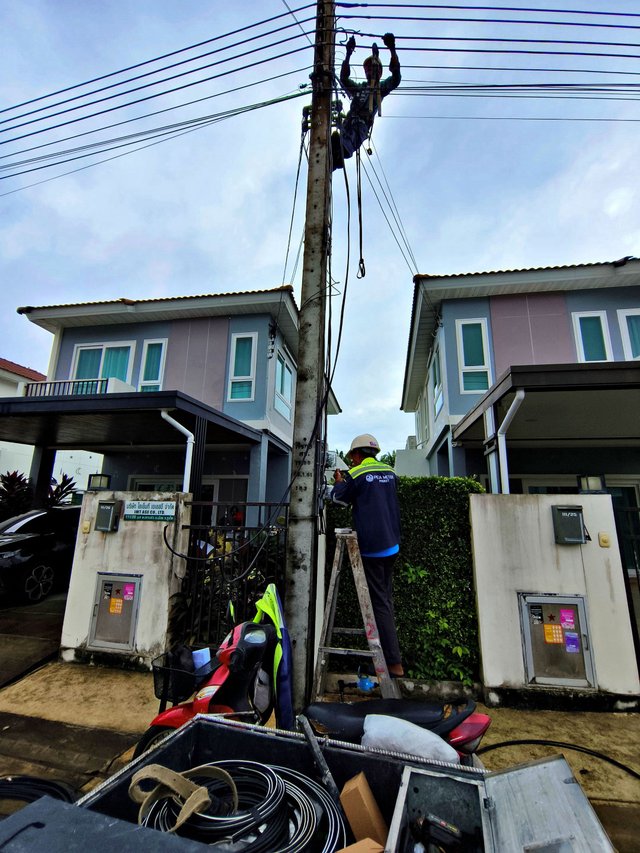
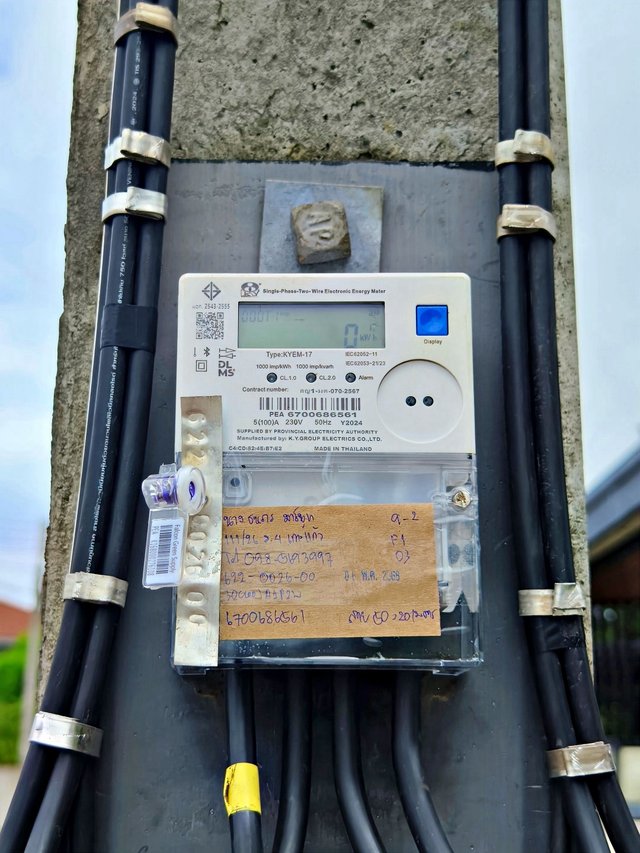
In just about 30 minutes, the PEA technicians completed the installation of the new electricity meter. Everything was set up perfectly and ready for use. ⚡✅🔌
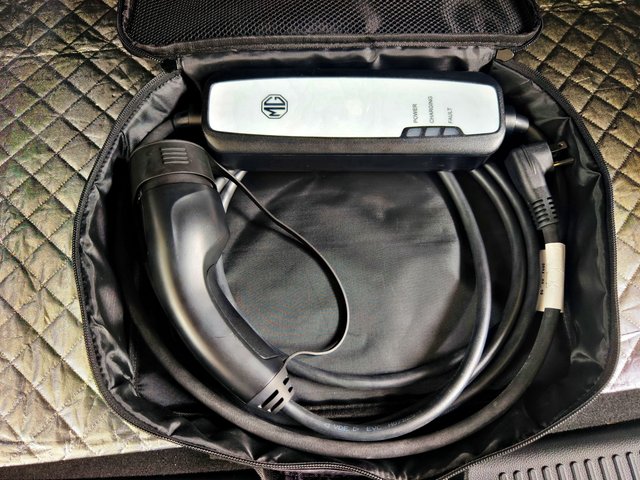
Before the Home Charger was installed, I was provided with an emergency charger that could be plugged directly into a standard household outlet. It was a convenient temporary solution, although it took much longer to fully charge the car compared to using the Home Charger. 🔌⏳
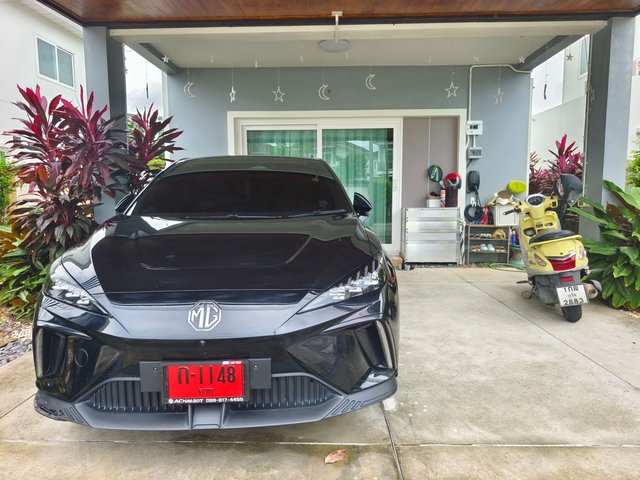
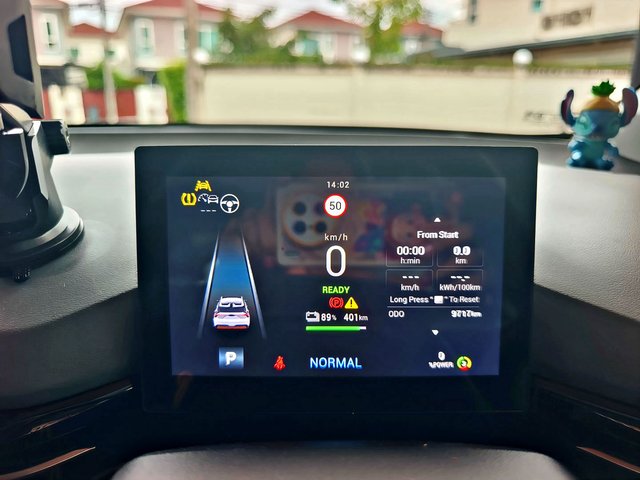
To check the car’s battery level, I can simply look at the display screen inside the vehicle or use the MG mobile application, which makes monitoring very convenient. 📱🔋🚗
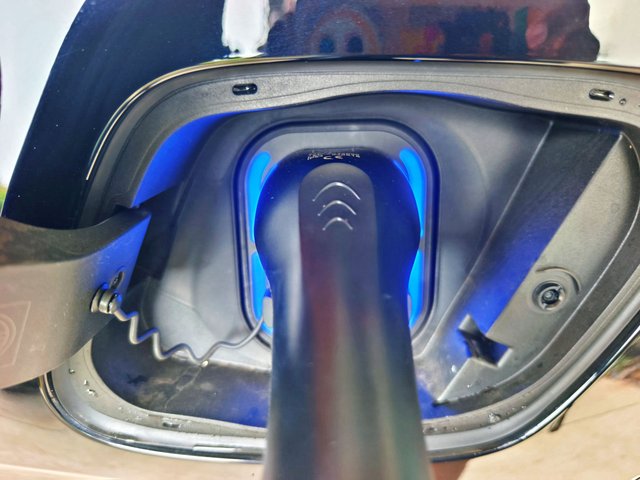
When it’s time to charge the car, I simply plug the charger into the charging port, which looks quite similar to a traditional fuel cap at a gas station. It’s surprisingly familiar! When the charger is plugged in and ready — but not yet charging — a blue light appears to indicate that the system is on standby. 🔵🔌
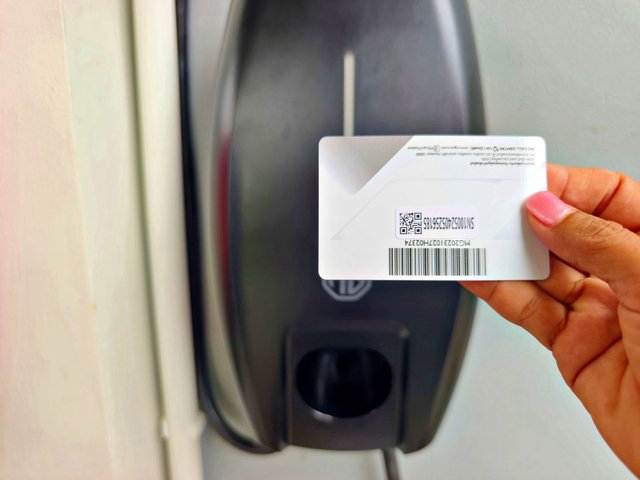
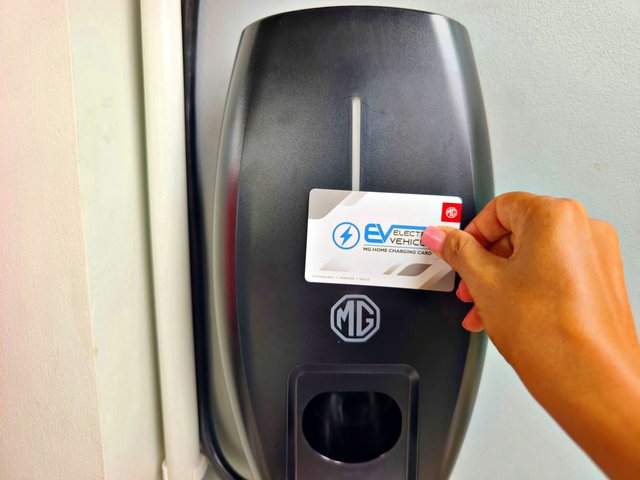
Next, I take the QR code card and tap it on the charging unit to start the process. It’s quick and easy — just like tapping a card to enter the BTS! 🟦📲⚡
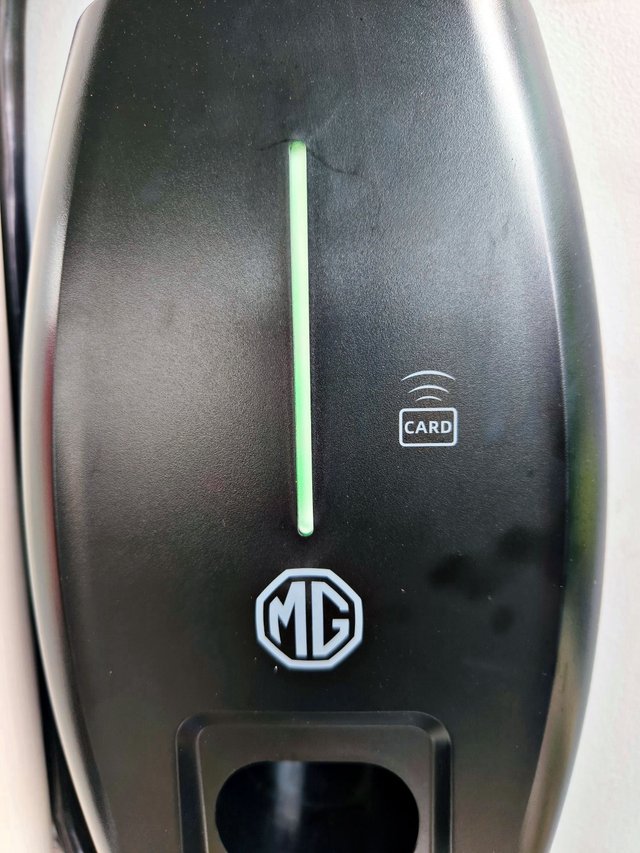
Once I tap the card on the charging unit, the indicator light turns green, which means the car is now charging. It’s a simple and reassuring signal that everything is working as it should. ✅🟢⚡
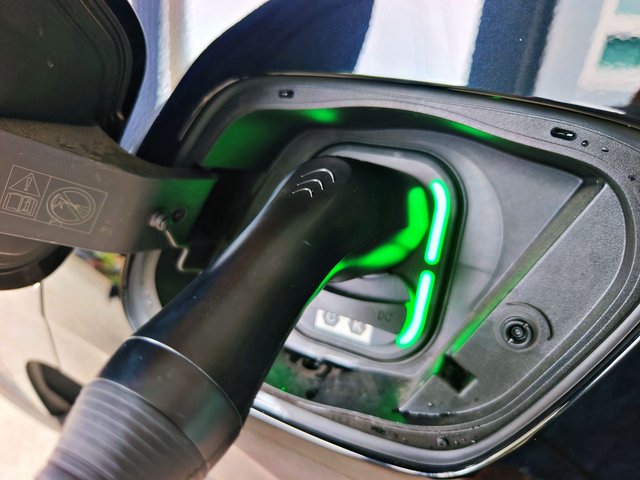
At the car’s charging port, the indicator light also changes from blue to green once charging has started. It’s a clear and helpful way to see the charging status at a glance. 🔵➡️🟢🚗
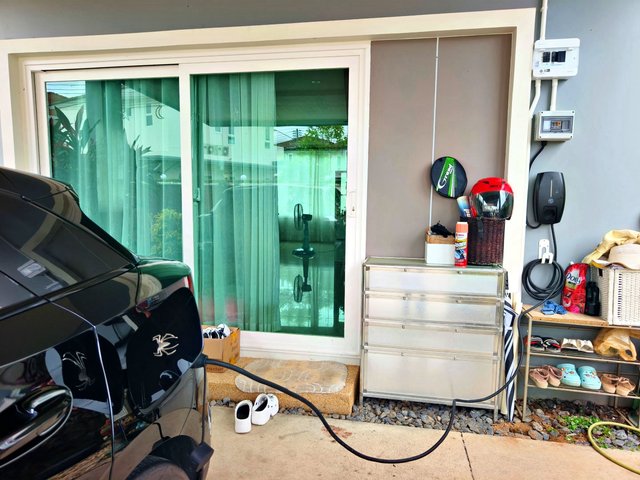
Having the Home Charger fully installed and functional has made my EV journey so much easier. No more waiting at public charging stations or planning my route around fast chargers. ⛽❌🔌✅
Now I can simply plug in at home, check the charging status from the app, and wake up to a fully charged car every morning. It’s a small change in routine, but it brings so much peace of mind and convenience to my daily life. ☀️🚗📱
I’m truly glad we made the decision to switch to an electric vehicle, and the Home Charger installation was the final piece that made everything feel complete. If you're thinking about going electric — I highly recommend it! ⚡🌿💚
Thanks for reading — see you again in the next post! 💛
5% of the rewards from this post will be distributed to the Camping Club Steemit Community through the @ccscurator account.
If you enjoyed joining me on this journey, please don’t forget to:
- ReSteem this post if you think your friends would enjoy it too! 💖😊
- Follow me to stay updated on my next adventures 🚶♀️🌏
- Comment below to share your thoughts or tell me about your own experiences! ✨
Sawadee kha! 🙏💛
@Baiboua | 🌸 My Achievement 1 post: Greetings from Phuket 🏝️ Thailand 🇹🇭