What it's like to live in a construction pit for 3 months, part 2: Building the studio and living cost free
A tough decision
The best thing about building your own home from scratch, is that you get to decide EVERYTHING about it. And sometimes you even have to break your head about possibilities you hadn't even considered before hand!
I remember making plans for the space we had bought, even before we had removed all the junk and disaster left by the previous owner. Our house has what we call a 'Rotterdamse splitsing', a way in which apartments are separated which you can find a lot in Rotterdam, but not in so many other places, and requires some explanation.
Rotterdamse splitsing: In a multi-story house, with multiple apartments, the homes aren't separated simply by floors. But half a floor can belong to one home, the other half to a different one. In our case, we own the third floor of our building and half of the fourth. Our neighbour below owns the second floor, but also the other half of the 4th. To get to our half of the 4th floor, we use a stairway which we share with our neighbour.
Sharing the staircase did not match my idea's of privacy ;), so when planning how to arrange the home we thought about building a private stairs as well, having a living and working area downstairs and the bathroom and bedroom on the top (half) floor.
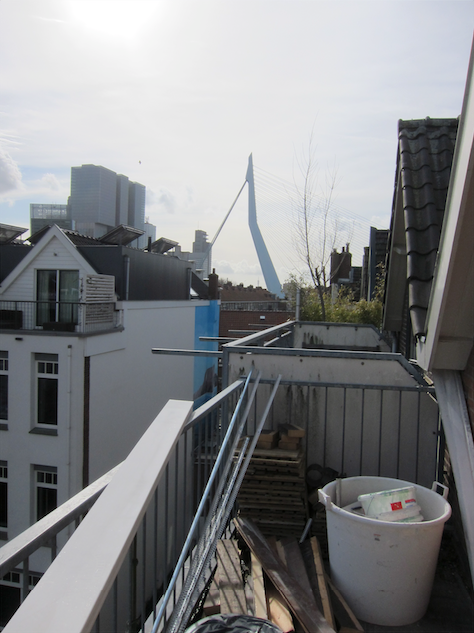
Then a friend casually brought up the idea of turning the above half floor INTO A STUDIO instead. And first I thought, no way. Because the top floor was very cute with its pitched roof, perfect for a romantic bedroom. And especially because of the balcony, the only outdoors space the home has, which catches a lot of sunlight and has a view on one of Rotterdam's most Iconic pieces of architecture, the Erasmus Bridge.
It was a rather tough decision. To give up the extra living space and especially the balcony. Which I'd really love to sit on whenever the sun is out. But after pondering it for a while, we did decide to go with that friend's idea of building a separate studio on the 4th floor. And the very awesome part of it is, that now we rent it out and the income it gives easily covers the mortgage on the whole home and also some extra costs like water, electricity, internet and insurances for the house. Meaning, our living expenses are close to zero. And when we travel, we can rent out the third floor apartment also, creating enough of an income to live from if we go to countries where life is cheaper, like in Asia. We have less living space in square meters, but a lot of added freedom financially and so much increased opportunity for traveling and doing what we love most in life. I think it is really worth it.
Building a 25 square meter home
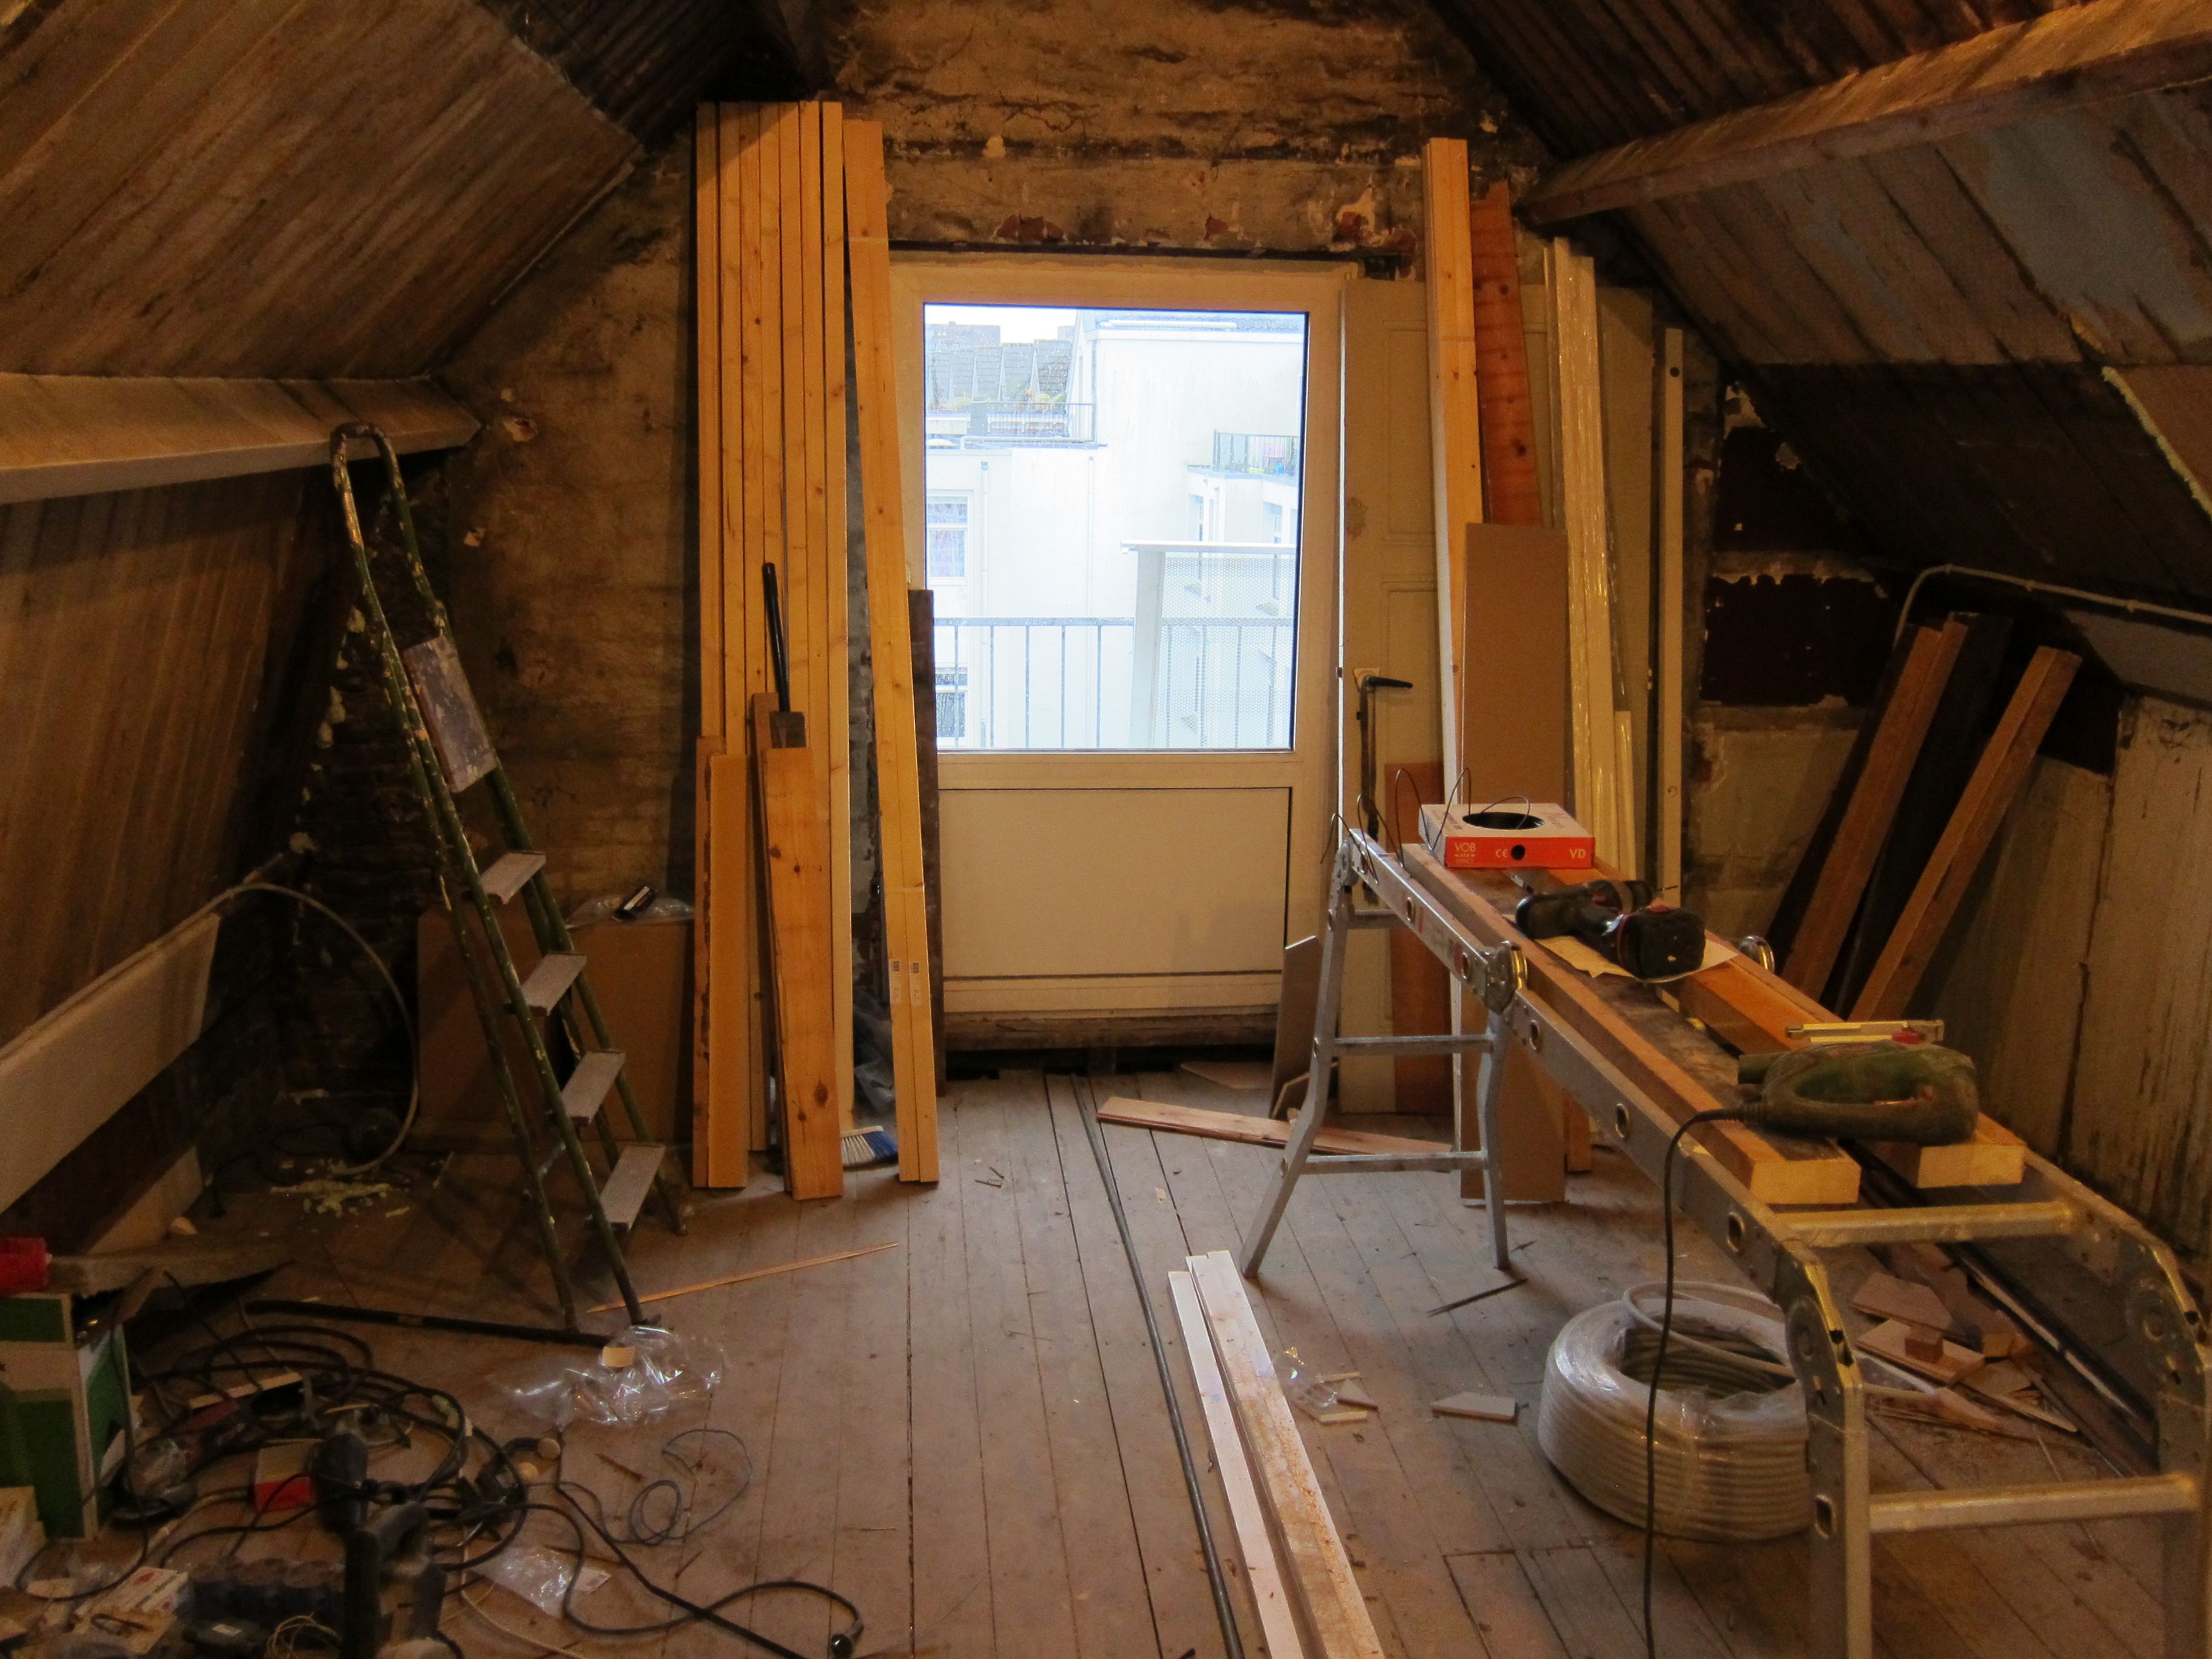
I don't know if there are a lot of countries where homes can be as tiny as in ours. Probably in Europe, with the old city centers which are very popular and very crowded, people are used to living in small spaces. The studio we built has a total of 25 square meters (not including the balcony), and has its own kitchen and bathroom and all. What started out as a dark and murky attic is now actually a cute single person home. But let's start at the beginning ;).
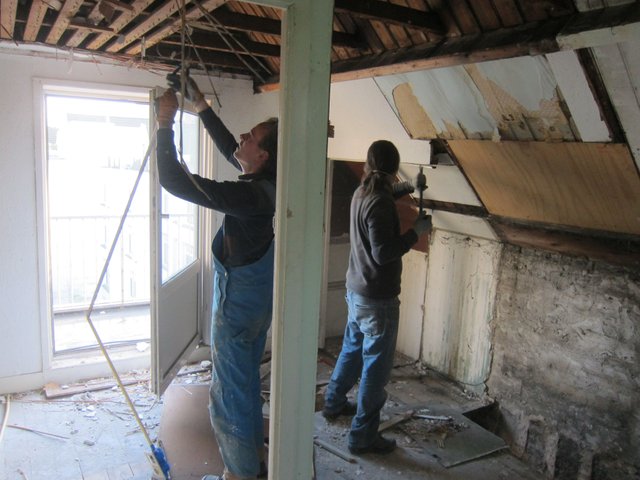
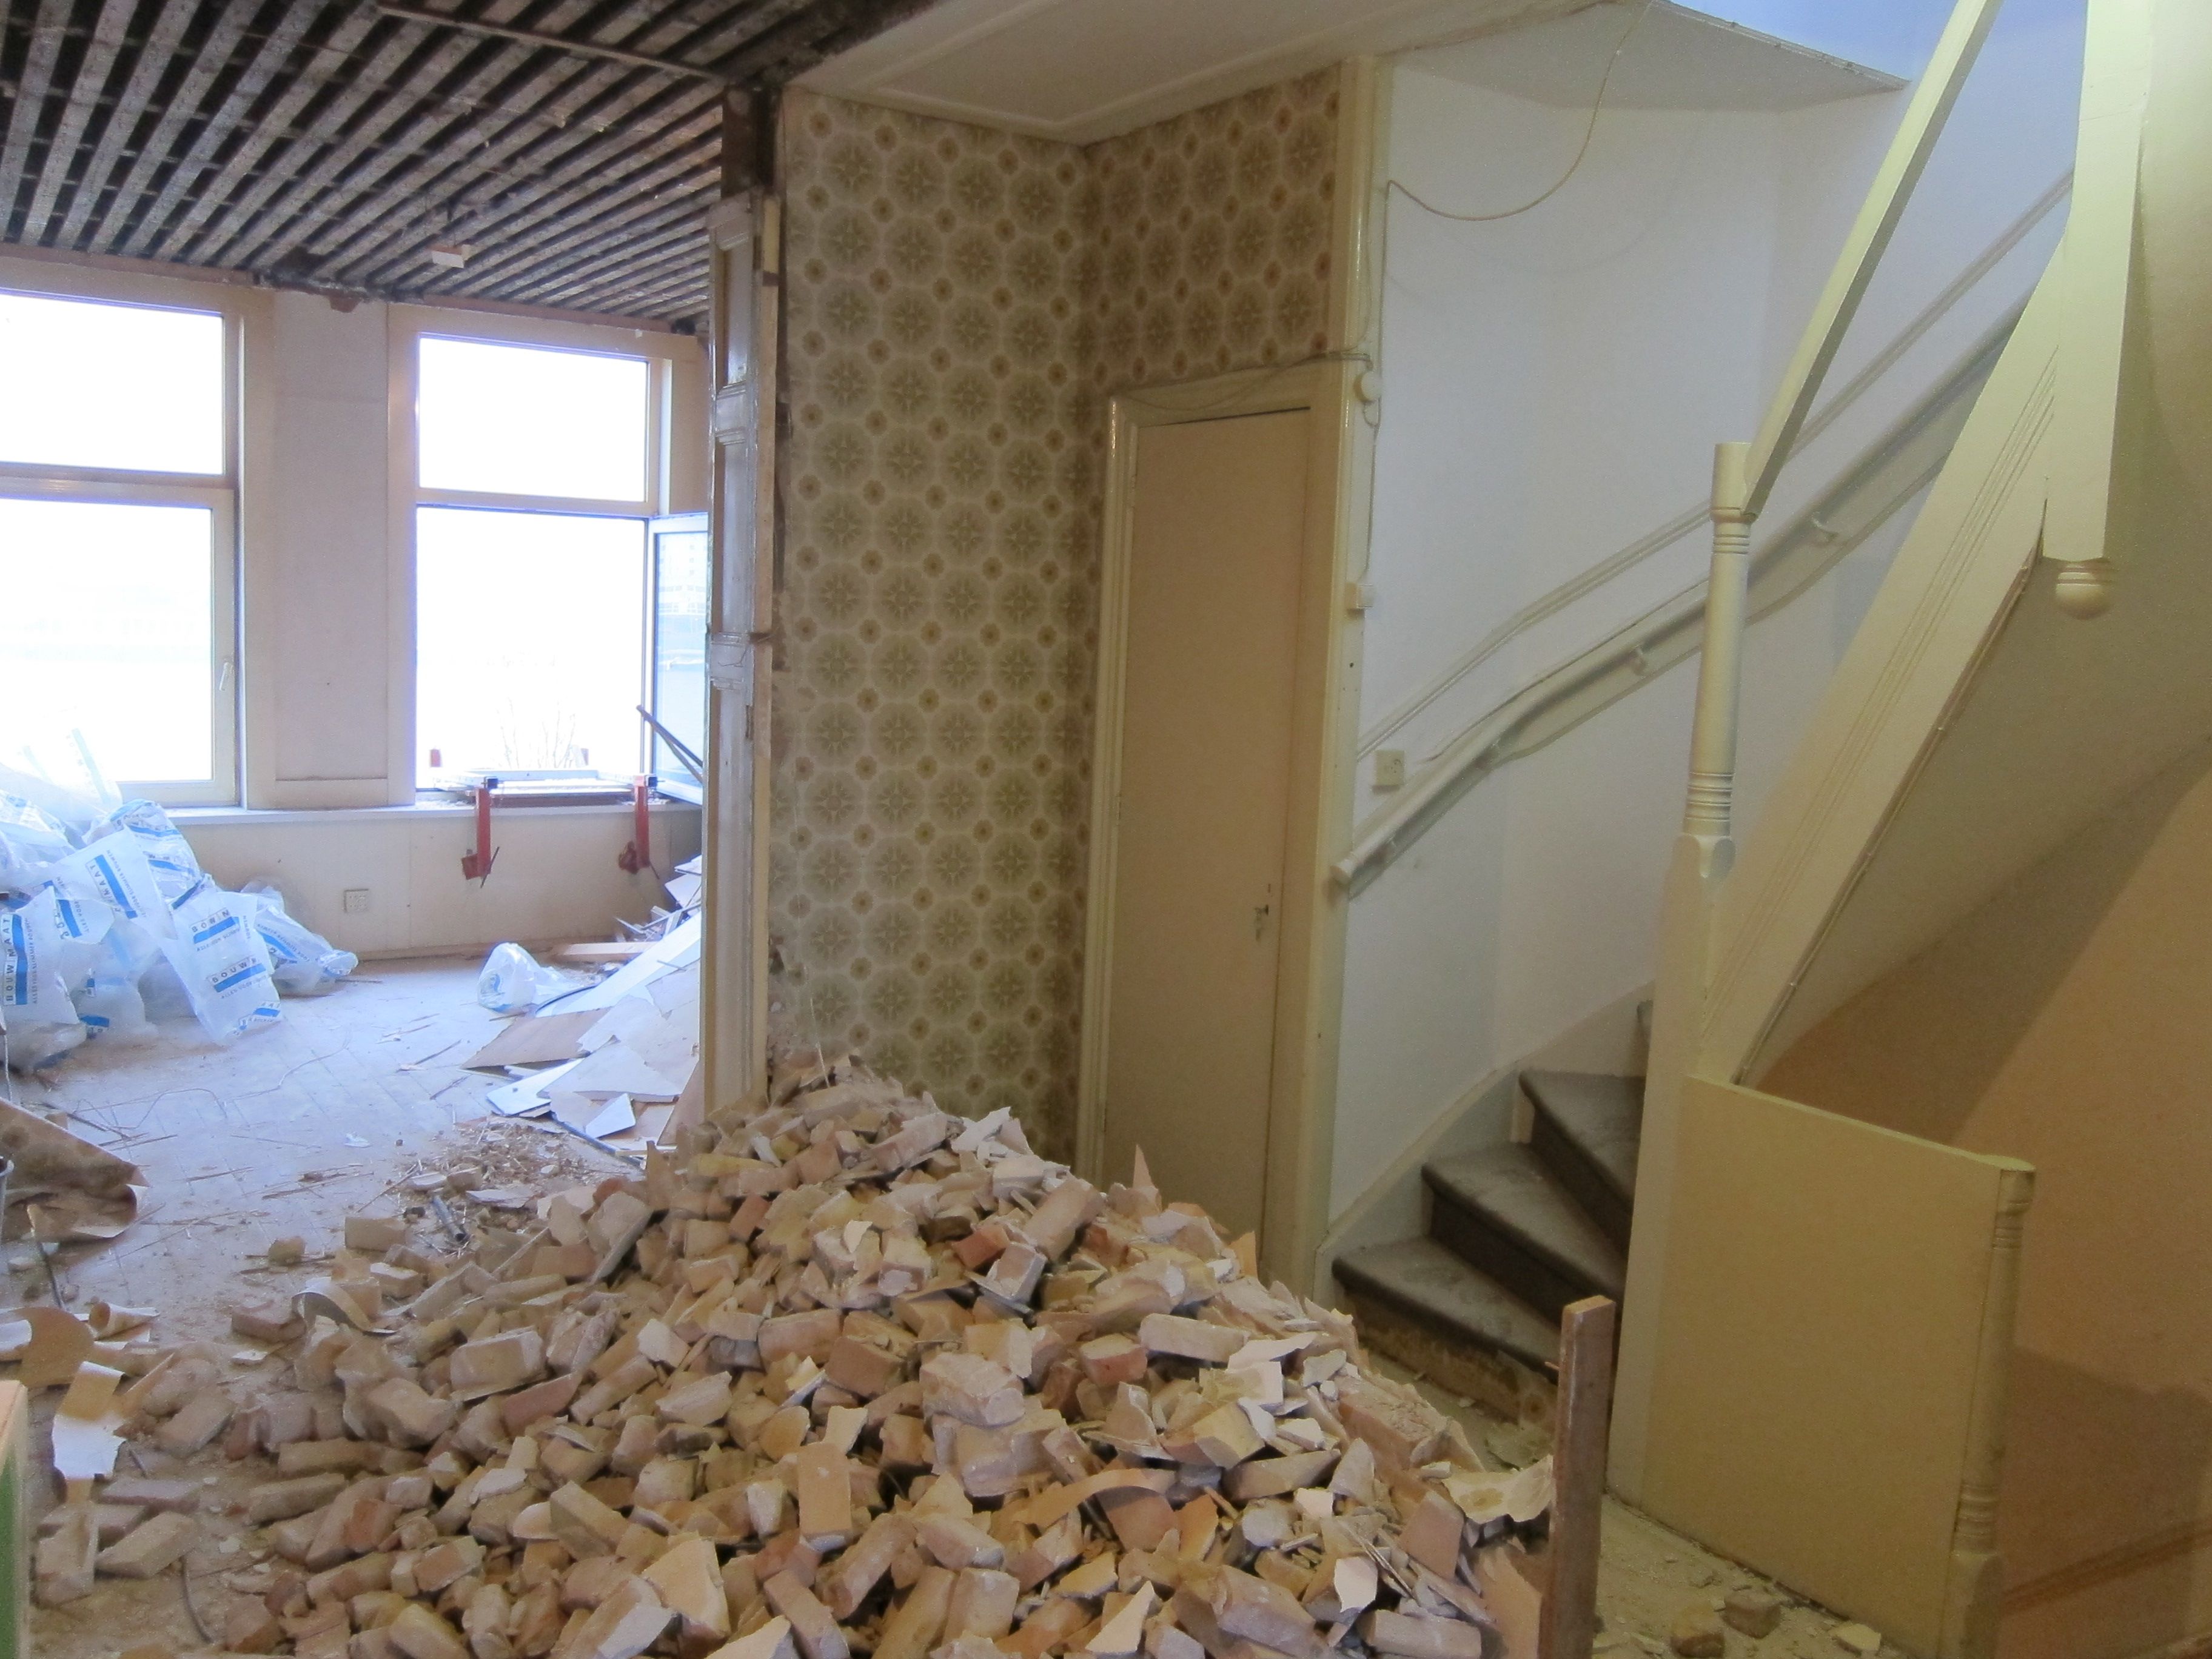
As with the rest of the home, the 4th floor needed some tearing down and cleaning up before we could build anything. I don't think the previous owner even used this part of the home. It was in a bad shape, with some parts being moldy and rotten and taking all that stuff out was pretty gross. Was happy when we had moved it out.
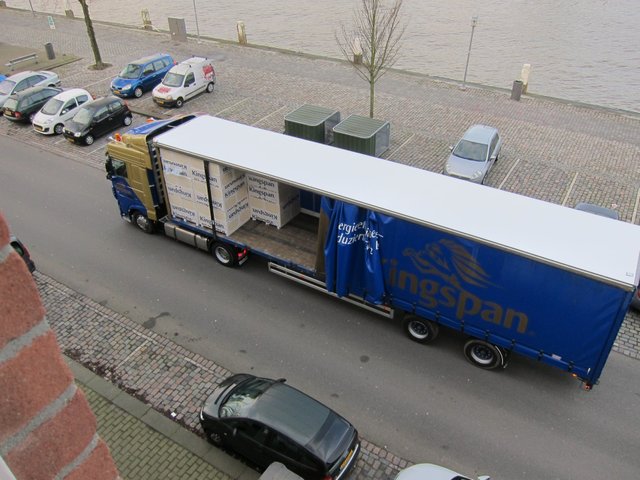
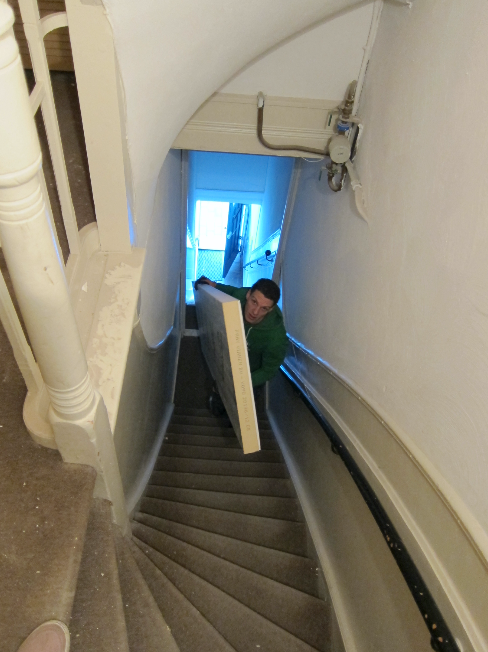
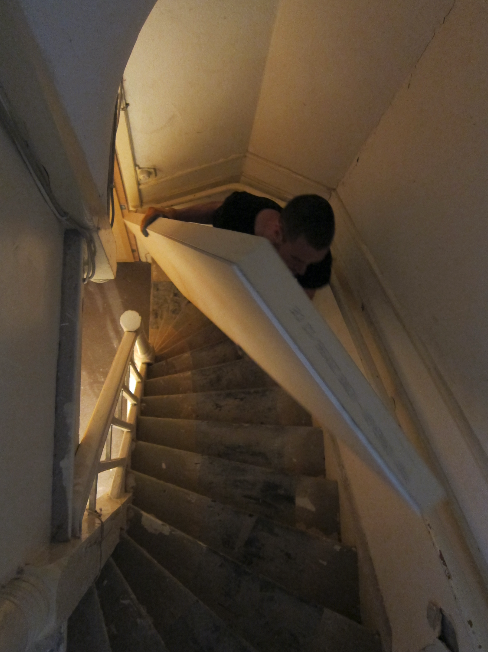
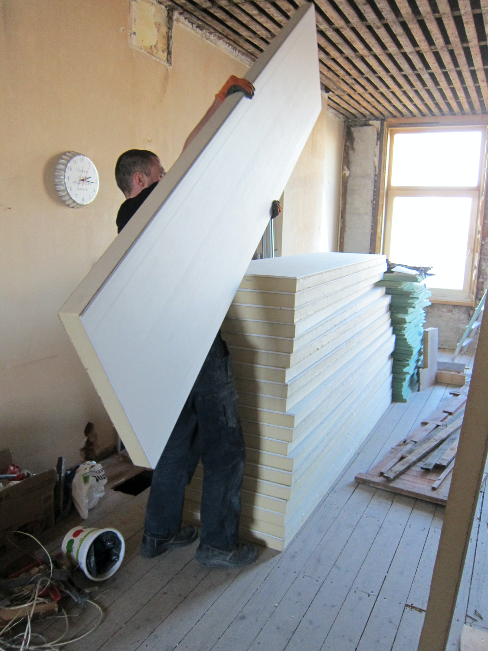
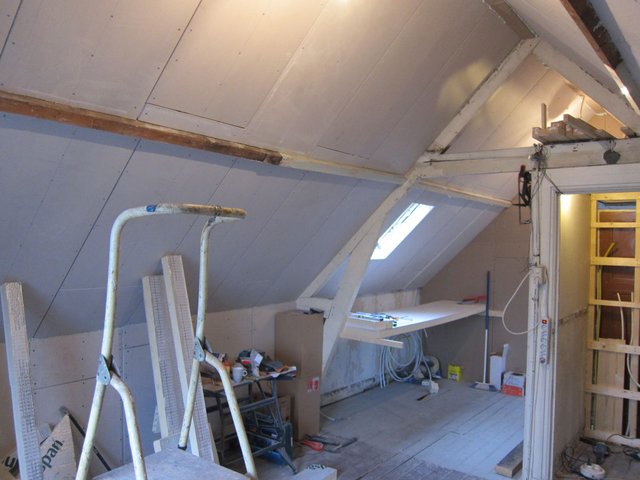
Kingspan!!
After tearing down and cleaning out, first thing to do was isolate the ceiling and walls. We built a wooden framework and covered it with Kingspan, a plasterboard and isolation material combination. Great for keeping warmth in and heat out, but rather space consuming in the tiny home.

 !
!
Design
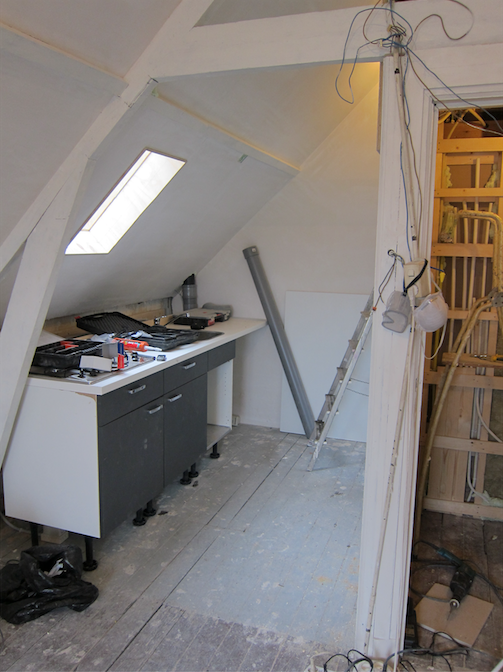
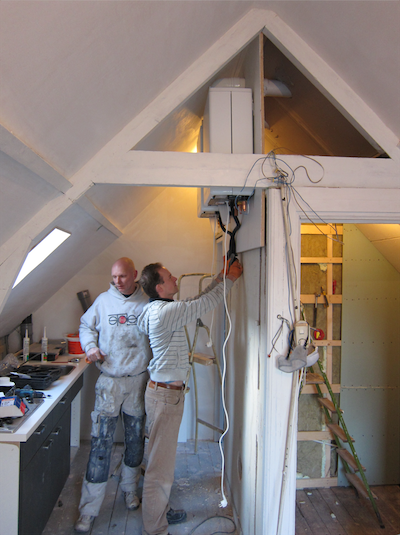
At this point important decisions were being made of where to put what. We designated an area for the kitchen...
and for the bathroom.
The challenge was, all the time, to plan for things when you can't really know how they will turn out. Probably, if you do these kind of processes a lot, then you'll get a feel for it. But in a 25 square meter home, how will you decide how much space to take for the kitchen, for the bathroom? You need to plan electra and faucets way before seeing the material with which you will even be building. If you'll build a tiny bathroom, than how much space will you leave for the toilet, how big or small can the showering cabinet be to feel kind of comfortable but still be the smallest possible?
I was doodling out little floor plans and walking around with my measuring stick all the time. Because while a lot of the physical hard work I could leave up to the guys, we had kind of arranged it so that I was in charge of deciding what went where. Which was really awesome, and even though it was a challenge, I thoroughly enjoyed this literally super creative part of building our home(s).
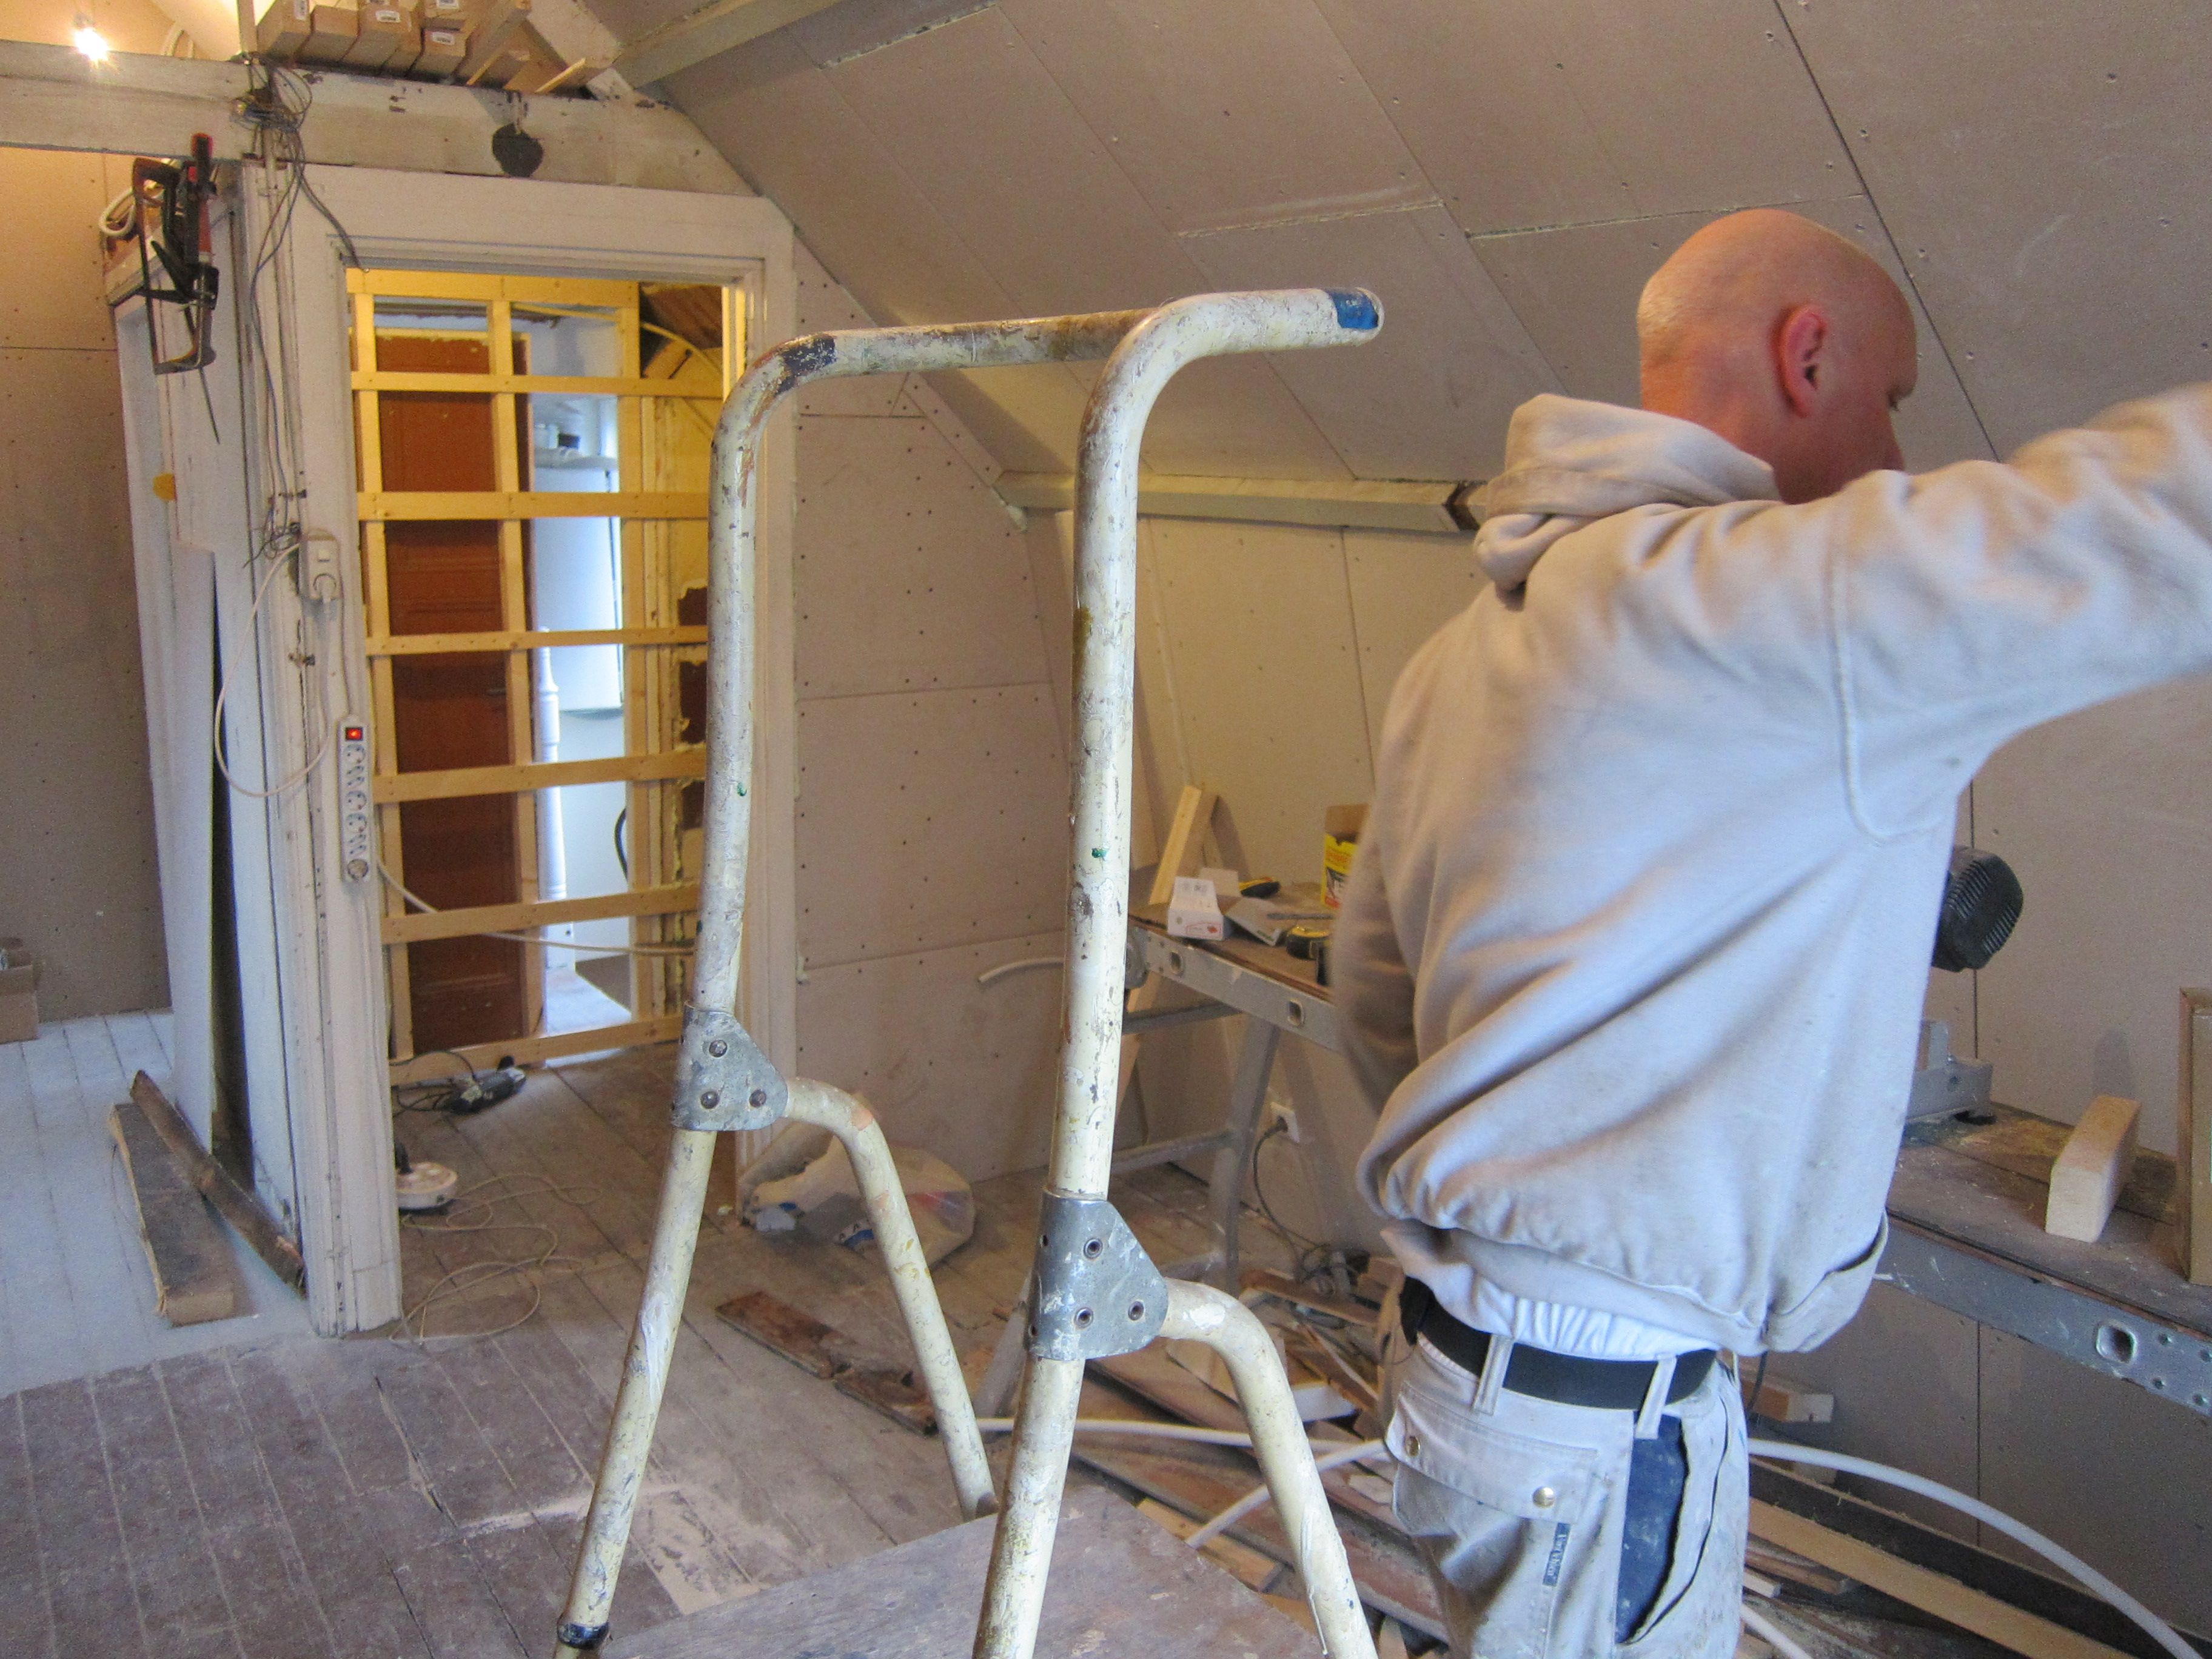
The biggest metamorphoses
When the stucco-guy came, things really started to get moving. The place started to reveal a bit more of its home-like (potential) qualities.

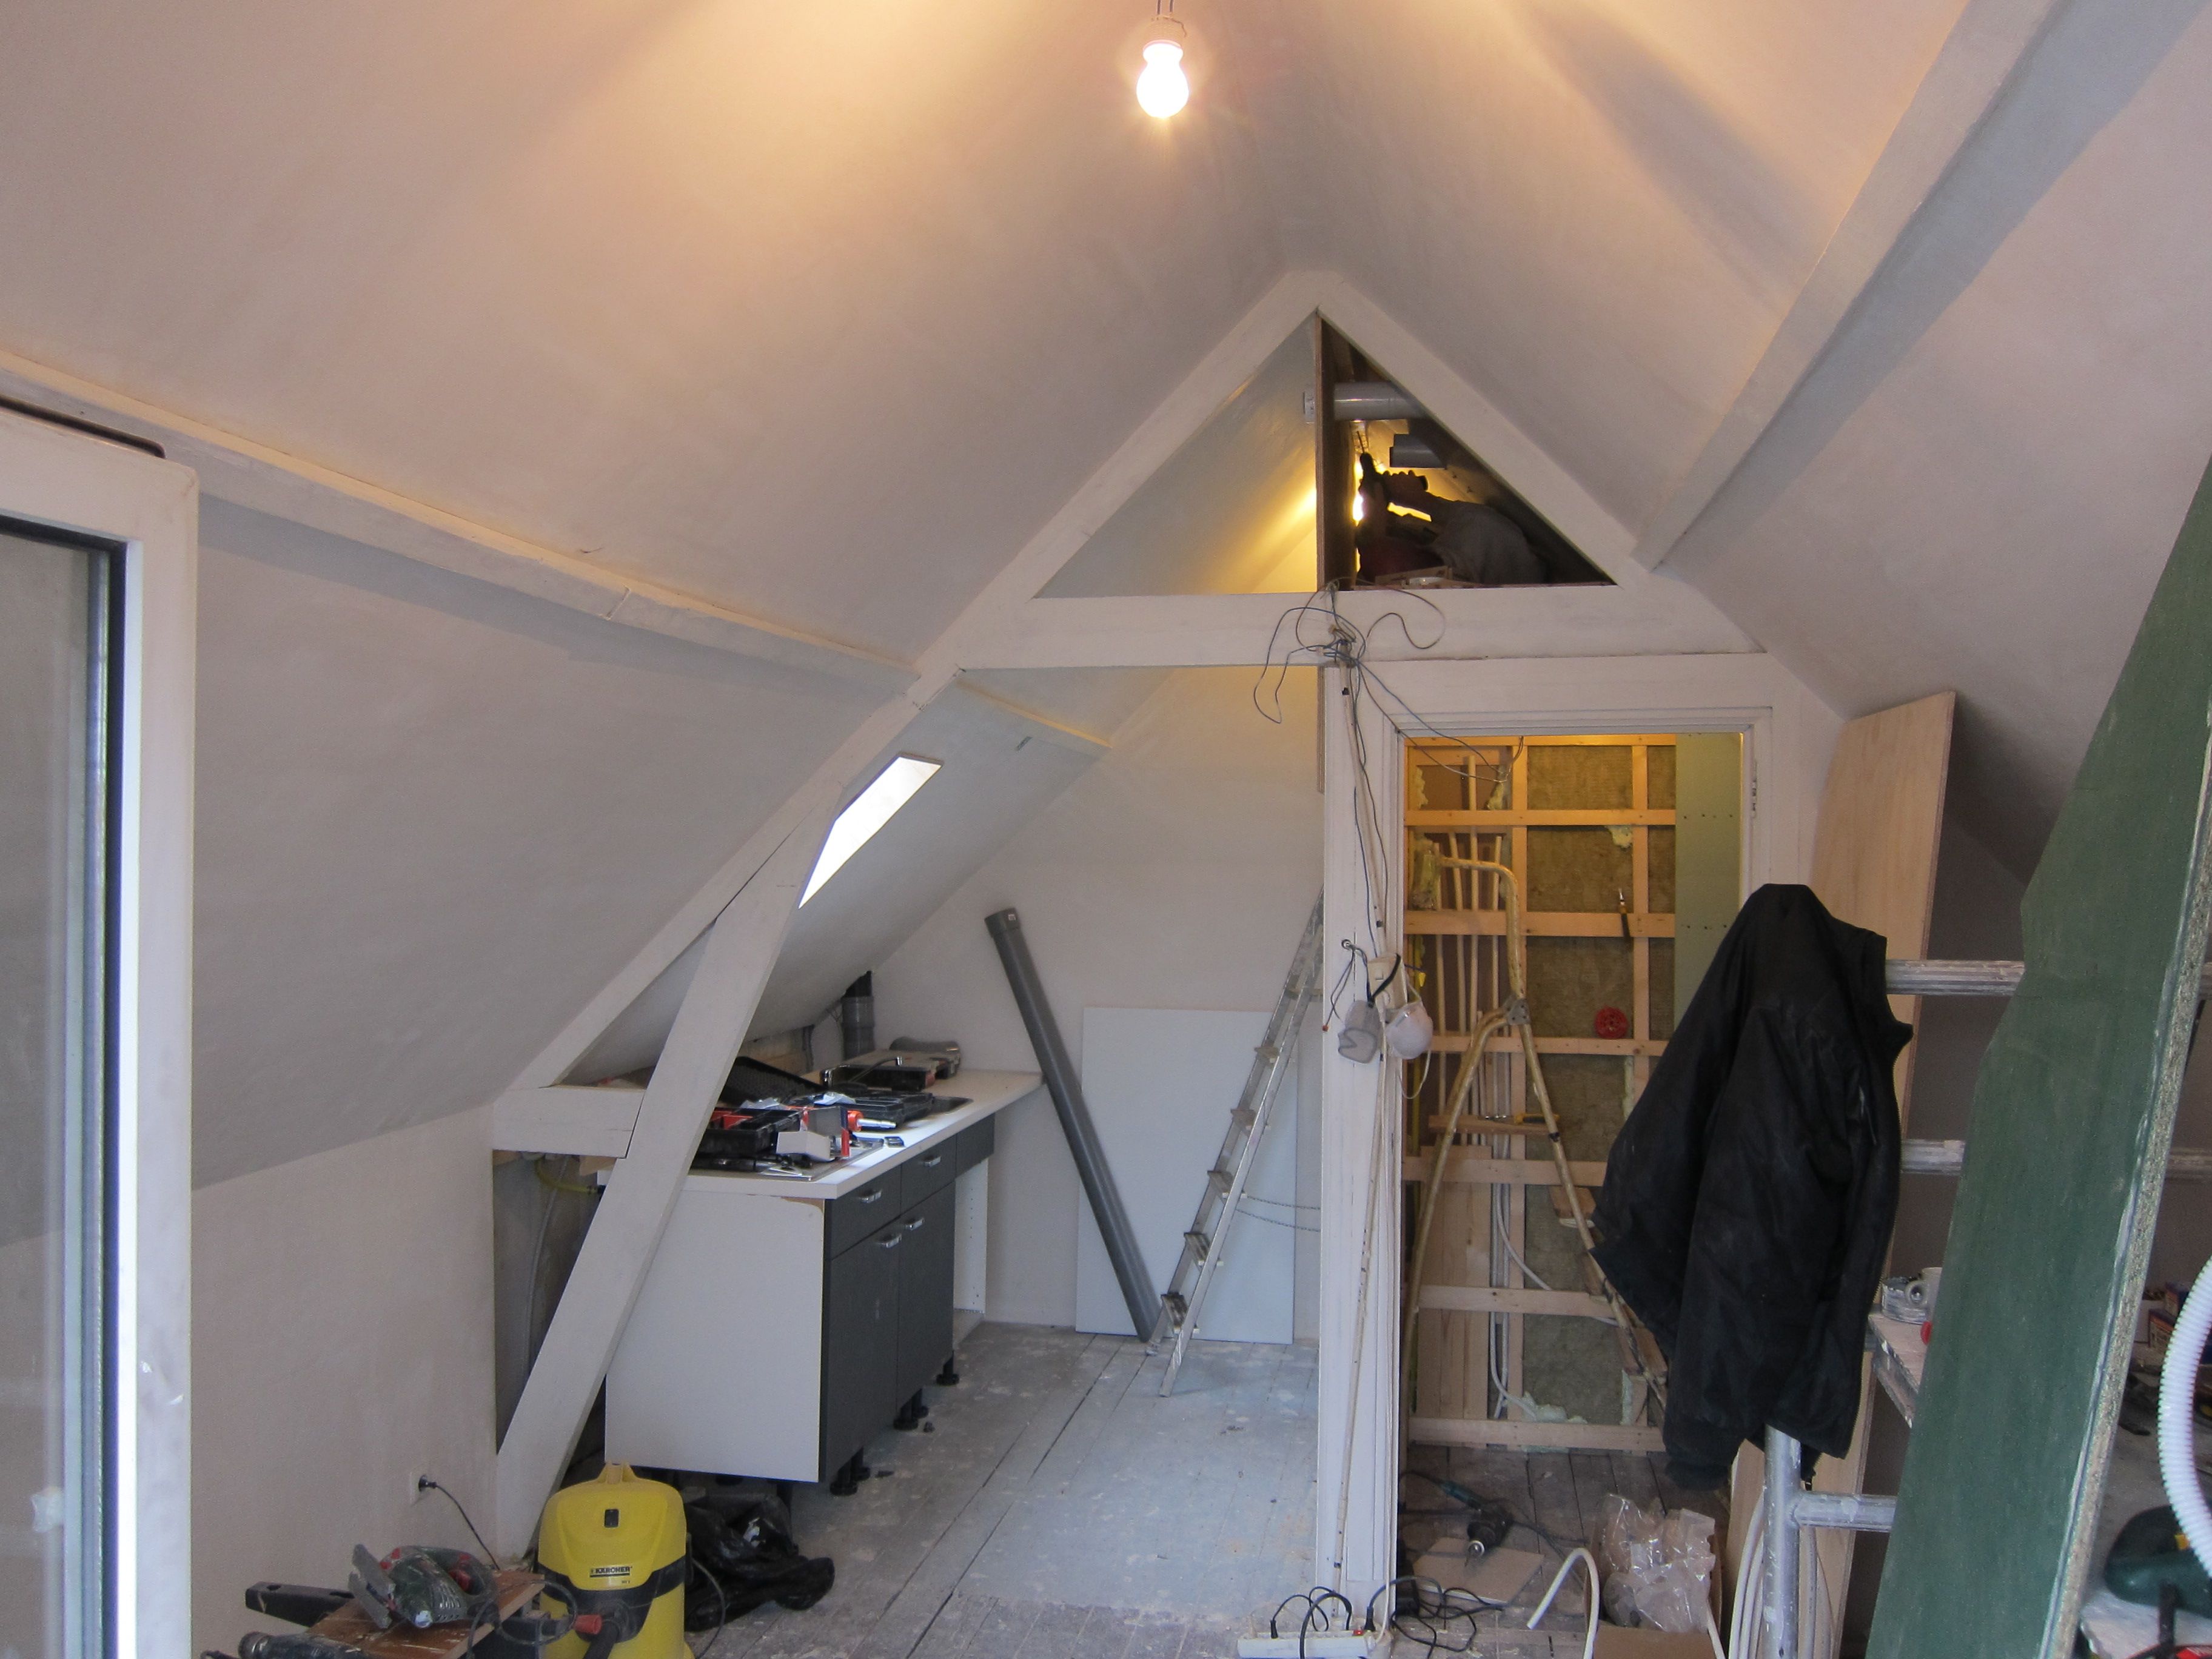
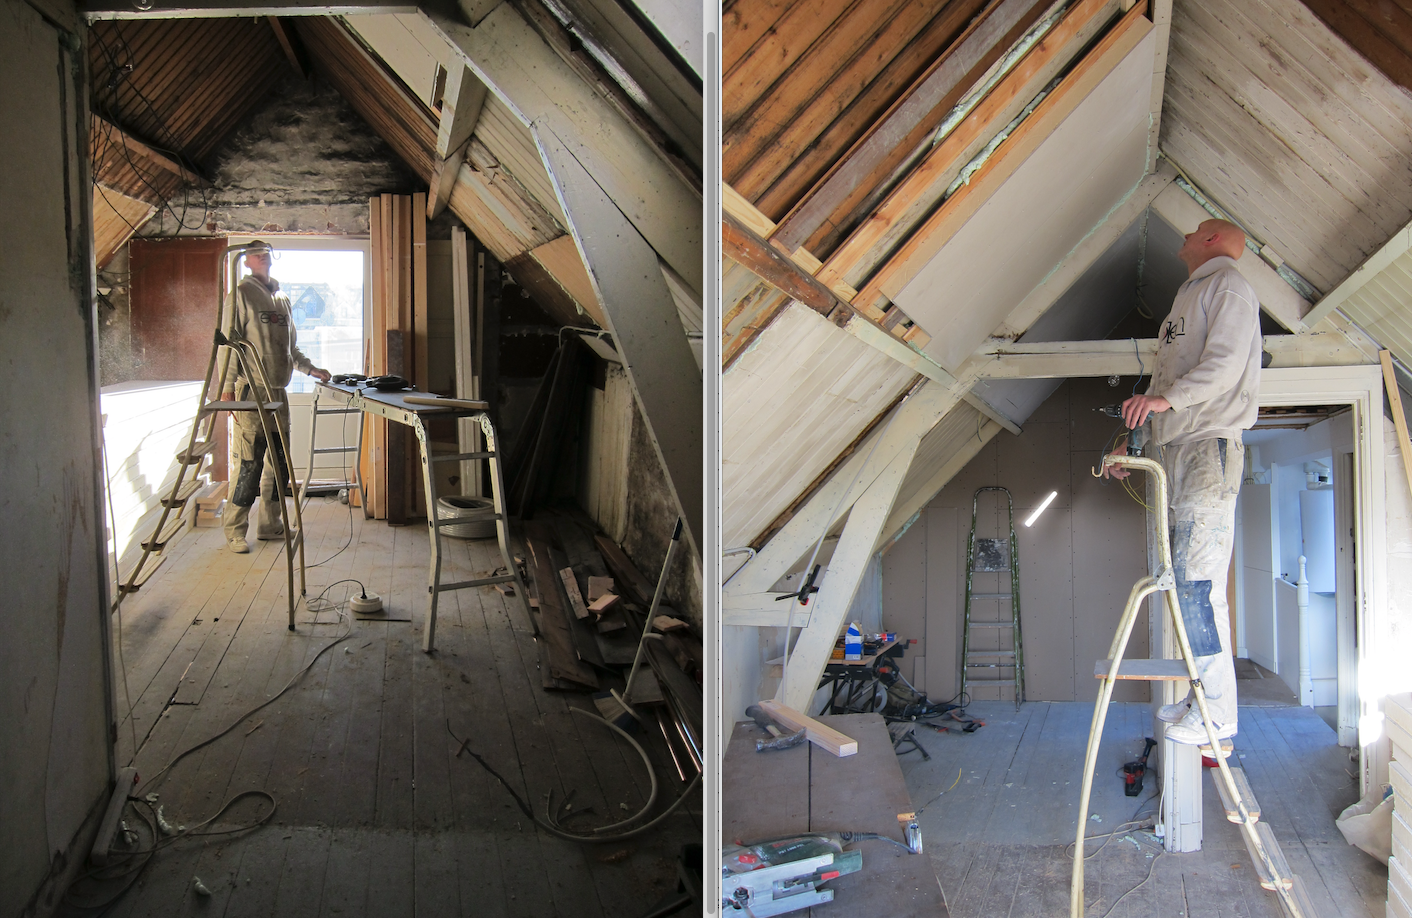
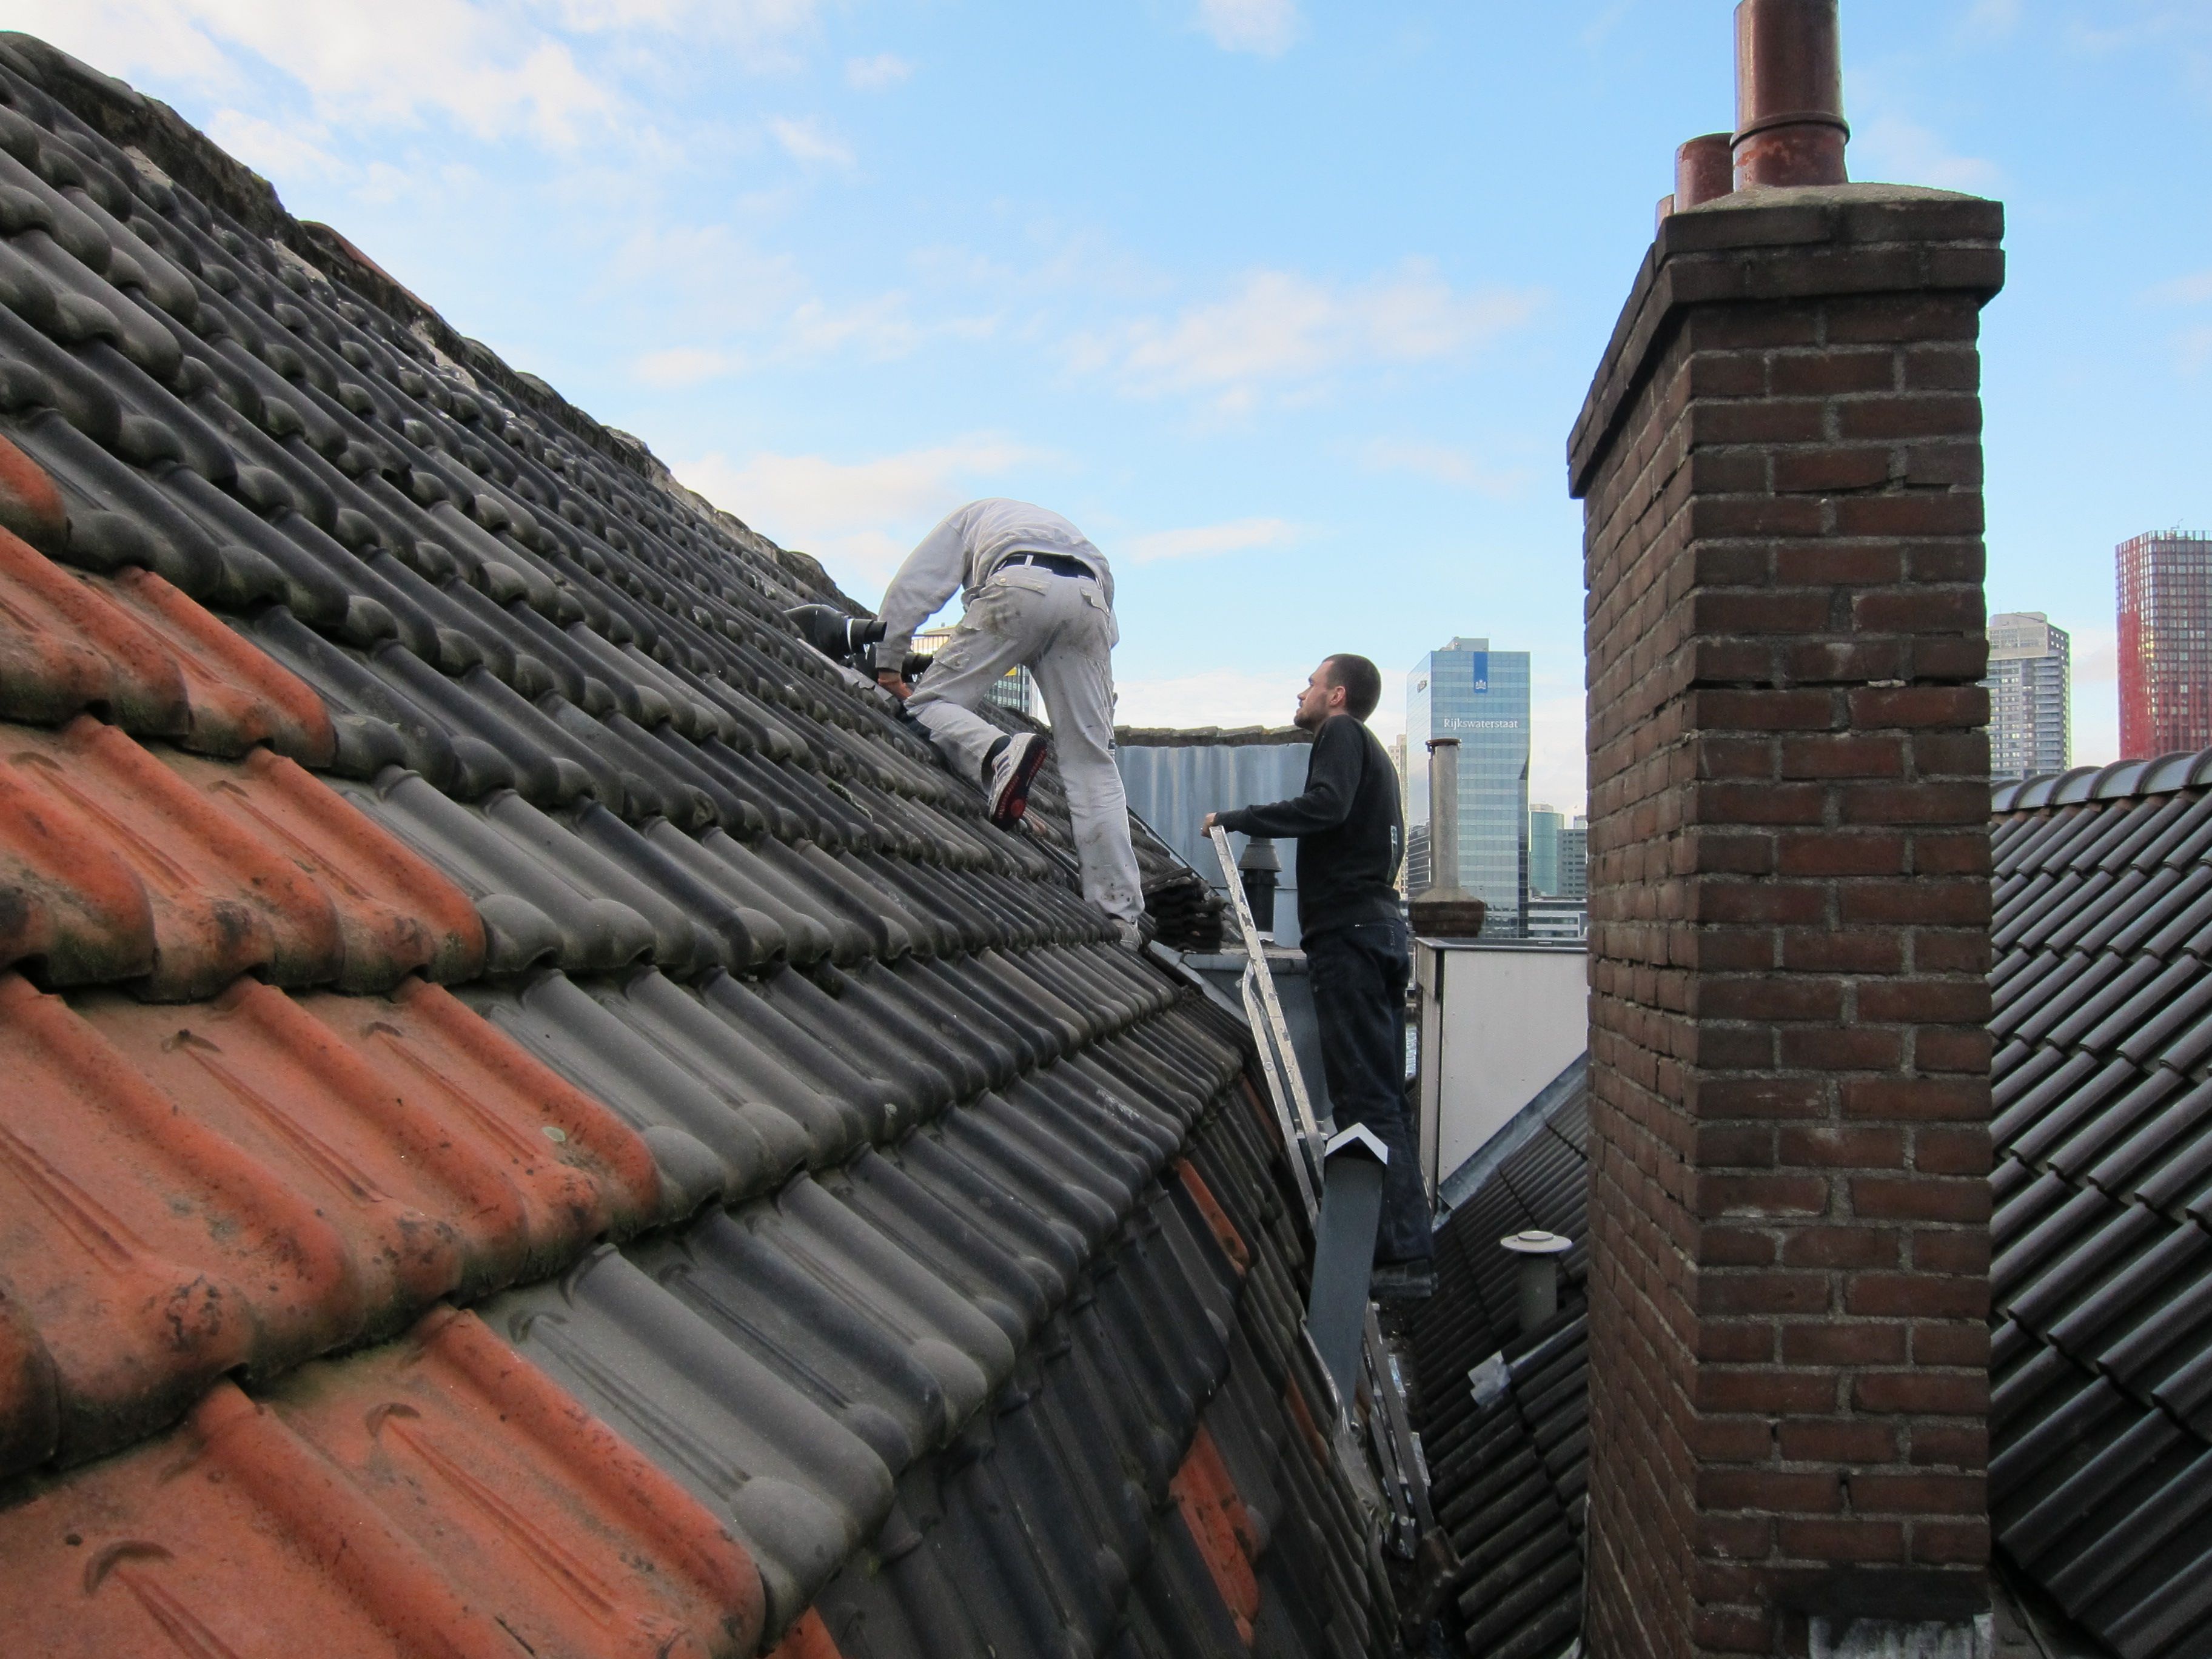
And did you spot the guy in that tiny area in the rooftop, working on electra and wiring!?
After the stucco-guy was done, and after the stucco had dried (that was a long wait), we got to a phase in the constructing process which was a bit more satisfying. The first part took so much time and energy, but the results didn't really show yet. Now, whenever we worked hard, there was actually some real visual improvement being made. Like the kitchen being placed:
Deadlines
I almost forgot though, even in this phase there were some parts that took a lot of time but weren't as fun for actually seeing result. Like putting in the central heating system and especially the piping and wiring and required air exit through the roof and all... By this time we had a deadline to finish the studio and a person ready to rent it from that day on (March 01-2016). So that's probably also why I enjoyed those parts that gave a lot of visual improvement a little extra!
A new place to live
Next we put in the floor. First the green stuff, for isolation and flattening out the surface.
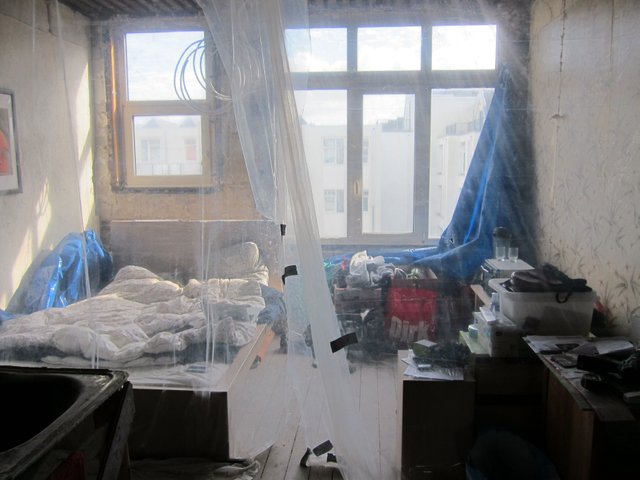
Then we put in the floor, but immediately covered it for protection, as we were still building and creating a mess all the time. When we finished putting in the floor, we also moved our bed to the studio for a while. It was by then a much better place to sleep, nice and warm, no draught and below zero temperatures ;). The heating system wasn't working yet, but the isolated walls and ceiling helped so much!!
Also, the stucco-guy was working hard on the third floor apartment by that time, so we really didn't have any other choice but to move out ;).
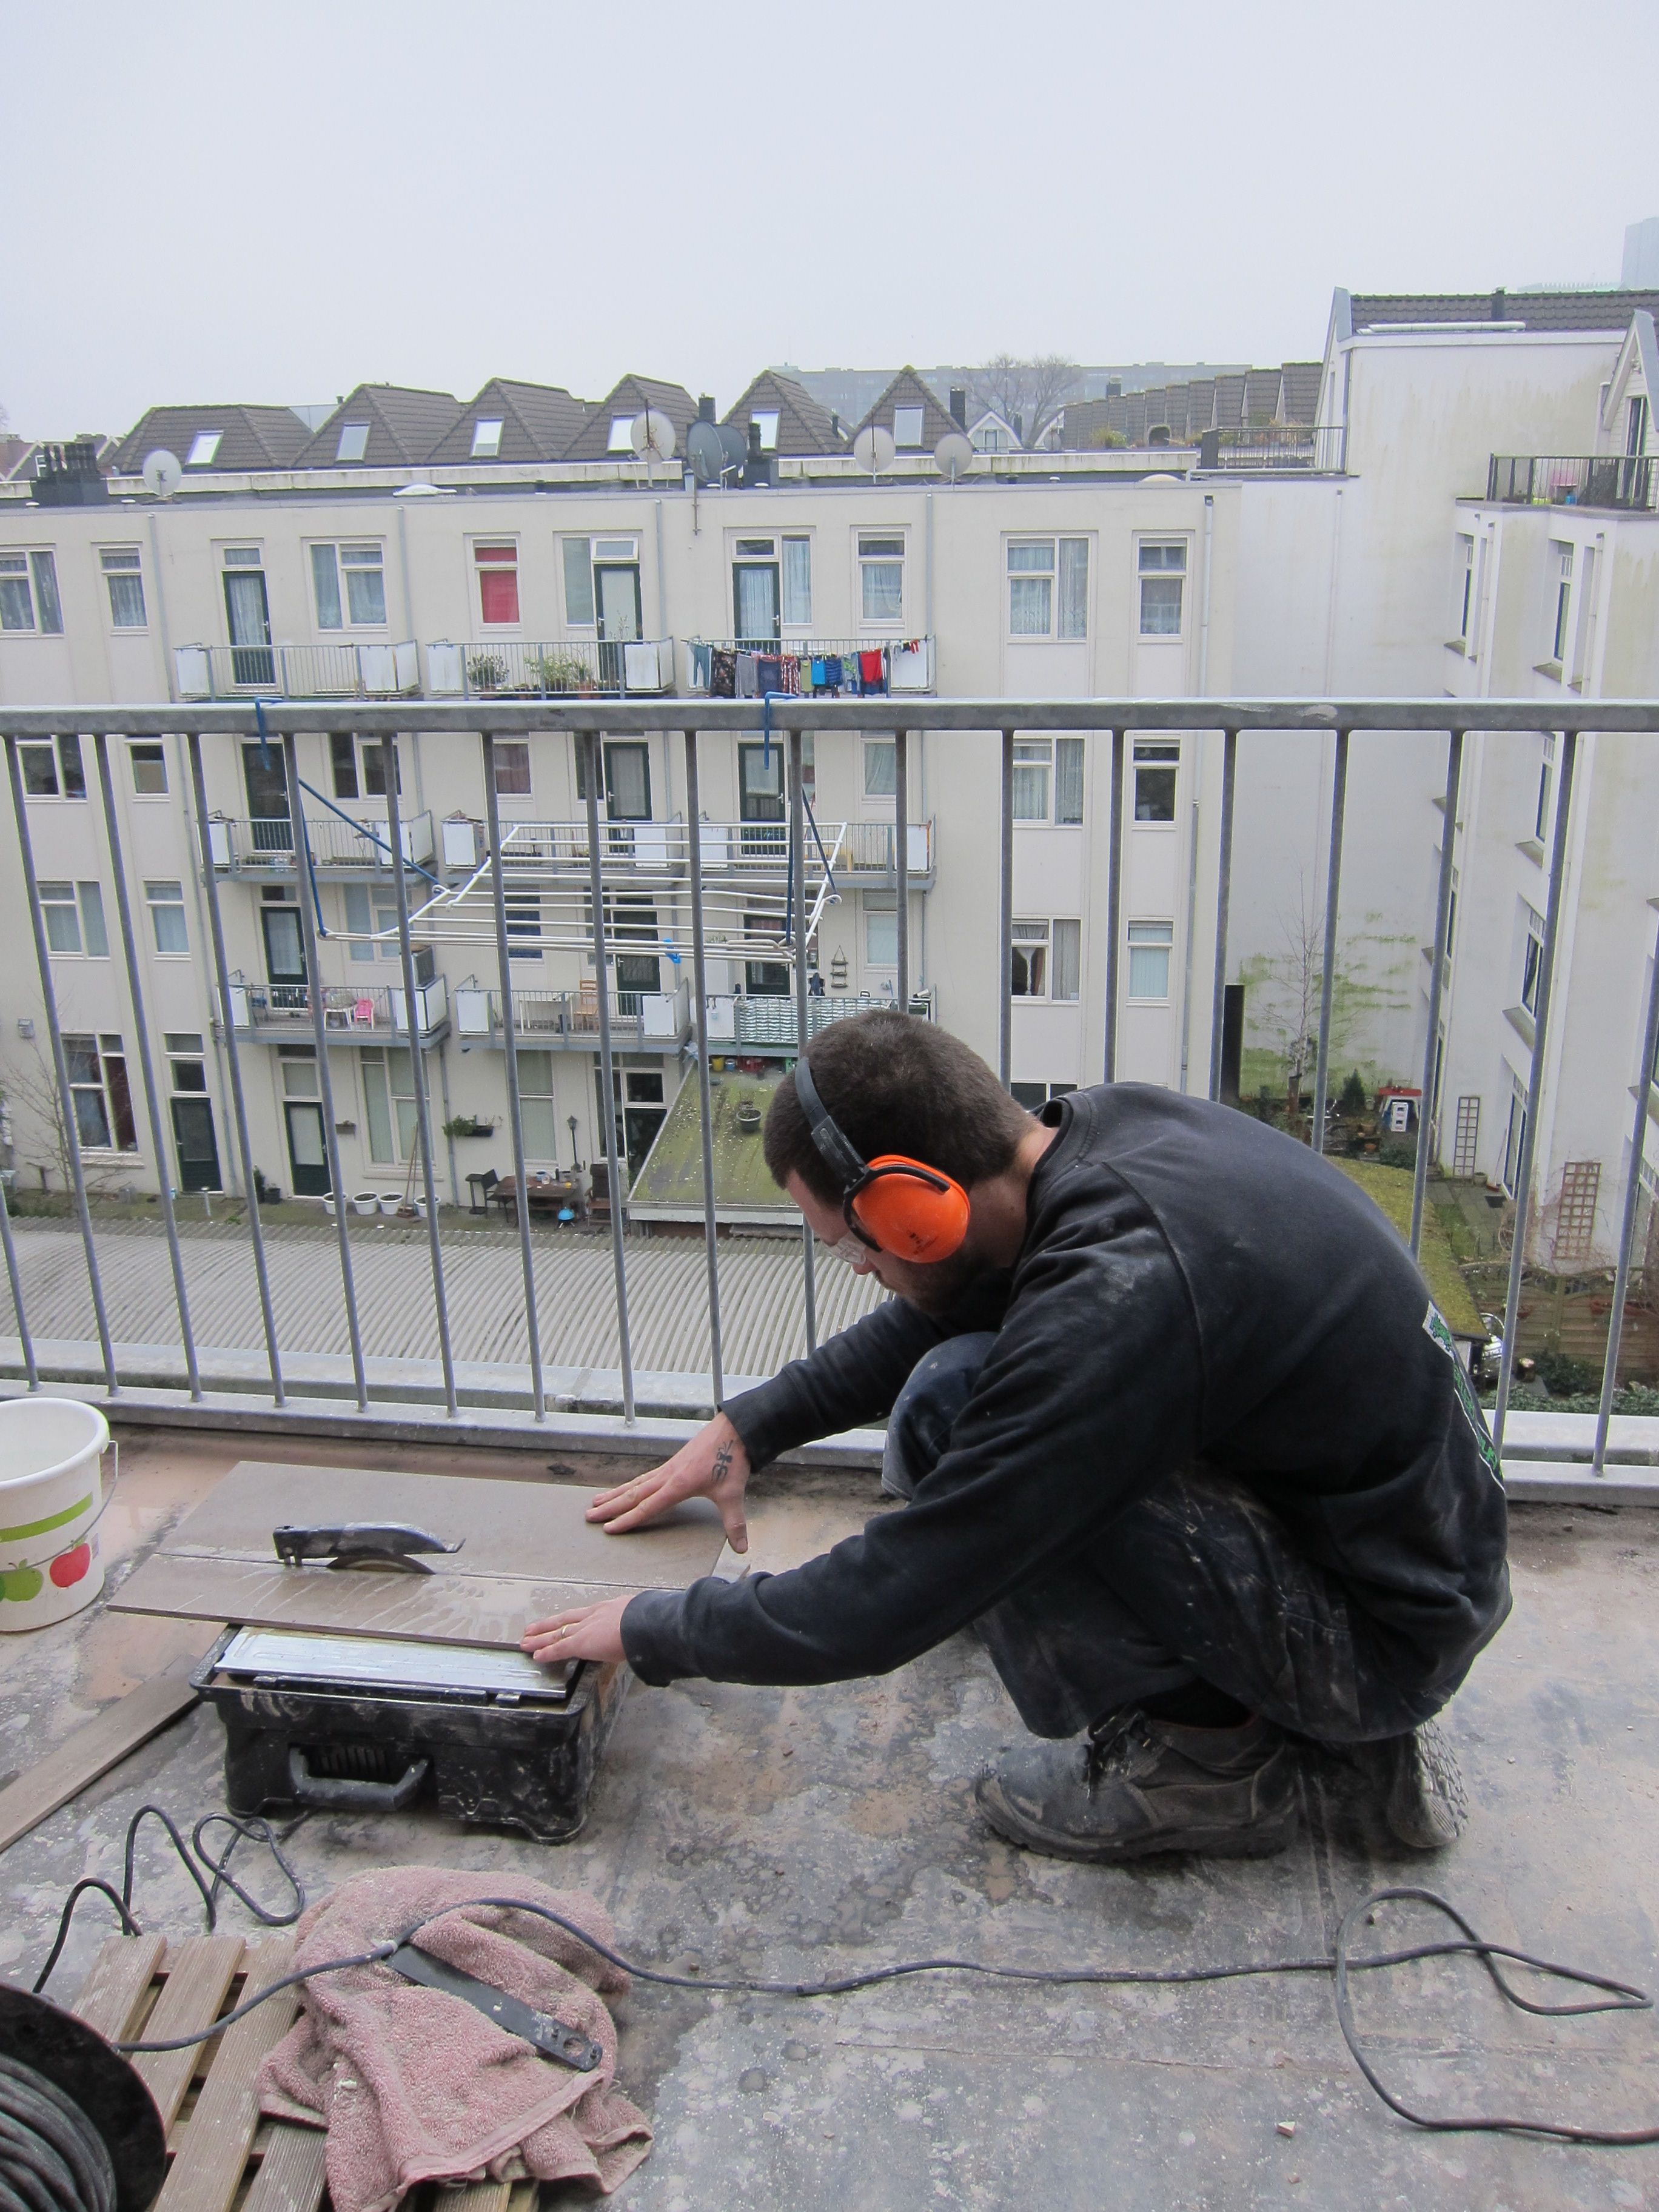
Tiling
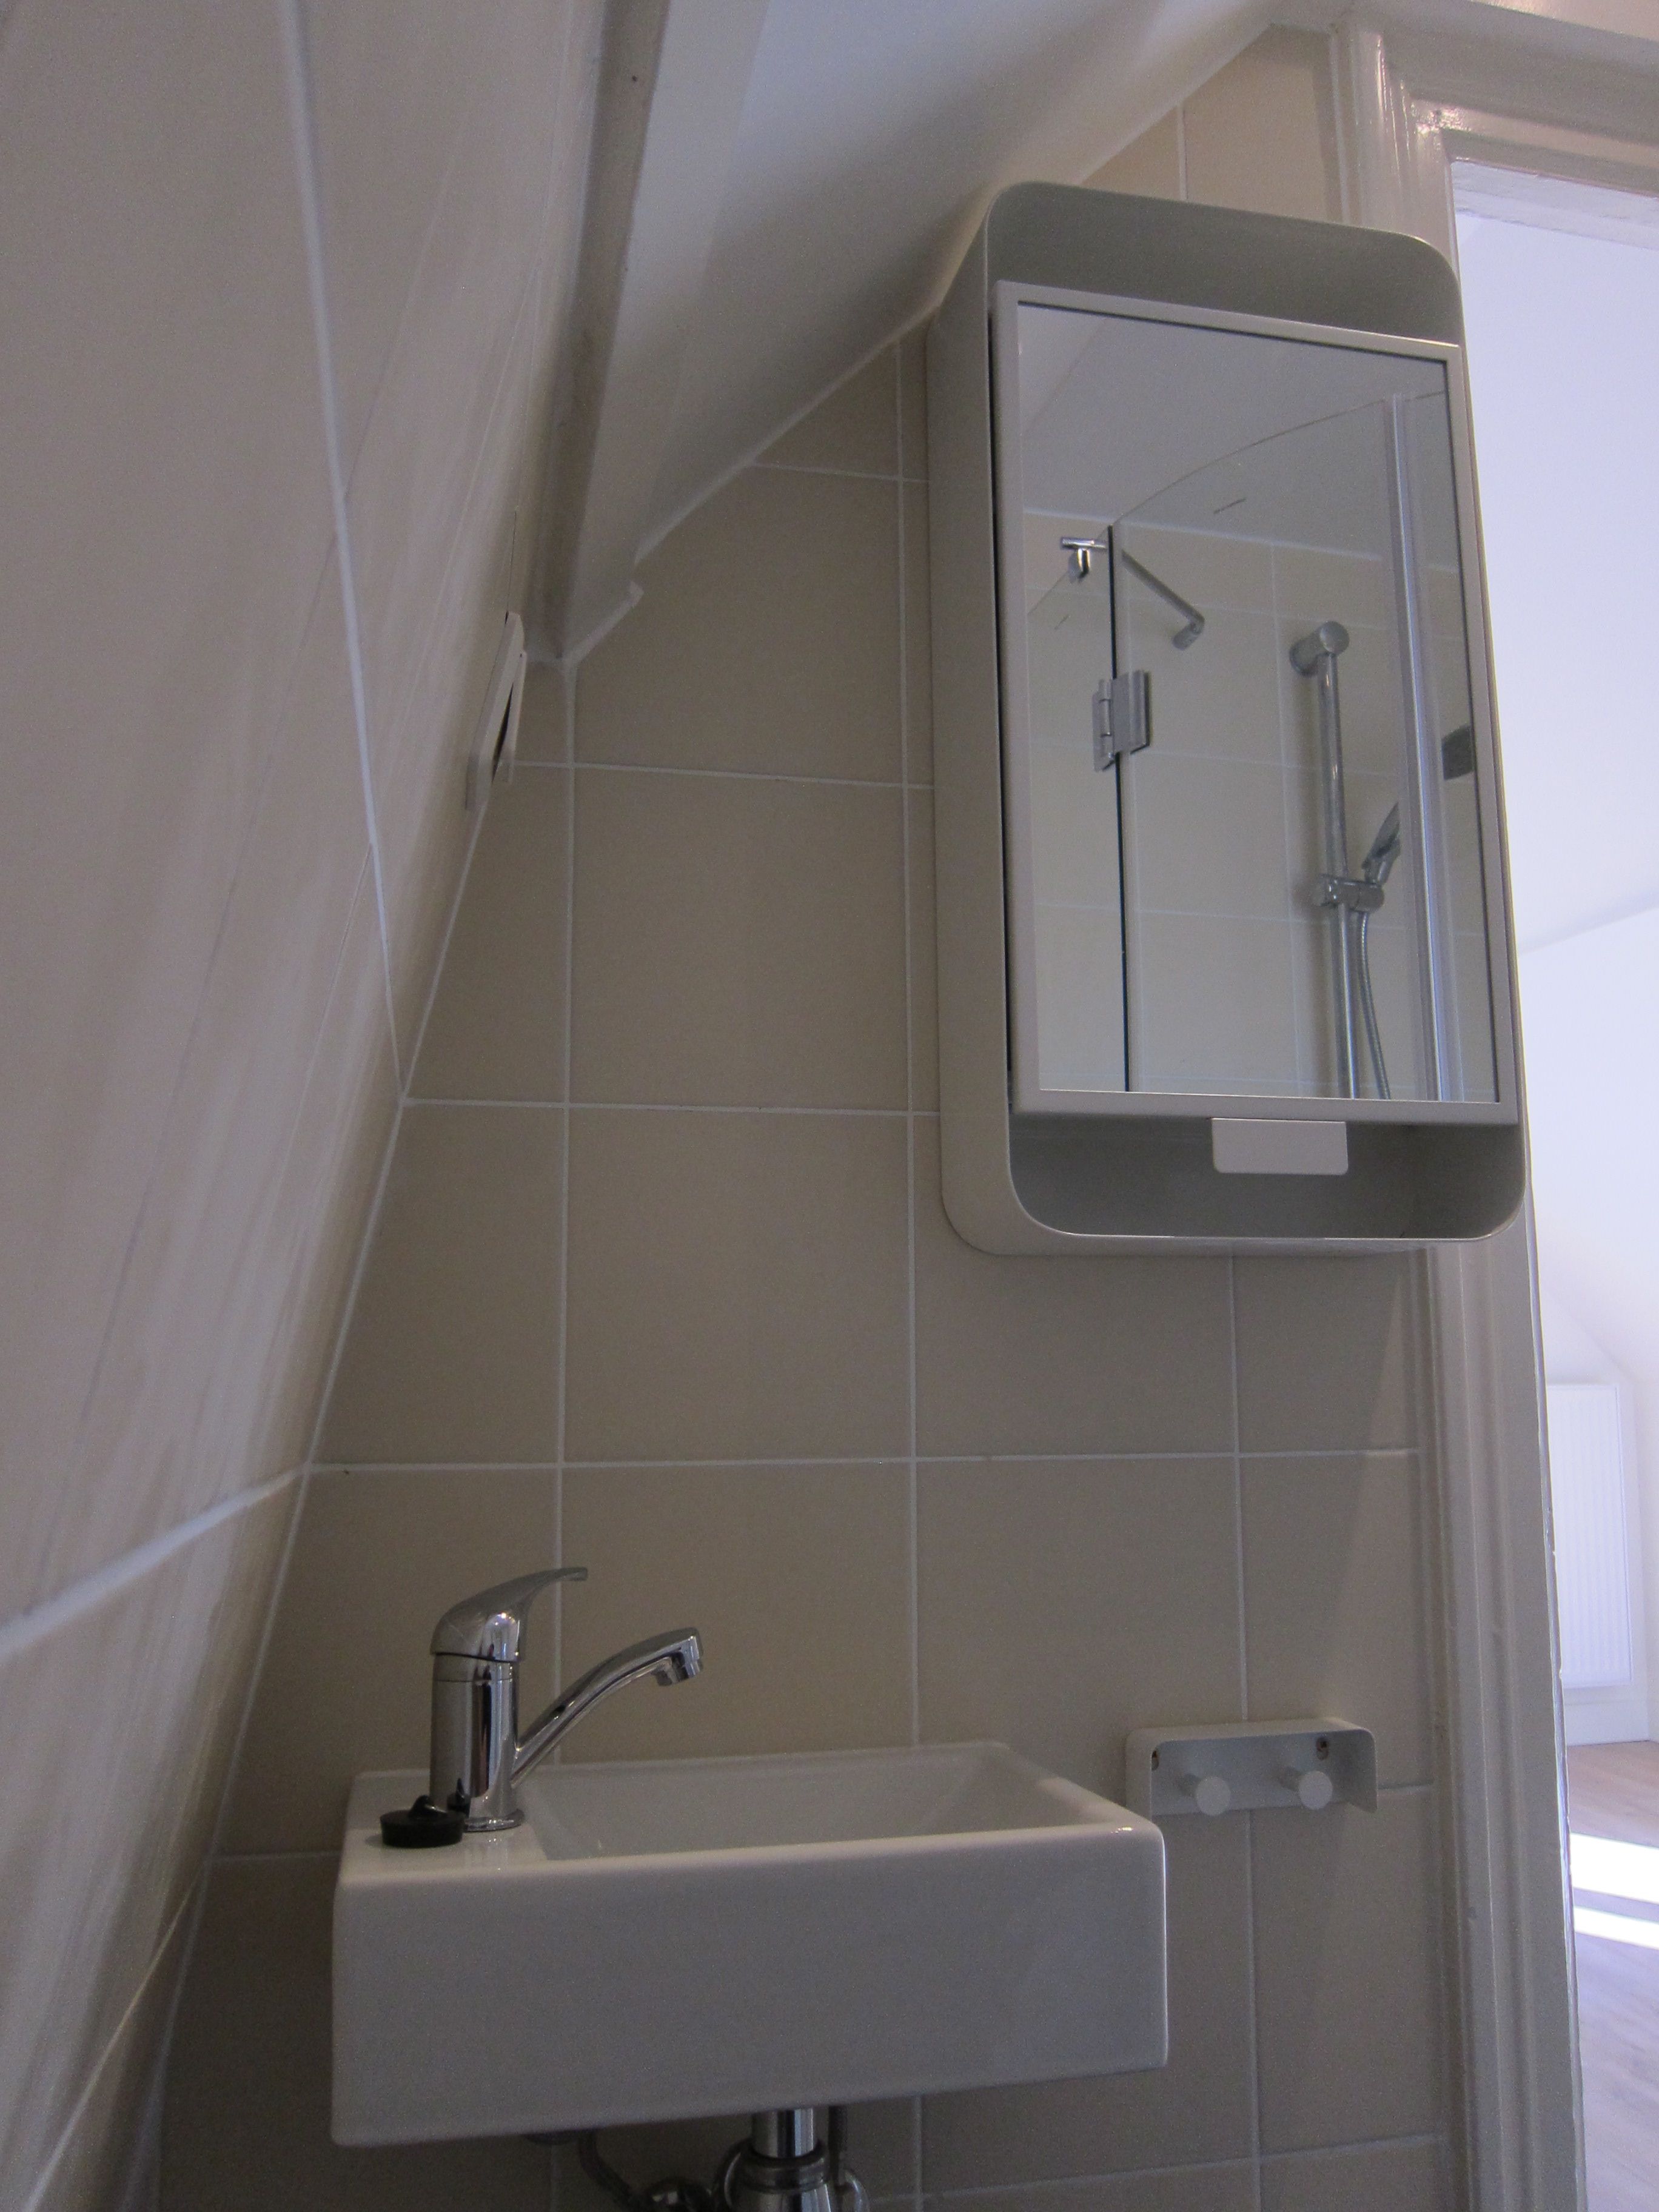
Then of course, the bathroom! Tiling was an interesting job. It was so cold out, my hands would hurt a lot while cutting the tiles. But my husband and I were the perfect pair for the job, and we got it done real quickly!

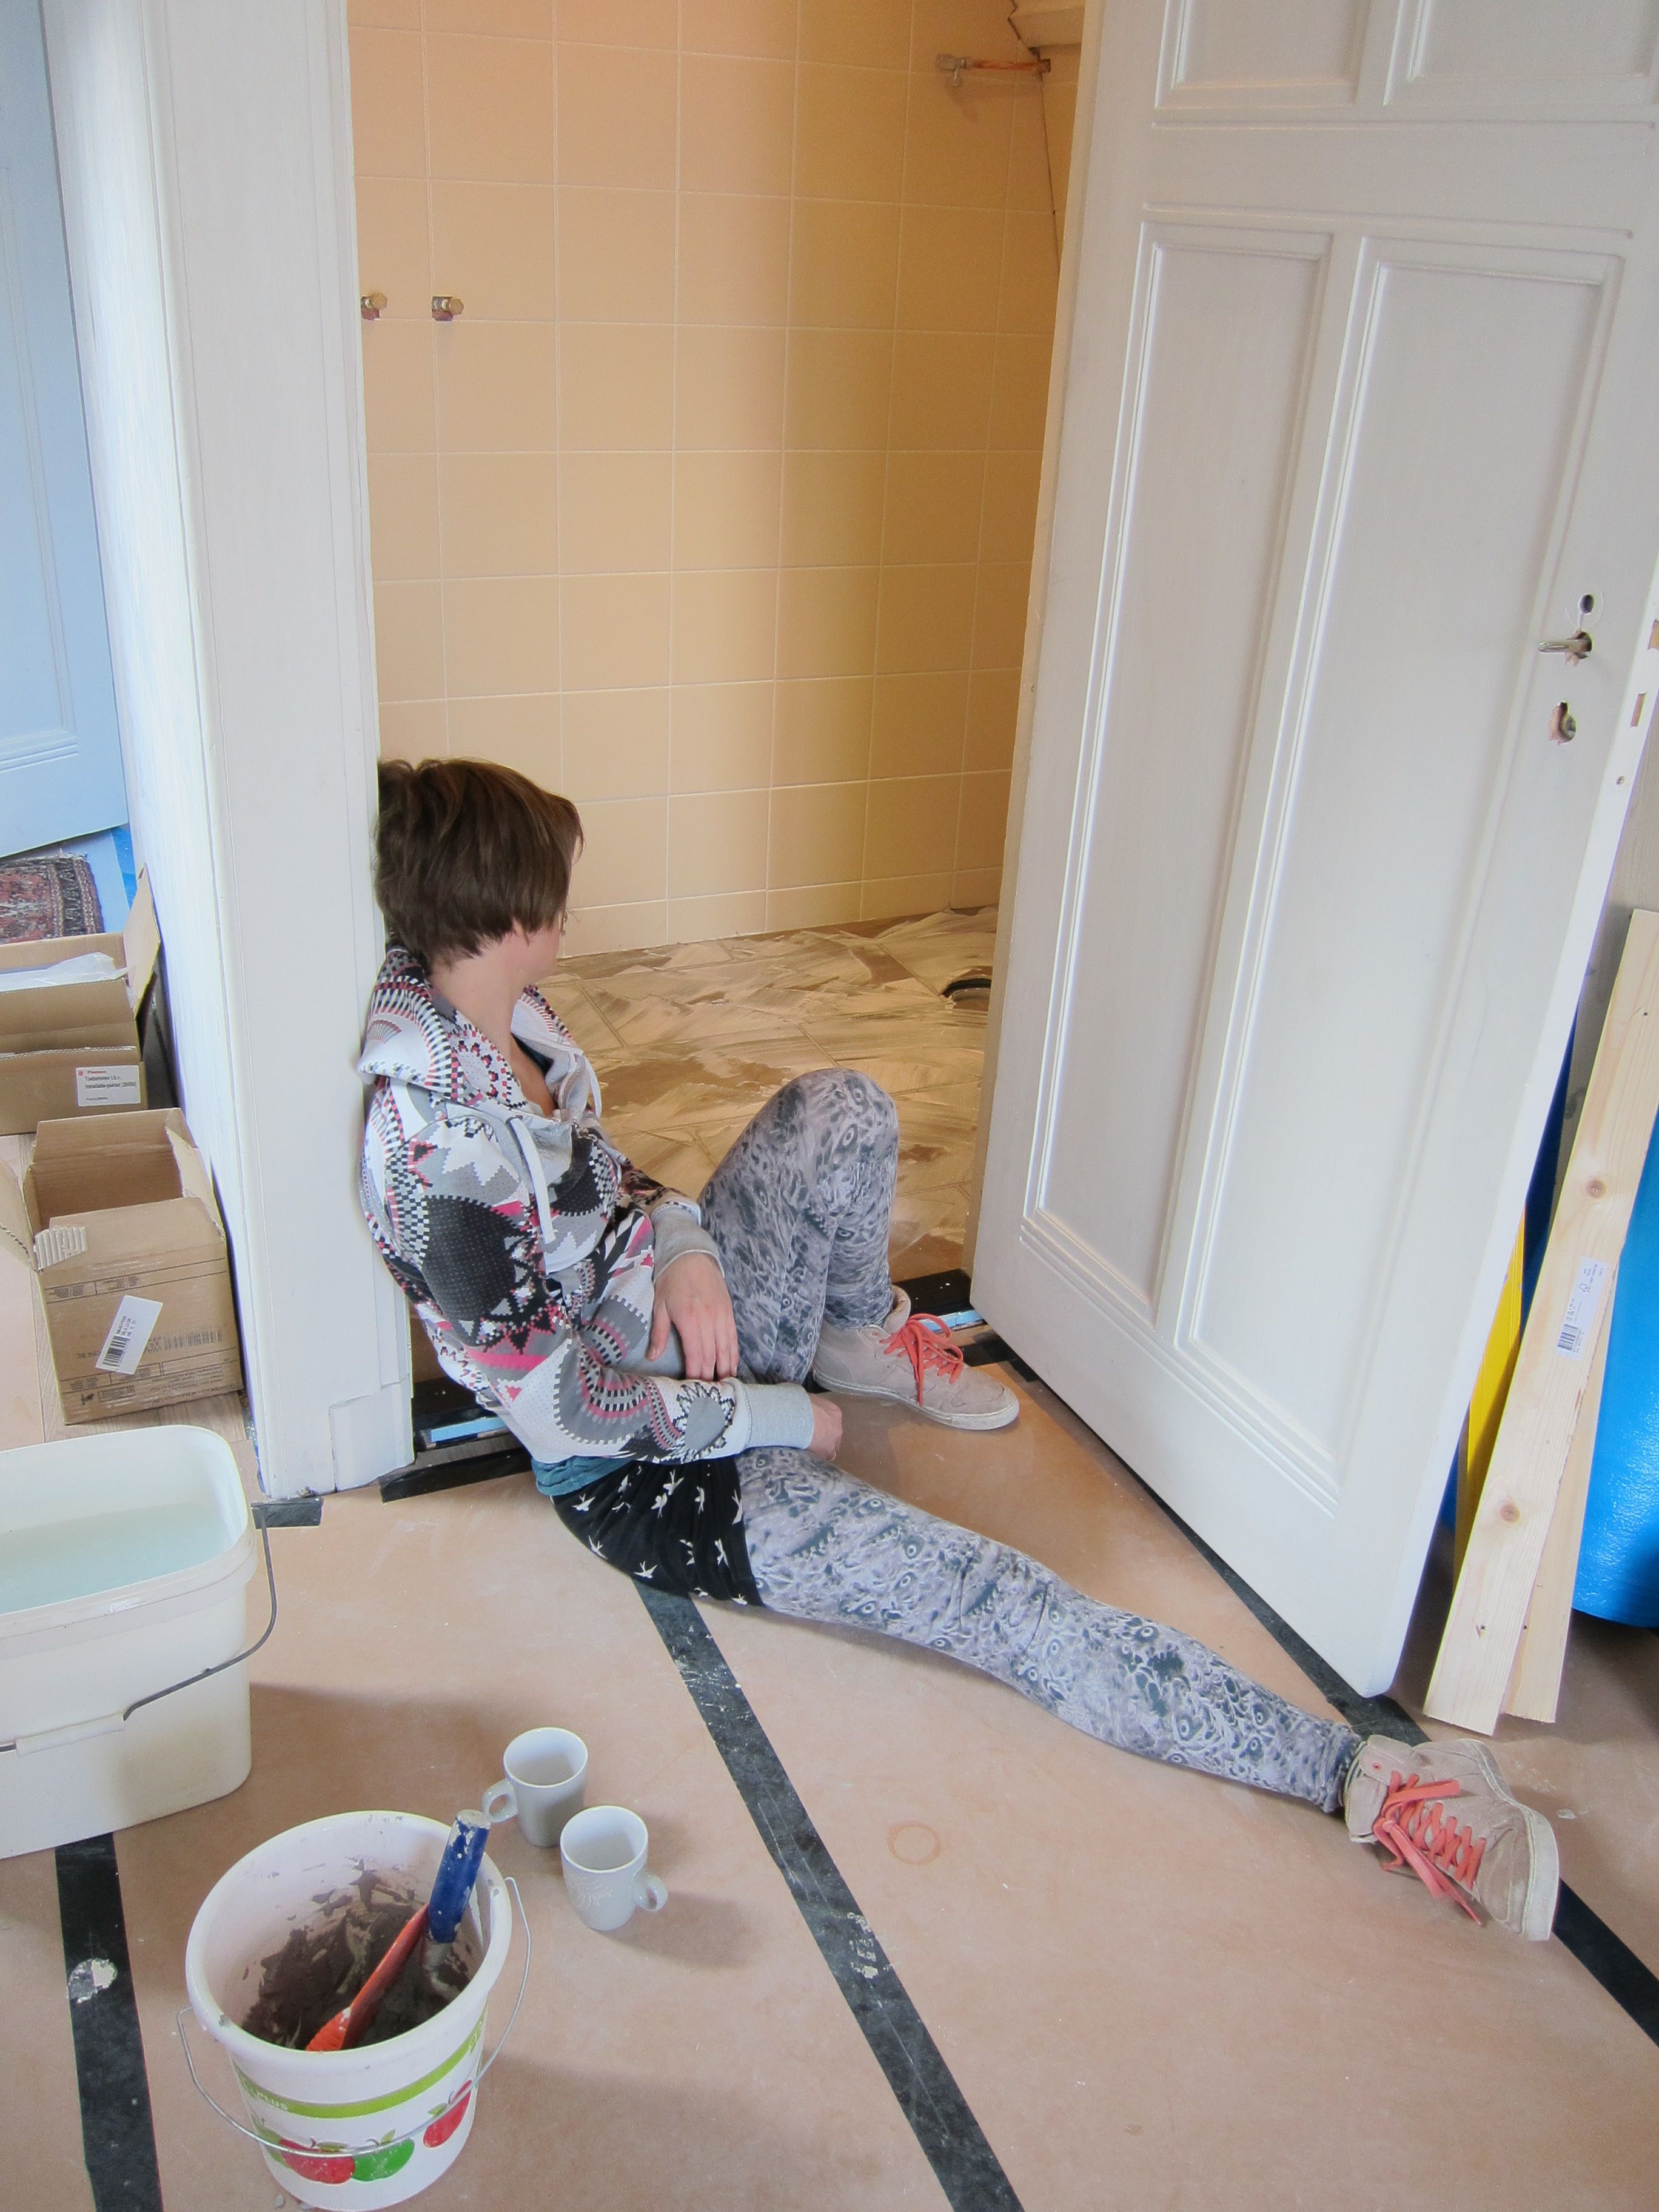
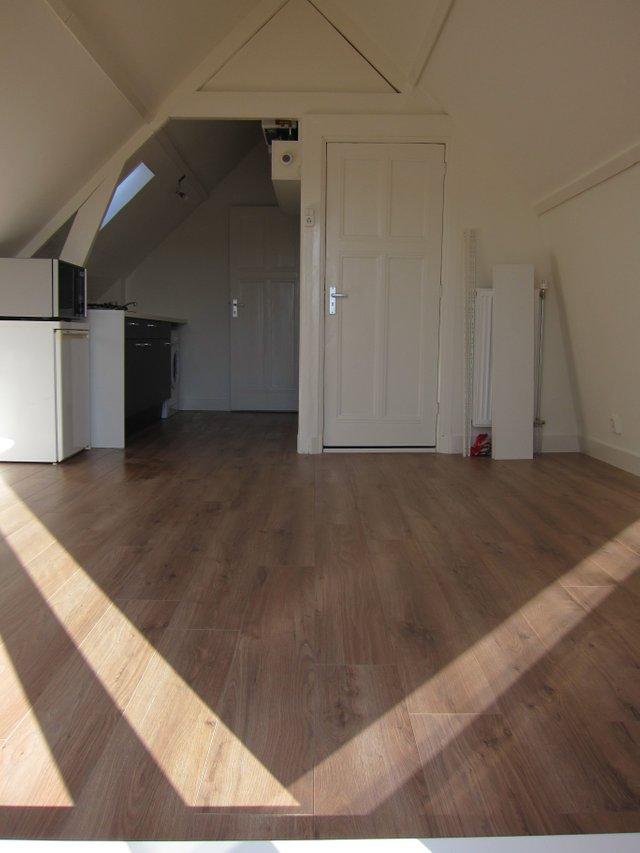
Finishing up
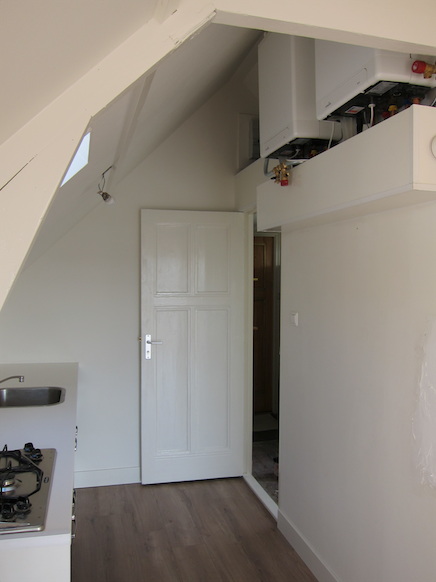
Then came the time when things were wrapping up, and we were working ever so hard to meet our deadline. I guess that is why we don't really have any pictures except the ones from after we were done ;). The bathroom equipment was installed, we painted the place. Grinding and painting all the woodwork was a whole project in itself. But working on the final details was a lot of fun.
You spotted anything unusual about the picture above? On the final day before our first tenant would arrive, we wanted to put up a nice shelve closet on the wall below the boilers. So my husband was drilling holes at high speed, still a few more last minute things to do. And he drilled right into... one of the central heating pipes, full of water under pressure. So oh my. Did we panic. So much water everywhere. And to fix the pipe, we had to break out a whole segment of that freshly plastered wall. It was a very sad, but I guess something that happens to everyone building homes at least once in their life.
My husband filled the whole, had to let it dry, then had to go back when the tenant was actually already living there to polish the area, had to paint it again, and only after that was dry proceeded to put up the shelves system :/.

Tenants
Our first tenant moved in on the 1st of March, 2016. And stayed for one and a half years. We had coffees and dinners together, she was more friend than tenant. You know what? She actually used to live in the other half of the fourth floor, the studio which belongs to our second floor apartment neighbour (remember the whole 'Rotterdamse splitsing' thing). While we were building our studio, she thought it would be a great improvement for her to switch places! Haha, lol, so we kind of robbed our neighbour of his tenant. But since he's out and traveling Australia for years now, I don't think he ever noticed. And our first tenant went back home to Moldavia after finishing her studies.
We have a new tenant now, a very kind girl too. We do try to purposely keep the relationship a little more professional now though. Just makes it a little more easy when it comes to landlord and tenant responsibilities. Of course, finding the right kind of tenants and how to set up the contracts and how to do it in a tax savvy way... All that required some figuring out of its own. But to be honest, having a tenant is really not that hard, once the home is in place. At least, here in Rotterdam the situation is such that there are always a zillion people looking for a place to stay, and we really got to pick our tenant from hundreds of people, giving us the privilege to find the most responsible person we could find :). Of course, a tenant who doesn't pay their rent or who neglects or even destroys the place can really be a nightmare...
Up next
Oh my I promised in my first post of this sequence (Part 1) that I'd also tell about how, in the middle of this whole process, I applied for a job and went to my job interview while we weren't having running water for exactly those few days... But this post is already so long! Maybe I'll fit it in with the next post, about building the third floor apartment and showing you where we actually live these days :).
Thank you all so much for your supporting the first part of this series!! Hope you enjoyed this second part too, and that you will be there for the third!
Wow!!! This is amazing design of a building. This is very too expensive I think @amritadeva! You a very nice architect design brother!! I'm excited see the fully furnished. Thank you for sharing!
Thanks!! Actually, we had a tight budget and we managed to keep it less expensive by smart shopping and even getting some things second hand, like the kitchen and refrigerator. I won't share pictures of the studio as furnished and decorated, for sake of our tenants privacy ;). But will show pictures of our place in next post!
I am very excited to see that post @amritadeva soon.. I follow you sir!
Lol, that really sucks about the pipe bursting from the drill. However, the final result looks awesome. I wouldn't mind living there! Seeing a place that was old, moldy and rustic turned into a beautiful, modern living space is very satisfying to me haha. You all worked so hard. Congratulations
True, that pipe thing was the worst! Haha. And thanks so much! And yes, for me the same - it was hard work, but seeing how it was how we started and how it is now, and even experiencing how nice it is it love here... Very satisfying indeed!! :)
Wow, that looks like a ton of work. I am interested to see how it all turns out! Glad you are able to have tenants to help pay the bills.
You are right about if you do everything from scratch you get to decide it all. Aimee and I were able to do that with the tiny house. Now that we have twins and we are running out of space we are planning a larger new home on the land we purchased so we will get to decide all over again!
It was a ton of work :). But it was our first building project, and we managed to stay within our planned schedule and budget, and got a great end result, so we were very happy and a little proud of ourselves at the end too :).
I love tiny houses!! But well with a twin I can imagine some extra space is required. Real happy to be following you here on Steemit and looking forward to your sharing of the process!! Good luck!
Thanks, glad you could stay within your budget and time frame. Those things have a tendency to go up more then expected. You must have done some good planning.
Congratulations, you were selected for a random upvote! Follow @resteemy and upvote this post to increase your chance of being upvoted again!
Read more about @resteemy here.
Cool, thanks!
Congratulations! This post has been upvoted from the communal account, @minnowsupport, by amritadeva from the Minnow Support Project. It's a witness project run by aggroed, ausbitbank, teamsteem, theprophet0, someguy123, neoxian, followbtcnews, and netuoso. The goal is to help Steemit grow by supporting Minnows. Please find us at the Peace, Abundance, and Liberty Network (PALnet) Discord Channel. It's a completely public and open space to all members of the Steemit community who voluntarily choose to be there.
If you would like to delegate to the Minnow Support Project you can do so by clicking on the following links: 50SP, 100SP, 250SP, 500SP, 1000SP, 5000SP.
Be sure to leave at least 50SP undelegated on your account.
Congratulations @amritadeva! You have completed some achievement on Steemit and have been rewarded with new badge(s) :
Click on any badge to view your own Board of Honor on SteemitBoard.
For more information about SteemitBoard, click here
If you no longer want to receive notifications, reply to this comment with the word
STOP