Rebuilding a Garden Bed
Hello, steemians!
For this post, I'd like to tell you about how I rebuilt one of my garden beds. I grew potatoes in this bed last year, and I had a problem with too much shade in one part of the garden because it was too close to one of the apple trees. Because of that shade problem, I decided to change the shape of the garden bed. I made the bed a bit smaller, but the shaded area wasn't doing me much good for gardening anyway.
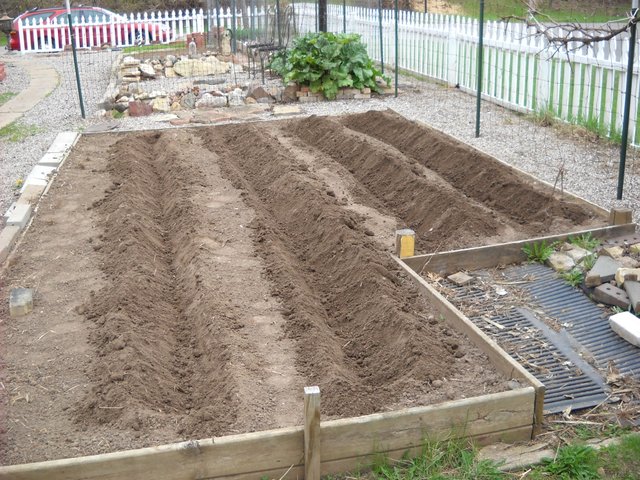
This is a picture from last May when I was planting the potatoes. The inset in the garden bed in the lower right of the picture was there so I wouldn't dig up any of the close apple tree roots. The tree is just out of the picture. Also, the grape vine on the fence makes a lot of shade in the summer, so that edge of the garden had way too much shade for growing anything that needs a lot of sun.
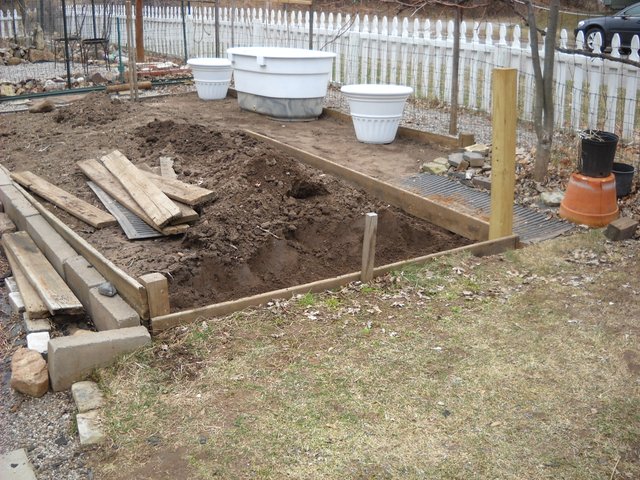
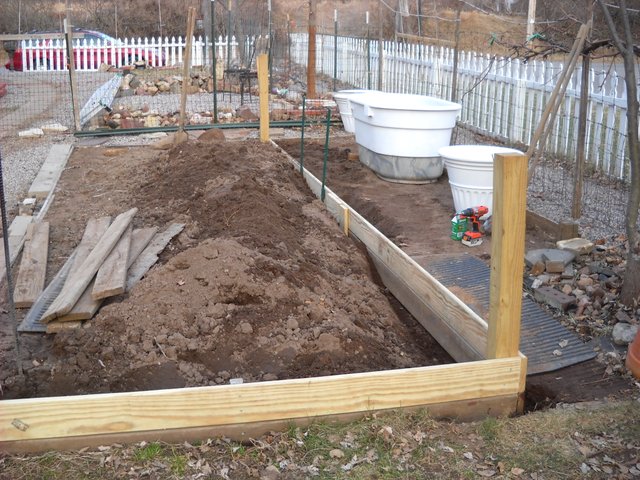
I started the process of rebuilding the garden by taking out that inner corner. I had to dig out the dirt against the boards along the end of the garden bed so that I could move the boards to change the end of the bed.
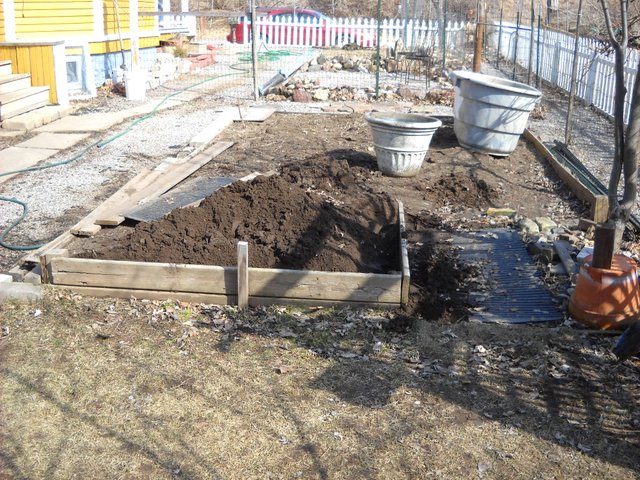
I found a long deck board to use to decide where the new south edge of the garden bed would be.

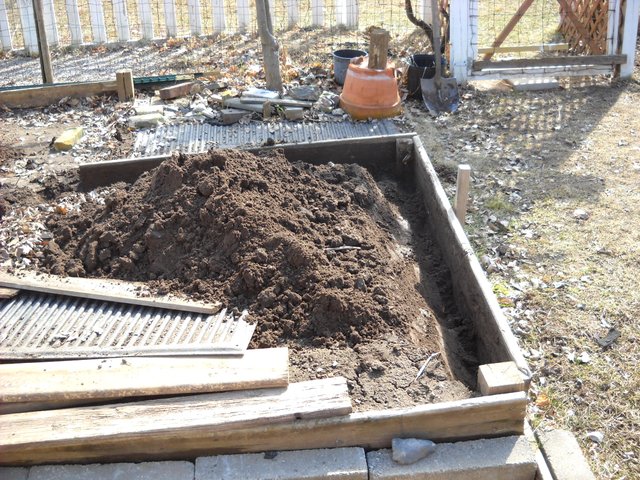
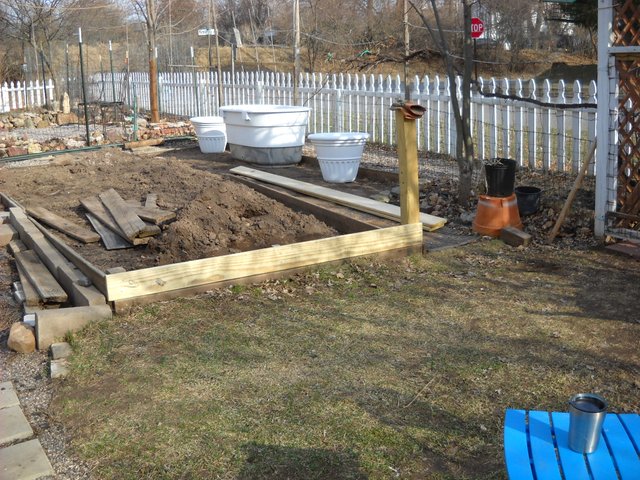
Because the lower end board was long enough,I decided to make the end of the bed a little bit wider, so I had to set a new corner post for the bed.
I used a treated 4X4 that I had left over from a different project.
Once I had the new corner post in, I put a new board across the end of the bed. The reason that I have this end built up is to make the bed level. Without the raised end, the garden bed would be on a slope.
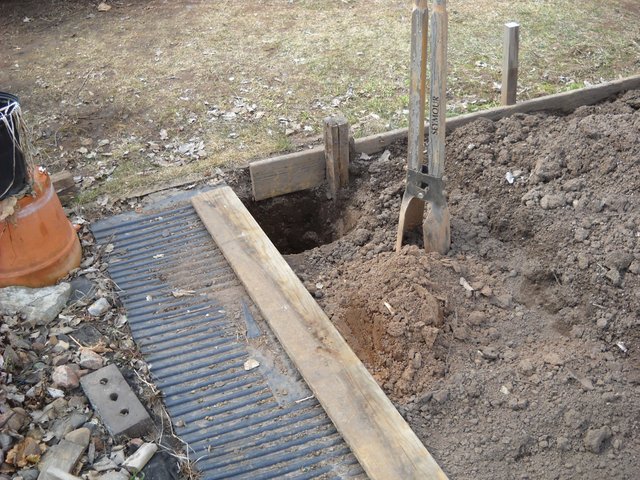
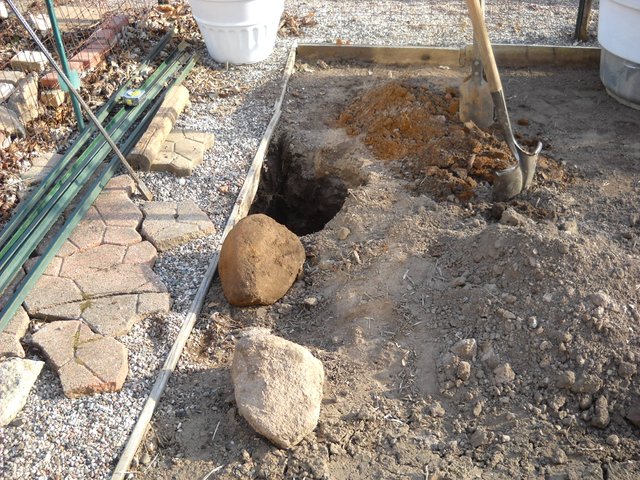
After that, I needed to put a new corner post in at the other end of the bed. Digging this post hole was a bit of a challenge. I had to pull 2 good sized rocks out of the hole to be able to get the hole deep enough where I wanted the hole to be located.
After that, putting the post in was pretty easy.
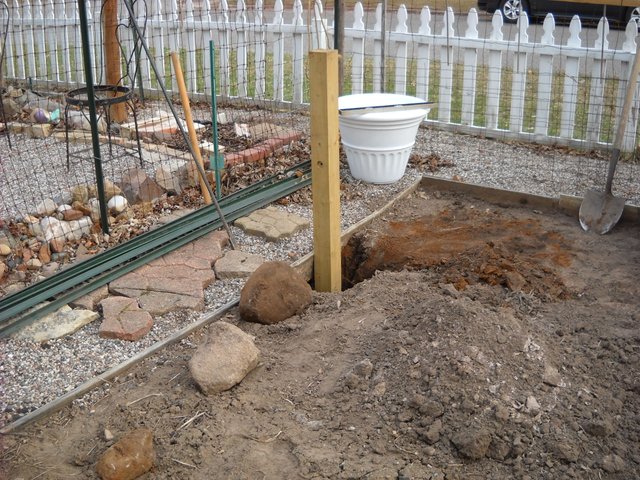
I had previously bought the boards for the new edge of the garden bed, so I dug the necessary trench and put the boards together for the edge, making sure that the top was more or less level from end to end.
After all that was done, I just had to fill in the edges of the bed.
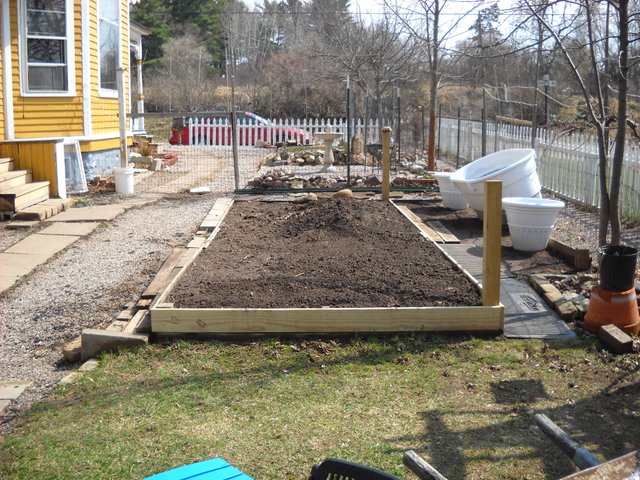
I actually still have too much dirt in the garden bed because of reducing the size of the bed. I'll be using that extra dirt to fill some of my big flower pots that I plant decorative plants in. I'm looking forward to this growing season to see how the bed works this year. We'll be planting it some time in the next week or 2, depending on the weather.
This project took me several days to complete.
That's all I have for this post, thanks for stopping by to check it out!