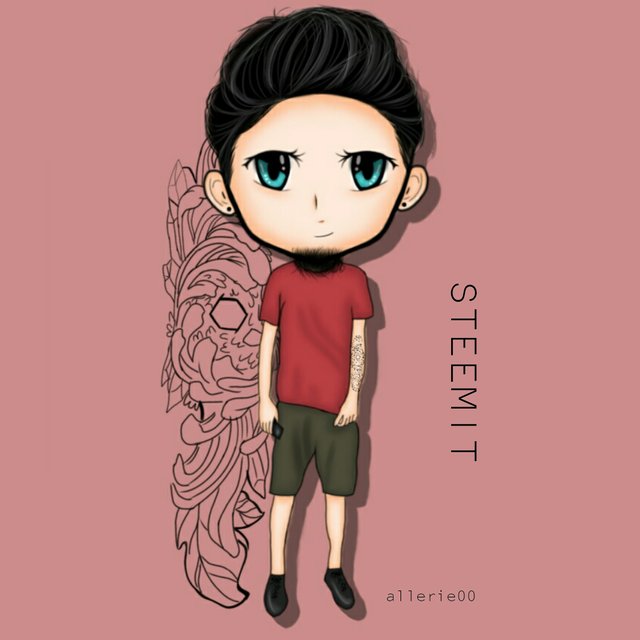
Digital Chibi Art (Teenager Edition haha)
I found an avatar contest hosted by @kennik, my fellow steemitachievers member, and planned to join so I made time for me to make my entry. So this will be my entry post with the process in making this one and a tutorial.
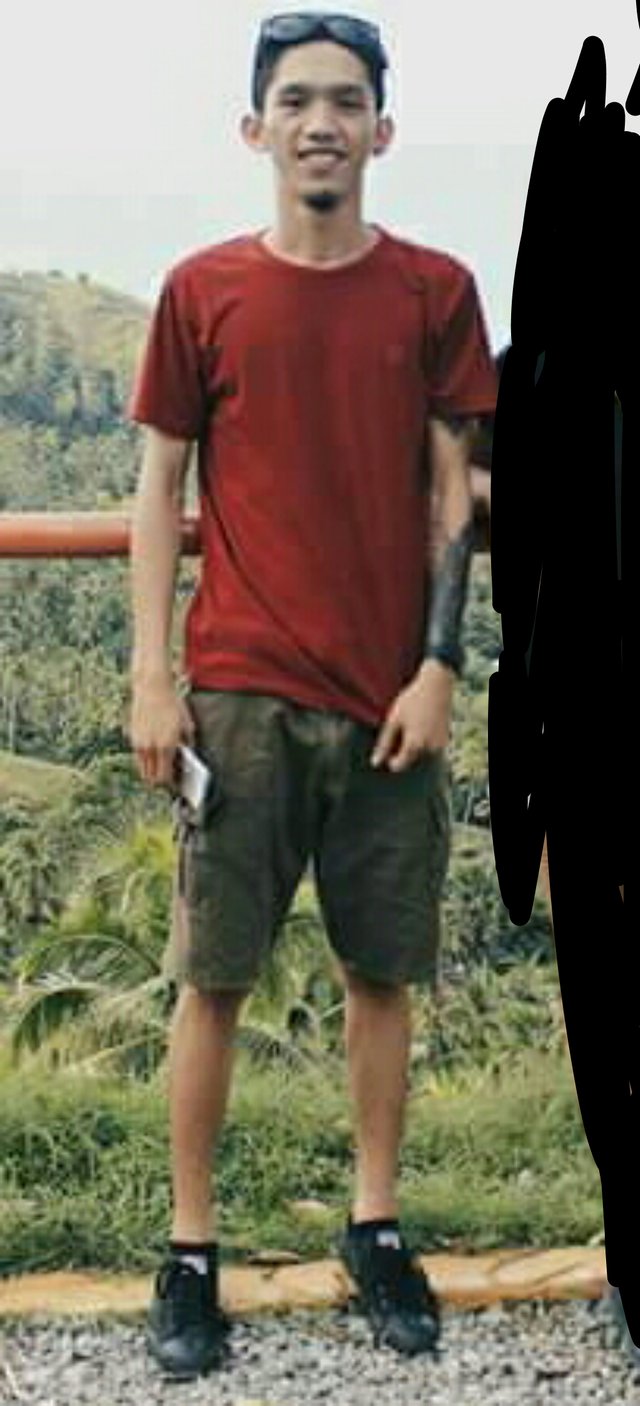
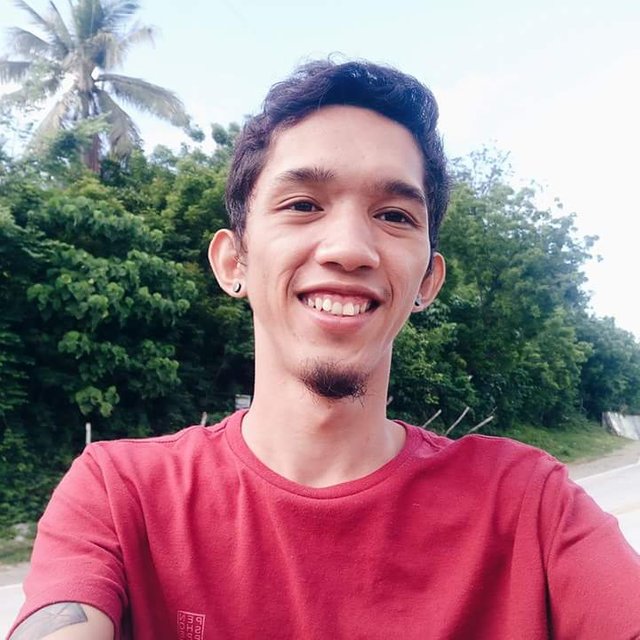
These are my references:
for his body
for his beard and hair
The chibi that I made was a teenager edition because of its body haha!
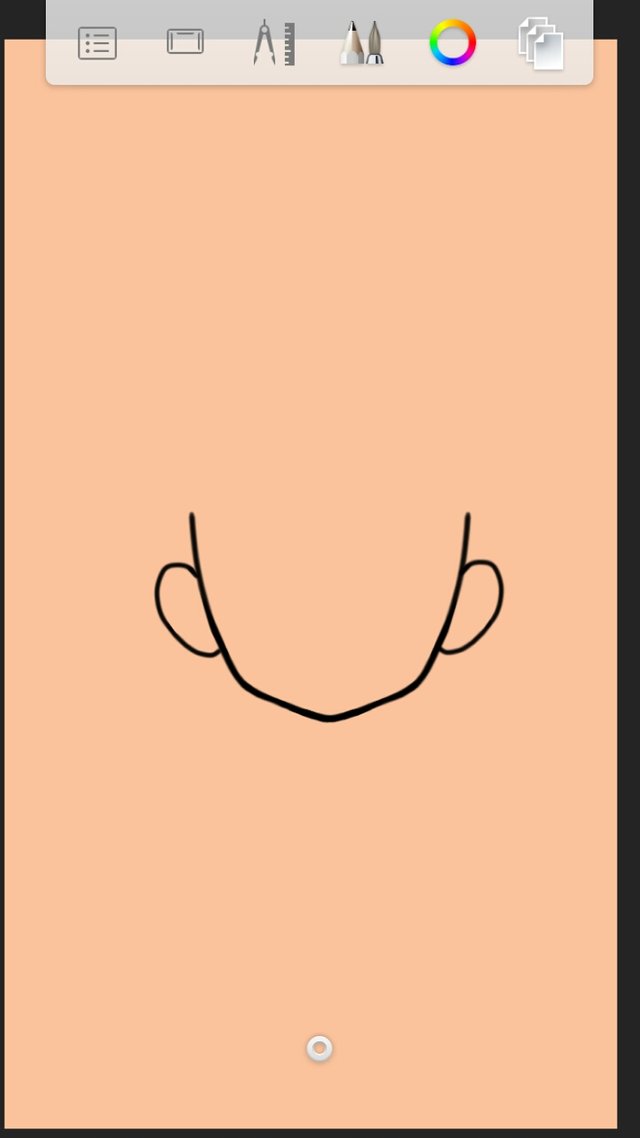
First, I made the outline of the face. The face will depend on the position of the head if you have a face reference but in my case I don't have one since I decided to have it in freestyle.
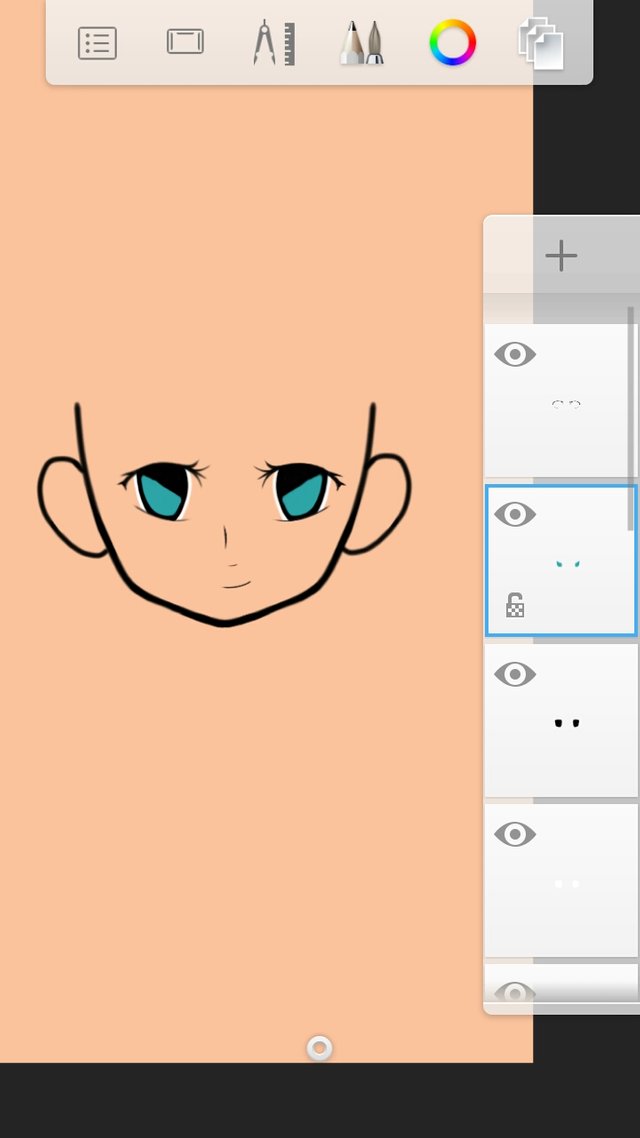
Next, I made the outline of the eyes in freestyle. Since this is a chibi, so I made the eyes bigger. You don't need to follow the real eyes but if you have a face reference, at least make the position of the eyes the same.
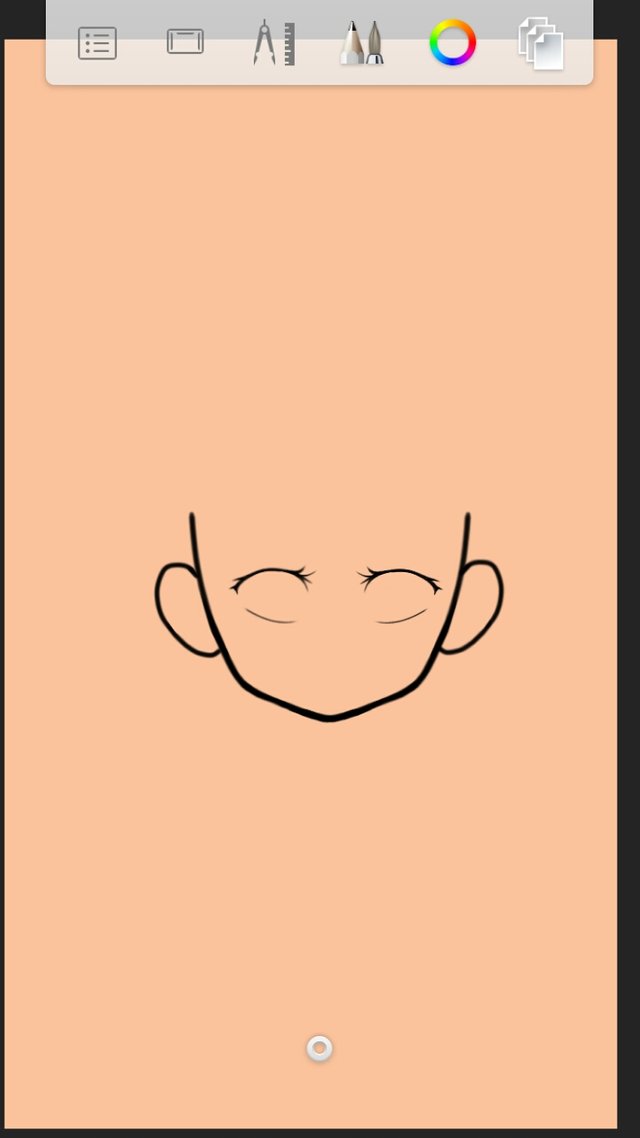
Next will be the nose and lips. So in chibi, you don't need to have the nose and the lips in actual form. In this artwork, I just draw lines as you can see in the picture but you can draw teeth if you wish to.
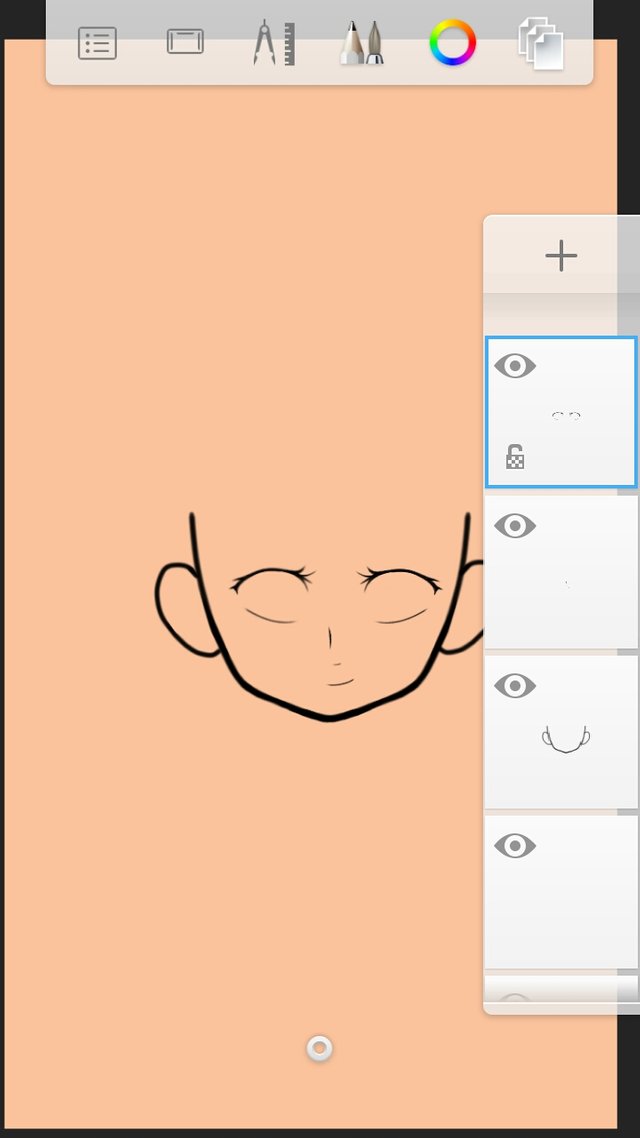
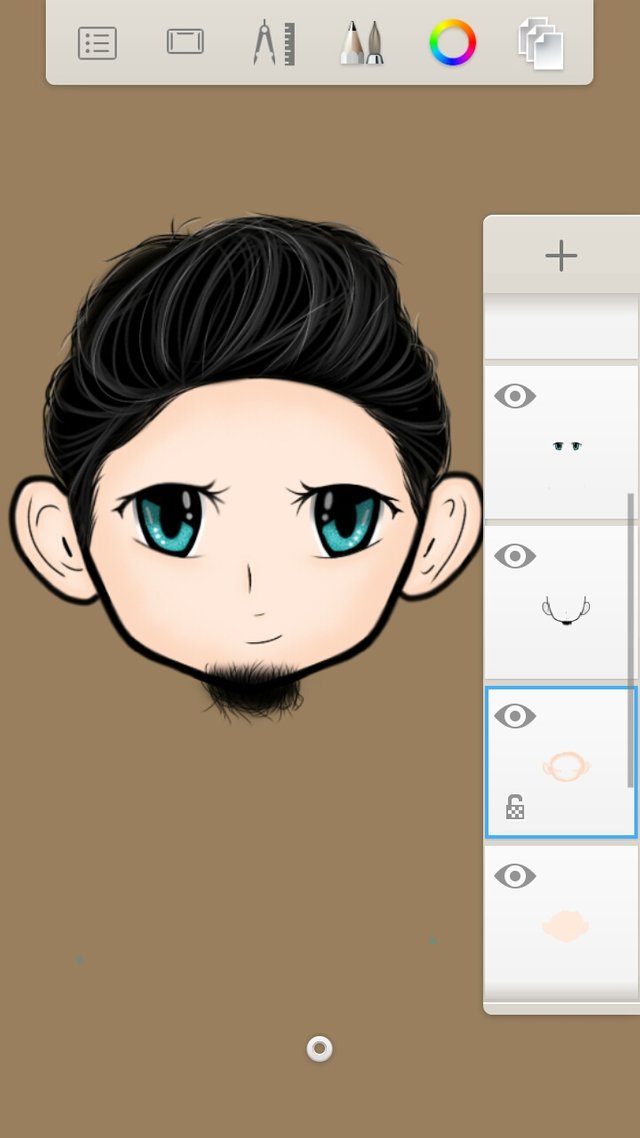
Now let's start making the eyes. Add layer bellow the face outline. (click the + sign to add layer)
Draw two white circles that will serve as the sclera. *(let's add a lil bit of science here haha!) *
(allerie those are not circles hahaha)
Next we will make the iris. Add another layer above the sclera and draw a black circle smaller than the white one
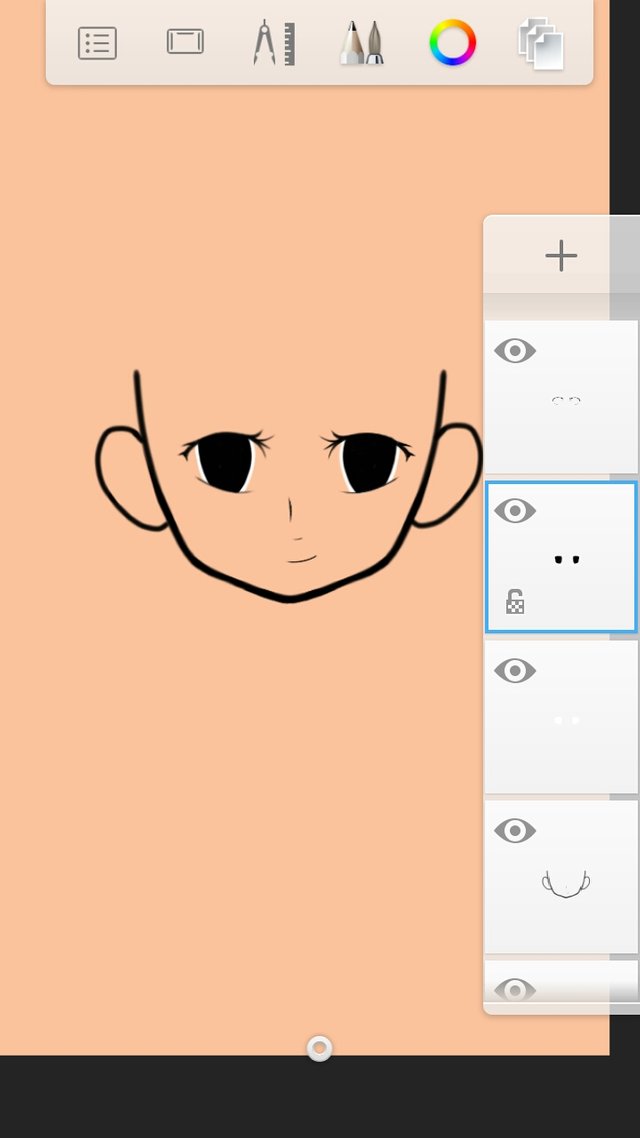
(again allerie those are not circles! You need to study shapes now! Haha)
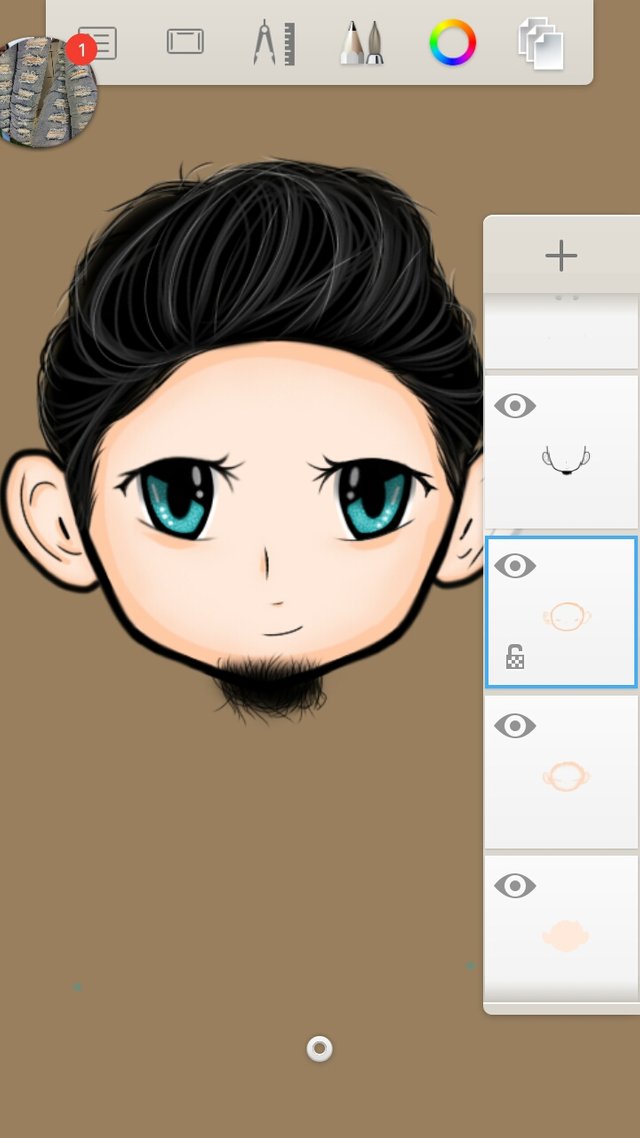
To add life to the iris, put details to it. Pick a color of your choice then draw something like in the picture below. (must be on another layer above the iris)
Add layer above then draw something oval for the pupil
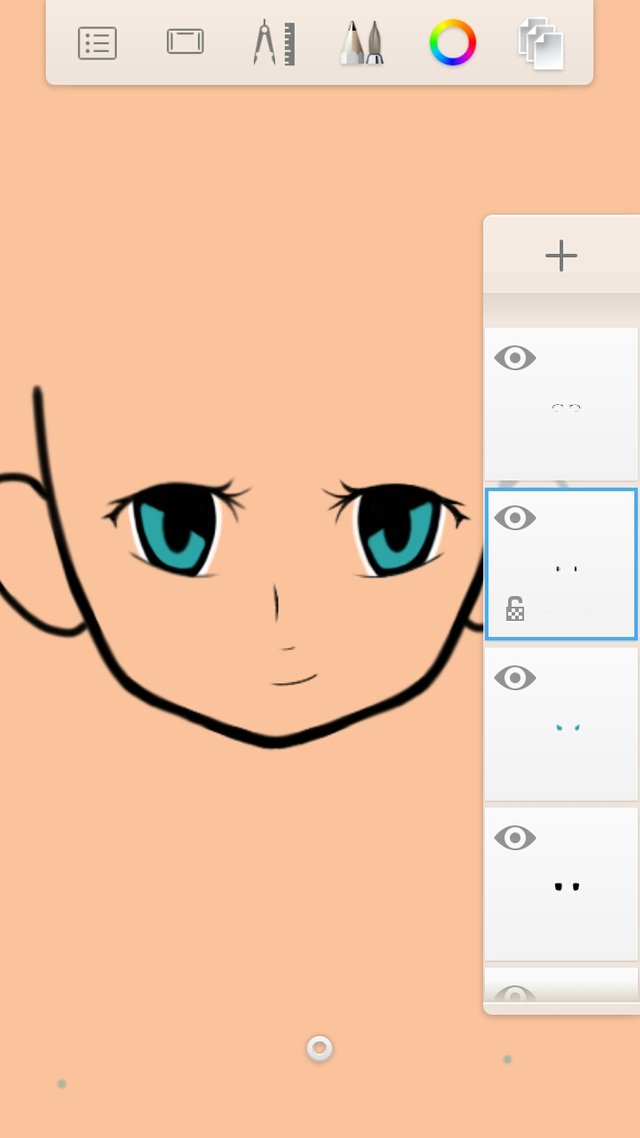
Add layer above. Let's add a design to the iris to make it more alive. Just choose what tool you want to use for the design that you want. Pick a color lighter than the color that you picked for the iris.
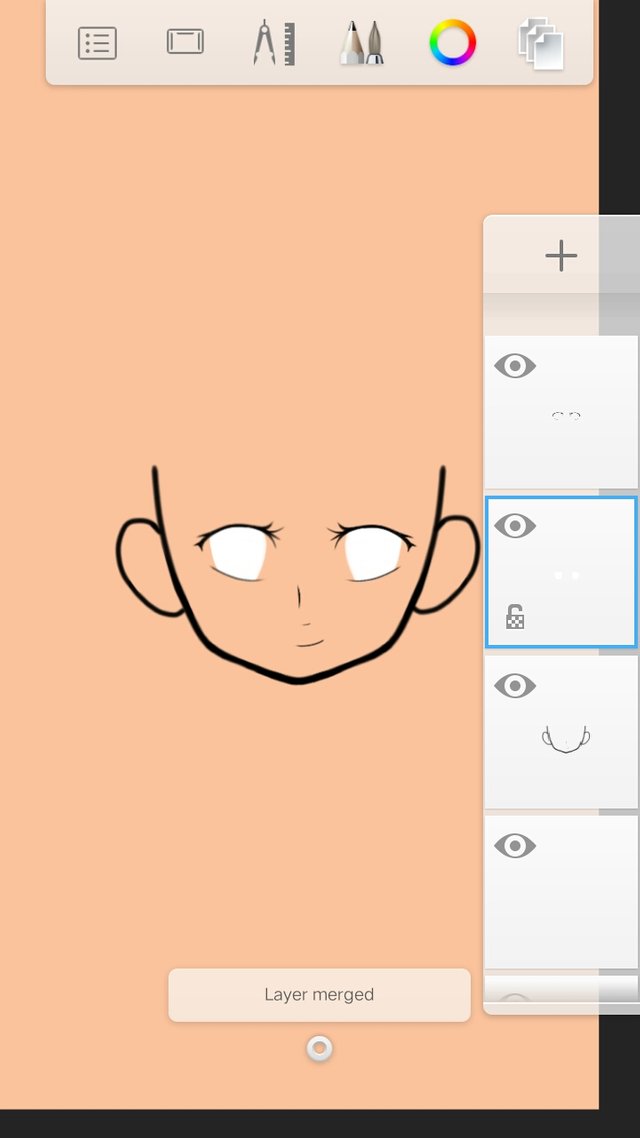
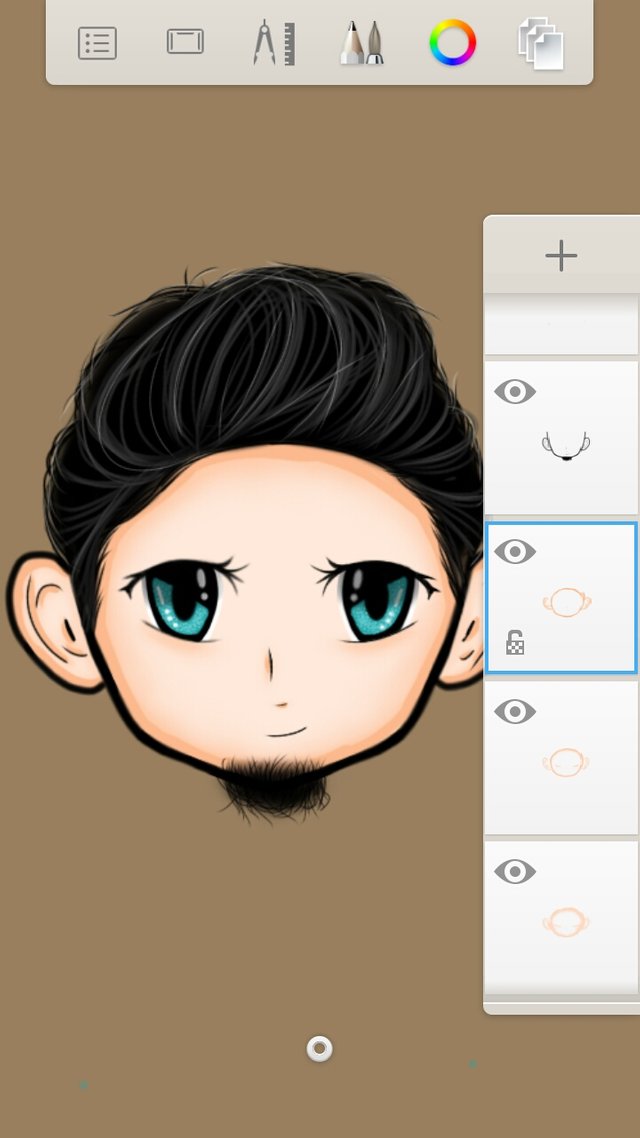
Let's make the eyes more lively! Add another layer then draw white circles and oblongs just like in the picture below.
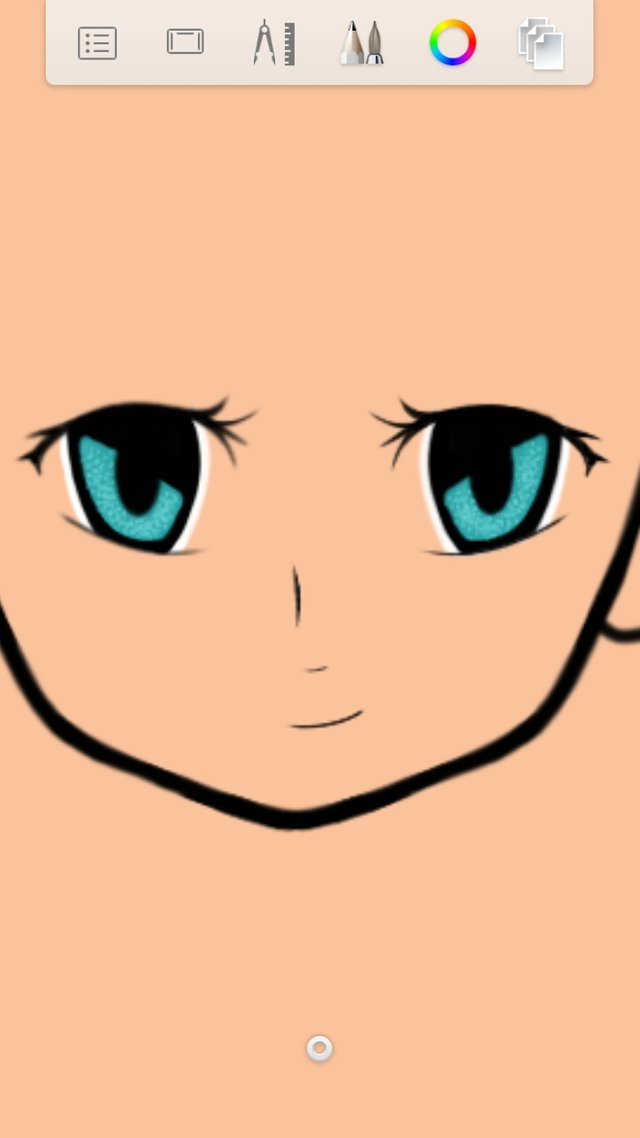
Last step for the eyes. Add layer then set the blending into multiply. Pick a color something dark gray and put at the upper part of the eye.
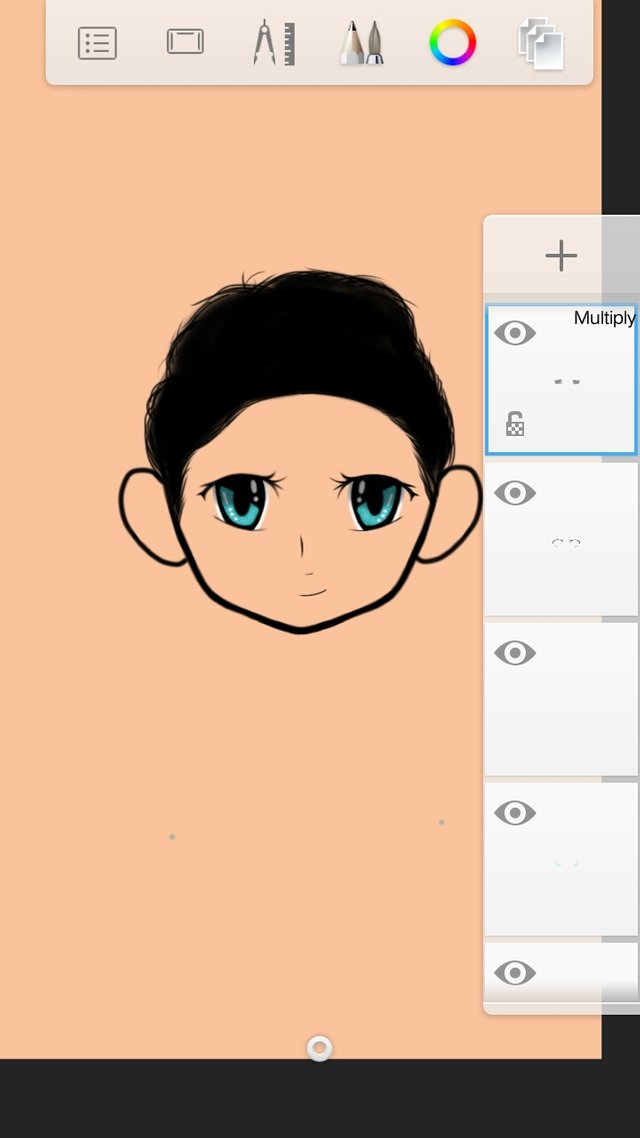
Merge all the layers for the eyes.
Take note: all layers for the parts of the eye except the layer that is set to multiply.
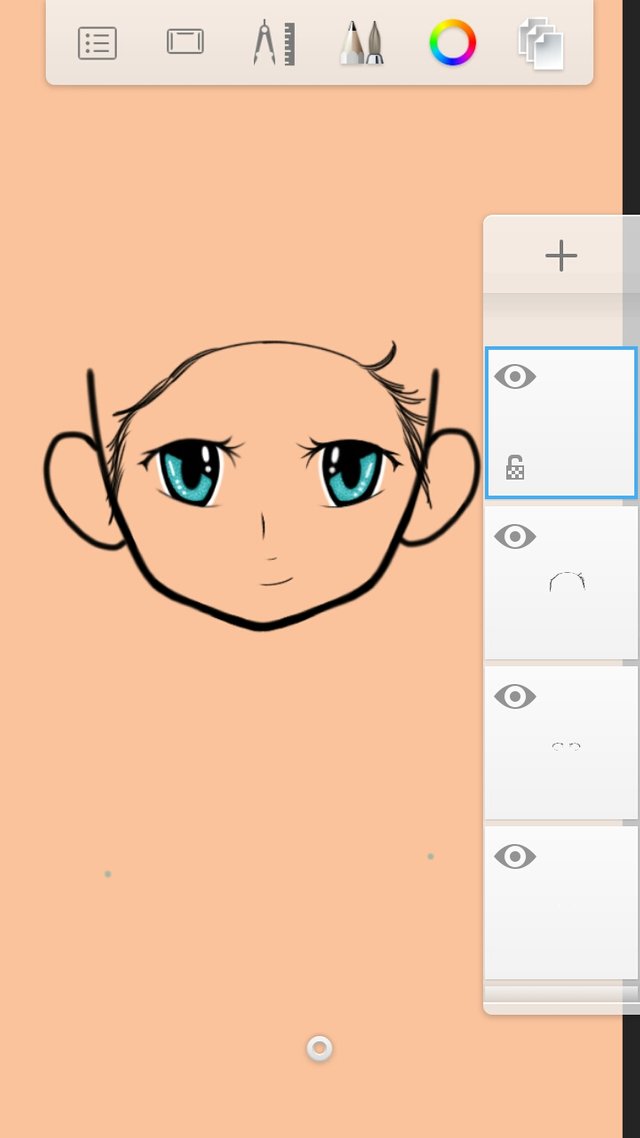
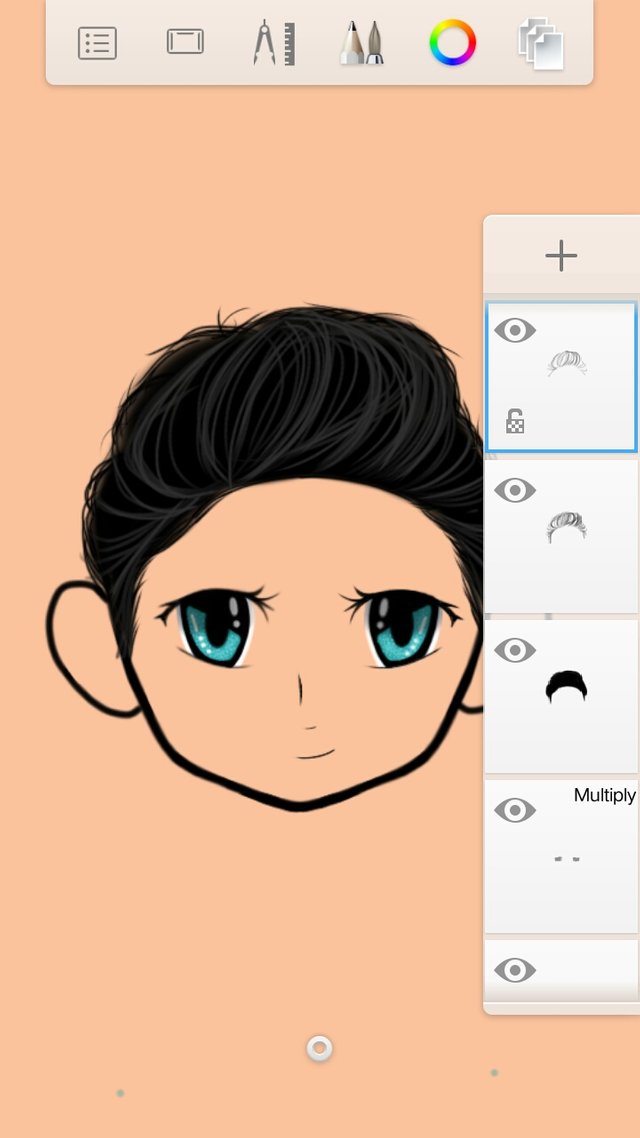
Now let's move on to the hair. In my case, I now have a hair reference so I just followed what the hair looks like (hair styles, and if the hair is curly or straight). Make first an outline using the pencil on a new layer.
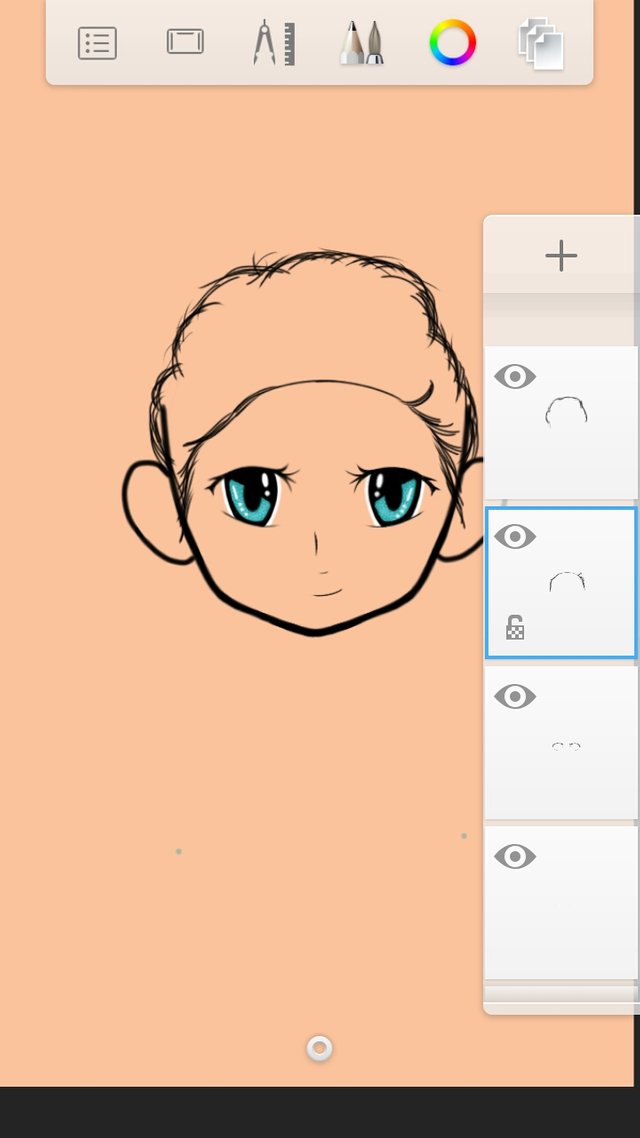
Now fill the hair outline to have it as our base for the hair.
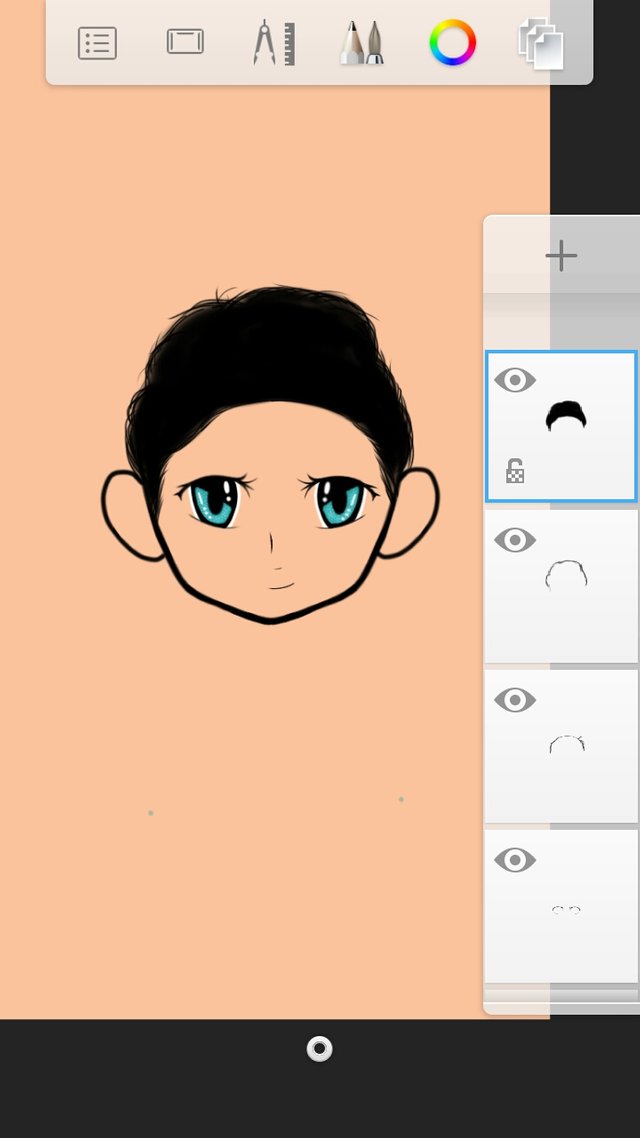
Let us now make the hair strands! Add layer above the base. Pick a color of your choice and use pencil to draw the strands of the hair.
Add another layer above then make the second layer of strands.
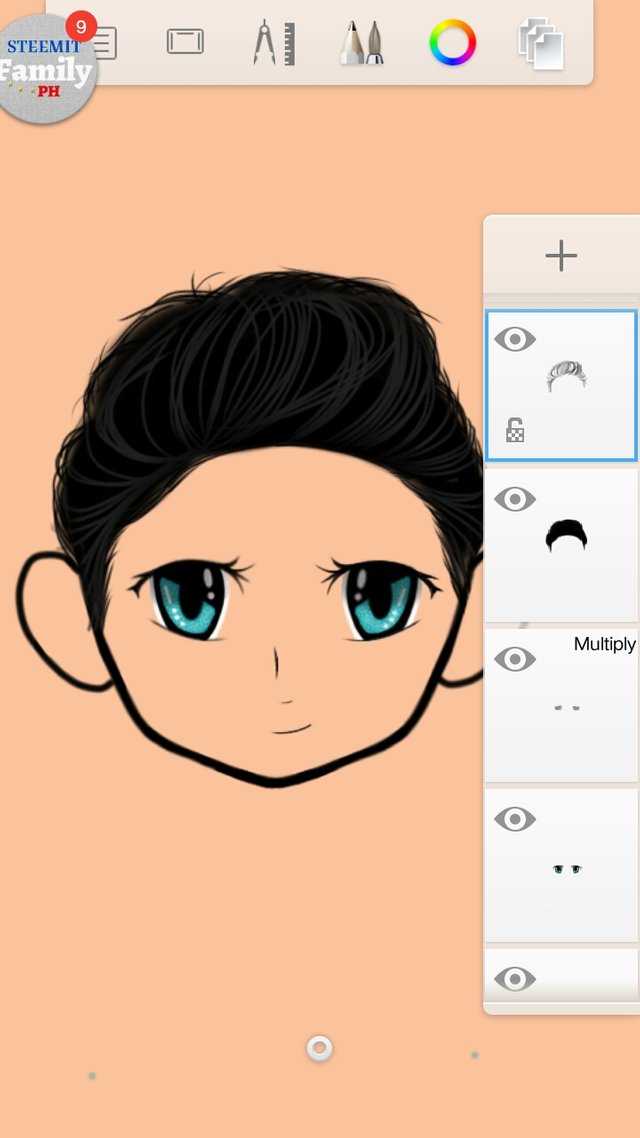
Another layer above for the third layer of strands. This is made to have a lot of layers to make the hair not to look flat.

Lastly, add another layer, set blending to soft glow and make some strands for the highlights.
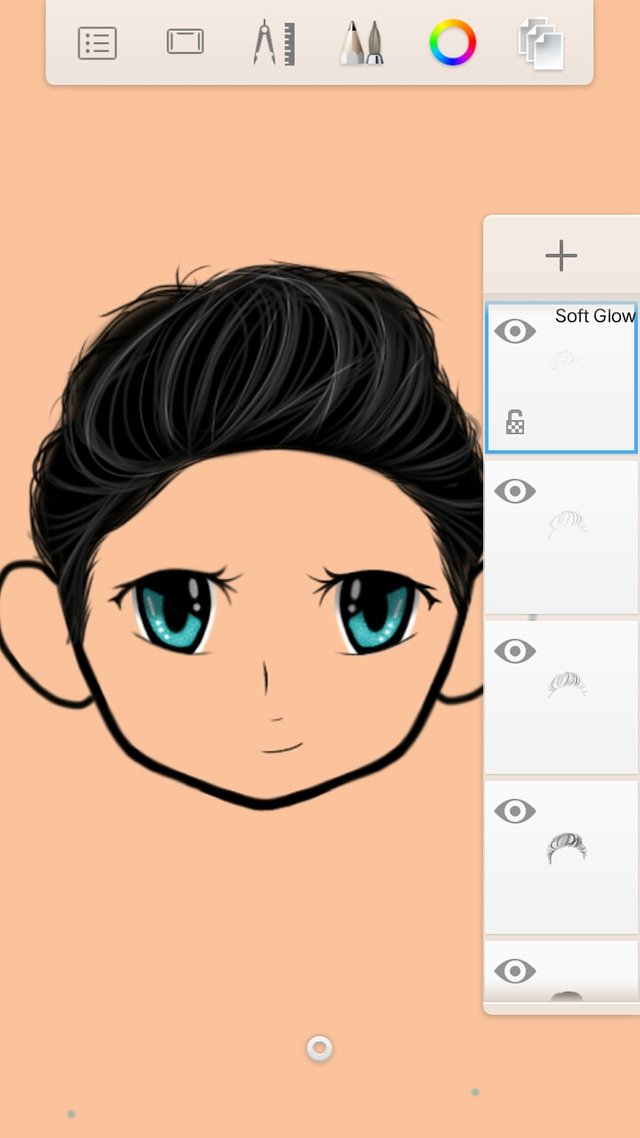
Merge all the layers of the hair except the layer that has a blending set to soft glow
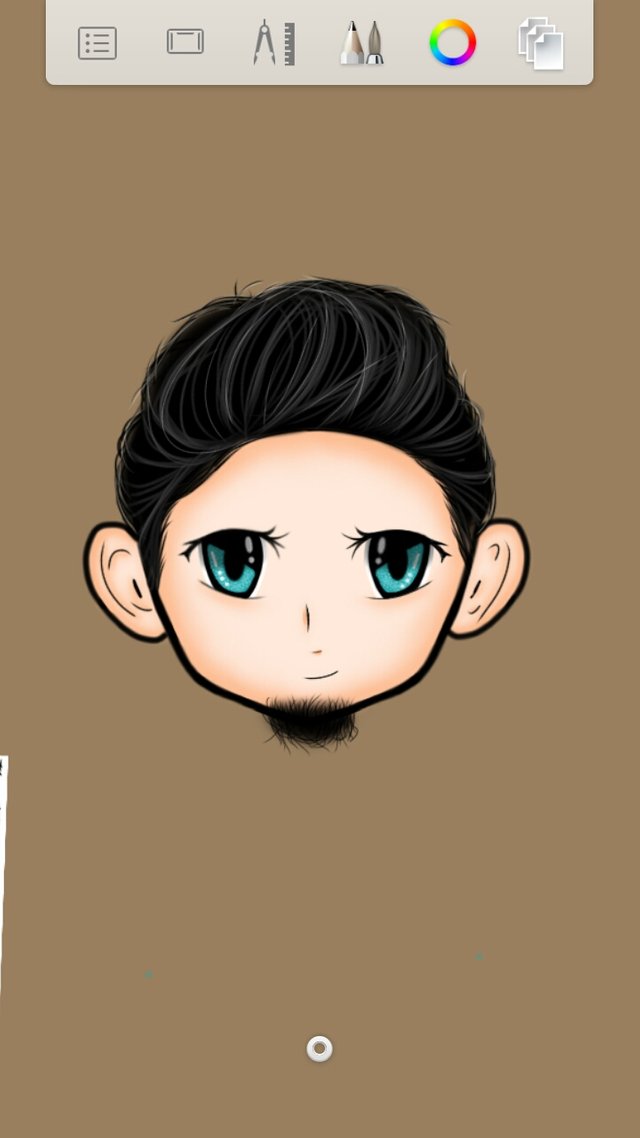
Now since my subject has beard, let's move on to it! Add layer then draw outline for the beard.
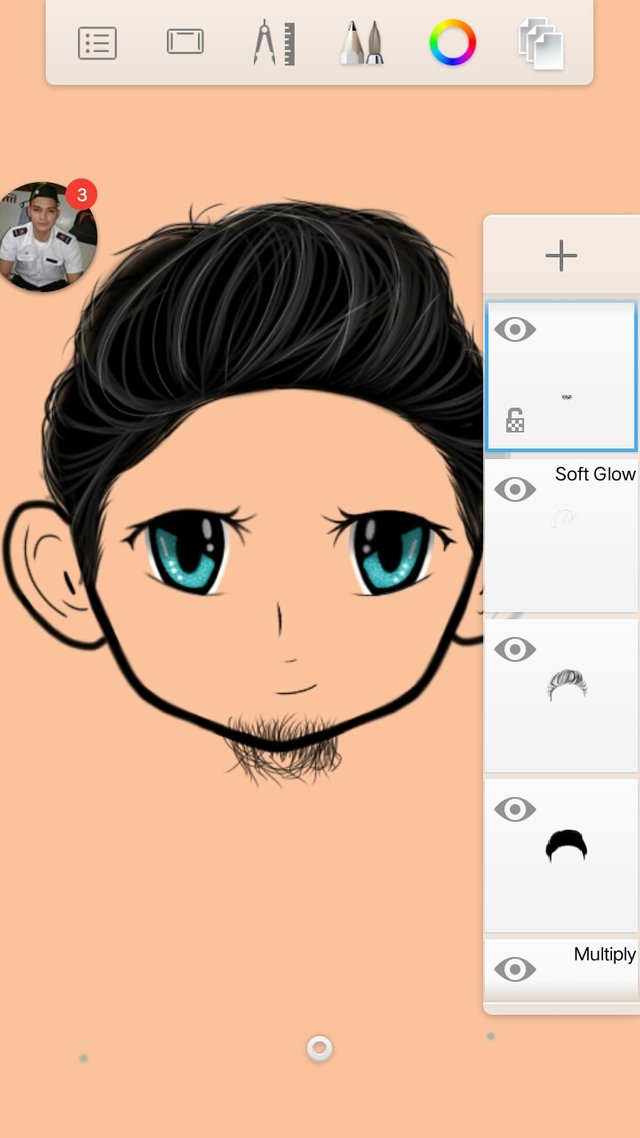
Then fill it.
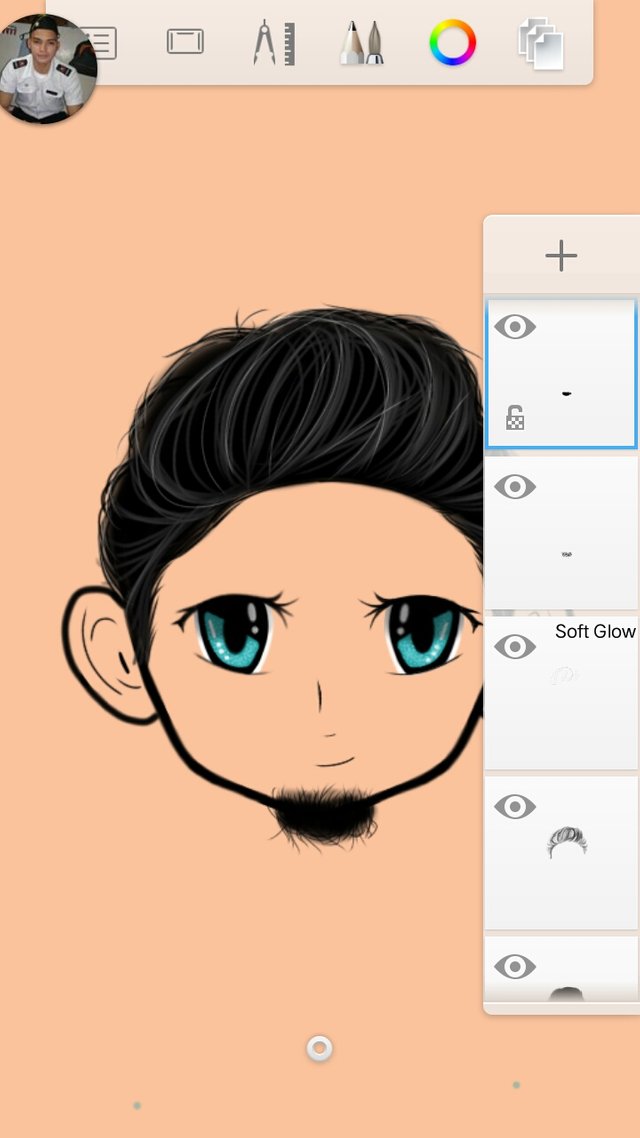
There you go! Now, click one layer then click "merge all" to merge everything.
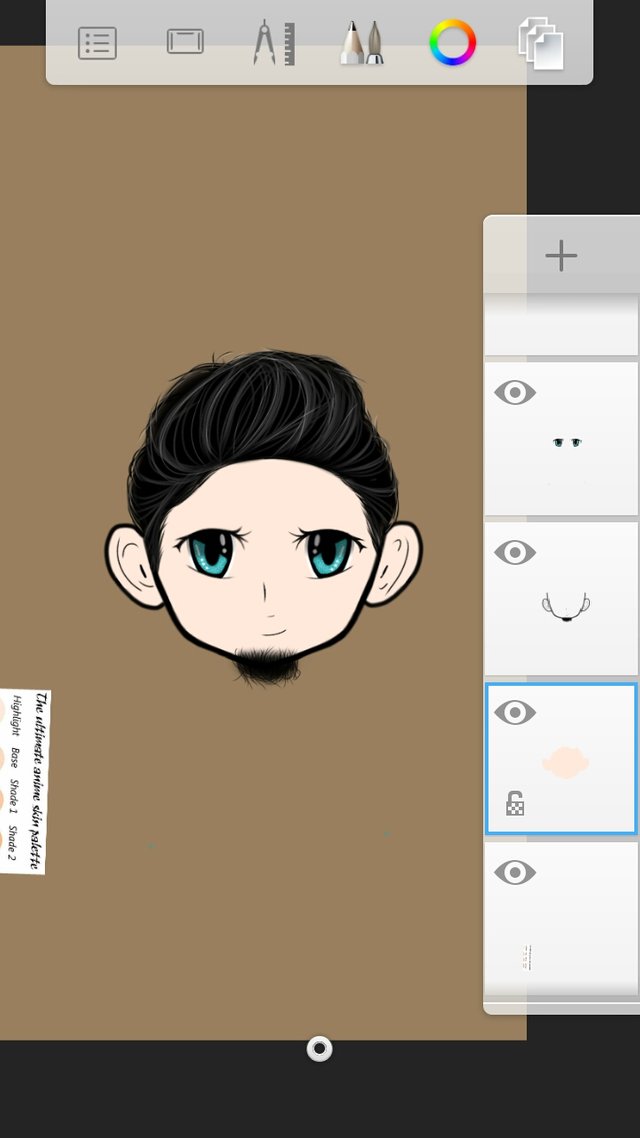
Next we have to make the skin!
Add layer below the merged layers then add the base color of the skin.
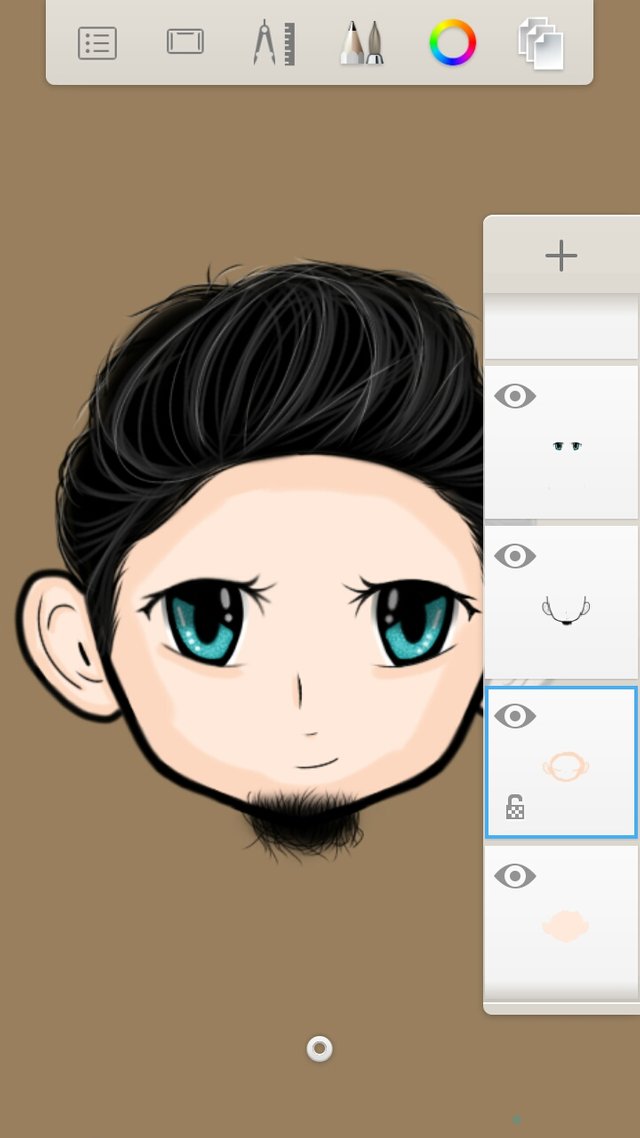
Now, add layer above the base of the skin. Apply a little bit darker tone for the shading on the edges of the face and some details like in the picture below.
Smudge the first shade using this tool.
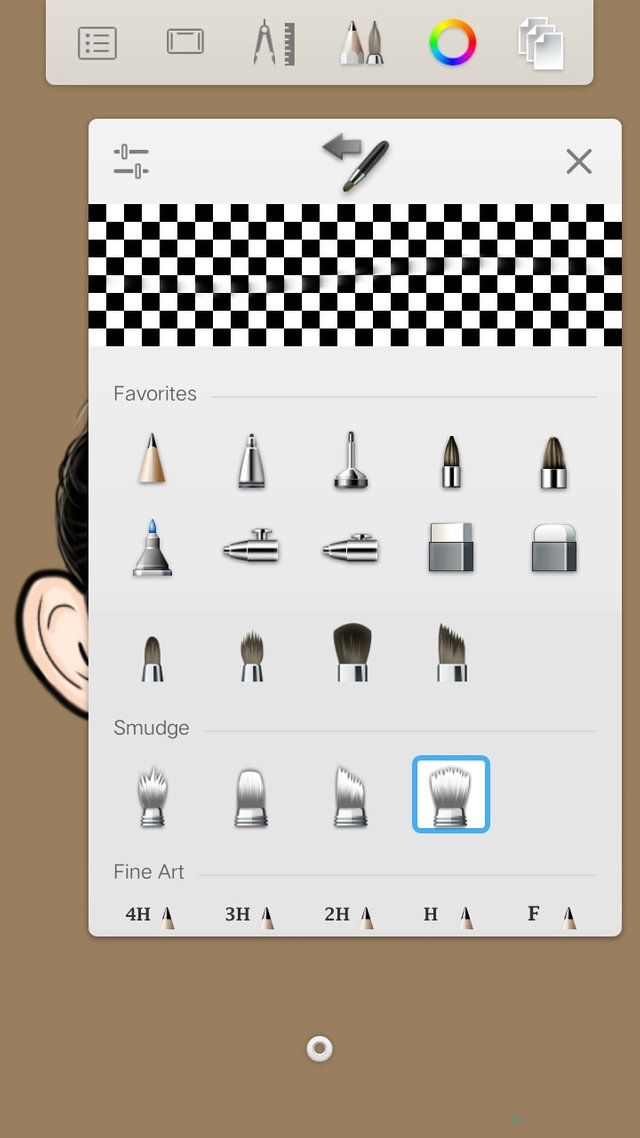
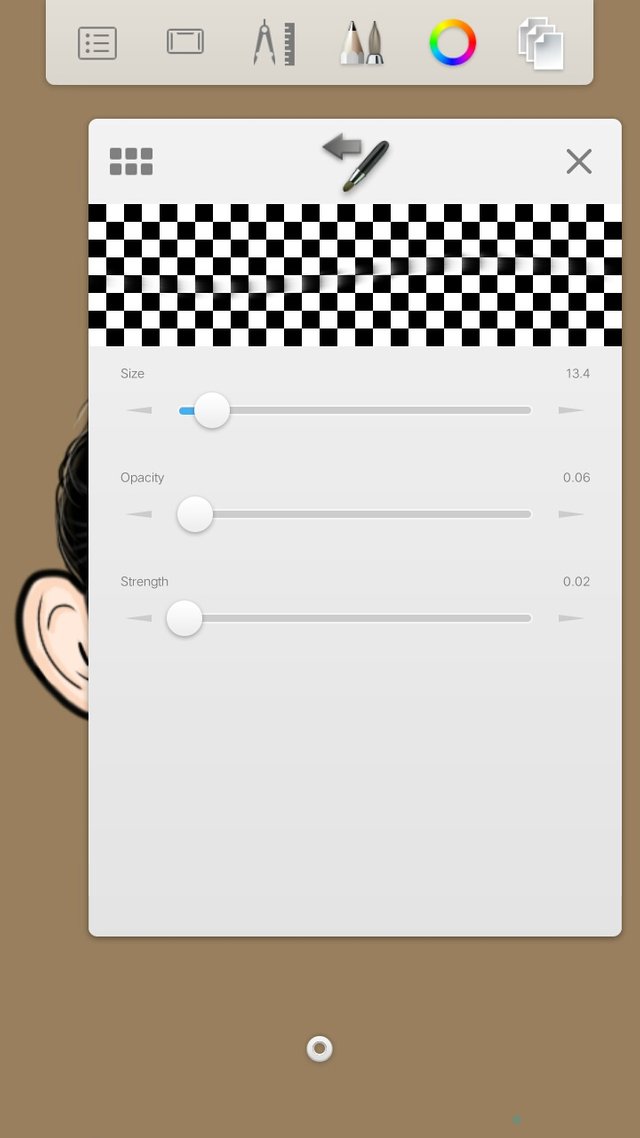
Smudge it until the base and the 1st shade blends.
Now add layer above the 1st shade then apply the 2nd shade (darker than the 1st shade) to the part where you applied the first shade. Make it thinner than the 1st one.
Smudge it like what you did with the 1st shade.
Next apply the last shade (the darkest one) only to the necessary parts. make sure all the layers from the base up to the last shade are in different layers
Then repeat smudging like what you did on the previous layers.
Click one layer and click "merge all". So we now have the head of the chibi!
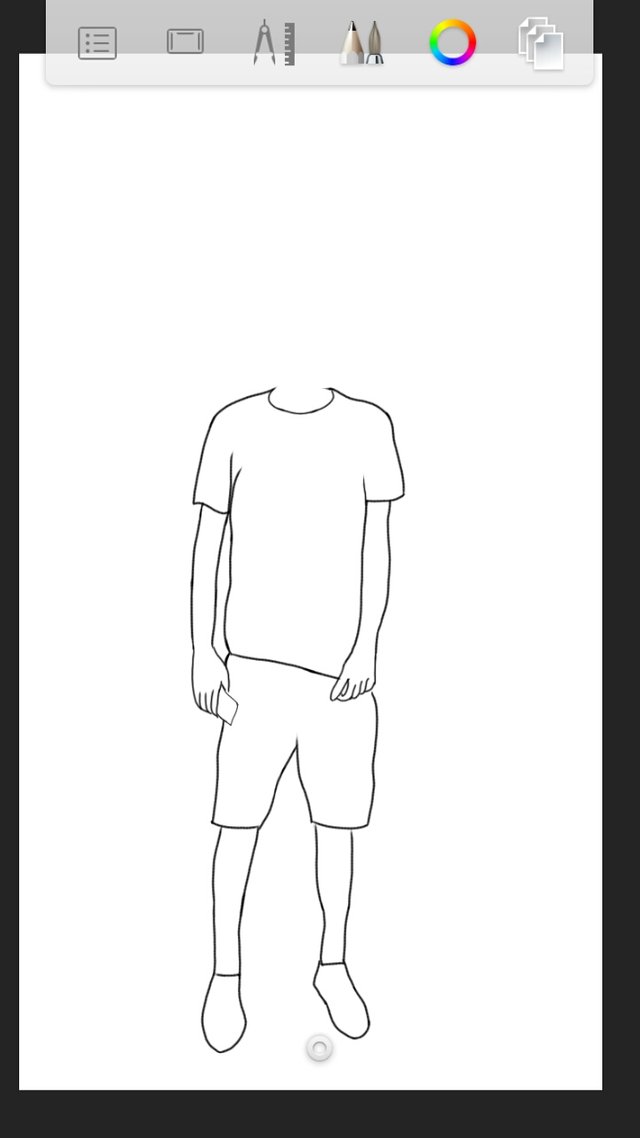
Next, let us make the body!
To start, make the outline. I have a reference on this one so I will have the same color of the clothes and body position.
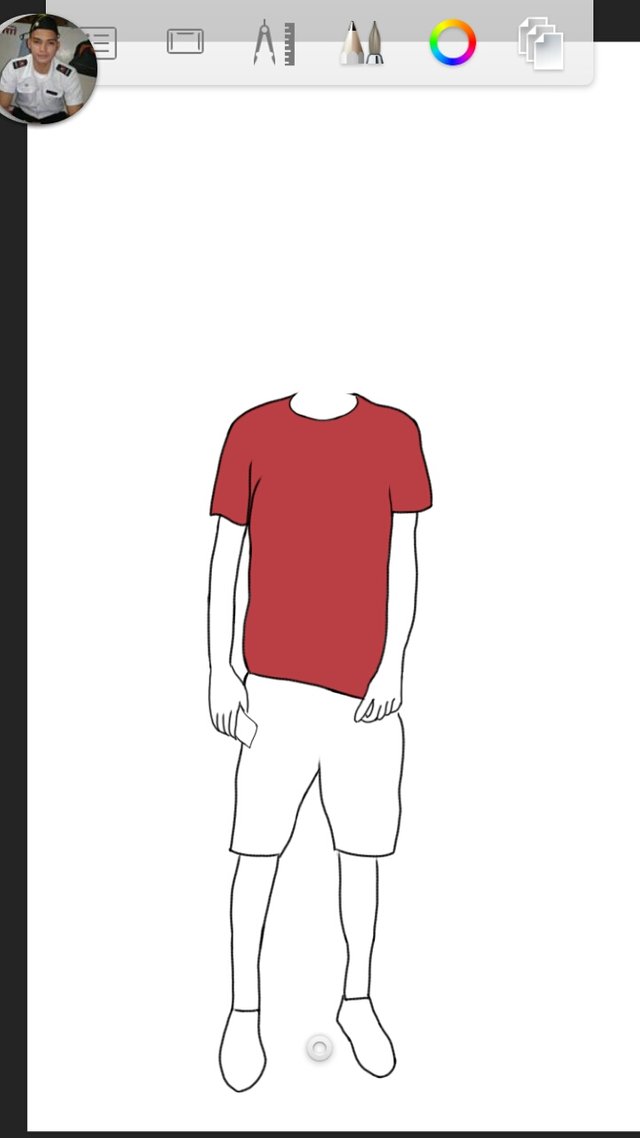
In putting colors to the clothes, it's just the same with the skin. Have the base color first.
Then add layer for the shade so it won't look so flat. Then smudge it just like what you did on the skin earlier. For the clothes and shoes, I only used one base and one shade (darker than the base)
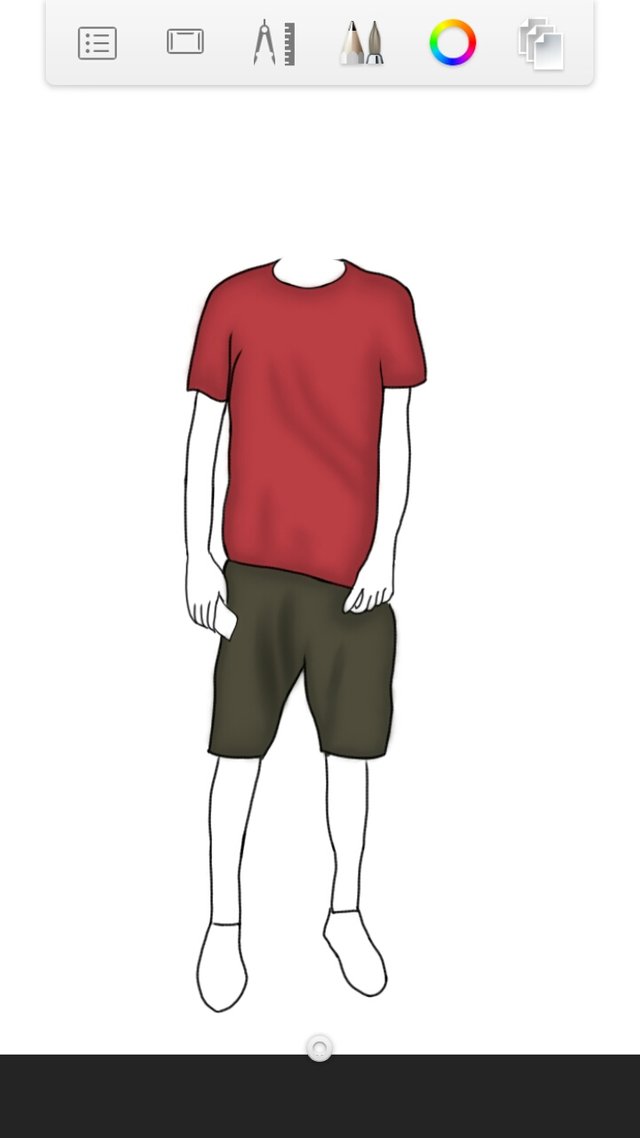
Next repeat the process in coloring the skin for the arms and legs.
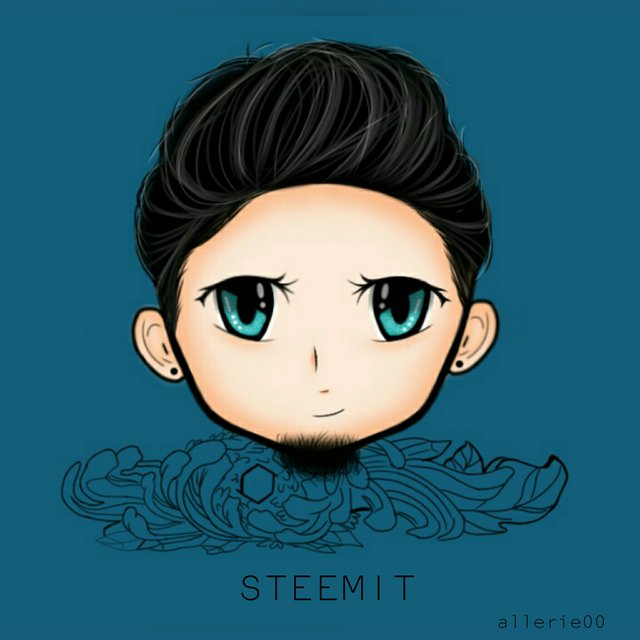
So there you have it! My entry for the avatar contest!
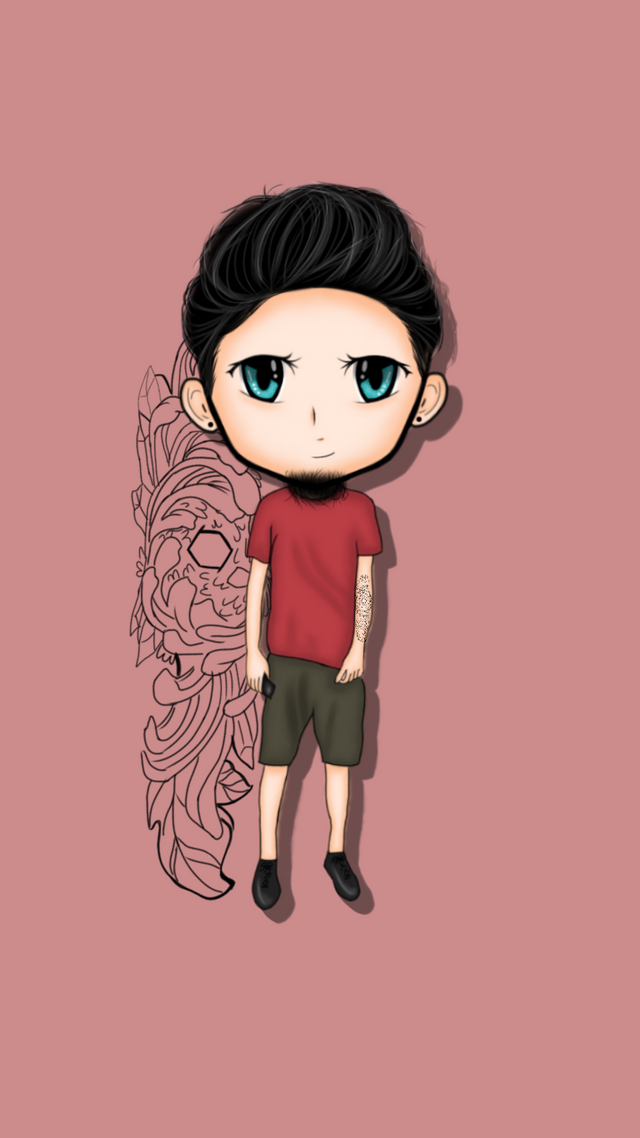
Here's another one that the host might want to grab.
Thank you guys for dropping by! I hope you learned something from this tutorial. It's actually 3n1. An entry post, process and tutorial haha!
Thank you also to sir @kennik for having this contest! Looking forward for more! Sorry for your tattoo. I think the one that I made was your tattoo on the right arm not on the left hehe. I wasn't able to find clear picture of your tattoo on the left.
App used: Autodesk Sketchbook
Time Duration: 6.5 hrs
Please support the Smart Media Token @teardrop project by Sir @surpassinggoogle and follow TearDrops on Facebook.
Please also support @surpassinggoogle as a witness by voting him at https://steemit.com/~witnesses and type in "steemgigs" at the first search box.
If you want to give him witness voting decisions on your behalf, visit https://steemit.com/~witnesses again and type in "surpassinggoogle" in the second box as a proxy.
cute drawing and progress steps. didn't realize how much work went into creating these characters.
It has a lot of steps but when you get used to it, you'll be able to find ways how to do it on your own where you are comfortable. :)
that's been my experience so far, I just have to trust in the process and through it once I get into a flow state I find better and faster ways to produce the work.
thanks for sharing and best wishes to your creative journey. :]
awesome! i will surely grab them all 😂 such a materpiece! 👌 thank you and best of luck!
Thank you so much! 😊
Great! Galing, how I wish I do have the talent also in arts! Good job, looking forward to more of this. Hopefully you will win the contest.
Thank you so much @gheghenrv! :)
Excellent post ms @allerie00! I really like the finished chibi art and the effort you gave to show the entire process. Kudos and more power!
wishful thinking: I hope I get one someday too lol
Haha! Thank you so much! I've been thinking about having a free open thread for those who want to have chibi but not now. I'm still busy with my studies eheh
Hehe, no problem. Studies first :)
Congrats on the curie vote - well deserved! And good luck with the contest.
Thank you so much! :)
thanks, happy today
Thank you!
Nice process thanks for sharing! :)
You're welcome! And thank you for dropping by. :)
What program or app do you used in making this art? @allerie00
I forgot so put which app haha! Its a smartphone app. Autodesk Sketchbook
What app did you use? you sure make a great piece🙂 your tutorial is comprehensive.and I might try to draw some hair soon
Aww that is so nice to hear! I hope my tutorial can help. Looking forward seeing your artwork! :) btw, I used smartphone app Autodesk sketchbook
do you use stylus for this?
Nahh I just used my fingers hehe! Stylus is expensive and sometimes hard to use for beginners.
who is the man behind the chibi? haha
Sir @kennik! Hahaha my entry for his avatar contest friend
Great. Such talent. Well done
Thank you so much! :)