How I changed the broken screen on iphone 6 | Как я менял разбитый экран на iphone6
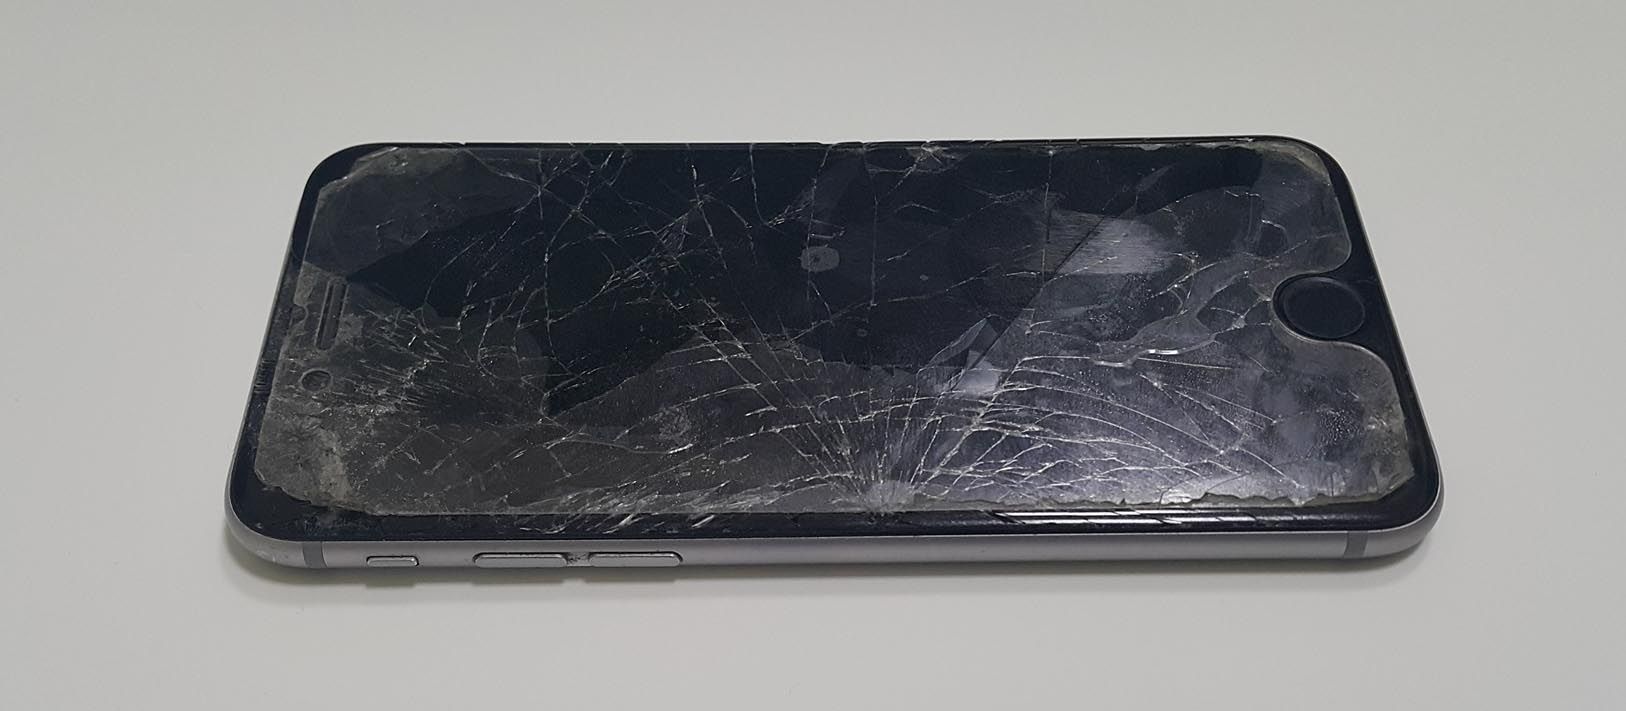
Еще летом разбил экран на телефоне, iPhone 6. Поскольку все осталось рабочим, ни о замене экрана, ни о покупке нового телефона не думал
Even in the summer broke the screen on my phone, the iPhone 6. The phone continued to work, so I did not think about replacing the screen or buying a new phone
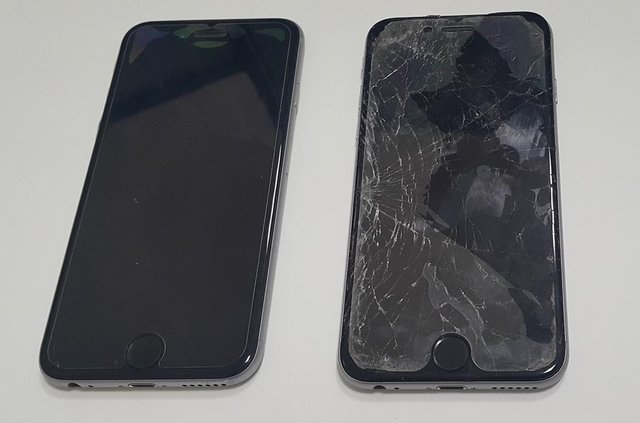
На днях попался такой же, но нерабочий телефон с целым экраном. Решил попробовать поменять экран, хотя раньше никогда этого не делал. Изучил всевозможные инструкции в Интернете, почитал комментарии-страшилки, что люди все сломали, закупился инструментами.. И сделал! С первого раза, все работает. Решил поделиться впечатлениями.
A couple of days ago got the same, but non-working phone with the whole screen. I decided to try to change the screen, although I had never done it before. Studied all sorts of instructions on the Internet, read the comments-horror stories that people broke everything, bought tools.. And done! From the first time, everything works. Decided to share impressions.
На самом деле в операции ничего сложного нет. Надо не бояться, действовать хоть и аккуратно, но уверенно, если надо, то прикладывать усилия, потому что там все не из бумаги и от неверного вздоха не порвется. Но и рвать просто так, не думая, не стоит.
In fact, in operation, nothing complicated. We must not be afraid to act, though, and gently but firmly, if necessary, to make the necessary efforts, because there are any parts not made from paper and from a wrong breath would tear apart.
Лучшая, самая подробная инструкция здесь:
The best, most detailed instruction here:
https://www.ifixit.com/Guide/iPhone+6+Front+Panel+Replacement/31738
но есть нюансы
But there are nuances
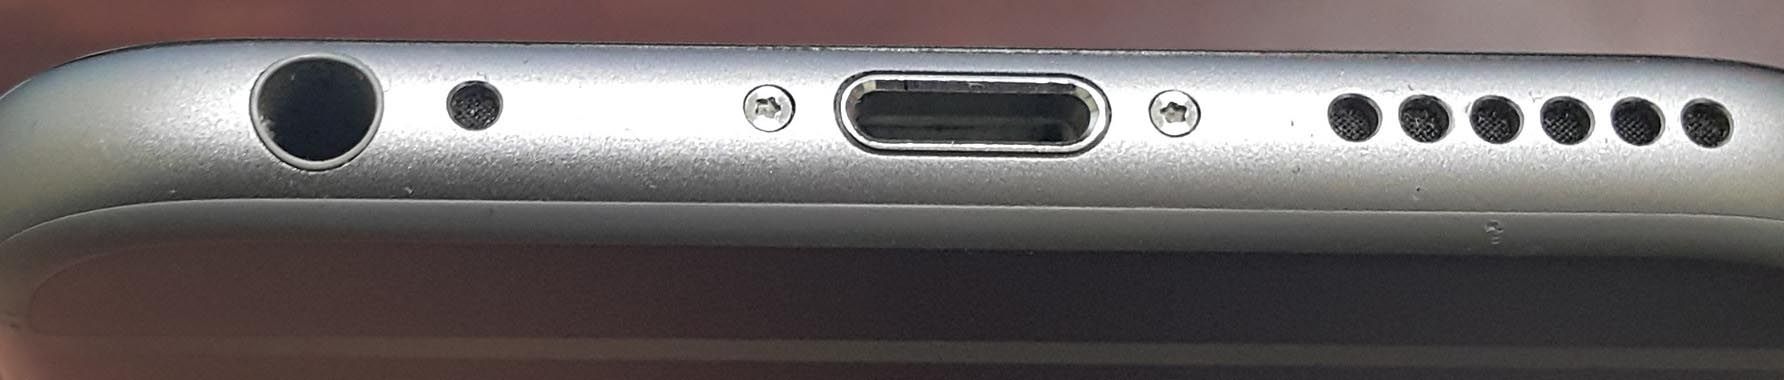
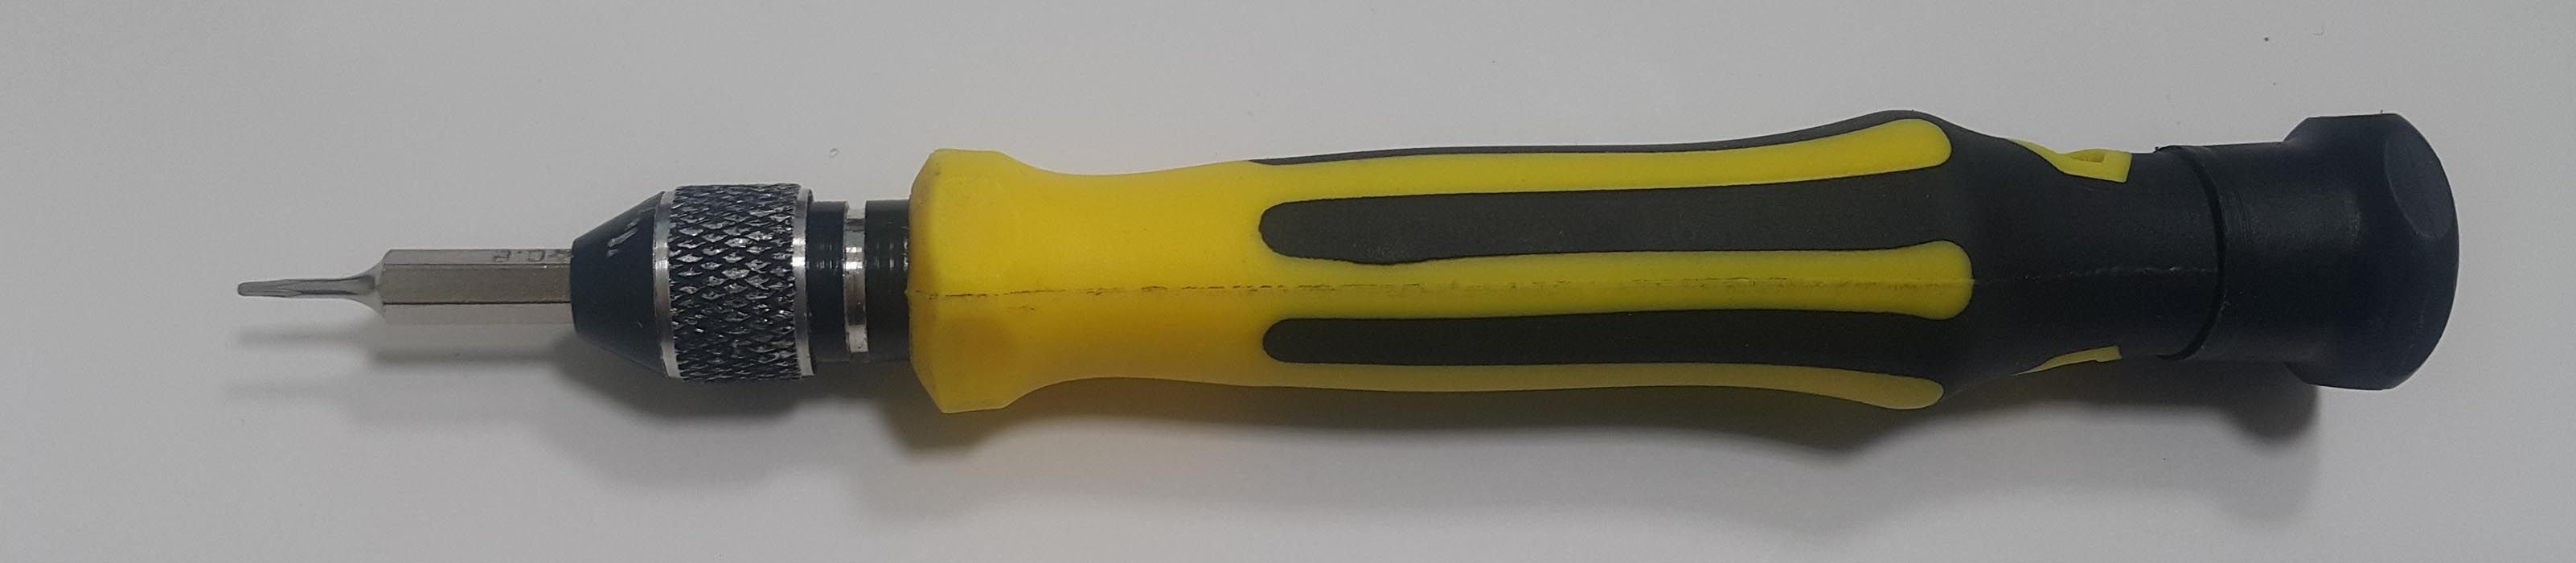
во-первых, сложно подобрать отвертку для вывинчивая двух первых винтов на торце - там звездочка
Firstly, it is difficult to find a screwdriver for unscrewing the first two screws on the end-there is an asterisk
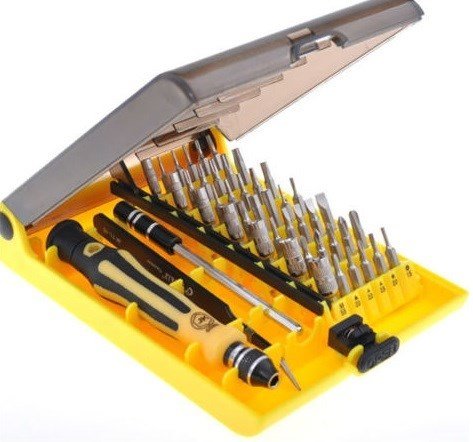
все купленные китайские наборы для ремонта iPhone оказались бесполезными, ни одна отвертка не подошла, хорошо, что у меня был набор Jackly 6089, он решил проблему
All bought Chinese repair kits for iPhone was useless, none of the screwdriver did not fit well, I had a set Jackly 6089, he solved the problem
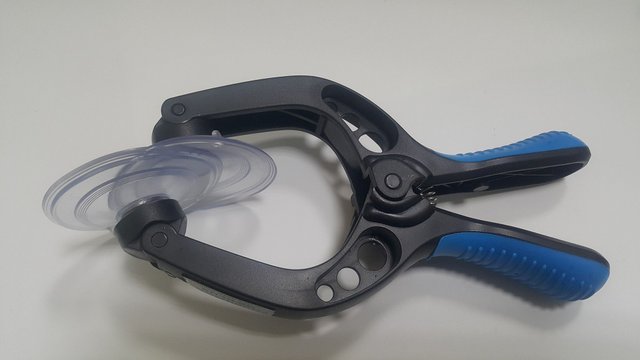
дальше нужен реально удобный инструмент для снятия экрана, работает на раз и без проблем, только нужно располагать строго по центру, я от центра сначала отклонился, поэтому он у меня открыл телефон с одной стороны. пришлось отлеплять его от экрана, сдвигать к центру и повторять. повторюсь - штука нужная и удобная.
Next we need a really handy tool for removing screen, runs without problems only need to be placed exactly in the center, if not had to peel it off of the screen to move to the center and repeat. Again-the necessary and convenient thing.
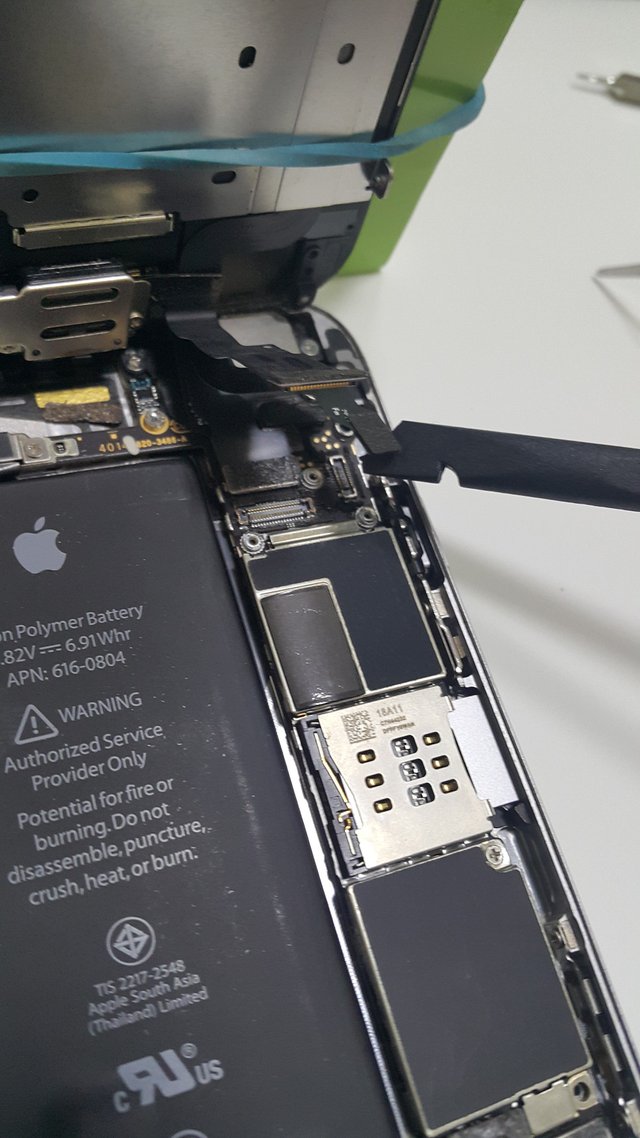
Сначала следует отсоединить батарею, потом отсоединить шлейфы экрана.
First disconnect battery, then disconnect the cables of the screen.
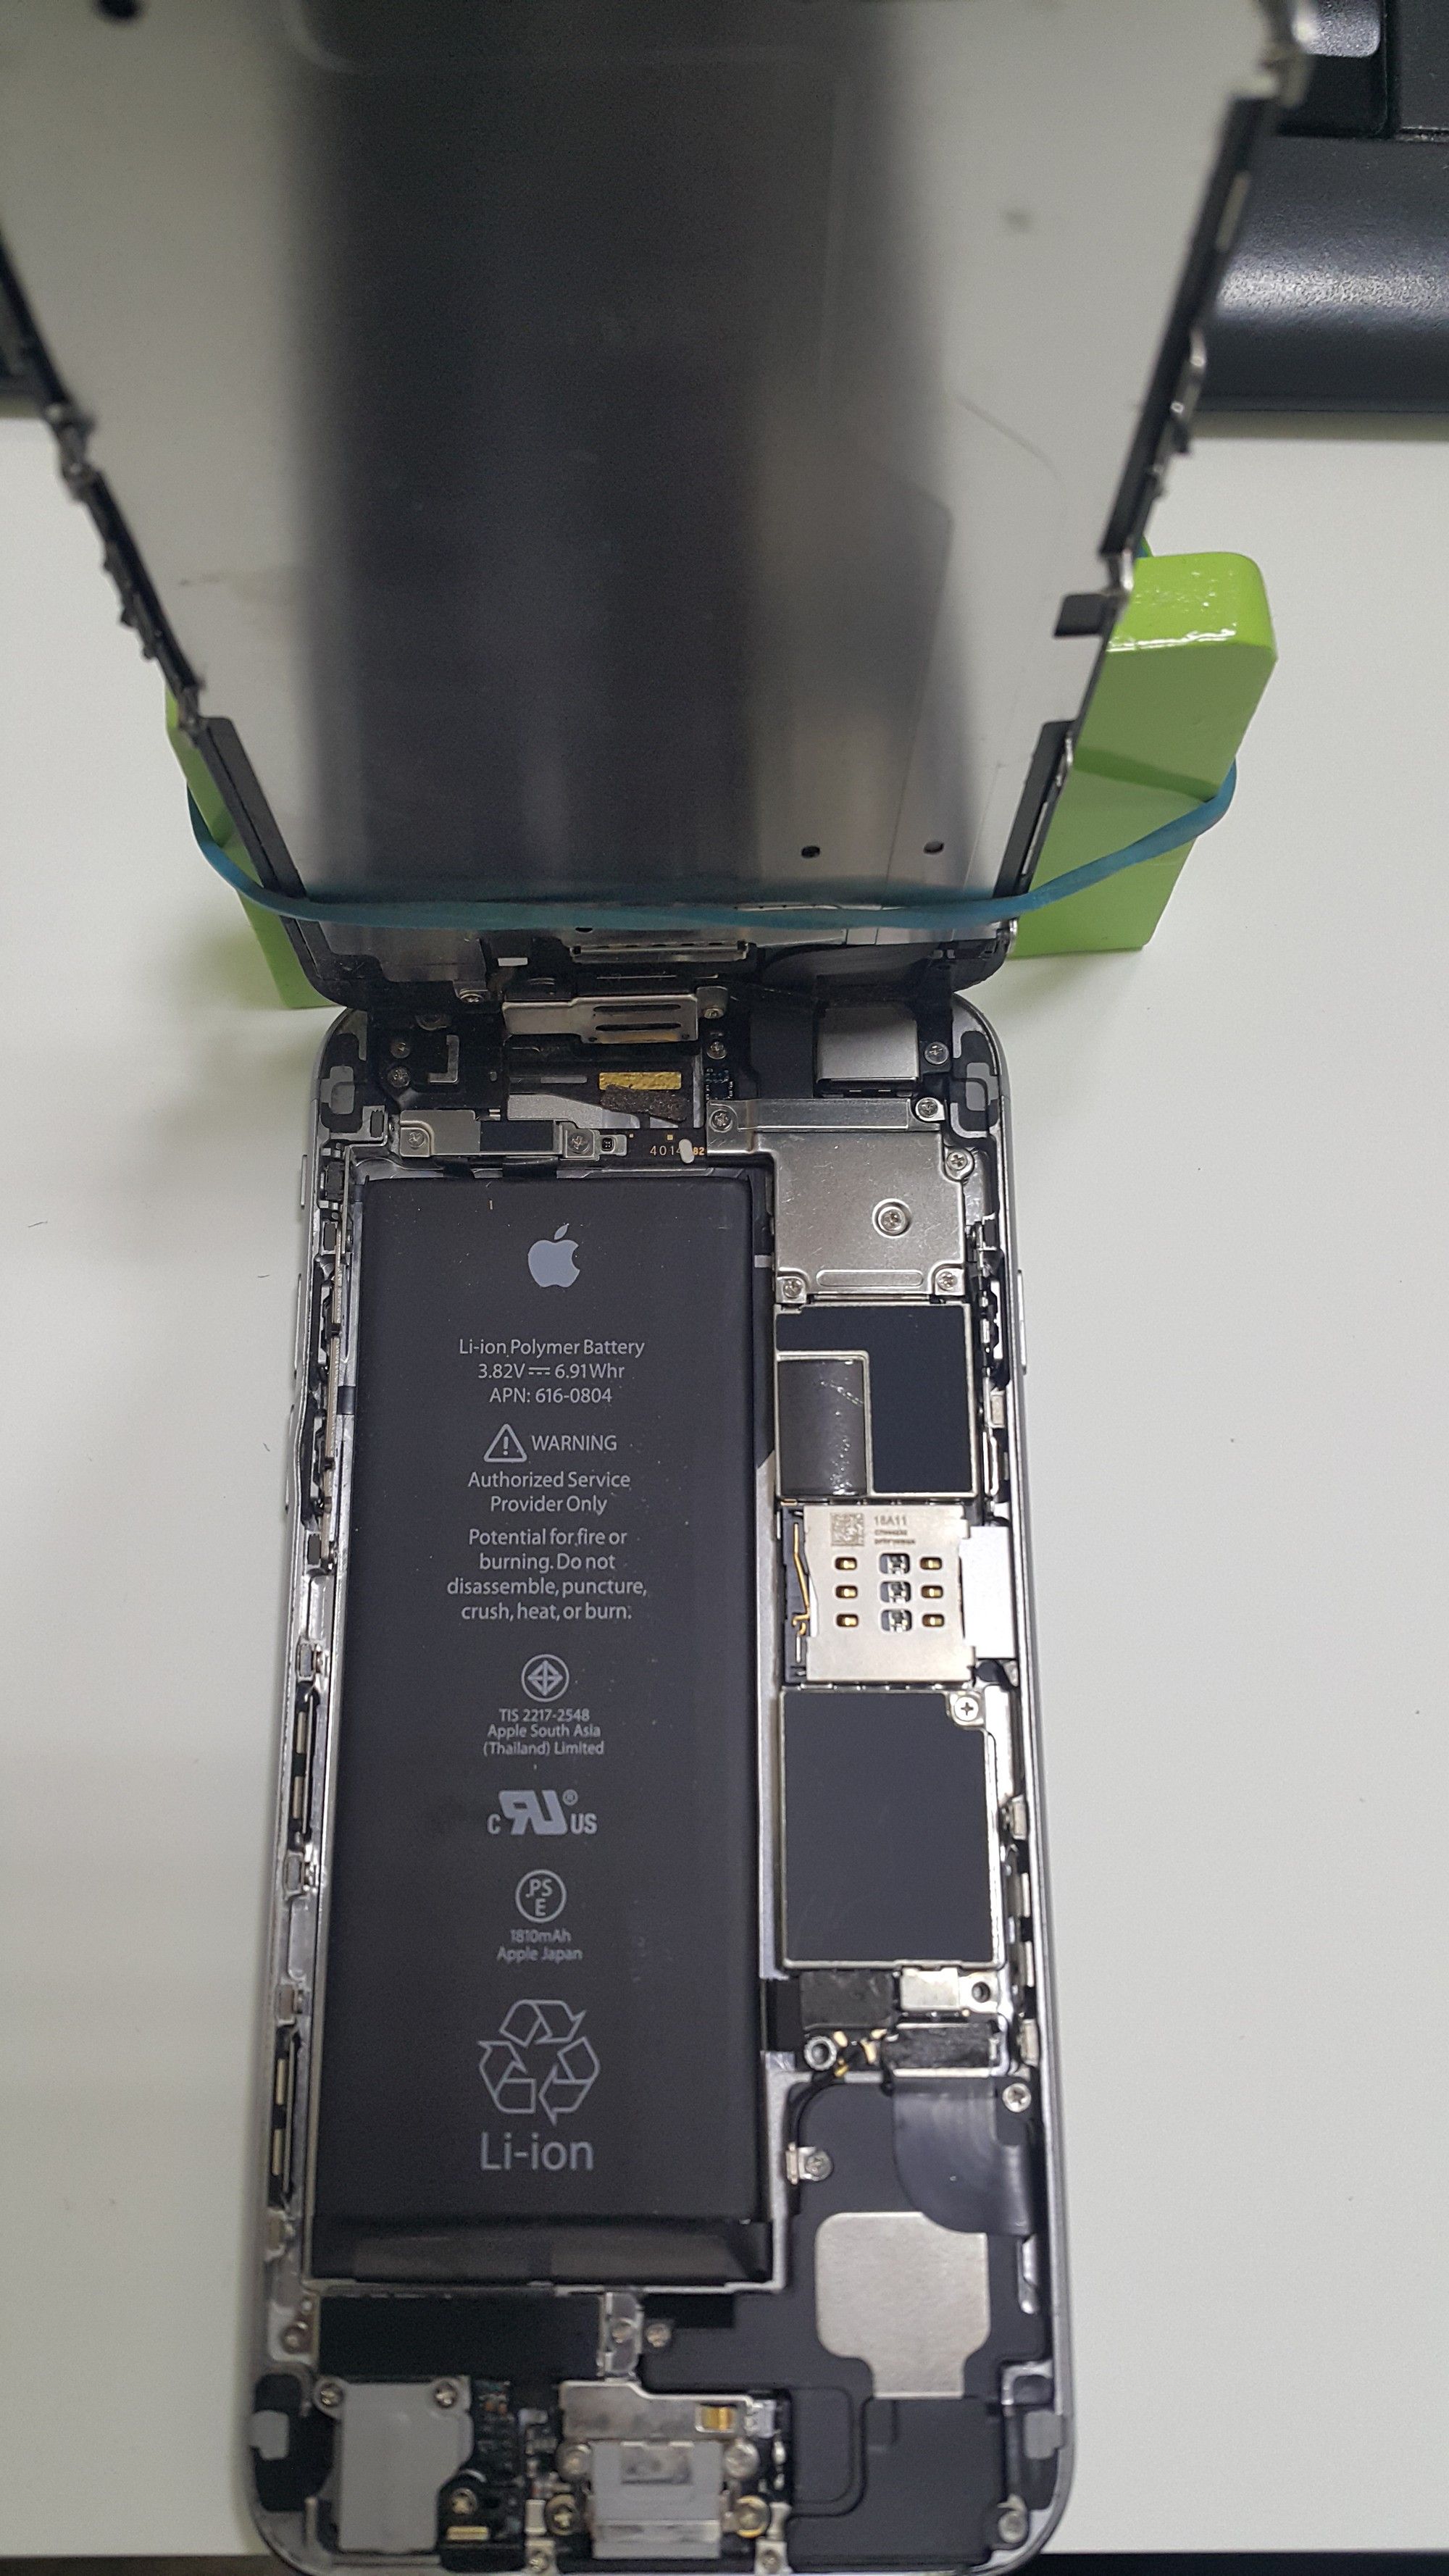
Для снятия защитных пластин нужна обычная тонкая крестовая отвертка, все винты откручиваются легко. Располагайте их по порядку, винты имеют разную длину, не надо их путать.
To remove the protective plates, you need a simple thin Phillips screwdriver, all screws are unscrewed easily. Position them in order, the screws have different lengths, do not mess them.
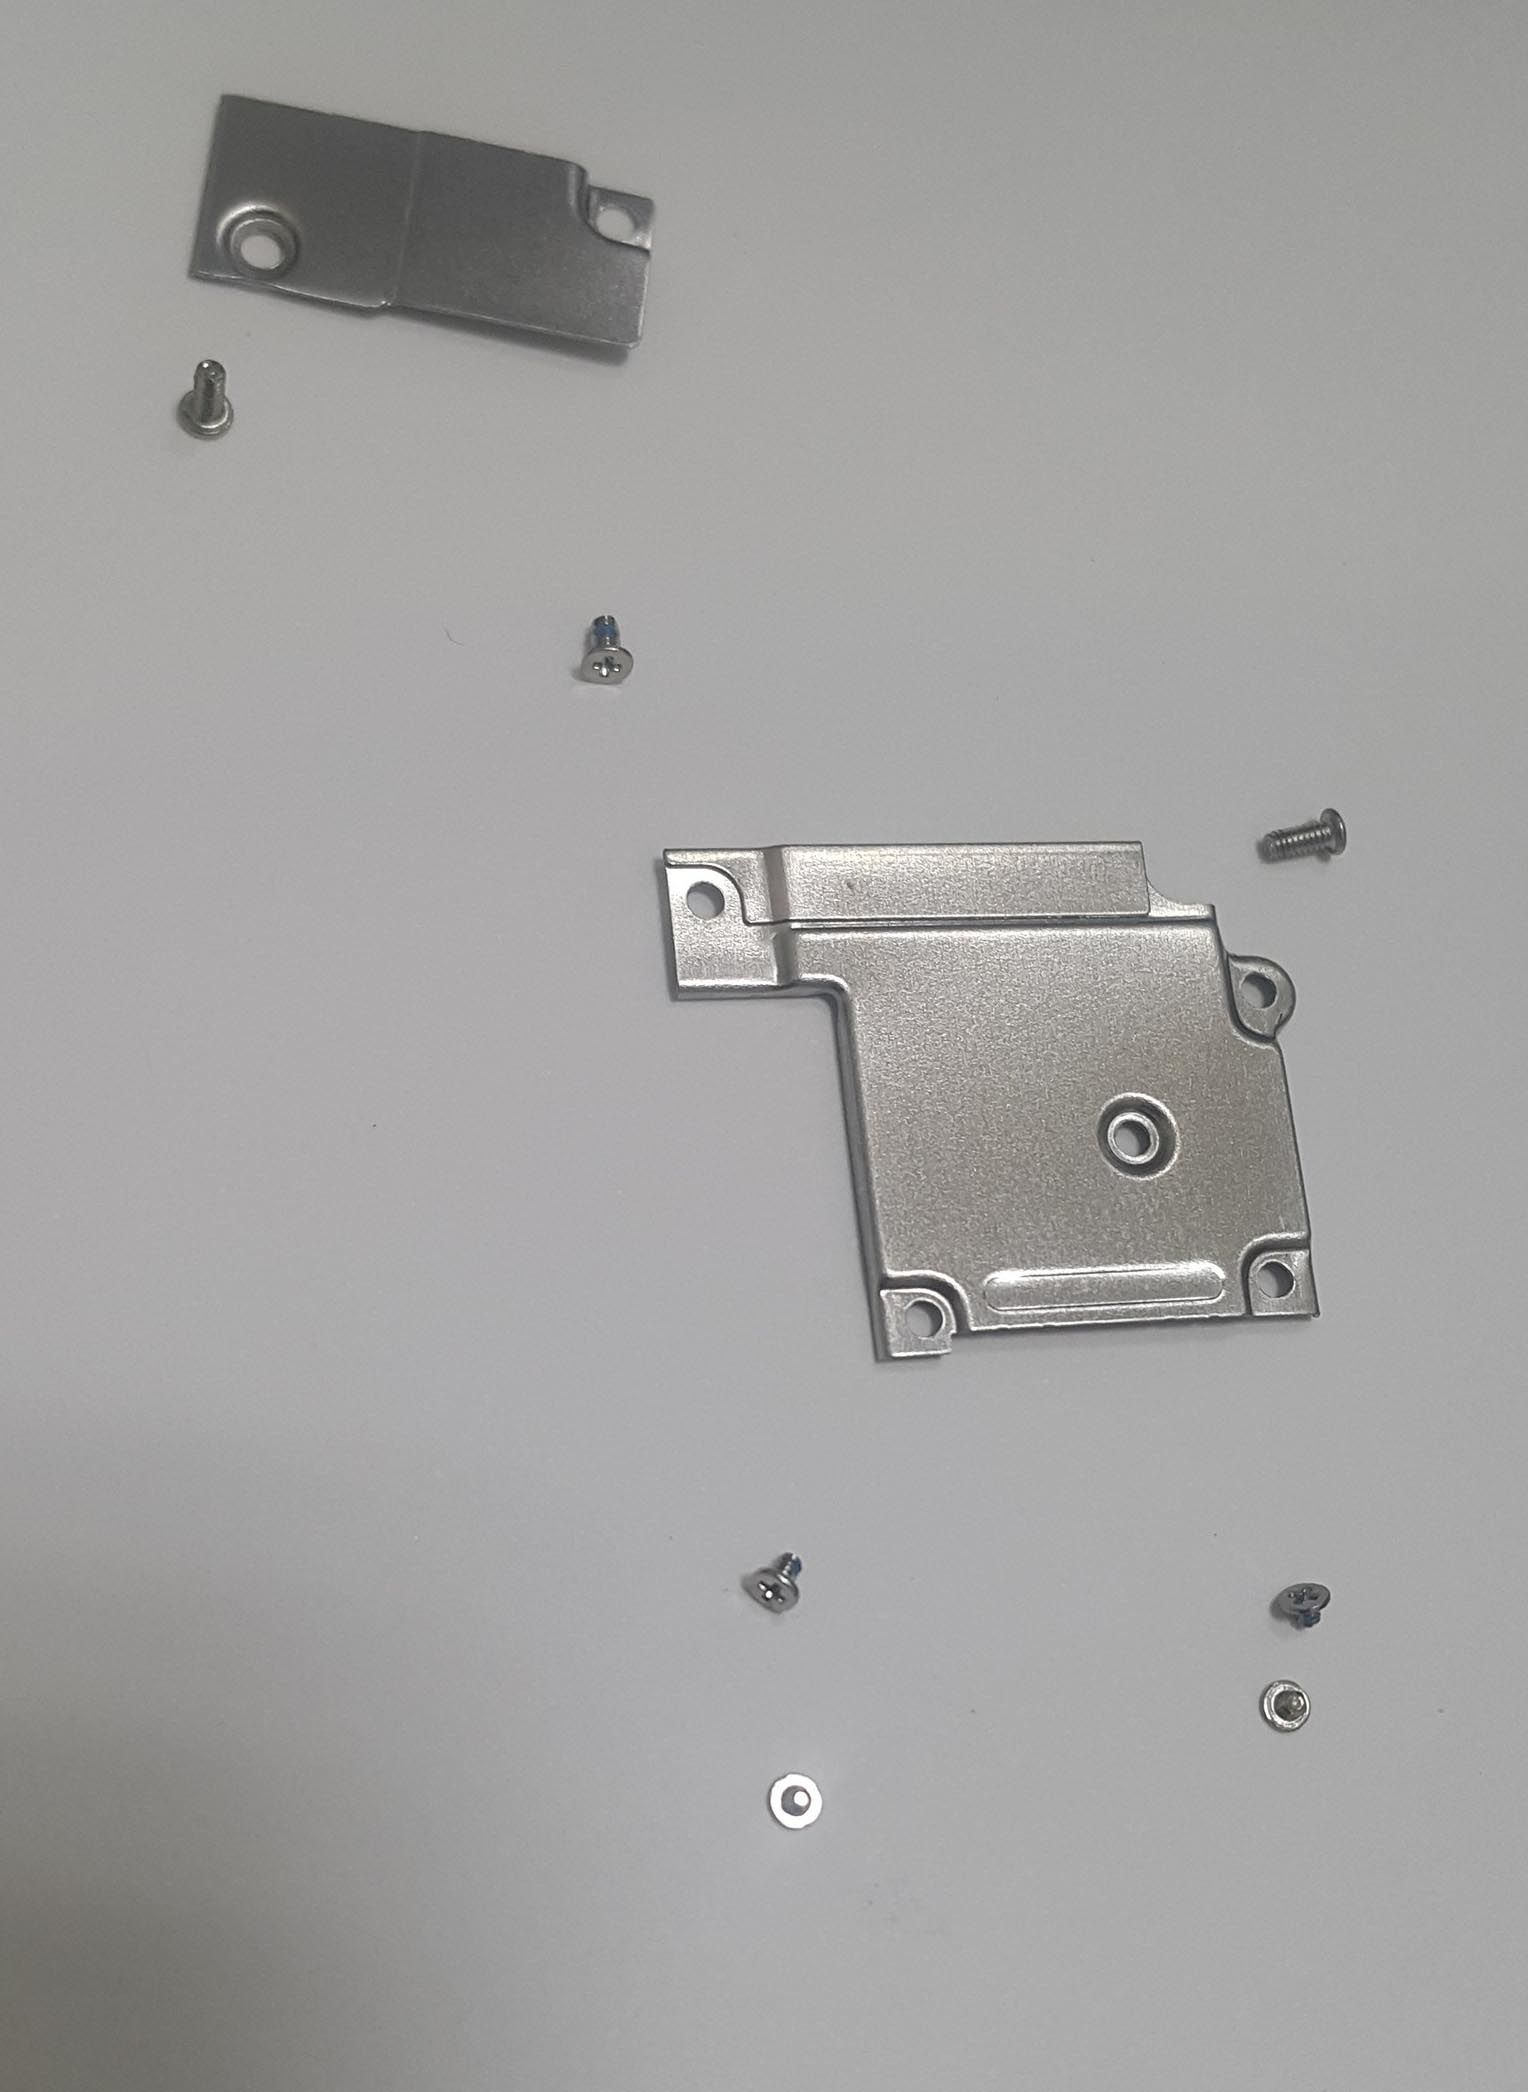
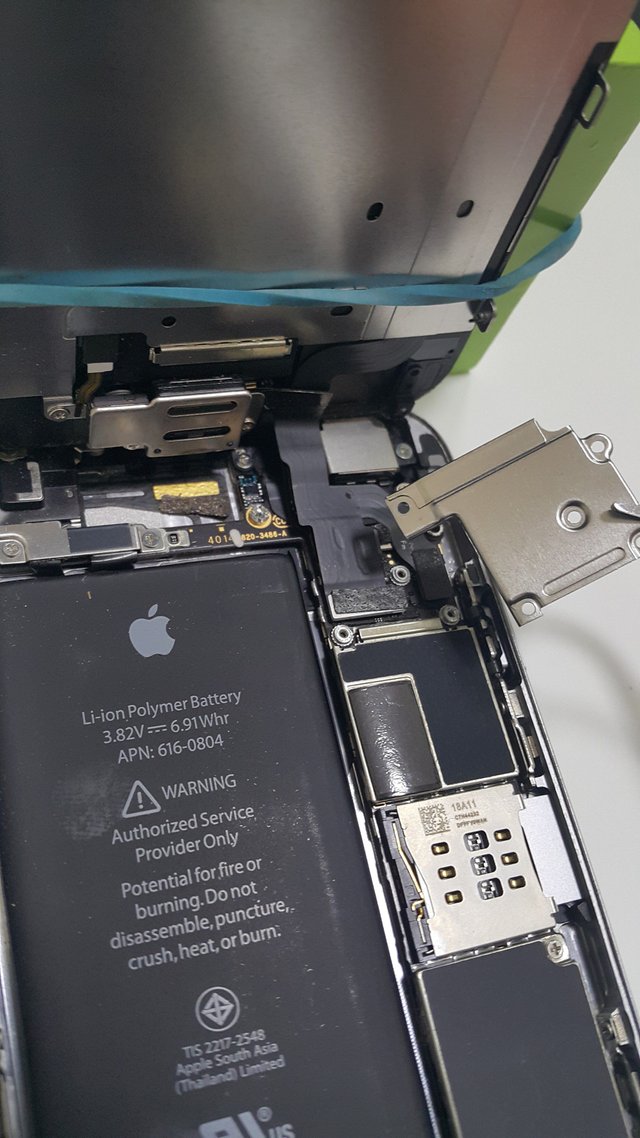
Дальше нужен инструмент для снятия шлейфов. Реально нужный, удобный. Имейте в виду, что шлейфы сидять на разбемах плотно, нужно прикладывать усилие.
Next we need a tool to remove cable connectors. Really necessary, convenient. Keep in mind that the cables sit on the connectors tightly, you need to apply force.
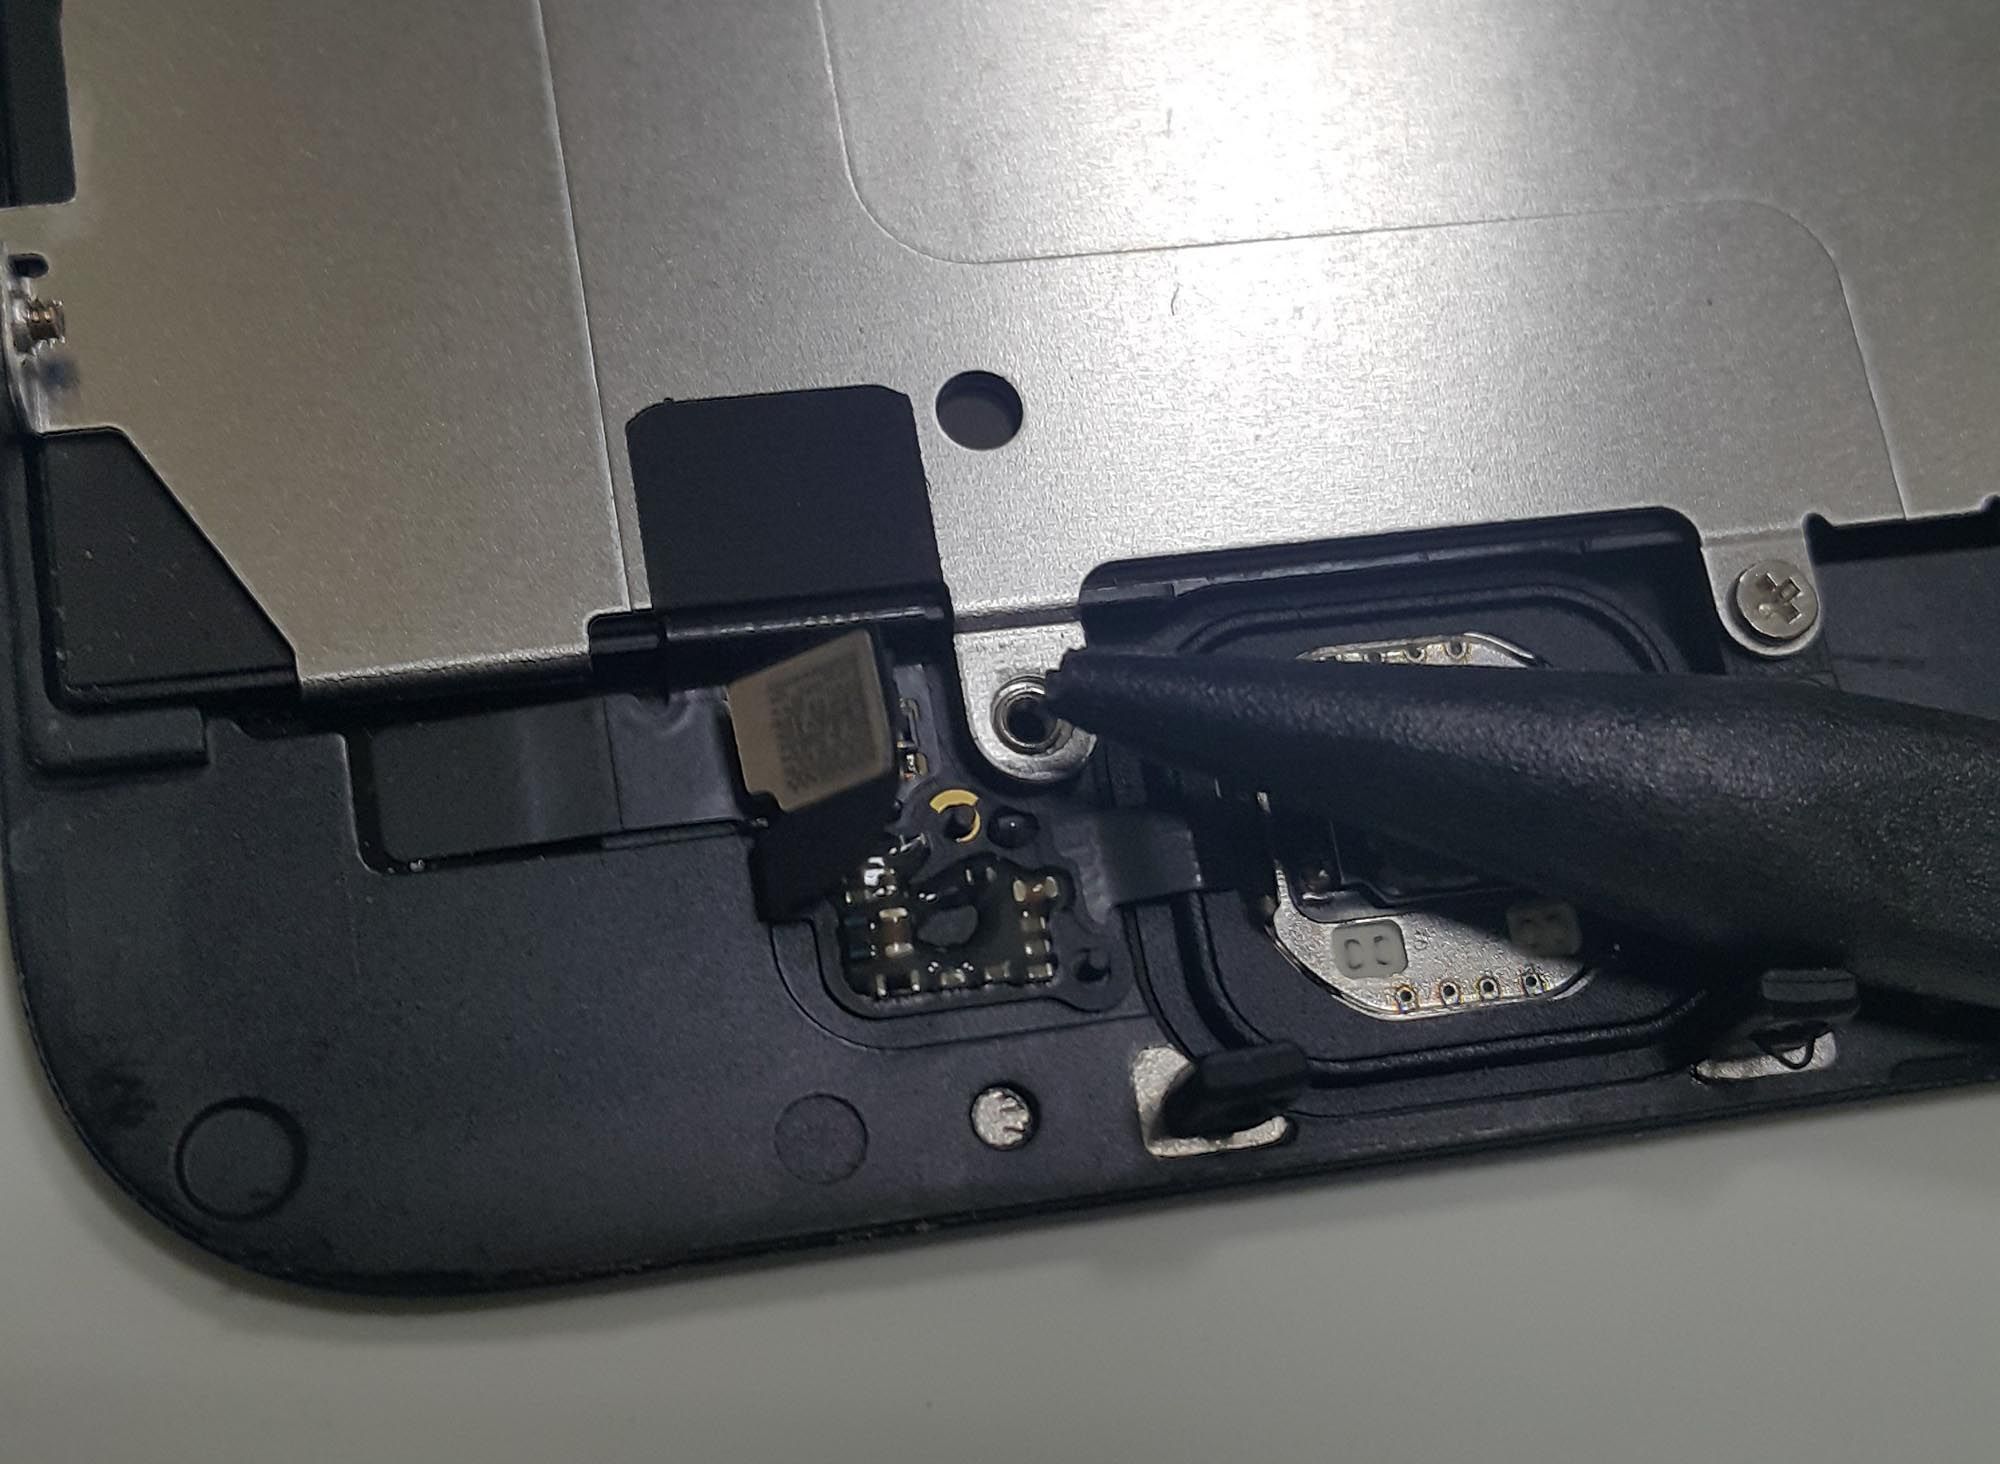
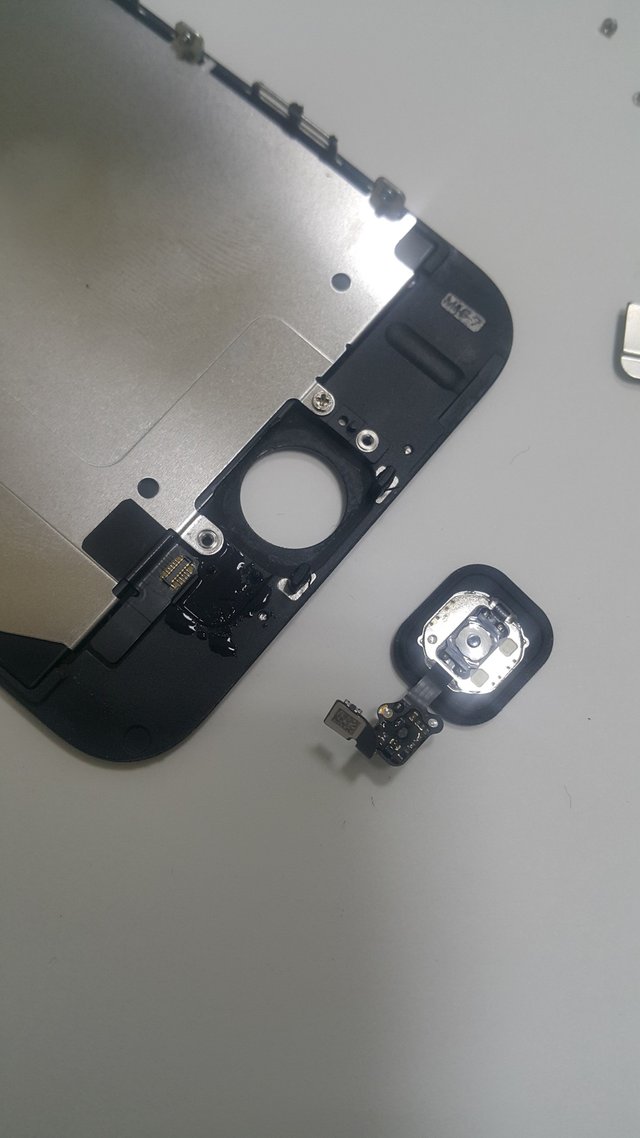
Далее снимаем пластину около touchId, отсоединяем шлейф, лучше здесь подойдет тот же самый инструмент. Потом аккуратно пальцем с одного края потихоньку выдавливаем кнопку Home. О чем предупреждают инструкции - вокруг кнопки тонкая мембрана, которая обеспечивает герметичность прилегания конпки, если давить быстро и по всей площади, мембрана порвется, так что выдавливаем кнопку потихоньку начиная с одного угла, после пары движений сами почувствуете, как надо делать.
Next, remove the plate near the touch Id, detach the cable connector, it is better to fit the same" blue " tool. Then gently with a finger from one edge slowly push the Home button. As warned in instructions, around the button a thin membrane, which ensures the tightness of the fit, if the pressure quickly and at the entire area, the membrane will tear, so squeezing the button slowly starting from one corner. After a couple of movements you will feel like to do.
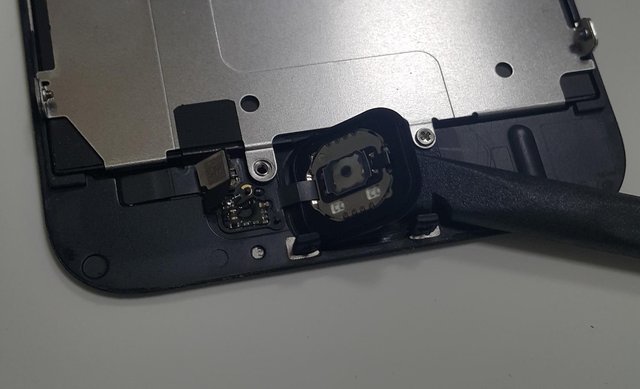
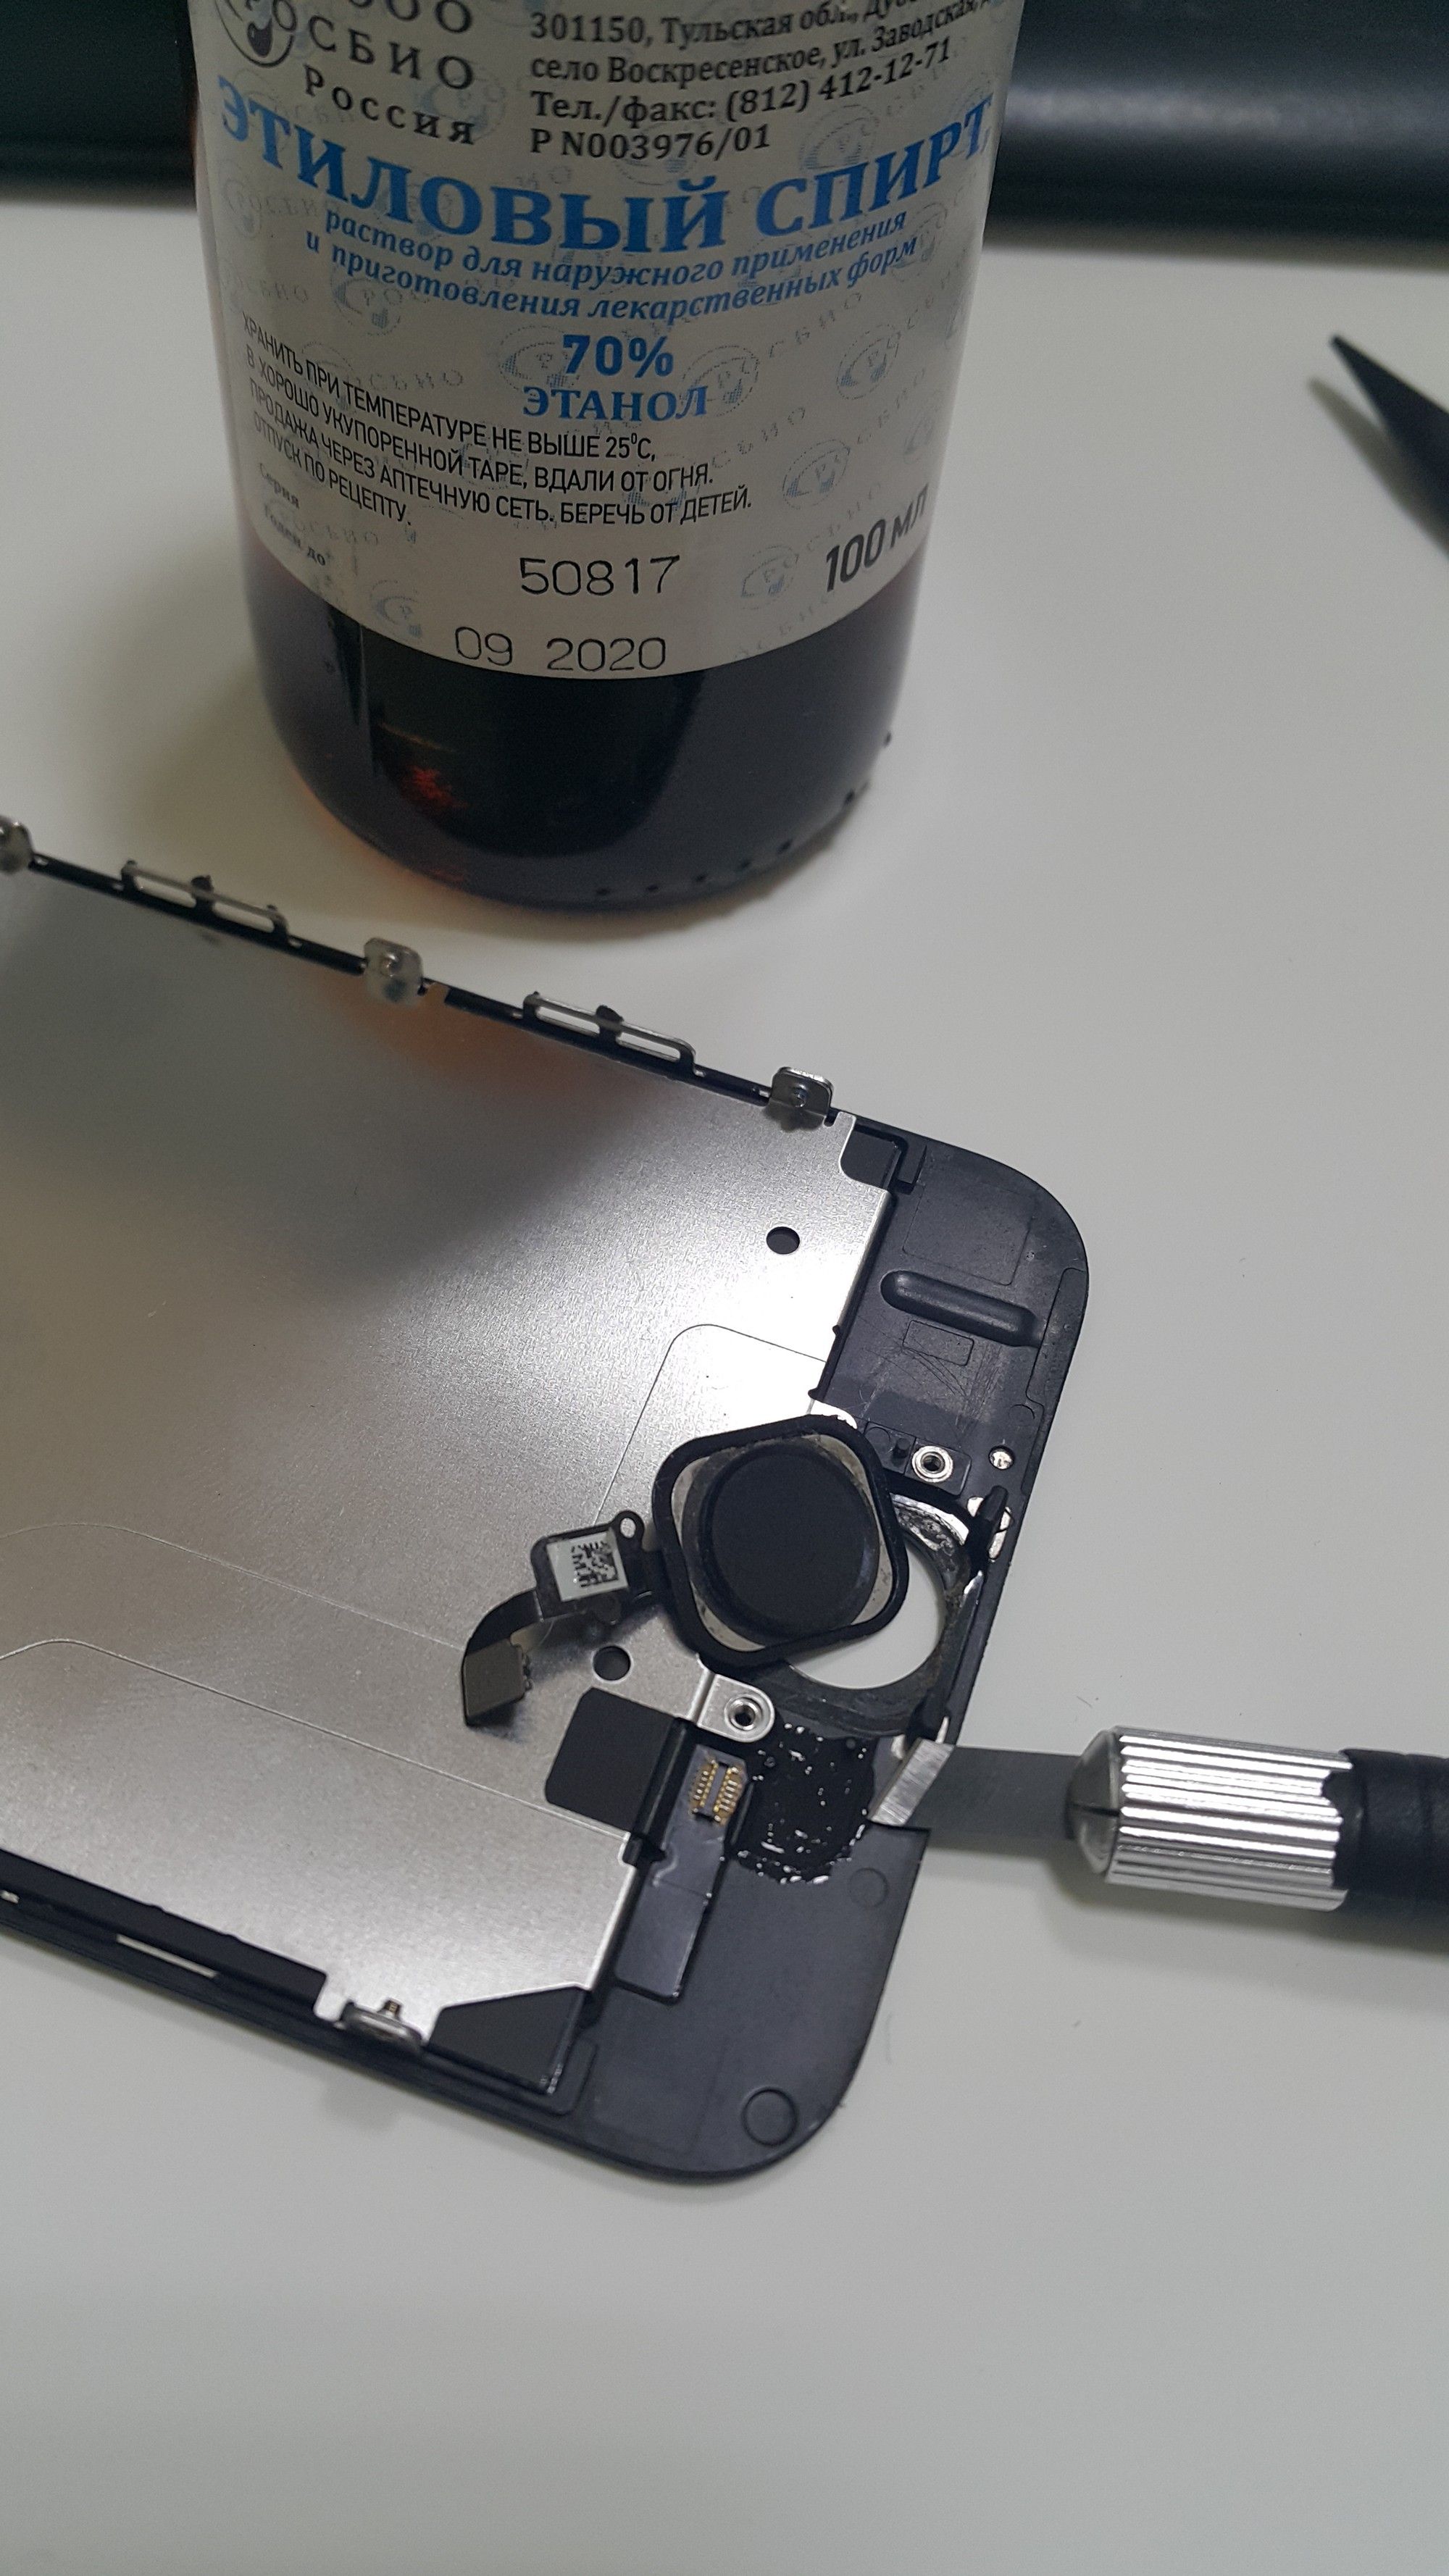
Потом самая ответственная часть - снять кабель TouchId с подложки. Дело осложняется тем, что он посажен на что-то липкое, клей. Основная масса инструкций советует гресть и когда размягчится клей, потихоньку снимать. Но я прочитал другой вариант - использовать спирт, и пошел этим путем.
Капаем каплю спирта, ждем, спирт затекает под шлейф. Потом еще каплю, ждем, начинаем потихоньку острым инструментом поддевать шлейф и его покачивать. Спирт затекает еще глубже. Для гарантии можно капнуть еще каплю, еще покачать, через минуту легко снимается.
Then the most important part is to remove the Touch Id cable from the substrate. The matter is complicated by the fact that it is planted on something sticky. The bulk of the instructions advises to warm and when softened glue, slowly remove. But I read another option - to use alcohol, and went this way.
Drip a drop of alcohol, waiting, the alcohol flows under the loop. Then another drop, wait, start slowly with a sharp tool to pry the loop and waggle. The alcohol flows deeper. To guarantee you can drop another drop, another shake. After a minute can be easily removed.
Все. Мы все сделали.
That's all. We all did.
Теперь точно также разбираем основной телефон. Здесь у меня ситуация осложнилась тем, что на разбитый экран присоска не садилась. Тогда я заклеил его скотчем, хорошо разгладил - и все получилось.
Now, just as parse primary phone number. Here at me the situation was complicated by the fact that the sucker did not sit down on the broken screen. Then I taped it, smoothed it out well, and it worked.
Опыт у нас есть, теперь все операции выполняются очень быстро..
We have experience, now all operations are carried out very quickly..
Дальше обратная процедура - собрать основной телефон с новым экраном и старым TouchId.
Then the reverse procedure is to assemble the main phone with a new screen and old Touch Id.
Шлейф садится на место легко, после отклеивания там осталось что-то липкое, у меня он слегка прилип. Затем вставляем на место кнопку Home и легкими движениями прижимаем мембрану к корпусу, делаем это нежно, по кругу, несколько раз. Потом ставим крепление и проверяем - кнопка должна нажиматься и ничего никуда не вываливается.
The cable connector sits in place easily, after peeling there remains something sticky, I have it slightly stuck. Then put in the place the Home button and gently presses the membrane against the case, do it gently, in a circle, several times. Then put the mount and check the button. It must be held down and nothing falls out.
Дальше самое сложное - действительно! Поставить на место шлейфы экрана. Путем проб и ошибок установил, что лучше всего делать это пальцами, держа обе части экрана в руках, тогда можно подогнать шлейф точно под крепление. Первый, самый широкий шлейф любит соскакивать, проверяйте. Все шлейфы одеваются с четко ощущаемым и даже слышимым щелчком - это признак того, что все правильно. Если щелчка нет - не давите зря, лучше снимите шлейф и попробуйте подсоединить снова, чуть отступив.
Further the most difficult - really! Put in place the connectors of the screen. Through trial and error found that this is best done with your fingers, keeping both side of the screen in hand, then you can customize the connector just below the mount. First, the wide connector likes to come off, check. All the connectors put in places with clearly felt and even audible click - this is a sign that everything is right. If you hear no click, don't push, it is better to remove the loop and try to connect again, stepping back a little.
Одев шлейфы сразу ставим на место защитную пластину, чтобы шлейфы не слетели, держим экран под углом к корпусу, а винты закручиваем одной рукой. не совсем удобно, но я так делал.
Wearing the connectors, immediately put in place protective plate so that the cable connectors will not come loose, hold the screen at an angle to the housing, and the screws tighten with one hand. not exactly comfortable, but I did.
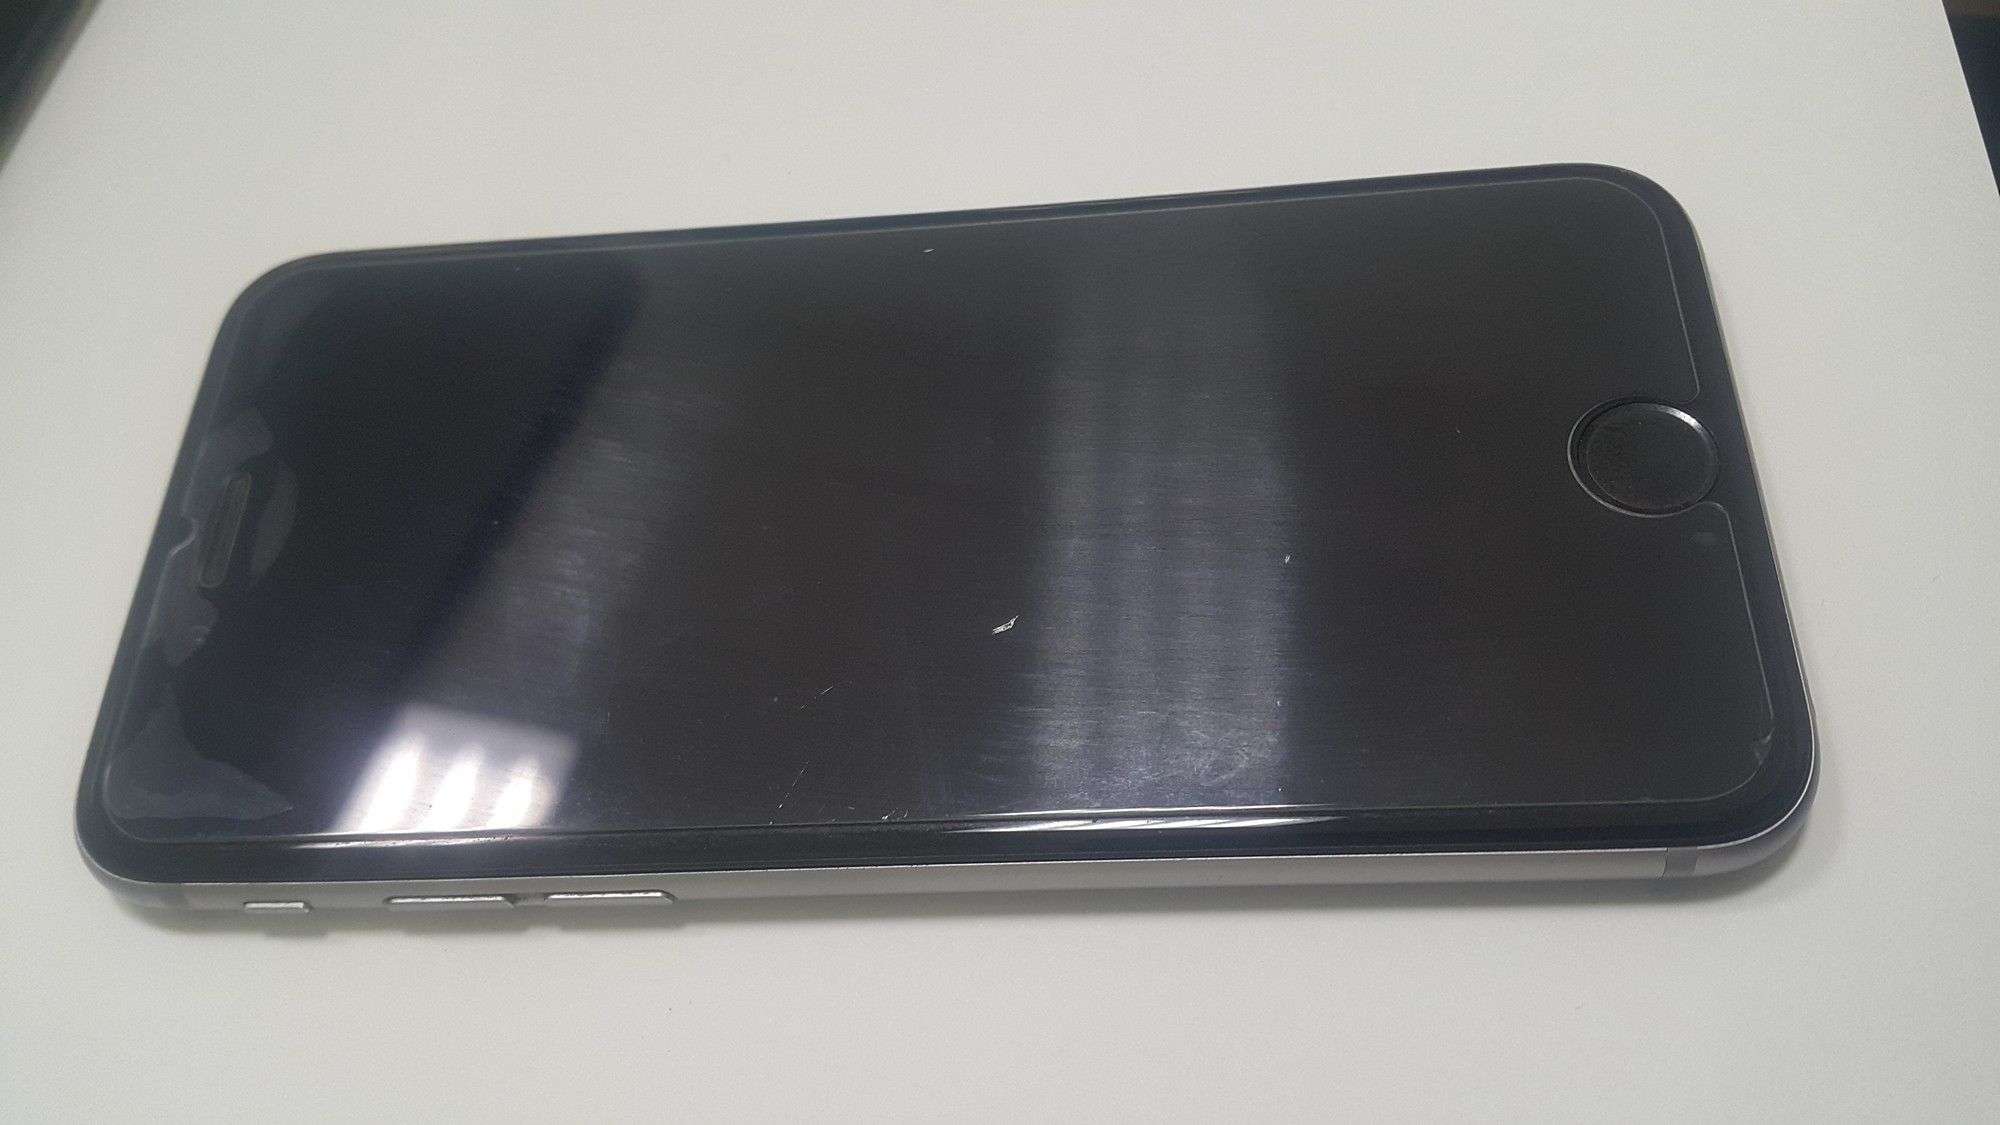
Потом подсоединяем батарею, тоже ставим защитную крышку и включаем телефон. у меня все заработало, экран показывает, как новый, TouchId работает. закрываем корпус и завинчиваем два винта на торце. Все!
Then connect the battery, also put the protective cover and turn on the phone. I have everything worked, the screen shows like a new, TouchId works. Close the case and screw two screws on the end. That's all!
Надеюсь, кому-нибудь это поможет.
I hope this is useful to someone
Молодец! Почему-то думал, что экран на клею. Сам менял несколько раз экран на 4-м iPhone. Бояться не надо, просто аккуратно и внимательно, и все получится!
This post has received a 8.16 % upvote from @boomerang.